

My First Pie Crust Disaster
Let me tell you about my first pie crust. I was twelve, just like you might be. I used warm butter. What a mess! It turned into soup. My grandma just smiled. She said we all start somewhere. I still laugh at that.
That’s why cold butter is rule number one. It makes little pockets in the dough. Those pockets create the flaky layers. This matters because flakiness is the soul of a good pie. It’s the difference between okay and amazing.
Why Cold is Your Best Friend
Your hands are warm. The butter needs to stay cold. Work fast when you mix it. You want pea-sized crumbs. Then add the ice water, just a spoonful at a time. Doesn’t that feel fun, like you’re making sandcastles?
Fun fact: The ice water keeps the butter firm. If the butter melts early, it soaks into the flour. Then you get a tough crust, not a flaky one. This little tip changes everything. Trust your grandma on this one.
The Secret is in the Rest
After you make the dough, wrap it up. Put it in the fridge. Walk away for an hour. This is the hardest part! But it’s so important. The flour relaxes. The butter gets cold again.
This matters because a relaxed dough won’t fight you. It won’t shrink back when you roll it. Have you ever had a crust shrink in the pan? That’s why we wait. Patience makes a better pie.
Rolling it Out With Love
Use a little flour on your counter. Start from the middle and roll out. Turn the dough a little after each roll. Don’t push too hard. Think of it like petting a cat. Gentle is best.
If it tears, don’t worry. You can patch it with a scrap. No one will ever know. What’s your biggest fear when rolling dough? Is it sticking or tearing? Tell me, I’ve faced them both!
Your Turn to Share
Now you have the basics. Cold butter, ice water, a little patience. You can do this. What will you put in your first homemade crust? Sweet apples or juicy berries?
Making the crust yourself feels so good. It connects you to all the bakers before us. That’s a beautiful thing. Will you try a single-crust or a double-crust pie first? Share your plan with me. I love to hear your stories.
Ingredients:
| Ingredient | Amount | Notes |
|---|---|---|
| All-purpose flour | 1-1/4 cups | For single-crust pie |
| Salt | 1/4 teaspoon | For single-crust pie |
| Cold butter, cubed | 1/2 cup | For single-crust pie |
| Ice water | 3 to 4 tablespoons | For single-crust pie |
| All-purpose flour | 2-1/2 cups | For double-crust pie |
| Salt | 1/2 teaspoon | For double-crust pie |
| Cold butter, cubed | 1 cup | For double-crust pie |
| Ice water | 1/3 to 2/3 cup | For double-crust pie |
My Secret to a Perfect, Flaky Pie Crust
Hello, my dear. Come sit at the table. Let’s talk about pie crust. Many folks find it scary. I used to, too. My first crust was tough as an old boot. I still laugh at that. The secret is keeping everything cold and your hands gentle. Think of it like making little pockets of butter in the flour. Those pockets melt in the oven. That’s what makes the crust wonderfully flaky. Doesn’t that sound lovely?
Here is my tried-and-true method. Follow these simple steps. You will have a beautiful crust. I promise.
- Step 1: Mix your flour and salt in a big bowl. Then, add your cold, cubed butter. Now, you “cut it in.” I use a pastry blender. You can use two forks. You want the mixture to look like coarse crumbs with some pea-sized butter bits. (My hard-learned tip: If the butter starts to feel soft, stop! Put the whole bowl in the fridge for 10 minutes.)
- Step 2: Now, sprinkle ice water over your crumbs. Start with just a few tablespoons. Toss it all with a fork. You want the dough to just hold together when you pinch it. It should not be wet or sticky. Then, shape it into a flat disk. Wrap it in plastic and let it rest in the fridge. This chill time is magic. It relaxes the dough.
- Step 3: Time to roll! Flour your counter and your rolling pin lightly. Roll from the center out. Turn the dough a little after each roll. This keeps it round. Roll it about 2 inches wider than your pie plate. To move it, gently roll the dough onto your pin. Then unroll it over the plate. Ease it in, don’t stretch it. What’s the best tool for moving rolled dough? Share below!
- Step 4: For a single crust, trim the edges. Leave a little overhang. Then, tuck that overhang under itself. Now, flute the edge! Pinch it with your fingers. Or press it with a fork. This makes it pretty and seals it. For a double crust, add your filling first. Then roll the top crust just like the bottom. Lay it over the filling. Seal and flute the edges together. Don’t forget to cut slits in the top. They let the steam out.
Cook Time: Varies by filling
Total Time: 1 hour 15 minutes (plus chilling)
Yield: 1 single or 1 double crust
Category: Dessert, Baking Basics
Three Fun Twists for Your Next Pie
Once you master the basic crust, you can play! Try mixing a little something into the flour. It adds such a nice surprise. Here are three of my favorite ideas.
- Cheesy Herb Crust: Add a handful of grated cheddar and a pinch of dried thyme. Perfect for a savory chicken pot pie.
- Cinnamon Sugar Dust: Sprinkle your rolling surface with cinnamon sugar instead of flour. Use it for an apple pie. It adds a sweet, crispy edge.
- Nutty Graham Crust: Replace 1/4 cup of flour with finely ground graham crackers and walnuts. Wonderful for a pumpkin or chocolate pie.
Which one would you try first? Comment below!
Serving Your Masterpiece
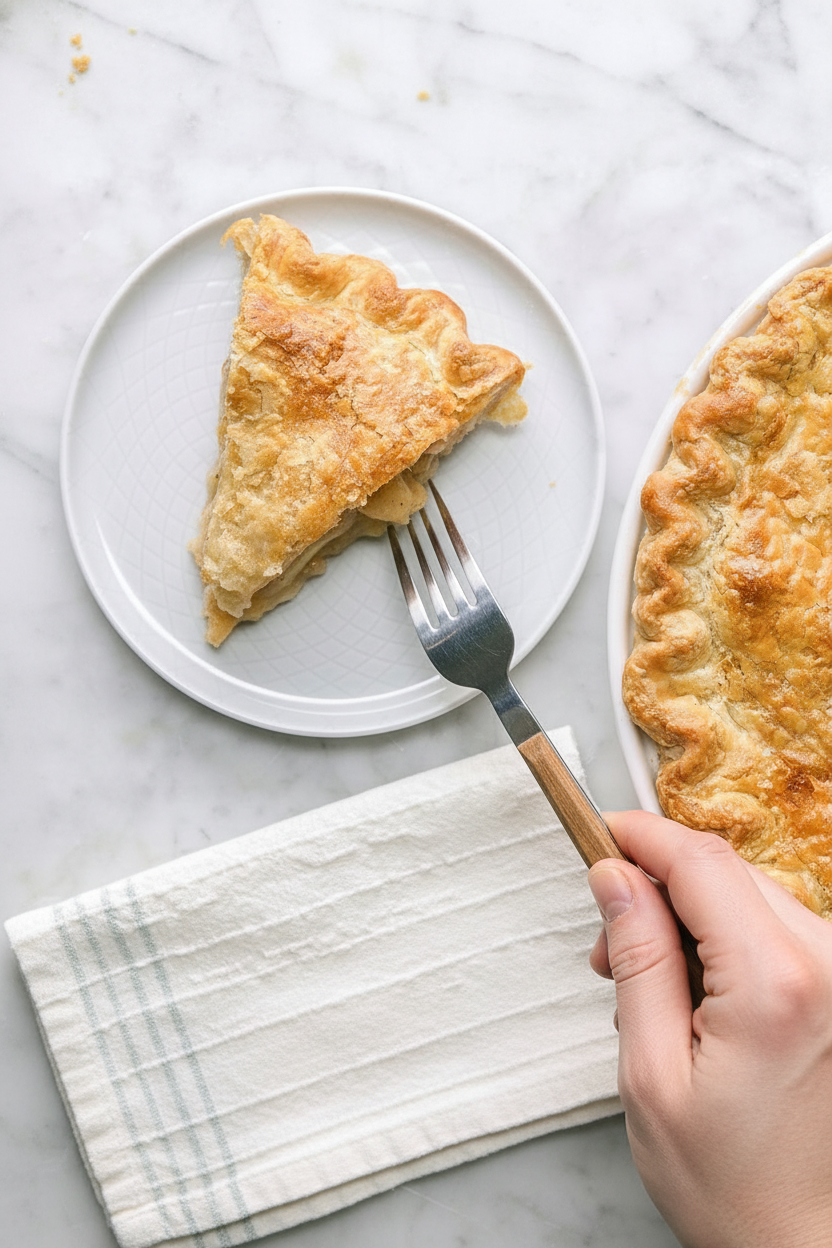
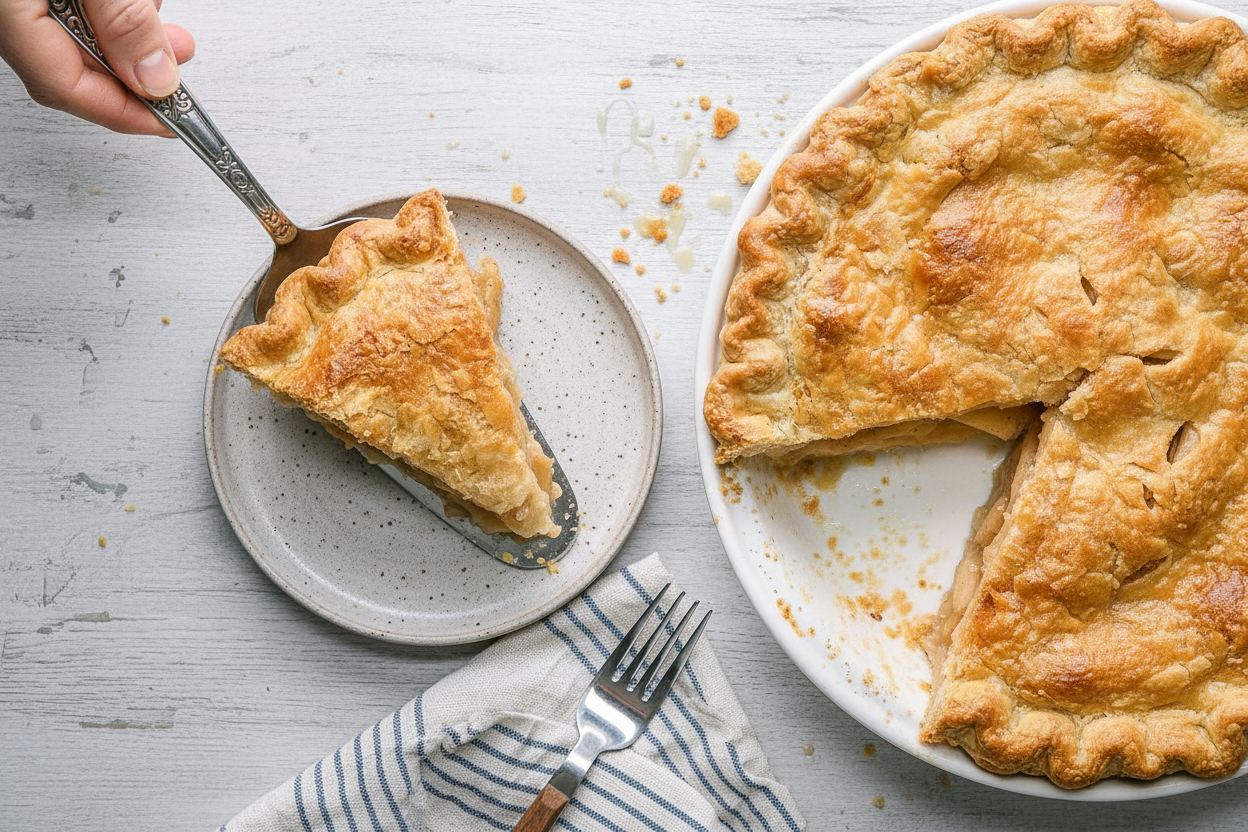
Oh, that smell from the oven is amazing. Let your pie cool a bit before cutting. It sets the filling. A scoop of vanilla ice cream is classic. A dollop of fresh whipped cream is lovely too. For a savory pie, a simple green salad on the side is just right.
What to drink? A cold glass of milk is my grandson’s favorite. For the grown-ups, a sweet Riesling wine pairs beautifully with fruit pies. It’s like a hug for your taste buds.
Which would you choose tonight?
Keeping Your Pie Crust Perfect
Let’s talk about keeping that crust flaky. First, you can make the dough ahead. Wrap your disk tightly in plastic. It will keep in the fridge for two days. You can also freeze it for three months. Just thaw it in the fridge overnight before rolling.
I once baked six pies for a family reunion. Making all the dough on Wednesday saved my sanity! Batch cooking like this is a lifesaver. It turns a big baking day into simple assembly. This matters because it gives you more time with family.
Already baked your pie? Cool it completely first. Then cover it loosely. It’s best eaten within two days. A quick reheat in a warm oven will bring back some crispness. Have you ever tried storing it this way? Share below!
Flaky Crust Troubleshooting
Even grandmas have pie problems sometimes. Here are three common ones. First, a tough crust. This happens if you mix the dough too much. Handle it gently, just until it comes together.
Second, a soggy bottom. I remember my first berry pie. The juice made the crust wet. Always bake your crust on the lower oven rack. The heat there is stronger. This matters because a crisp crust holds your filling beautifully.
Third, a shrinking crust. Your dough needs a good rest in the fridge. This lets the gluten relax. A relaxed dough won’t pull back in the oven. This simple step builds your baking confidence. Which of these problems have you run into before?
Your Pie Crust Questions, Answered
Q: Can I make this gluten-free? A: Yes! Use a good gluten-free flour blend. Look for one with xanthan gum already in it.
Q: How far ahead can I make the dough? A: You can make it up to two days before. Keep it wrapped in the fridge.
Q: Can I use shortening instead of butter? A: You can. But butter gives the best flavor. I always choose butter.
Q: Can I double this recipe? A: Absolutely. Just double all the ingredients listed for a single crust.
Q: Any secret tips? A: A fun fact: Rolling your dough between two sheets of parchment paper makes cleanup easy. Which tip will you try first?
From My Kitchen to Yours
I hope these tips help you. A homemade pie crust is a gift of love. It takes practice, but you can do it. I would love to see your creations.
Share a photo of your beautiful pie. Tell me about the filling you chose. Have you tried this recipe? Tag us on Pinterest! I always look for your posts. Thank you for baking with me today.
Happy cooking!
—Chloe Hartwell.

Flaky Pie Crust: Flaky Pie Crust Tips and Techniques
Description
Master the art of a perfect, flaky pie crust every time. Discover essential tips and professional techniques for buttery, tender pastry.
Ingredients
Ingredients for single-crust pie:
Ingredients for double-crust pie:
Instructions
- Combine flour and salt; cut in butter until crumbly. Gradually add ice water, tossing with a fork until dough holds together when pressed.
- Shape dough into a disk for a single-crust pie. For a double-crust pie, divide dough in half, with 1 piece slightly larger than the other; shape into 2 disks. Wrap and refrigerate 1 hour or overnight.
- On a lightly floured surface, roll out 1 disk of dough to a 1/8-in.-thick circle; transfer to a 9-in. pie plate.
- For a single-crust pie: Trim crust to 1/2 in. beyond rim of plate; flute edge. Fill or bake according to recipe directions.
- For a double-crust pie: Add filling to crust. Roll out remaining dough to a 1/8-in.-thick circle. Place over filling. Trim, seal and flute edge. Cut slits in top. Bake according to recipe directions.
Notes
- Nutrition Facts (for single-crust pastry): 1 piece (1/8 recipe): 173 calories, 12g fat (7g saturated fat), 31mg cholesterol, 165mg sodium, 15g carbohydrate (0 sugars, 1g fiber), 2g protein.


Leave a Reply