

My First Fluffernutter Fiasco
I first tried these cookies years ago. My grandson, Sam, asked for a “marshmallow-peanut butter cookie.” I thought, how hard could it be? I learned the hard way. I forgot to freeze the marshmallows first.
They melted into a sticky, gooey puddle in the oven. The cookies were one big, sweet mess. Sam still loved them, bless him. I still laugh at that. Now I always freeze those marshmallows. It makes all the difference.
Why Little Details Matter
Freezing the marshmallows is my top tip. It keeps them from disappearing in the heat. They stay soft and fluffy inside your cookie. Isn’t that the best part?
Room temperature butter matters too. It creams with the sugar so much better. This gives your cookie a lovely, tender crumb. These small steps are what make a cookie great. They turn ingredients into something special.
Let’s Make Some Magic
Start by creaming that butter and brown sugar. Mix it for a good two or three minutes. It will get light and fluffy. Doesn’t that smell amazing already?
Add your egg and vanilla. Then mix in your flour, salt, and baking soda. Now, gently fold in your frozen marshmallows and peanuts. Be gentle so you don’t squish them.
The Secret to a Perfect Cookie
Here is a big lesson. Do not over-bake these cookies. Take them out when the edges are golden. The centers should look a little soft. They will set up as they cool.
*Fun fact*: Pushing the marshmallow edges in right after baking is a chef’s trick. It makes your cookies look bakery-perfect. This matters because we eat with our eyes first. A pretty cookie just tastes happier.
Your Turn in the Kitchen
I love how this recipe welcomes everyone. Use dairy-free butter and gluten-free flour. It works just the same. Food should bring people together, not leave them out.
What is your favorite cookie add-in? Is it chocolate chips or something wild? Tell me about your kitchen experiments. Did you try the gluten-free version? How did your family like them?
Ingredients:
| Ingredient | Amount | Notes |
|---|---|---|
| salted butter | 1/2 cup (113g) | room temperature, regular or dairy-free |
| brown sugar | 1 cup (200g) | |
| large egg | 1 | room temperature |
| vanilla extract | 2 teaspoons | |
| creamy peanut butter | 3/4 cup (190g) | |
| all-purpose flour | 1 1/2 cups (180g) | can sub gluten-free flour 1:1 baking blend |
| coarse sea salt | 1 teaspoon | |
| baking soda | 3/4 teaspoon | |
| mini marshmallows | 1 1/2 cups (75g) | |
| salted peanuts | 3/4 cup (100g) | roughly chopped |
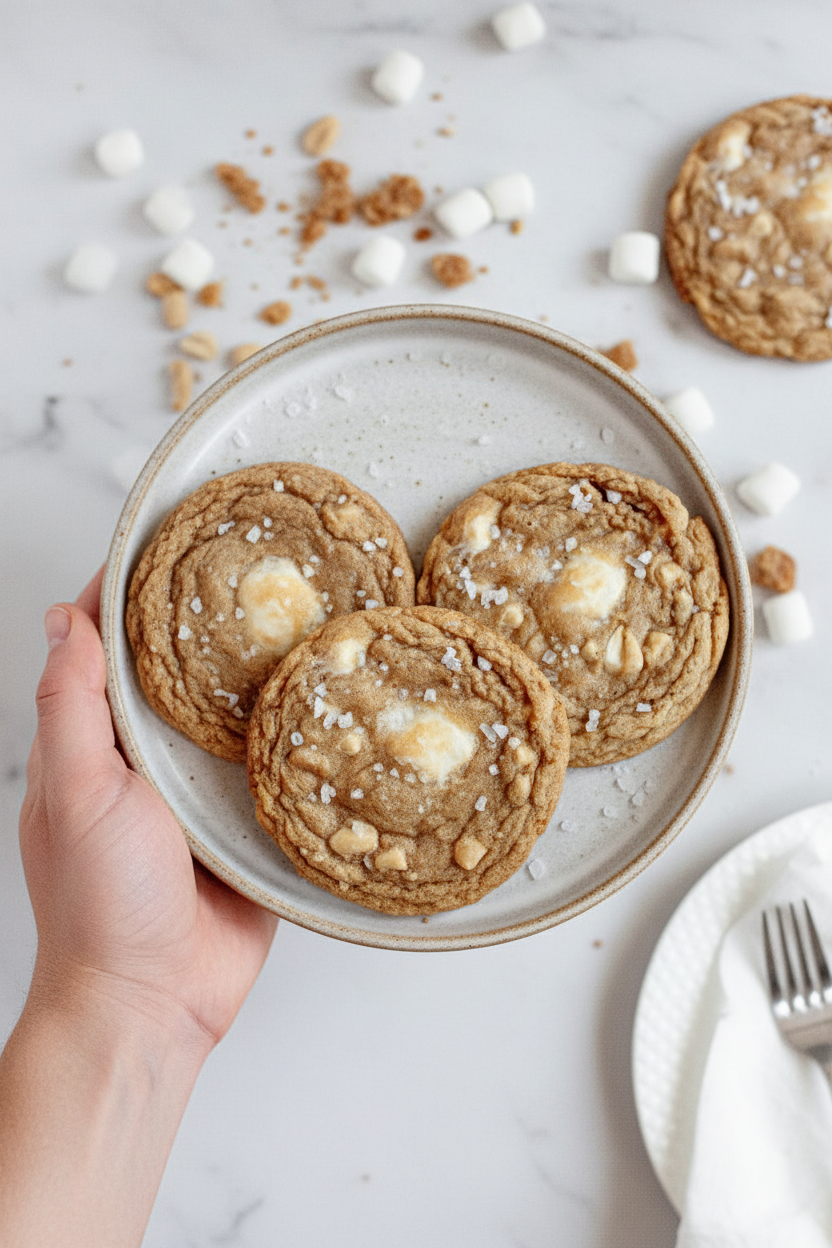
My Fluffernutter Cookie Hugs
Hello, my dear! Pull up a chair. Let’s make some cookie hugs. These are my Fluffernutter Cookies. They are soft, sweet, and a little salty. They remind me of my grandson, Sam. He always wanted peanut butter and marshmallow sandwiches. One day, I thought, why not in a cookie? I still laugh at that. Now, they are his favorite. We make them gluten-free and dairy-free so everyone can share. Doesn’t that smell amazing? Let’s begin.
Step 1: First, turn your oven to 350 degrees. Line your baking sheets with parchment paper. Now, here’s a funny trick. Put your mini marshmallows in the freezer. This keeps them from melting too fast. I learned this the hard way with a very sticky pan once!
Step 2: Grab your big bowl. Mix the soft butter and brown sugar together. Keep mixing for a few minutes. You want it light and fluffy like a cloud. Then, crack in the egg. Add the vanilla too. Mix it all until it’s smooth and happy.
Step 3: Time for the good stuff. Measure your flour, salt, and baking soda. Pour it all into the bowl. Mix just until a dough forms. Now, take those marshmallows from the freezer. Gently fold them in with the chopped peanuts. (A hard-learned tip: If you mix too hard, the marshmallows will tear. Be gentle!).
Step 4: Use a big spoon to drop dough onto your sheets. Leave lots of room between them. They like to spread out and get cozy. Bake for about 9 minutes. The edges will be golden. The middle will look a bit soft. That’s perfect! Do you like your cookies chewy or crispy? Share below!
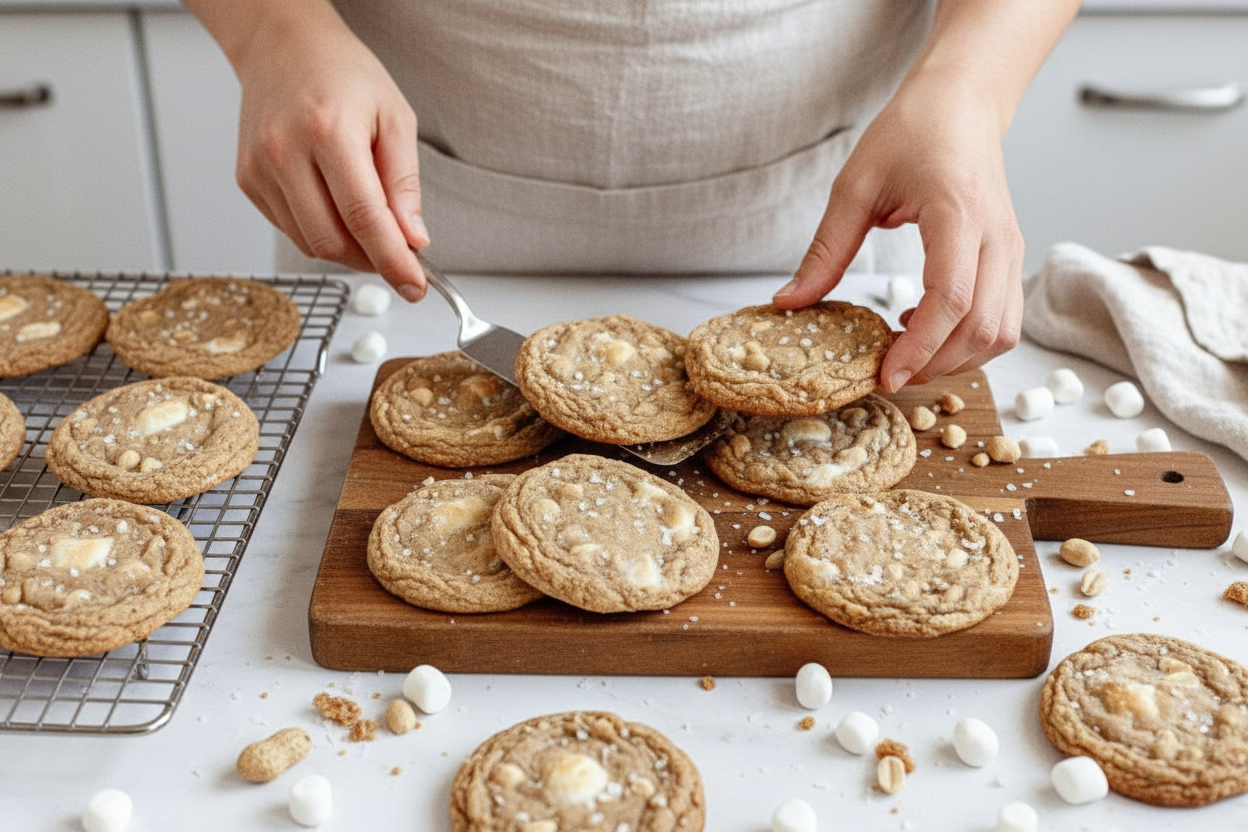
Step 5: The cookies come out puffy. Some marshmallows might peek out. Use a butter knife to gently push them back in. It’s like tucking them into bed. Let the cookies cool right on the pan. This is the hardest part—waiting! But it’s worth it.
Cook Time: 8-10 minutes per batch
Total Time: About 30 minutes
Yield: About 18 big cookies
Category: Dessert, Cookies
Three Fun Twists to Try
These cookies are wonderful as they are. But sometimes, it’s fun to play. Here are three ideas for you. Sunshine Twist: Add a handful of dairy-free chocolate chips. Everything is better with chocolate, I think. Crunchy Twist: Swap the peanuts for pretzel pieces. You get a lovely salty crunch. Fruity Twist: Mix in some chopped dried cherries. The tartness is a nice surprise. Which one would you try first? Comment below!
Serving Them Up Sweet
I love these cookies warm with a glass of cold oat milk. It’s so comforting. For a party, crumble one over dairy-free vanilla ice cream. It makes a fantastic sundae! For the grown-ups, a cup of black coffee pairs beautifully. It cuts through the sweetness. For a fun treat, try them with sparkling apple cider. Which would you choose tonight?
Keeping Your Cookies Happy
Let’s talk about keeping these treats fresh. Store cooled cookies in a tin at room temperature. They stay perfect for about five days. You can also freeze them for up to six months.
I freeze them in a single layer first. Then I pop them into a bag. This stops them from sticking together. It’s like giving each cookie its own little winter coat.
Batch cooking saves so much time. Make a double batch of dough. Portion it into balls and freeze them on a tray. Once frozen, bag them up. You can bake a few anytime a craving hits.
I once baked all the dough at once for a party. We had cookies for days! It felt like a sweet victory. Having treats ready matters. It brings a little joy to busy days. Have you ever tried storing it this way? Share below!
Cookie Troubles? Easy Fixes!
Sometimes cookies spread too thin. Your butter might be too warm. Chill your dough for 30 minutes before baking. This helps them keep a nice, thick shape.
Marshmallows can melt into a big puddle. I remember when my first batch looked like lace! The freezer trick is key. Frozen marshmallows hold their shape better in the hot oven.
Your cookies might seem too soft after baking. Let them cool completely on the sheet. They firm up as they cool. This gives you that perfect chewy middle.
Fixing small problems builds your kitchen confidence. You learn how ingredients work together. It also makes sure every bite is delicious. Which of these problems have you run into before?
Your Quick Cookie Questions
Q: Can I make these gluten-free? A: Yes! Use a 1:1 gluten-free baking blend. My favorite brand works just like regular flour.
Q: Can I make the dough ahead? A: Absolutely. Keep it covered in the fridge for two days. Let it sit out for 20 minutes before scooping.
Q: What if I’m allergic to peanuts? A: Try sunflower seed butter. Use sunflower seeds instead of peanuts too. *Fun fact: Sunflower seed butter can make baked goods turn green! It’s harmless but surprising.
Q: Can I make the recipe smaller? A: You can halve it easily. Just use one egg yolk instead of a whole egg.
Q: Any extra tips? A: Use a cookie scoop for even sizes. It makes your batch look bakery-perfect. Which tip will you try first?
From My Kitchen to Yours
I hope you love baking these cookies as much as I do. They always remind me of my grandkids’ smiles. Your kitchen is a place for fun and messy hands.
I would love to see your creations. Share a picture of your cookie tray. Let me know how your family liked them. Have you tried this recipe? Tag us on Pinterest!
Thank you for baking with me today. Remember, the best ingredient is always a little love.
Happy cooking!
—Chloe Hartwell.
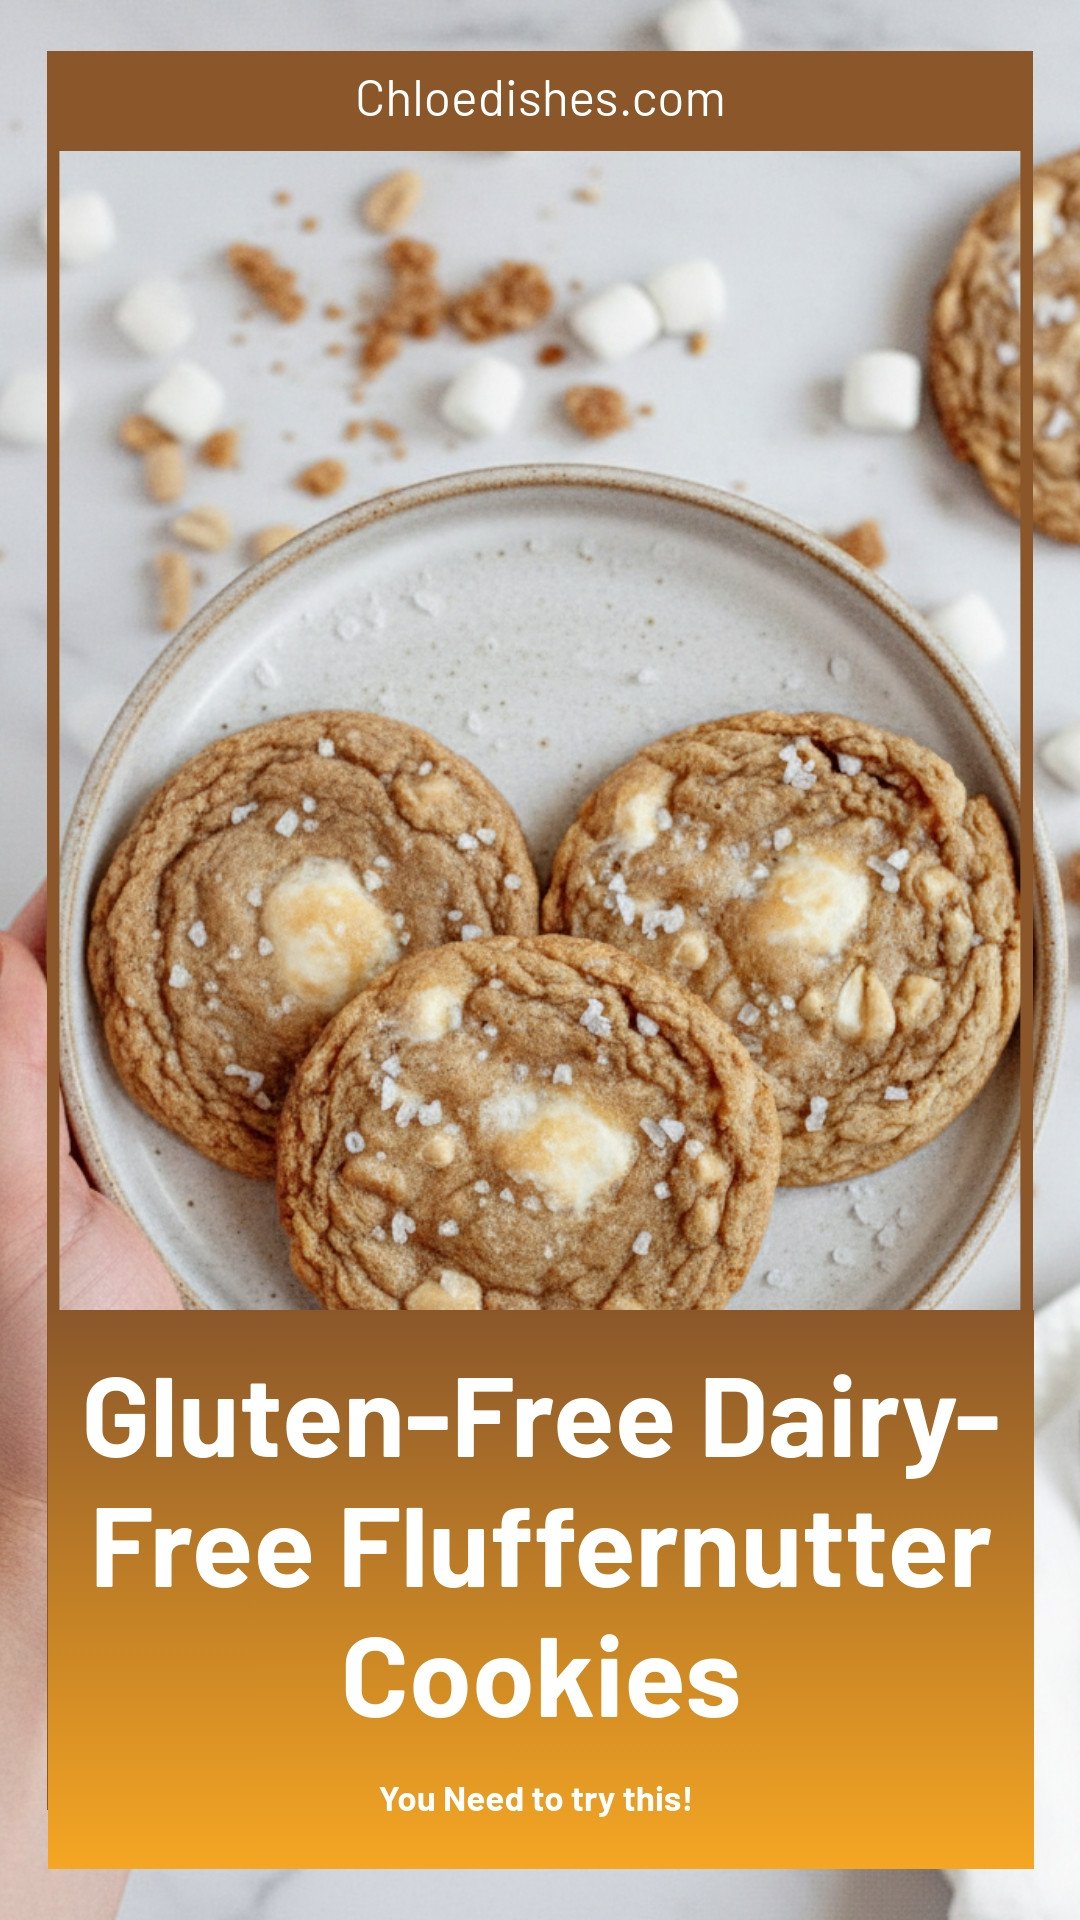
Gluten-Free Dairy-Free Fluffernutter Cookies
Description
Irresistible gluten-free & dairy-free cookies with a gooey marshmallow and peanut butter swirl. Easy recipe for a sweet, allergy-friendly treat everyone will love.
Ingredients
Instructions
- Preheat the oven to 350ºF and prepare two large cookie sheets with parchment paper.
- Place the mini marshmallows in the freezer while you prepare the cookie dough.
- In a stand mixer or large bowl with an electric mixer, cream together the butter and sugar until light and fluffy. This should take approximately 2-3 minutes.
- Add in the egg and vanilla extract and mix until fully combined and smooth.
- Measure in the flour, salt, and baking soda and mix until a dough forms.
- Gently fold in the mini marshmallows and chopped peanuts.
- With a large 3-tablespoon cookie scoop, portion the dough onto the prepared cookie sheets approximately 3 inches apart from each other.
- Bake for 8-10 minutes or until the edges are golden and the center appears slightly underbaked.
- Remove from the oven and immediately push any errant marshmallow edges back into shape with a butter knife or a large round cookie cutter.
- Allow the cookies to fully cool on the cookie sheets. Enjoy!
Notes
- Store leftover cookies in an airtight container at room temperature for up to 5 days or frozen for up to 6 months.


Leave a Reply