

My Honey-Sweet Secret
I have a little secret for you. I use honey in my chocolate chip cookies. It makes them extra soft and chewy. They taste like a warm hug. Doesn’t that smell amazing when they bake?
My grandson asked for cookies one day. But his friend couldn’t have dairy or gluten. I got to work in my kitchen. I used my old recipe and changed a few things. The honey was the real star. It worked perfectly. I still laugh at that happy accident.
Why This Recipe Works
Let me tell you why this matters. Honey keeps the cookies moist for days. It’s nature’s sweetener. The sea salt makes the chocolate taste richer. Every bite has a sweet and salty dance.
Fun fact: Did you know honey never spoils? Jars of honey were found in ancient Egyptian tombs. They were still good to eat! Now, what’s your favorite cookie add-in? Chocolate chips, or something else?
A Little Kitchen Magic
Making these is simple. First, beat that butter and honey until it’s fluffy. This puts air into the dough. That makes your cookies light. Scrape the bowl sides well. We don’t want to waste a bit!
Then mix in the dry ingredients. Go slow at first. You don’t want a flour cloud in your kitchen! Finally, stir in those chocolate chips. The dough will be soft and sticky. That’s just right.
The Perfect Bake
Here is my best tip. Take the cookies out when they look a little underdone. The centers should be soft. They will keep cooking on the hot tray. This gives you that perfect chewy middle.
Let them cool completely on the tray. I know it’s hard to wait. But it’s worth it. This is why it matters. It lets the cookie set up just right. Do you like your cookies soft and chewy, or crisp and crunchy?
Stories From Your Kitchen
Food is about sharing. My grandson shared these cookies with his whole class. Everyone felt included. That’s the best feeling. A simple cookie can make someone’s day brighter.
Now I want to hear from you. Have you ever changed a recipe for someone you love? Tell me your story. I read every single one. Let’s keep the tradition of sharing going.
Ingredients:
| Ingredient | Amount | Notes |
|---|---|---|
| dairy-free salted butter, room temperature | 1/2 cup (113g) | |
| liquid honey | 1/2 cup (160g) | |
| brown sugar | 1/4 cup (50g) | |
| vanilla extract | 1 teaspoon | |
| gluten-free flour 1:1 baking blend | 1 1/2 cups (240g) | *can substitute all-purpose flour |
| fine sea salt | 1 teaspoon | |
| baking soda | 1/2 teaspoon | |
| dairy-free chocolate chips | 1 cup (240g) |
My Honey-Sweet Chocolate Chip Cookies (Everyone Can Eat!)
Hello, my dear! Come sit. Let’s make my special chocolate chip cookies. They are soft and sweet. They use honey instead of plain sugar. I love that golden taste. It reminds me of summer afternoons. And guess what? No regular flour or butter here. So many friends can enjoy them. My grandson Leo loves these. He says they are his favorite. I still smile when he asks for them.
We will mix everything in one big bowl. It’s easy. Just follow these simple steps. I will tell you a little story as we go. Ready? Let’s begin.
- Step 1: First, turn your oven on to 350 degrees. This lets it get nice and hot. Tear off two pieces of parchment paper. Lay them on your baking sheets. This stops the cookies from sticking. I learned that the hard way once! (My hard-learned tip: Lining the tray means no scraping. Trust me.)
- Step 2: Now, put your soft butter and honey in a bowl. Mix them on high. Do this for two whole minutes. It will get light and fluffy. Doesn’t that smell amazing? Add the brown sugar and vanilla. Mix for one more minute. Scrape the sides with a spatula. Get every bit!
- Step 3: Time for the dry things. Add your flour, salt, and baking soda. Mix on low now. Keep going until you see dough. It will be soft and lovely. Quick quiz: What makes these cookies rise a little? The baking soda or the salt? Share below!
- Step 4: Pour in those chocolate chips. Mix just until they are everywhere. I sometimes sneak a few chips for myself. No one will know! Use a big spoon to scoop dough. Make mounds on your tray. Leave space between them. They like to spread out and make friends.
- Step 5: Bake for about 9 to 10 minutes. Watch the edges turn light gold. The middle will look a bit soft. That is perfect. They keep cooking on the tray. Let them cool completely there. This is the hardest part—waiting! Then, enjoy your creation.
Cook Time: 10 minutes per tray
Total Time: 25 minutes
Yield: About 14 large cookies
Category: Dessert, Snack
Three Fun Twists to Try
These cookies are wonderful as they are. But you can play with them too! Here are three ideas. They are like little adventures for your taste buds.
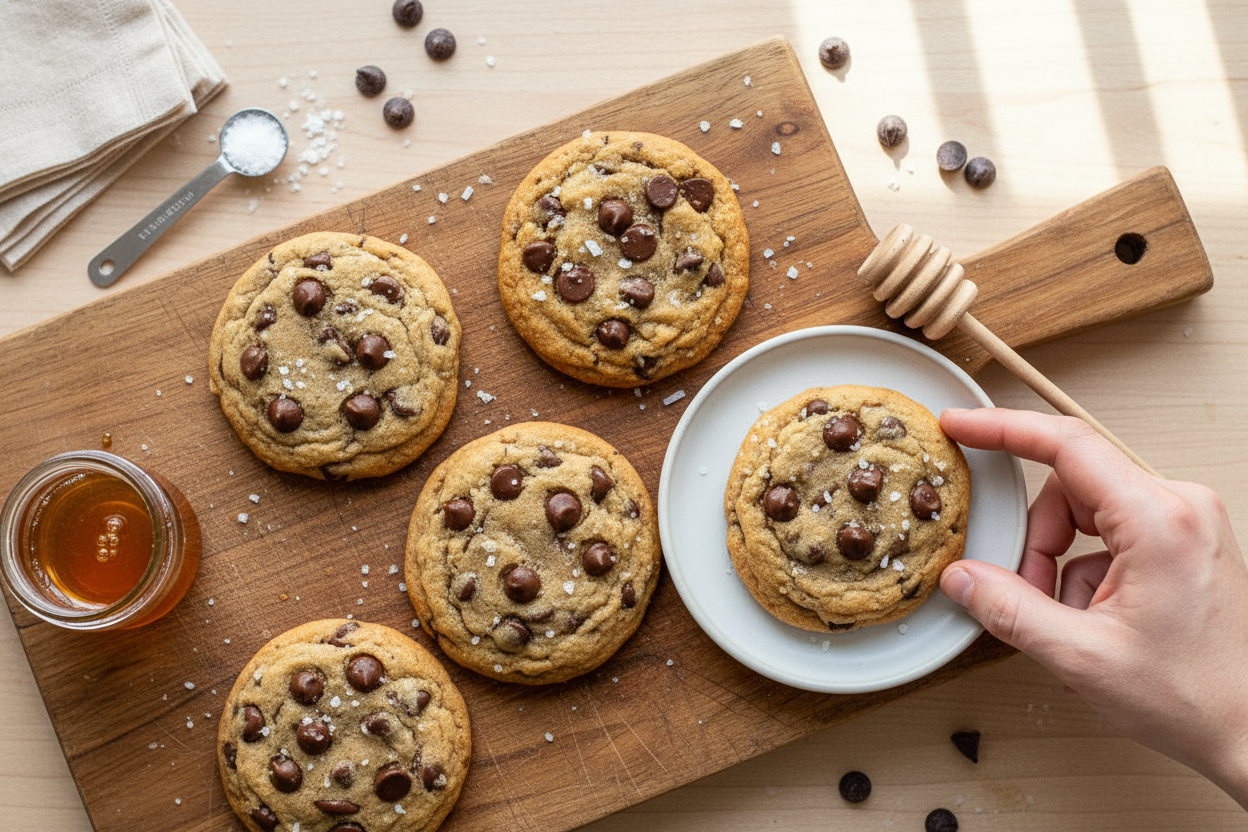
- Sea Salt Sprinkle: Press a few flakes on top before baking. Sweet and salty is magic.
- Nutty Buddy: Swap half the chips for chopped walnuts. It adds a lovely crunch.
- Orange Zest Sunshine: Add the grated peel of one small orange to the dough. So bright and cheerful!
Which one would you try first? Comment below!
Serving Them Up With Style
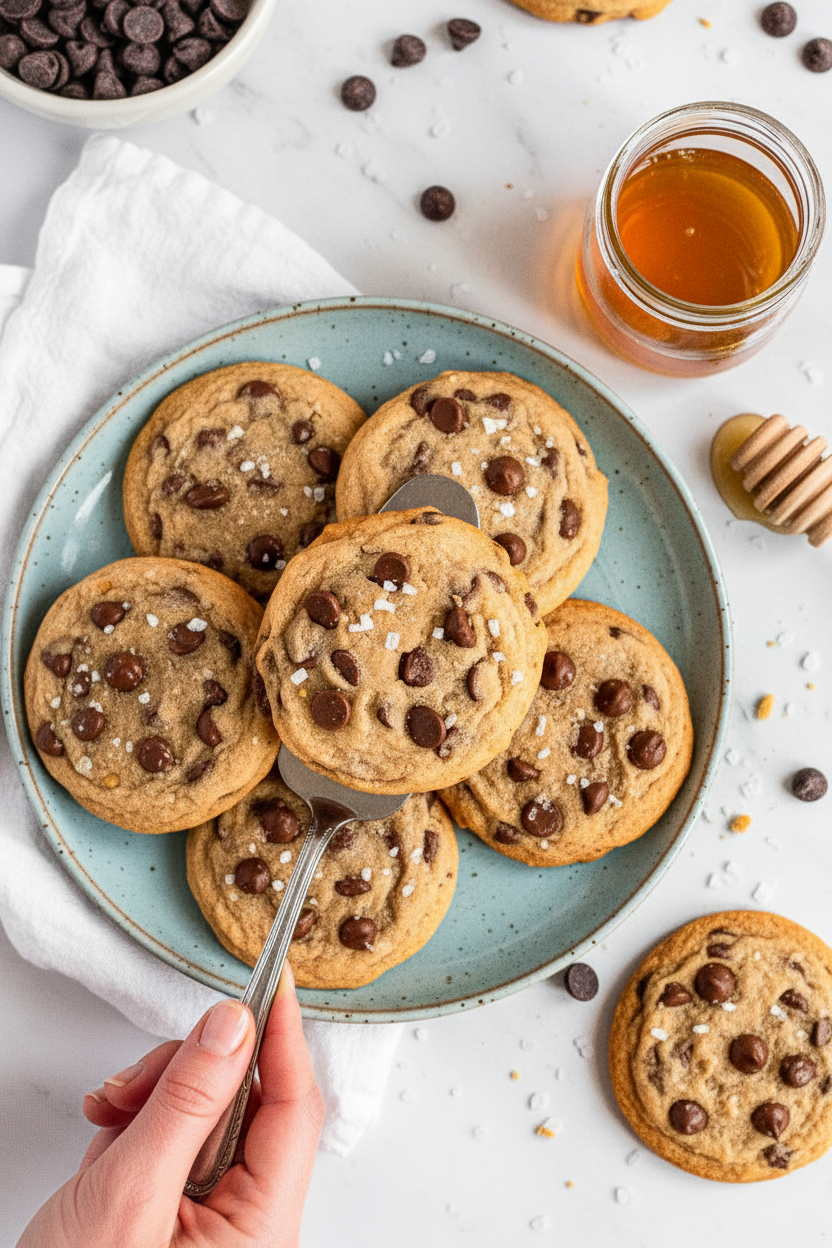
A cookie is always good in your hand. But sometimes, you want to make it special. For a treat, place one on a small plate. Add a scoop of dairy-free vanilla ice cream. Drizzle a little extra honey on top. It’s heavenly. Or, pack them in a lunchbox with some apple slices. A sweet balance.
What to drink? A cold glass of almond milk is my go-to. It’s so cozy. For the grown-ups, a cup of black coffee is perfect. The bitter taste loves the sweet cookie. Which would you choose tonight?
Keeping Your Cookies Happy
These cookies stay soft for days. Just tuck them in an airtight container. They like it at room temperature.
You can also freeze the dough or baked cookies. I freeze dough balls on a tray first. Then I pop them in a bag.
This way, you can bake just two fresh cookies anytime. I once forgot a batch in the freezer for months. They baked up perfectly!
Batch cooking like this saves time and reduces waste. It means a warm treat is always minutes away. Have you ever tried storing cookie dough this way? Share below!
Cookie Troubles? Easy Fixes Here
First, if your cookies spread too much, your butter was too warm. Chill your dough for 30 minutes before baking. This makes a big difference.
Second, if they are too cakey, you might have over-mixed. Mix the flour just until you see no more white. I remember when my grandson mixed for five minutes straight. We got cookie muffins!
Third, for chewy cookies, do not over-bake. Take them out when the centers look soft. They firm up as they cool on the tray.
Getting this right builds your kitchen confidence. It also gives you the perfect texture you love. Which of these problems have you run into before?
Your Quick Cookie Questions
Q: Can I use regular flour? A: Yes! Use the same amount of all-purpose flour instead.
Q: Can I make the dough ahead? A: Absolutely. Keep it covered in the fridge for up to three days.
Q: What can I use instead of honey? A: Maple syrup works well. The flavor will be a little different.
Q: Can I double the recipe? A: You can. Just mix in a very large bowl. *Fun fact: Honey is a natural humectant. It helps keep baked goods moist!
Q: Any optional tips? A: Sprinkle a little sea salt on top before baking. It makes the chocolate taste richer. Which tip will you try first?
From My Kitchen to Yours
I hope these cookies fill your home with a sweet smell. I love knowing you are baking them too. It connects our kitchens.
I would be so delighted to see your results. Please share your baking stories and pictures with me. Have you tried this recipe? Tag us on Pinterest!
Happy cooking!
—Chloe Hartwell.
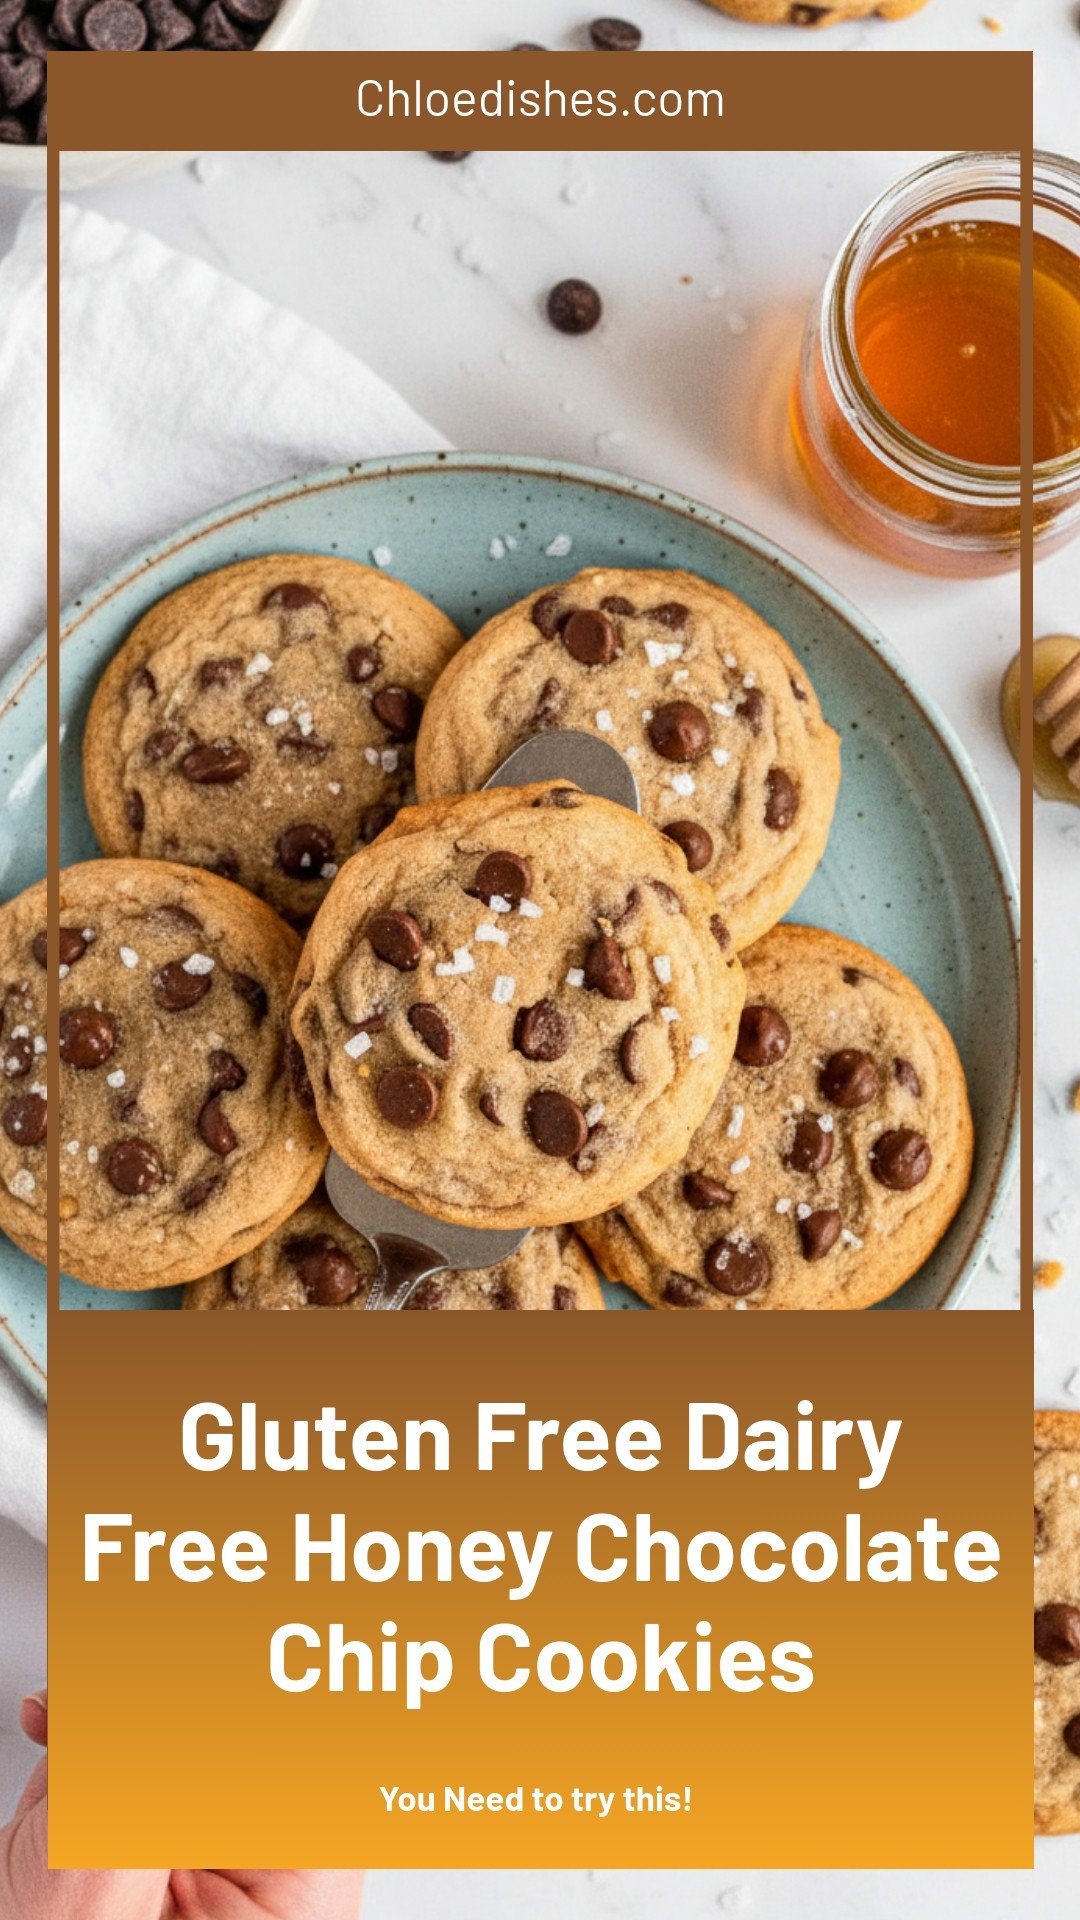
Gluten Free Dairy Free Honey Chocolate Chip Cookies
Description
Indulge in these soft, chewy honey chocolate chip cookies! Perfectly gluten-free, dairy-free, and easy to make. A delicious allergy-friendly treat for everyone.
Ingredients
Instructions
- Preheat the oven to 350ºF and prepare two baking sheets with parchment paper.
- In a stand mixer or large mixing bowl with an electric beater, combine the butter, and honey, and mix on high for 2 minutes until light and fluffy.
- Add in the sugar and vanilla extract and beat on high for another minute. Scrape down the sides of the bowl with a spatula.
- Add in the flour, salt, and baking soda and mix on low until fully incorporated and a dough forms.
- Add in the chocolate chips and mix until just combined.
- With a large 3-tablespoon cookie scoop, scoop the cookie dough onto the prepared baking tray approximately 2 inches apart from each other.
- Bake for approximately 9-10 minutes or until the edges are a light golden brown and the center appears to be slightly under-baked.
- Remove from the oven and let the cookies fully cool on the tray. Enjoy!
Notes
- Store leftover cookies in an airtight container at room temperature for up to 7 days or in the freezer for up to 6 months.


Leave a Reply