
My First Thumbprint Mishap
Let me tell you about my first time making these. I was so excited. I pressed my thumb right into the cold dough. It cracked all over! I still laugh at that.
The secret is warm, rolled dough balls. No cracks means pretty cookies. This matters because cooking should be fun, not frustrating. What was your last funny kitchen mistake? I’d love to hear it.
Why We Cream Butter and Sugar
That first step seems simple. But beating the butter and sugar is magic. You are mixing in tiny air bubbles. Doesn’t that smell amazing?
Those bubbles make the cookie tender. It’s the difference between a cookie and a cracker. This matters for texture. Good baking is a little bit of science.
The Jam That Makes It Special
You can use any jam you like. My favorite is raspberry. Its little tartness is perfect with the sweet cookie. It’s like a happy surprise in the middle.
Warming the jam first is my grandma’s trick. It pours easily and stays put. *Fun fact: Long ago, these were called “jam drops” in some places. What jam would you use? Strawberry? Apricot?
A Cookie for Everyone
I love that this recipe is flexible. Use regular butter or plant-based. Use regular flour or gluten-free blend. It all works. The dough feels soft and hopeful in your hands.
This way, more friends can share the treat. Food is about sharing. Do you often bake for someone with food allergies? It’s a kind thing to do.
The Waiting Game
The hardest part is letting them cool. I know, I want to eat one right away too! But if you wait, the jam sets. You get a perfect little jam pool.
It teaches a little patience. A good lesson for baking and for life. The reward is a perfect, melt-in-your-mouth bite. Totally worth the wait.
Ingredients:
| Ingredient | Amount | Notes |
|---|---|---|
| salted butter | 3/4 cup (170g) | room temperature, *regular or plant-based |
| granulated sugar | 1/2 cup (100g) | |
| vanilla extract | 1 teaspoon | |
| almond extract | 1/2 teaspoon | optional, but highly encouraged |
| gluten-free flour 1:1 baking blend | 2 cups (240g) | *can use regular all-purpose flour |
| cornstarch | 2 teaspoons (5g) | |
| salt | 1/2 teaspoon | |
| milk | 2 tablespoons (30ml) | room temperature, *regular or plant-based |
| raspberry jam, or any jam of choice | 1/3 cup (80ml) | |
| granulated or sparkly sugar for rolling | 1/2 cup (100g) | optional |
My Favorite Little Jam Jewels
Hello, my dear! Come sit with me. I want to tell you about my thumbprint cookies. They are like little jewels in a cookie jar. My granddaughter calls them “jam hugs.” Doesn’t that sound sweet? We make them every holiday. The kitchen fills with a buttery, sweet smell. I still laugh at that name. Let’s make some hugs together, shall we?
Step 1: First, let’s make our cookie dough smile. Put your soft butter and sugar in a bowl. Add the vanilla and that lovely almond extract. Now beat it all until it’s light and fluffy. It should look like a happy, pale cloud. This takes about two minutes. I always hum a little tune while I wait.
Step 2: Time to add the dry ingredients. Gently mix in your flour, cornstarch, and salt. Go slow at first, or you’ll get a flour shower! Once it looks crumbly, pour in the milk. Mix until it becomes a soft dough. It will feel like perfect play-dough in your hands.
Step 3: Now for the fun part! Scoop little bits of dough. Roll them into smooth, round balls. No cracks, please. (A hard-learned tip: cracks make the cookies split in the oven). Roll each ball in sparkly sugar if you like. It adds a magical crunch. Place them on your baking sheet, giving them room to breathe.
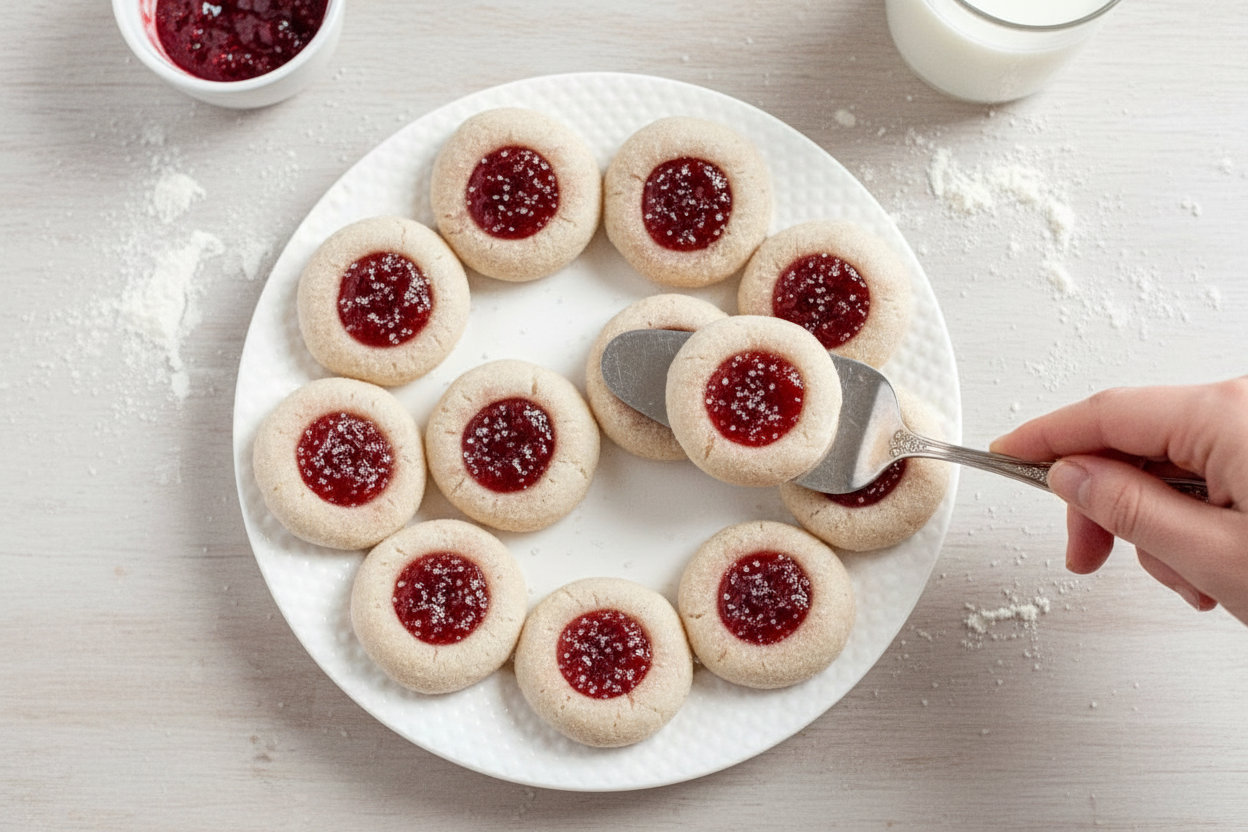
Step 4: This is the “thumbprint” step. Use your thumb or a spoon’s back. Gently press a little well into each ball. Don’t press all the way through! Think of making a tiny nest. My grandson once made a thumbprint as big as a quarter. We had a lake of jam! What’s your favorite jam flavor? Share below!
Step 5: Warm your jam for just 10 seconds. It should be stir-able, not hot. Now, carefully fill each little nest to the brim. No overfilling, or it will run away in the oven. Bake until the edges are just barely golden. Let them cool completely on the sheet. The wait is the hardest part!
Cook Time: 10–13 minutes
Total Time: About 30 minutes
Yield: About 2 dozen cookies
Category: Dessert, Cookies
Let’s Get Creative!
These cookies love to dress up. You don’t have to use just raspberry jam. Try something new! Here are three of my favorite twists.
Sunshine Lemon: Use lemon curd instead of jam. It’s like a little burst of summer.
Chocolate Kiss: Fill the thumbprint with chocolate hazelnut spread. Sprinkle with sea salt after baking.
PB & J Classic: Use peanut butter cookie dough. Fill with grape jelly for the classic sandwich taste.
Which one would you try first? Comment below!
The Perfect Little Plate
These cookies are perfect all on their own. But sometimes, I like to make a special plate. Arrange them on a vintage cake stand. It looks so pretty. You could also serve them with a scoop of vanilla ice cream. The warm cookie and cold cream is heaven.
For a drink, a glass of cold milk is always right. For the grown-ups, a little sweet dessert wine pairs beautifully. It echoes the jam’s fruitiness. Which would you choose tonight?

Keeping Your Thumbprint Cookies Happy
These cookies keep well at room temperature. Just tuck them into a tin. They stay fresh for about five days. You can also freeze the baked cookies for up to three months. Layer them between parchment paper in a freezer bag.
You can freeze the dough balls, too. I do this all the time for a quick treat. Roll the dough and make the thumbprint indent. Freeze them solid on a tray first. Then pop them all into a bag.
When you want cookies, bake them straight from the freezer. Just add a minute or two to the bake time. I once forgot to label my freezer bag. My grandson thought they were strange meatballs! Batch cooking like this saves time and energy. It means fresh cookies are always close by. Have you ever tried storing cookie dough this way? Share below!
Cookie Troubles? Let’s Fix Them
First, if your cookies crack a lot, check your dough balls. Make sure they are very smooth with no cracks before baking. I remember when my first batch looked like little maps! Rolling them in your palms helps a lot.
Second, if the jam spills over, you might have overfilled it. A heaping teaspoon is too much. Just fill the thumbprint to the brim. This keeps the jam where it belongs. Getting this right makes a prettier cookie.
Third, if the cookies spread too much, your butter might be too warm. Your dough should be cool and firm. Chilling it for 20 minutes can fix this. Controlling the spread gives you that perfect, tender bite. It builds your baking confidence. Which of these problems have you run into before?
Your Thumbprint Cookie Questions
Q: Can I use regular flour? A: Yes! Use the same amount of all-purpose flour instead.
Q: Can I make the dough ahead? A: Absolutely. Keep it wrapped in the fridge for two days.
Q: What other jam can I use? A: Any jam works. I love apricot or blackberry best.
Q: Can I double the recipe? A: You can. Just mix in two separate batches for best results.
Q: Is the almond extract important? A: It’s optional but adds a lovely, cozy flavor. *Fun fact: almond and cherry flavors come from the same place!* Which tip will you try first?
From My Kitchen to Yours
I hope you love making these little jam-filled gems. They always remind me of my own grandma’s kitchen. Baking is about sharing joy and making memories.
I would be so delighted to see your creations. Please share your cookie photos with our community. Have you tried this recipe? Tag us on Pinterest! Your pictures make my day.
Happy cooking!
—Chloe Hartwell.
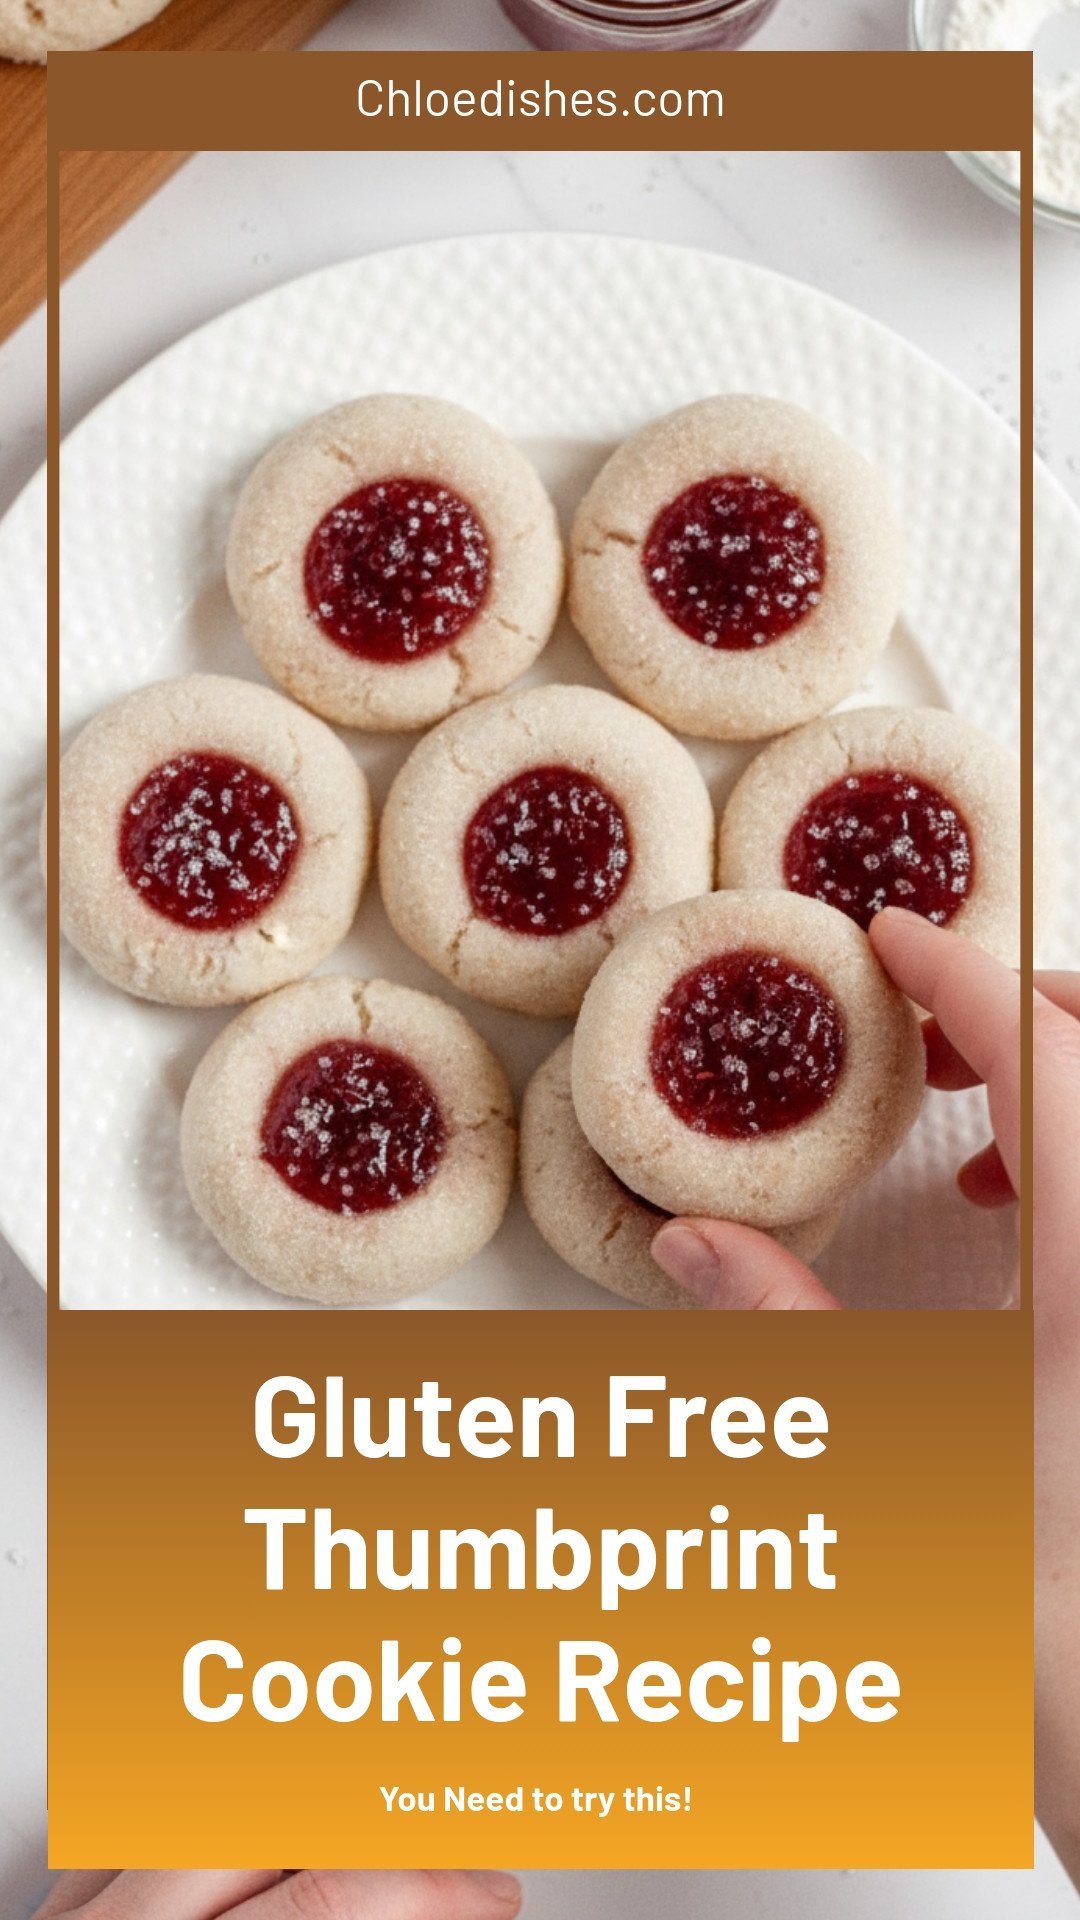

Gluten-Free Thumbprint Cookies: Gluten Free Thumbprint Cookie Recipe
Description
Easy, festive & delicious gluten-free thumbprint cookies. Made with almond flour and filled with your favorite jam. Perfect for holiday baking or everyday treats.
Ingredients
Instructions
- In a stand mixer or large mixing bowl with an electric mixer, combine the butter, sugar, vanilla extract, and almond extract (if using) and beat on high until light and fluffy. This should take approximately 2 minutes.
- Measure in the flour, cornstarch, and salt, and mix on low until a dough starts to form.
- As the dough is forming, slowly pour in the milk, and mix until combined.
- With a small 1.5 tablespoon cookie scoop or spoon, portion the dough and roll into balls (you want the dough to be round with no seams or cracks; this will prevent the cookies from cracking when baked).
- Roll each ball into the granulated sugar or sparkling sugar (if using) and place onto the prepared cookie sheets approximately 2 inches apart.
- With the rounded back of a teaspoon or your thumb, gently press an indentation into the center of each cookie dough ball.
- In a small microwave-safe bowl, add the raspberry jam and heat for about 10-15 seconds, or until the jam can be easily stirred but not hot.
- Spoon or pipe the jam into the indentation of each cookie. (Fill each to the brim, but no more than that, or it will overflow during baking.)
- Bake for approximately 10-13 minutes or until the edges have turned barely light golden. Remove from the oven and allow to cool fully on the cookie sheet. Enjoy!
Notes
- Store leftover thumbprint cookies in an airtight container at room temperature for up to 5 days or frozen for up to 3 months.


Leave a Reply