

The Sweetest Mistake
I once tried to make this glaze in a hurry. I did not wait for the sugar to turn amber. I ended up with a thin, milky soup. I still laugh at that. Good things need their own sweet time.
That is why this recipe matters. It teaches you patience. Rushing can ruin something wonderful. Have you ever had a kitchen mistake turn out funny? I would love to hear your story.
Your Sugar’s Best Friend
The first step is simple. You mix sugar, corn syrup, and water. The corn syrup is a helper. It stops the sugar from forming big, crunchy crystals.
You must stir until you cannot see any sugar grains. Then you let it get hot. You will see tiny bubbles form. Doesn’t that smell amazing? It smells like sweet promises.
The Magic of Waiting
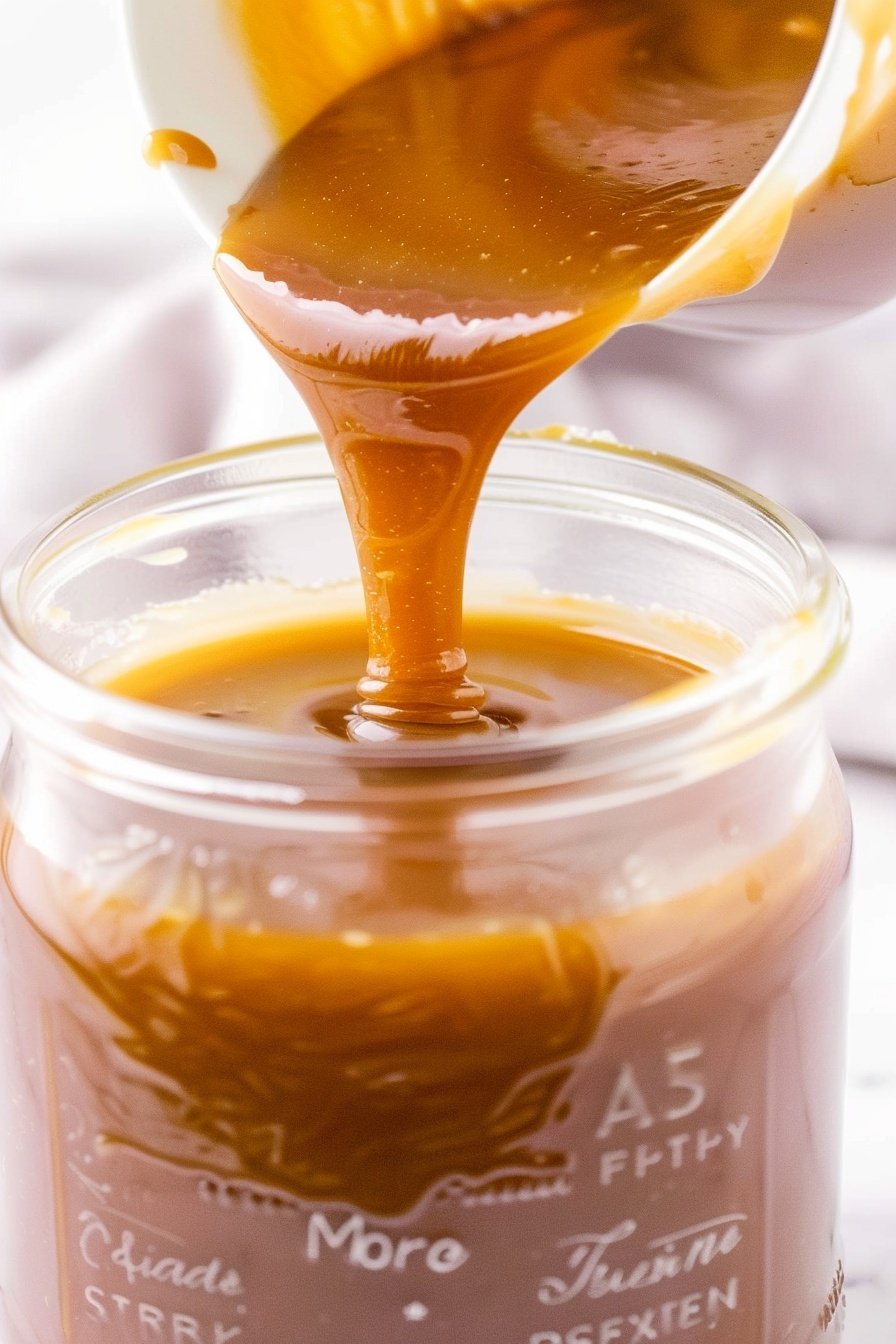
This is the hardest part. You must stop stirring. You just watch the pot. The clear syrup will slowly turn a beautiful golden color.
This is where the magic happens. The sugar cooks and changes. It becomes something new and delicious. Fun fact: This process is called caramelization. It creates all those rich, buttery flavors we love.
A Little Kitchen Dance
When the sugar is amber, you take it off the heat. Now for the fun part! You slowly pour in the cold cream. It will bubble and steam like a little volcano.
Do not be scared. Just stir slowly. Then you add the butter and vanilla. The whole mixture becomes smooth and shiny. This matters because it shows how opposites can work together. Hot and cold can create something perfect.
Your Golden Prize
Let the glaze cool down. It will thicken as it sits. Then you can pour it over a cake. Or dip apples in it. The choices are endless.
What will you put your golden glaze on first? A simple pound cake or a bowl of ice cream? Tell me your plan. I am always looking for new ideas.
Ingredients:
| Ingredient | Amount | Notes |
|---|---|---|
| Granulated sugar | 2 cups | |
| Corn syrup | 2 tablespoons | |
| Water | ⅓ cup | |
| Heavy cream | 1 cup | |
| Vanilla extract | 1 teaspoon | |
| Unsalted butter | ½ cup | Cut into pieces |
The Story of My Golden Glaze
I call this my magic shell glaze. It turns simple cakes and puddings into something special. My grandson says it tastes like liquid gold. I have to agree with him.
Making caramel can feel a little scary. But do not worry, I will walk you through it. Just stay close to the stove and pay attention. You will do just fine, I promise.
Let us get started. Here is how you make that dreamy, creamy glaze. I still laugh at the first time I made it. I was so proud of myself.
Lets Make Some Magic
Step 1: Grab a heavy-bottomed saucepan. Put the sugar, corn syrup, and water inside. Stir them all together until they are friends. It will look like cloudy water. That is perfectly normal.
Step 2: Now, turn the heat to medium. Watch as the mixture starts to simmer. Keep stirring until you cannot see any sugar grains. (A hard-learned tip: Use a wooden spoon. It does not get too hot.)
Step 3: See those sugary bits on the pans sides? We need to wash them down. Dip a pastry brush in water. Gently brush the sides of the pan clean. This stops the caramel from getting gritty.
Step 4: Now, the hardest part. Stop stirring. Just let the mixture sit and bubble. It needs to turn a beautiful amber color. This part always makes me a little nervous, but in a good way.
Step 5: Watch your candy thermometer carefully. We are waiting for it to reach about 360°F. The color will be a deep, golden amber. Doesnt that smell amazing? Whats your favorite dessert to put caramel on? Share below!
Step 6: Take the pan off the heat. Slowly pour in the heavy cream. It will bubble and splatter, so be careful. Just keep stirring, and it will calm down.
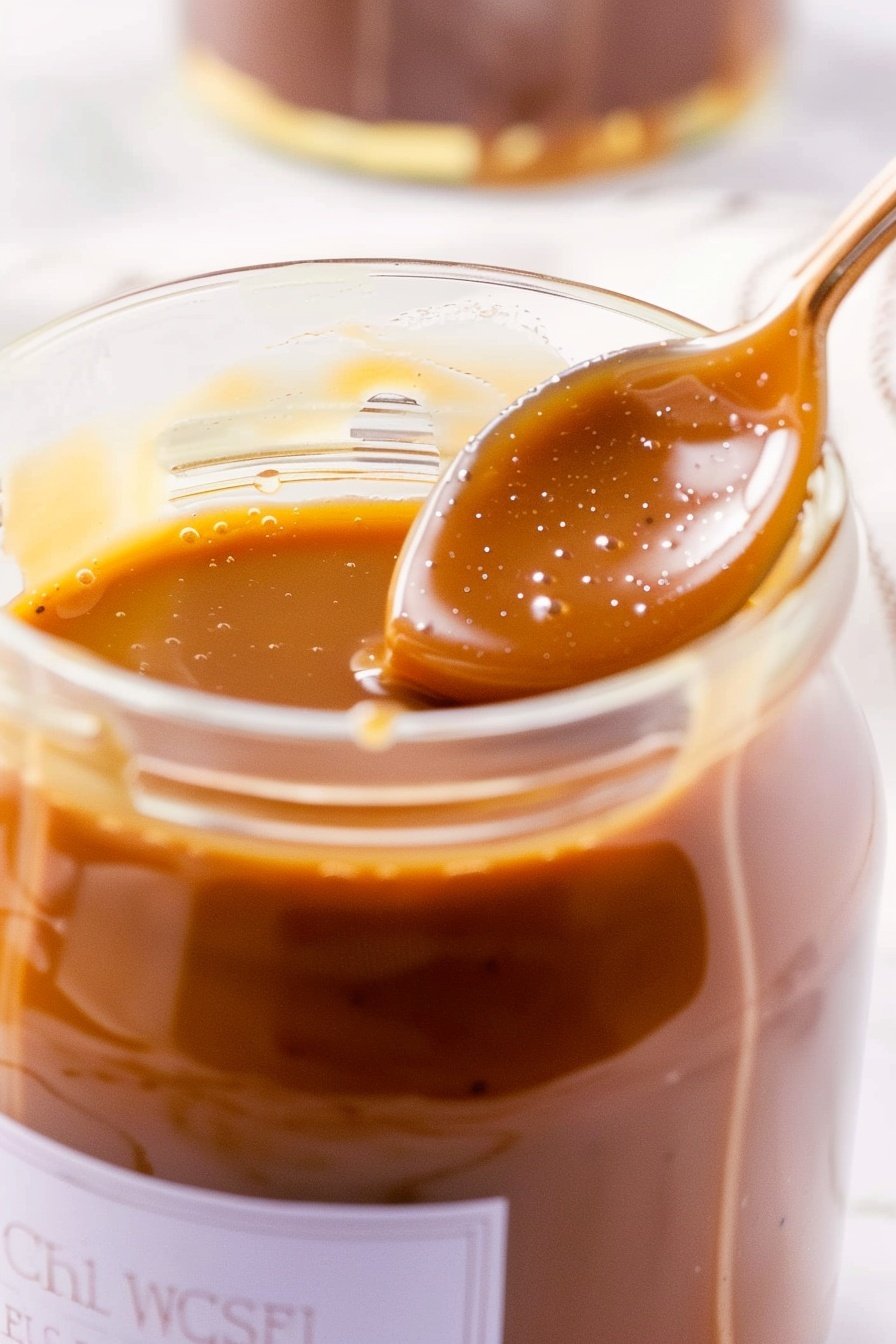
Step 7: Stir in the vanilla. It makes the whole kitchen smell like heaven. Then, add the butter a few pieces at a time. Stir until it is all melted and shiny.
Step 8: Let your beautiful glaze cool on the counter. It will thicken up as it sits. Then you can pour it over everything. I sometimes sneak a taste with a spoon.
Cook Time: 15–20 minutes
Total Time: 30 minutes (plus cooling)
Yield: About 2 cups
Category: Dessert, Sauce
Three Tasty Twists
This glaze is wonderful on its own. But sometimes, I like to play with the flavors. It is fun to make it your own. Here are a few ideas from my kitchen.
Salty Sweet: Stir in a big pinch of flaky sea salt at the end. It makes the caramel taste even richer.
Spiced Apple: Add a dash of cinnamon and a tiny pinch of nutmeg. Perfect for autumn apple cakes.
Coffee Kick: Swap the vanilla for a teaspoon of instant coffee. It is just the thing for chocolate desserts.
Which one would you try first? Comment below!
Serving Your Masterpiece
Oh, the places this glaze can go. I love it warm over a simple pound cake. It soaks right in. You can also let it cool and drizzle it over ice cream.
For a real treat, spoon it over bread pudding. Add a few chopped pecans on top for a nice crunch. It turns a simple dessert into a celebration.
What should you drink with it? A cold glass of milk is always my first choice. For the grown-ups, a little glass of sherry is lovely. Which would you choose tonight?
Keeping Your Golden Glaze Perfect
Let’s talk about keeping your glaze lovely. Store it in a jar in the fridge. It will stay good for about two weeks. You can freeze it for up to three months too.
I remember my first batch of caramel. I left it on the counter. It became a sticky mess. Now I always use the fridge. Making a double batch is a smart idea.
This matters because a ready glaze makes any day special. You can quickly dress up a simple cake. It turns an ordinary treat into something magical. Have you ever tried storing it this way? Share below!
Fixing Common Glaze Troubles
Sometimes the sugar crystals form again. This makes the glaze gritty. To stop this, do not stir after it simmers. Just let it cook until it turns amber.
I once stirred it too much. My glaze was full of sugar sand. Another issue is the cream curdling. Always add the cream very slowly. This keeps the mixture smooth.
If your glaze is too thin, it did not cook enough. Cook it to the right temperature next time. Fixing these issues builds your confidence. You learn that mistakes are just lessons. A smooth glaze also tastes so much better. Which of these problems have you run into before?
Your Golden Glaze Questions
Q: Is this glaze gluten-free? A: Yes, all the ingredients are naturally gluten-free.
Q: Can I make it ahead? A: Absolutely. Make it up to two weeks ahead.
Q: What can I use instead of corn syrup? A: You can use a tablespoon of honey instead.
Q: Can I double the recipe? A: Yes, just use a bigger pot for safety.
Q: Any optional add-ins? A: A pinch of sea salt makes it taste wonderful. *Fun fact: Adding salt to sweet things makes the flavor pop!* Which tip will you try first?
Share Your Sweet Creations
I hope you love making this golden glaze. It is one of my favorite recipes. Drizzle it over ice cream or a warm brownie. It always brings a smile.
I would be so happy to see what you make. Your kitchen adventures inspire me. Please share your beautiful dessert photos with everyone. Have you tried this recipe? Tag us on Pinterest!
Happy cooking! —Chloe Hartwell.
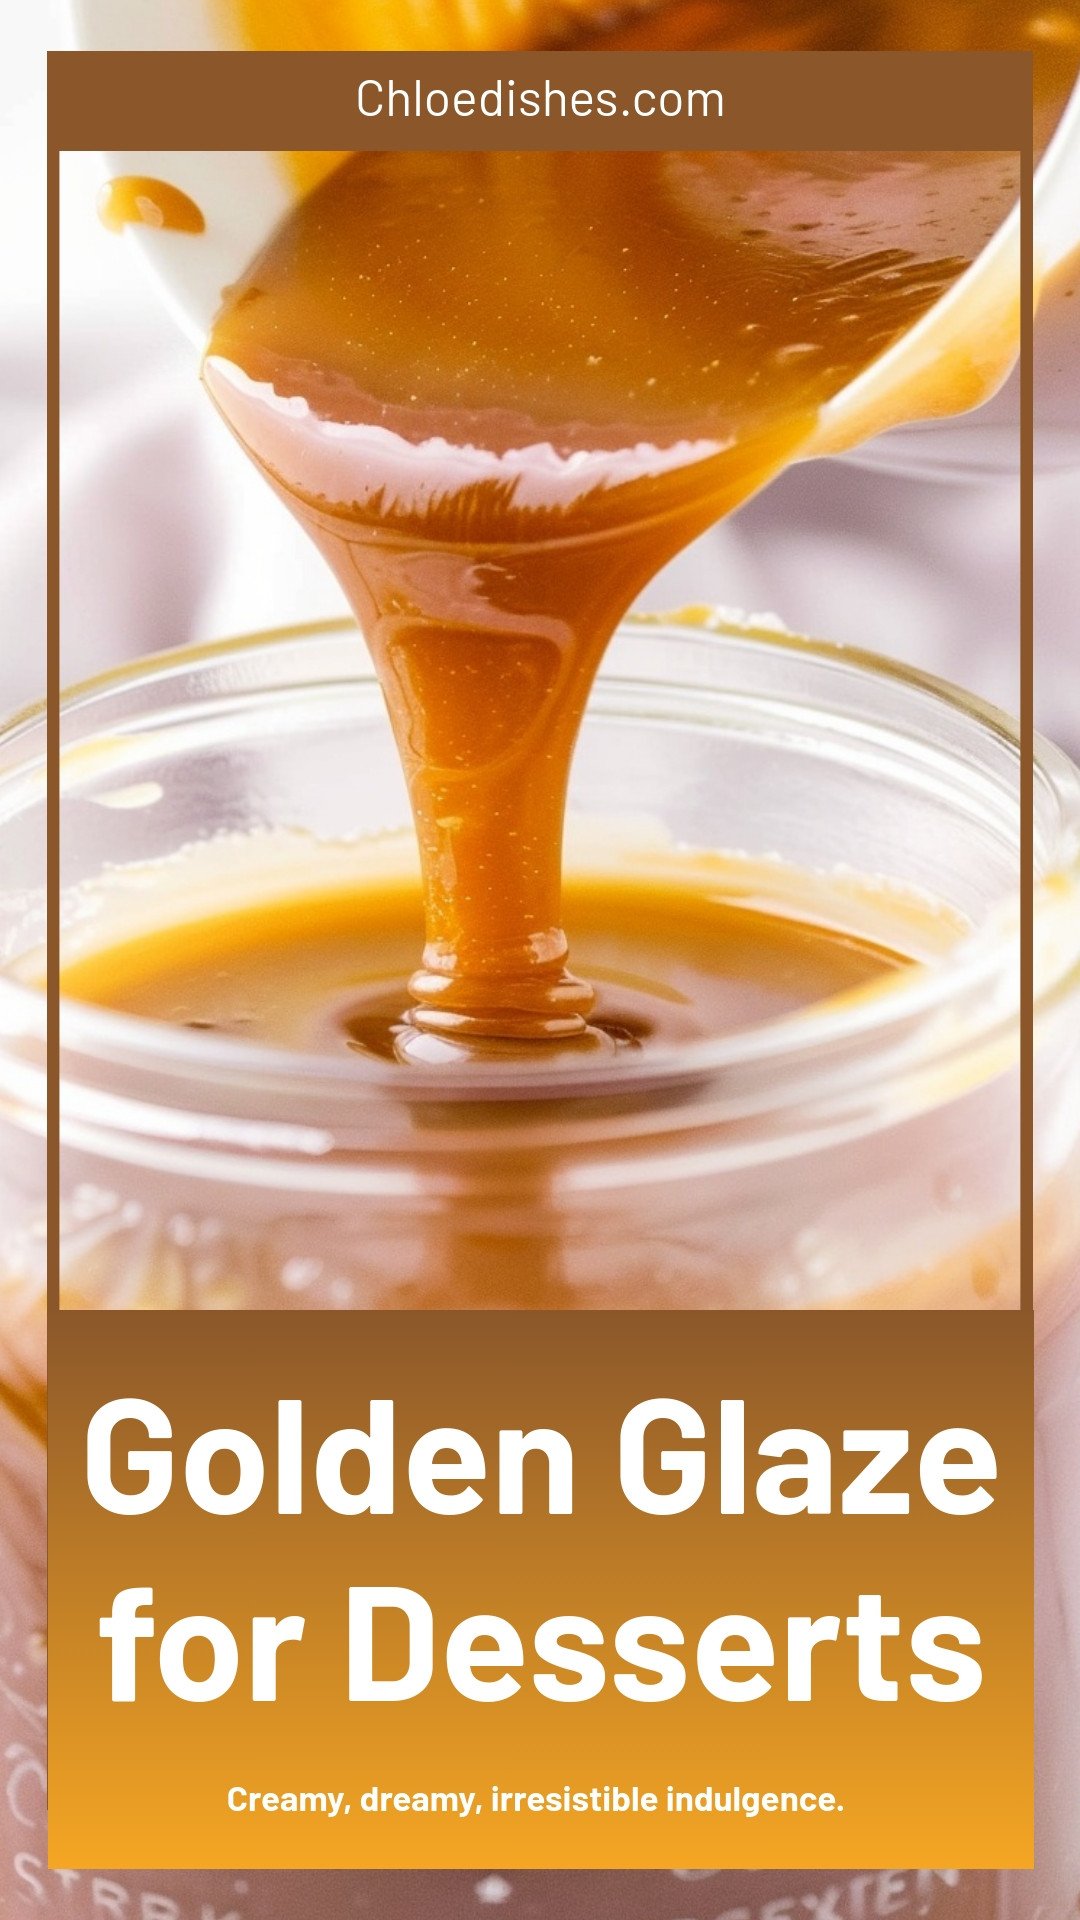
Golden Glaze for Desserts: Creamy, dreamy, irresistible indulgence.
Description
Unlock the secret to a stunning dessert finish. Our Golden Glaze recipe is easy, versatile, and adds a glossy, professional touch to all your cakes and pastries.
Ingredients
Instructions
- In a heavy saucepan, stir together granulated sugar, corn syrup, and water. Stir until combined.
- Place the saucepan over medium heat and bring the mixture to a simmer. During this time, stir the mixture to ensure that the sugar dissolves evenly and completely as it heats.
- Use a pastry brush dipped in water to wash down the sides of the pan, making sure that no sugar crystals remain stuck to the pan above the line of the mixture.
- Once the mixture comes to a simmer and the pan has been washed down, do not stir any longer.
- Place a candy thermometer in the sugar mixture and monitor it as it heats until the color turns amber and the candy thermometer has reached about 355-360°F.
- Remove the caramelized sugar from the heat and slowly stir in the cream, taking care as the mixture will splatter.
- Stir in the vanilla extract and then the pieces of butter, 2 tablespoons at a time.
- Cool to room temperature.
Notes
- Use this glaze on cakes, pastries, or donuts for a professional, glossy finish.


Leave a Reply