
The Magic of Tangzhong
Let’s start with the secret. It’s called tangzhong. You mix a little flour, milk, and water in a pan. You cook it until it’s thick like paste. This simple paste is pure magic.
It holds extra water for the dough. This gives the bread its super soft feel. It also keeps it fresh for days. I still laugh at how such a simple step changes everything. Doesn’t that smell amazing already?
A Lesson in Patience
Bread teaches us to wait. After you mix everything, you let the dough rest. Then you let it rise until it’s puffy and doubled. This waiting time is important. It lets the flavors get to know each other.
I think of my own grandma. She was never in a rush in the kitchen. Good things take their own sweet time. That’s why this matters. The slow rise makes the texture light and cloud-like.
The Fun of Shaping
Now for the fun part. You divide the dough into three balls. Roll each one into an oval. Fold the long sides into the middle, like closing a book. Then roll it up from the bottom into a little log.
You place all three logs side-by-side in the pan. This is the trick for those beautiful pull-apart layers. *Fun fact: This rolling method is sometimes called the “yubane” or “feather” technique.* It makes the slices so pretty. What’s your favorite shape to make with dough?
Golden Brown and Perfect
Before baking, you brush the top with an egg wash. This gives it that shiny, golden crust. The oven does the rest. Your kitchen will smell like a warm, buttery hug.
You know it’s done when it’s a deep, rich brown. A thermometer should read 190 degrees inside. Let it cool completely before you slice. I know, the waiting is hard! But it keeps the bread from getting gummy.
Why This Bread is Special
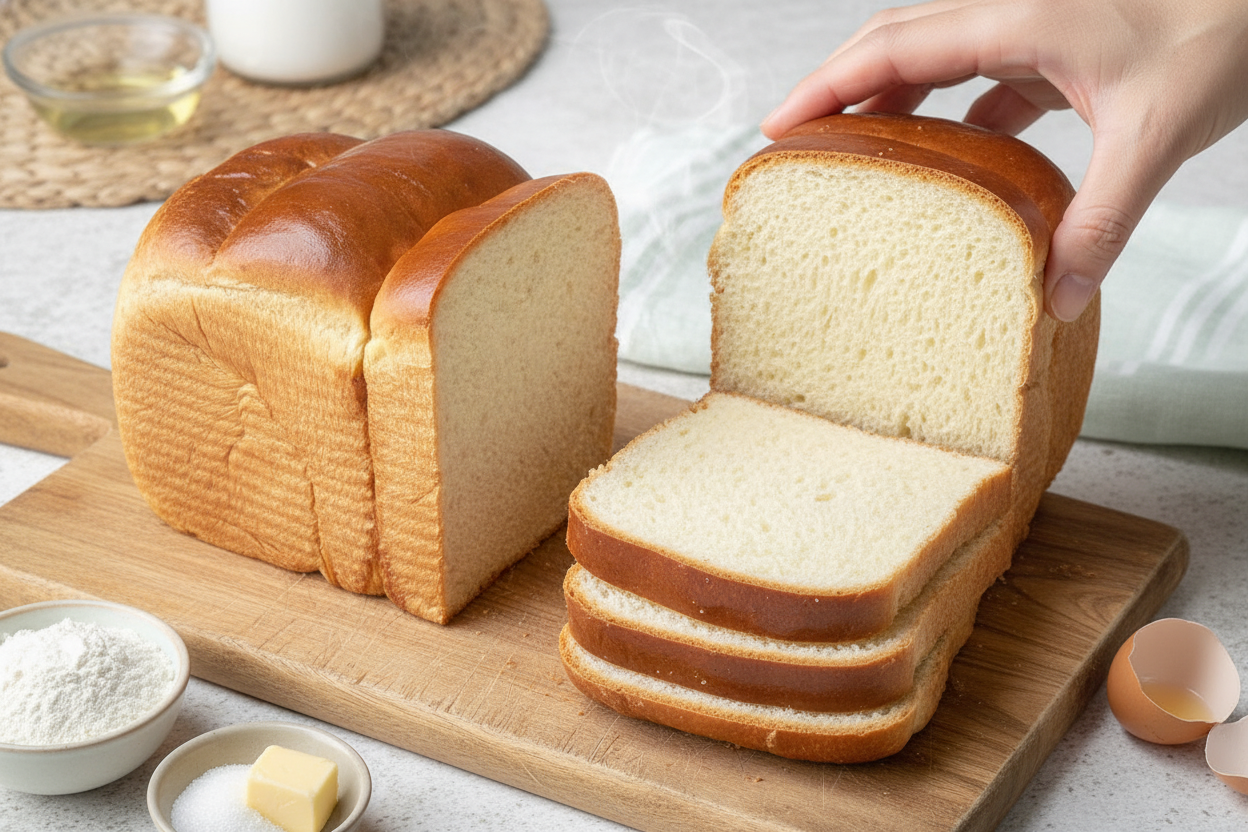
This isn’t just any bread. It’s incredibly soft and slightly sweet. It makes the best toast. It soaks up jam or egg yolk without falling apart.
That’s why this matters. It turns a simple meal into something special. A slice feels like a treat. Do you prefer it plain, toasted, or as a sandwich?
Your Turn in the Kitchen
My first time making this, I was so nervous. But the tangzhong worked its magic. The dough was a dream to touch. Now it’s my go-to recipe for sharing.
Baking is about sharing joy. Who will you share your first loaf with? Tell me if you give it a try. I love hearing your kitchen stories.
Ingredients:
| Ingredient | Amount | Notes |
|---|---|---|
| Water (for Tangzhong) | 3 tablespoons | |
| Whole milk (for Tangzhong) | 3 tablespoons | |
| Bread flour (for Tangzhong) | 2 tablespoons | |
| Bread flour (for dough) | 275 grams | |
| Whole dry milk powder | 2 tablespoons | |
| Sugar | 3 tablespoons | |
| Salt | 1 teaspoon | |
| Quick-rise yeast | 1 tablespoon | |
| Whole milk (for dough) | 1/2 cup | |
| Butter | 3 tablespoons | Melted |
| Egg (for dough) | 1 large | Room temperature, beaten |
| Cold water (for egg wash) | 1 tablespoon | |
| Egg (for egg wash) | 1 large | Room temperature |
The Magic of Milk Bread
Hello, dear. Pull up a chair. Let’s talk about the softest bread you’ll ever make. This is Japanese milk bread. It feels like a cloud in your hands. My grandson calls it “hug bread.” I still laugh at that. The secret is a little cooked paste called tangzhong. It sounds fancy, but it’s simple. It just makes the bread stay soft for days. Doesn’t that smell amazing? Baking this fills the whole house with warmth. It’s a lovely, quiet kind of magic.
Now, let’s get our hands busy. Follow these steps, and you’ll have a perfect loaf.
Step 1: Make the Tangzhong
First, we make the tangzhong. Mix water, milk, and flour in a small pot. Use a whisk so there are no lumps. Cook it on low heat. Keep stirring until it gets thick like glue. You’ll see lines from your whisk. My first time, I cooked it too fast. What a sticky mess! (Hard-learned tip: low heat and patience are your best friends here.) Let it cool a bit in a bowl.
Step 2: Mix the Dough
Put your dry ingredients in your mixer bowl. That’s flour, milk powder, sugar, salt, and yeast. Now add the wet things. Pour in the milk, melted butter, beaten egg, and your cooled tangzhong. Use the dough hook to mix it all. Let it go for about two minutes. It will look shaggy and messy. That’s just right for now.
Step 3: Knead & First Rise
Cover the bowl with a cozy kitchen towel. Let the dough rest for 15 minutes. This lets the flour drink up the liquid. Then, knead it until it’s smooth and stretchy. You can use your mixer or your hands. I like using my hands. It feels wonderful. Put the dough in a greased bowl. Turn it over so the top gets greasy too. Cover it and let it rise until it’s double in size. This takes about an hour. What do you call the yeast making the dough grow? Share below!
Step 4: Shape the Loaf
Gently punch the dough down. It’s fun to see it deflate! Turn it out onto a floured counter. Divide it into three equal pieces. Roll each piece into a smooth ball. Then, one by one, roll a ball into an oval shape. It should be about as long as your hand.
Step 5: Final Rise & Bake
Now, fold the long sides of the oval into the middle. It will look like a long, skinny envelope. Then, starting from a short end, roll it up into a little log. Pinch the seam to seal it. You’ll see pretty spirals on the ends. Place all three logs in a greased loaf pan. Cover them and let them rise again. They should puff up almost to the pan’s rim. Bake until the top is a deep, golden brown. It will smell like heaven.
| Cook Time | 30–35 minutes |
| Total Time | About 3 hours |
| Yield | 1 loaf (about 12 slices) |
| Category | Baking, Bread |
Let’s Get Creative!
This bread is a wonderful blank canvas. Once you master the basic loaf, try a fun twist. It’s like giving the recipe a little hug of its own. Here are three ideas I love.
- Honey Butter Swirl: Roll out your dough ovals. Brush them with soft butter and a drizzle of honey. Then roll them up. You’ll get a sweet, buttery ribbon inside.
- Everything Bagel Bread: Before the final rise, brush the loaf with egg wash. Sprinkle on lots of everything bagel seasoning. It’s so savory and good with soup.
- Orange & Cranberry: Add the zest of one orange to the dry ingredients. Mix in a handful of dried cranberries when you knead. It’s bright and cheerful.
Which one would you try first? Comment below!
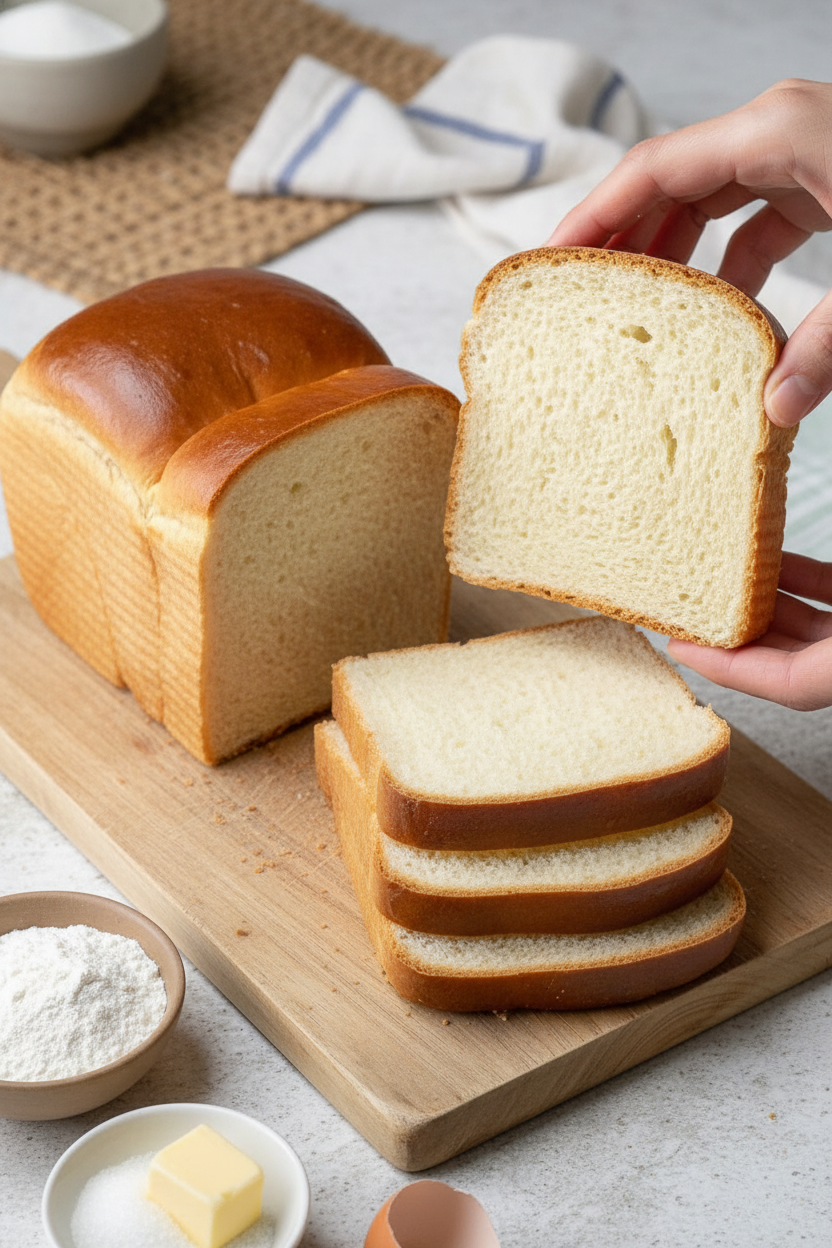
Serving Your Masterpiece
Oh, slicing into a warm loaf is a joy. The crumb is so tender. For breakfast, toast it lightly. Spread with good butter and jam. For lunch, it makes the best sandwich. The slices are wonderfully soft but strong. Try egg salad or just cheese and tomato.
What to drink? On a cozy afternoon, a cup of milky tea is perfect. For a special dinner, a glass of chilled Riesling wine pairs nicely. The sweetness matches the bread’s gentle flavor.
Which would you choose tonight? A simple slice of toast, or a fancy sandwich? Either way, enjoy every bite. You made it with your own two hands.
Keeping Your Milk Bread Soft and Fresh
This bread stays soft for days. Let it cool completely first. Then wrap it tightly in plastic wrap. You can keep it on the counter for 2-3 days.
For the freezer, slice the loaf first. Wrap slices in a layer of plastic, then foil. They will keep for a month. Thaw slices at room temperature when you want one.
To reheat, wrap a slice in a damp paper towel. Microwave it for just 10 seconds. It will taste fresh-baked. I once froze a whole loaf for my grandson’s visit.
He was so happy to have toast. Storing food well means less waste. It also means a sweet treat is always ready. Have you ever tried storing it this way? Share below!
Simple Fixes for Common Bread Troubles
Is your dough not rising? Check your yeast. Make sure your milk is warm, not hot. Hot milk will kill the yeast. A warm spot helps it rise faster.
Is the bread too dense? You might need to knead more. Knead until the dough is smooth and stretchy. I remember when my first loaf was like a brick. I learned patience with kneading.
Is the top browning too fast? Loosely tent it with foil. Do this for the last 10-15 minutes of baking. This protects the top so it doesn’t burn. Getting the texture right builds your confidence.
A perfect crust also means better flavor. Which of these problems have you run into before?
Your Milk Bread Questions, Answered
Q: Can I make this gluten-free? A: Try a 1-to-1 gluten-free bread flour blend. Results may be a bit more crumbly.
Q: Can I make the dough ahead? A: Yes. After the first rise, punch it down. Wrap it tightly and refrigerate overnight.
Q: What if I don’t have milk powder? A: Just use all liquid milk. Replace the powder and the 1/2 cup milk with 2/3 cup total liquid milk.
Q: Can I make two loaves? A: Absolutely. Simply double all the ingredients. You will need two loaf pans.
Q: Any optional tips? A: A sprinkle of sesame seeds before baking is lovely. *Fun fact: The tangzhong method was inspired by Chinese cuisine!* Which tip will you try first?
Share Your Kitchen Success
I hope you love making this bread. It fills the kitchen with a wonderful smell. It is a joy to share with family.
I would love to see your beautiful loaves. Please share your baking adventures with me. You can tag my blog on Pinterest at @ChloesKitchen.
Your stories and photos make my day. Have you tried this recipe? Tag us on Pinterest!
Happy cooking!
—Chloe Hartwell.
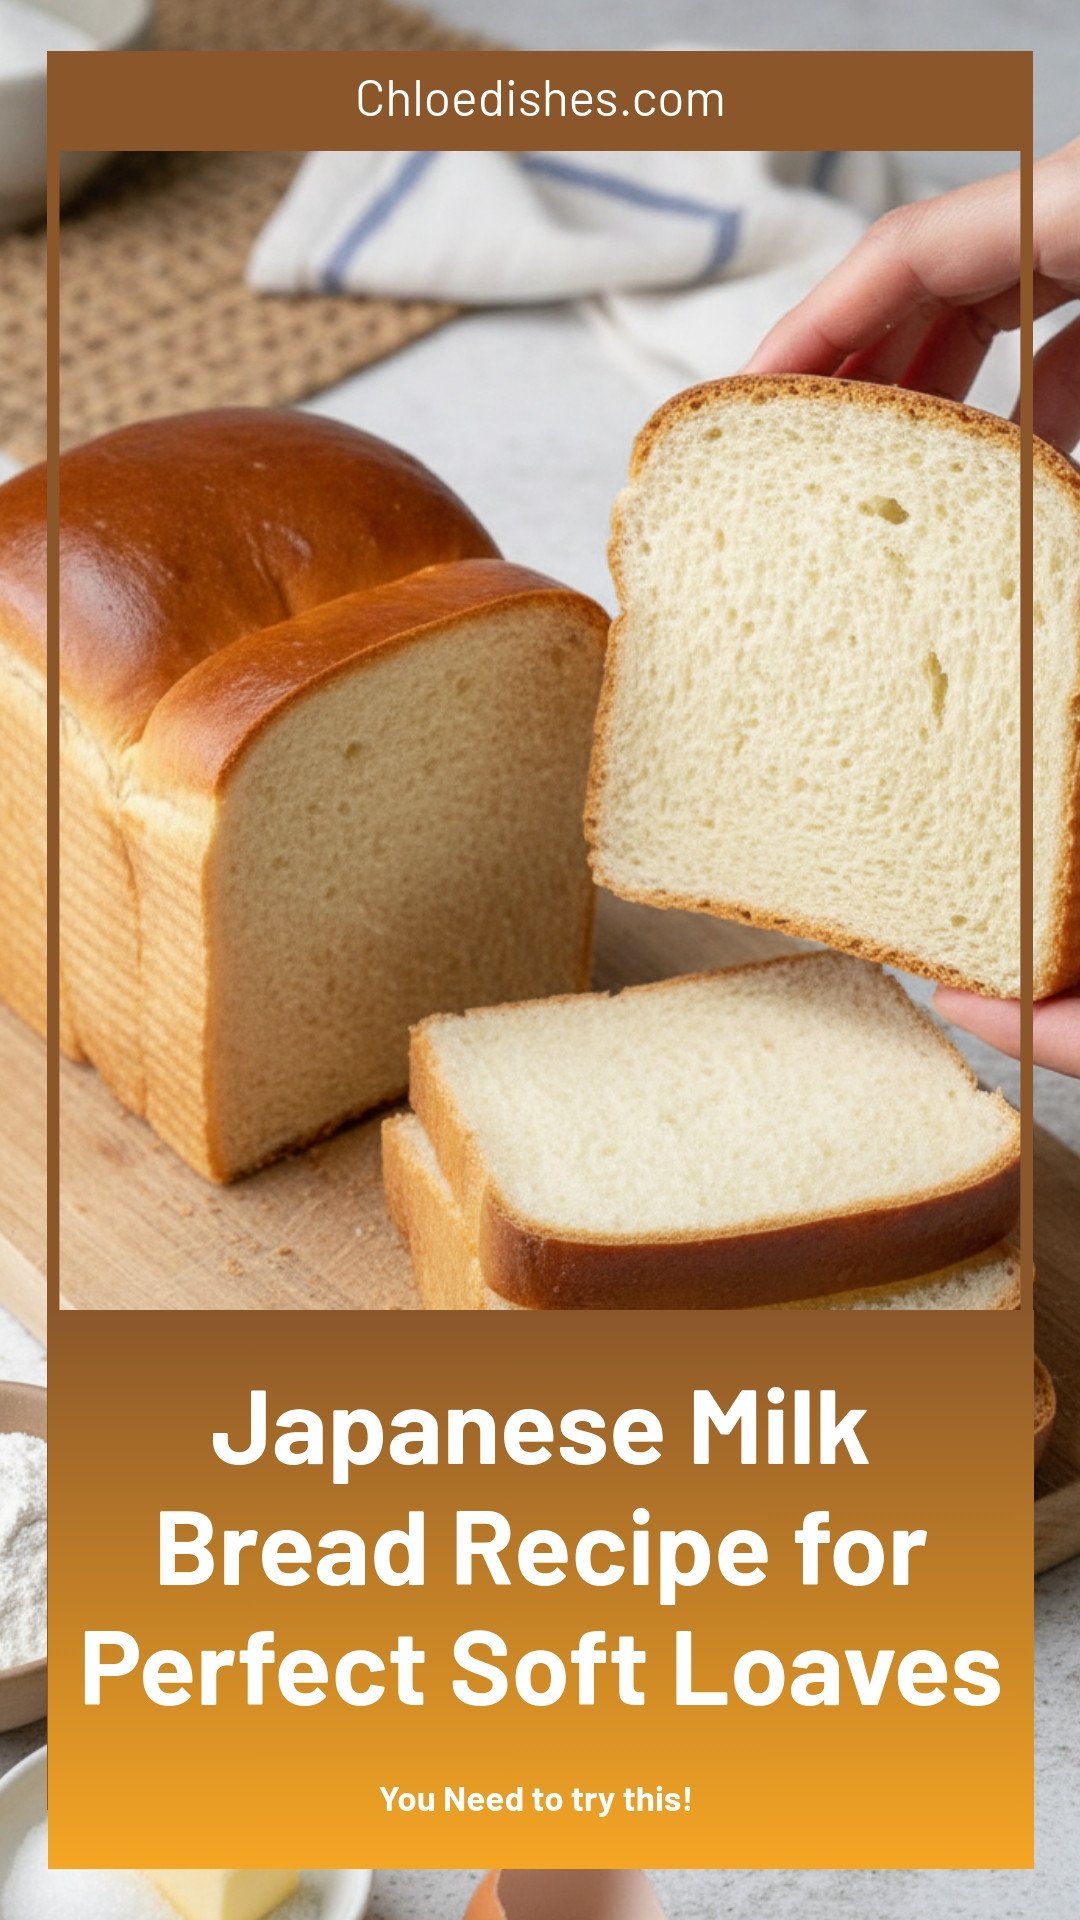

Japanese Milk Bread: Japanese Milk Bread Recipe for Perfect Soft Loaves
Description
Learn how to make the ultimate Japanese Milk Bread! This foolproof recipe yields incredibly soft, fluffy, and pillowy loaves that stay fresh for days. Perfect for sandwiches and toast.
Ingredients
Tangzhong:
Milk Bread:
For Egg Wash:
Instructions
- Add the water, milk and bread flour to a small saucepan; mix until there are no lumps. Over low heat, whisk mixture until it starts to look like thick glue, and the whisk leaves lines through the tangzhong as you stir, 3-5 minutes. Transfer to a small bowl; cool slightly.
- In the bowl of a stand mixer, combine bread flour, milk powder, sugar, salt and yeast. Add milk, butter, beaten egg and tangzhong. Using the dough hook, combine ingredients until thoroughly mixed, about 2 minutes.
- Cover with a kitchen towel; rest 15 minutes. Turn dough onto a floured surface; knead until smooth and elastic, 6-8 minutes. (Alternatively, continue using the dough hook for kneading.) Place in a greased bowl, turning once to grease the top. Cover and let rise in a warm place until doubled, about 1 hour.
- Punch down dough; turn onto a lightly floured surface; divide into thirds. Roll each into a ball. One at a time, roll dough into a 8-inch long oval.
- Fold long edges into the middle, making long even lines on both sides. Starting from the bottom, roll the dough into a log; pinch seam to seal, leaving spirals visible on ends. Repeat with the remaining dough balls. Place into a greased 9×5-in. (or 9x4x4-in.) loaf pan, seam sides down. Cover with a kitchen towel; let rise in a warm place until dough reaches about 1/2-inch below the edge of the pan, about 45 minutes to 1 hour. Preheat oven to 350°.
- In a small bowl, mix together egg and water. Brush top with egg wash. Bake until deeply golden brown, 30-35 minutes, or until the internal temperature reads at least 190°. (Cover loosely with foil during the last 10-15 minutes, if needed, to prevent overbrowning.) Cool in the pan for 10 minutes; transfer to a wire rack to cool completely.
Notes
- Nutrition Facts per slice: 141 calories, 3g fat (2g saturated fat), 16mg cholesterol, 227mg sodium, 23g carbohydrate (2g sugars, 1g fiber), 5g protein.


Leave a Reply