

A Pie with No Oven
I love a recipe that does not need an oven. This one is perfect for hot summer days. Your kitchen stays cool. You still get a wonderful pie.
My granddaughter calls this her “magic pie.” She made it all by herself last year. I still laugh at that. She was so proud. Do you have a favorite no-bake treat?
The Dreamy Filling
Let’s talk about the creamy filling. You just mix cream cheese, sugar, and a little lemon. The lemon is the secret. It makes everything taste bright and fresh.
Then you fold in the fluffy whipped topping. Be gentle here. This matters because too much mixing makes it flat. We want our pie to be light as a cloud. Doesn’t that sound good?
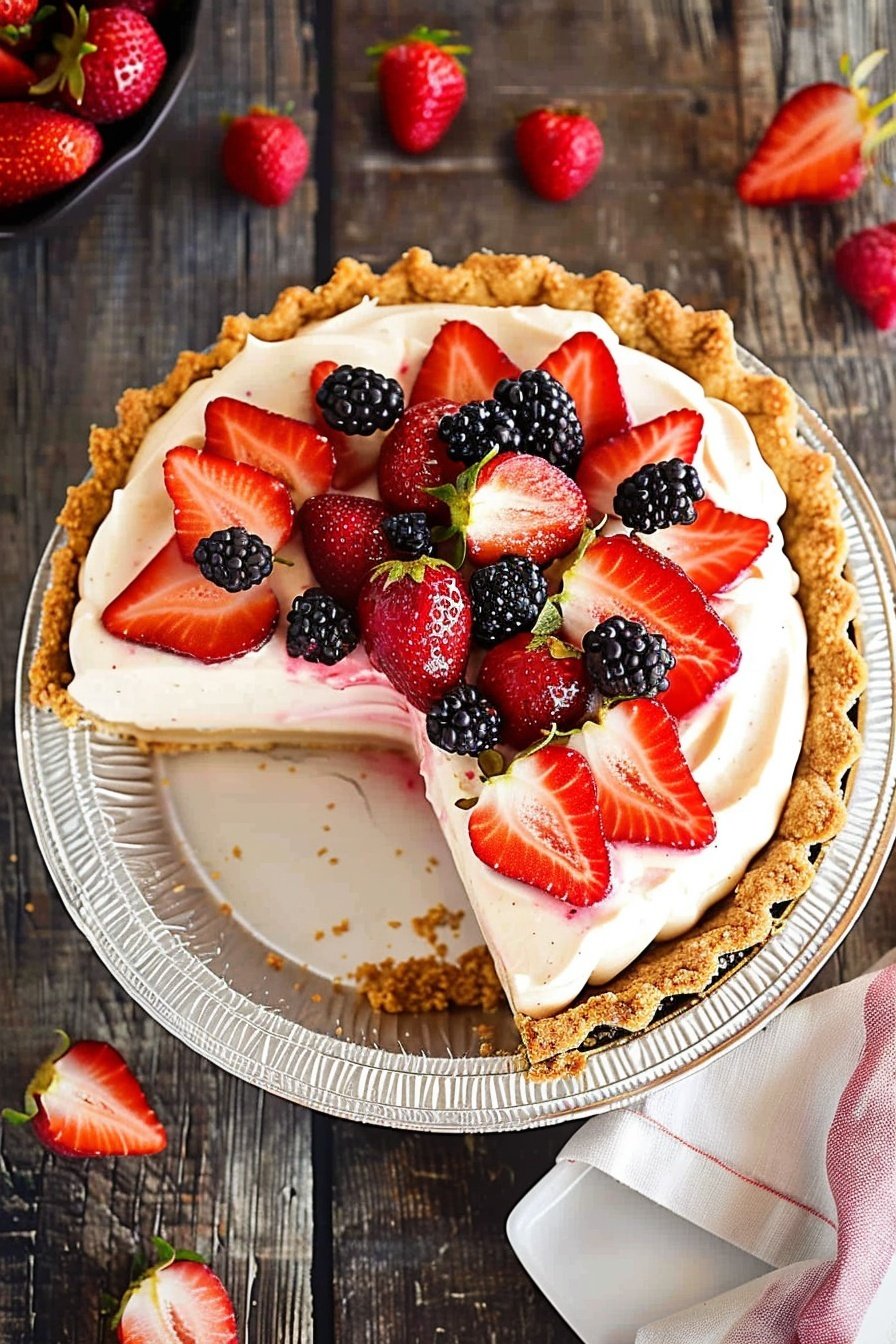
The Shiny Berry Topping
Next comes the beautiful berry top. You toss sliced strawberries with melted jam. The jam makes them shiny and sweet. It’s like giving the berries a shiny coat.
Fun fact: This jam trick works on any fruit. Try it with peaches or blueberries. What fruit would you use for your pie?
A Little Story for You
I first made this pie for a neighbor. She was feeling sad. I brought over this cool, pink pie. Her whole face lit up.
That is why this matters. A simple pie can be a big hug. Food made with love can cheer someone up. Have you ever made food to make someone smile?
The Waiting is the Hard Part
Now, the pie must rest in the fridge. It needs at least four hours. This matters because it lets the flavors become friends. The pie gets firm and cold.
I know, waiting is tough. But it is worth it. The wait makes that first slice perfect. Trust your kitchen grandma on this one.
Ingredients:
| Ingredient | Amount | Notes |
|---|---|---|
| pre-made graham cracker crust | 1 | |
| cream cheese | 1 (8-ounce) block | softened |
| lemon juice | 1 tablespoon | |
| powdered sugar | 1/3 cup | |
| frozen whipped topping | 1 (8-ounce) container | thawed (like Cool Whip) |
| fresh strawberries | 1 (16-ounce) container | washed, hulled, and sliced |
| strawberry jam or jelly | 1/4 cup | melted and cooled |
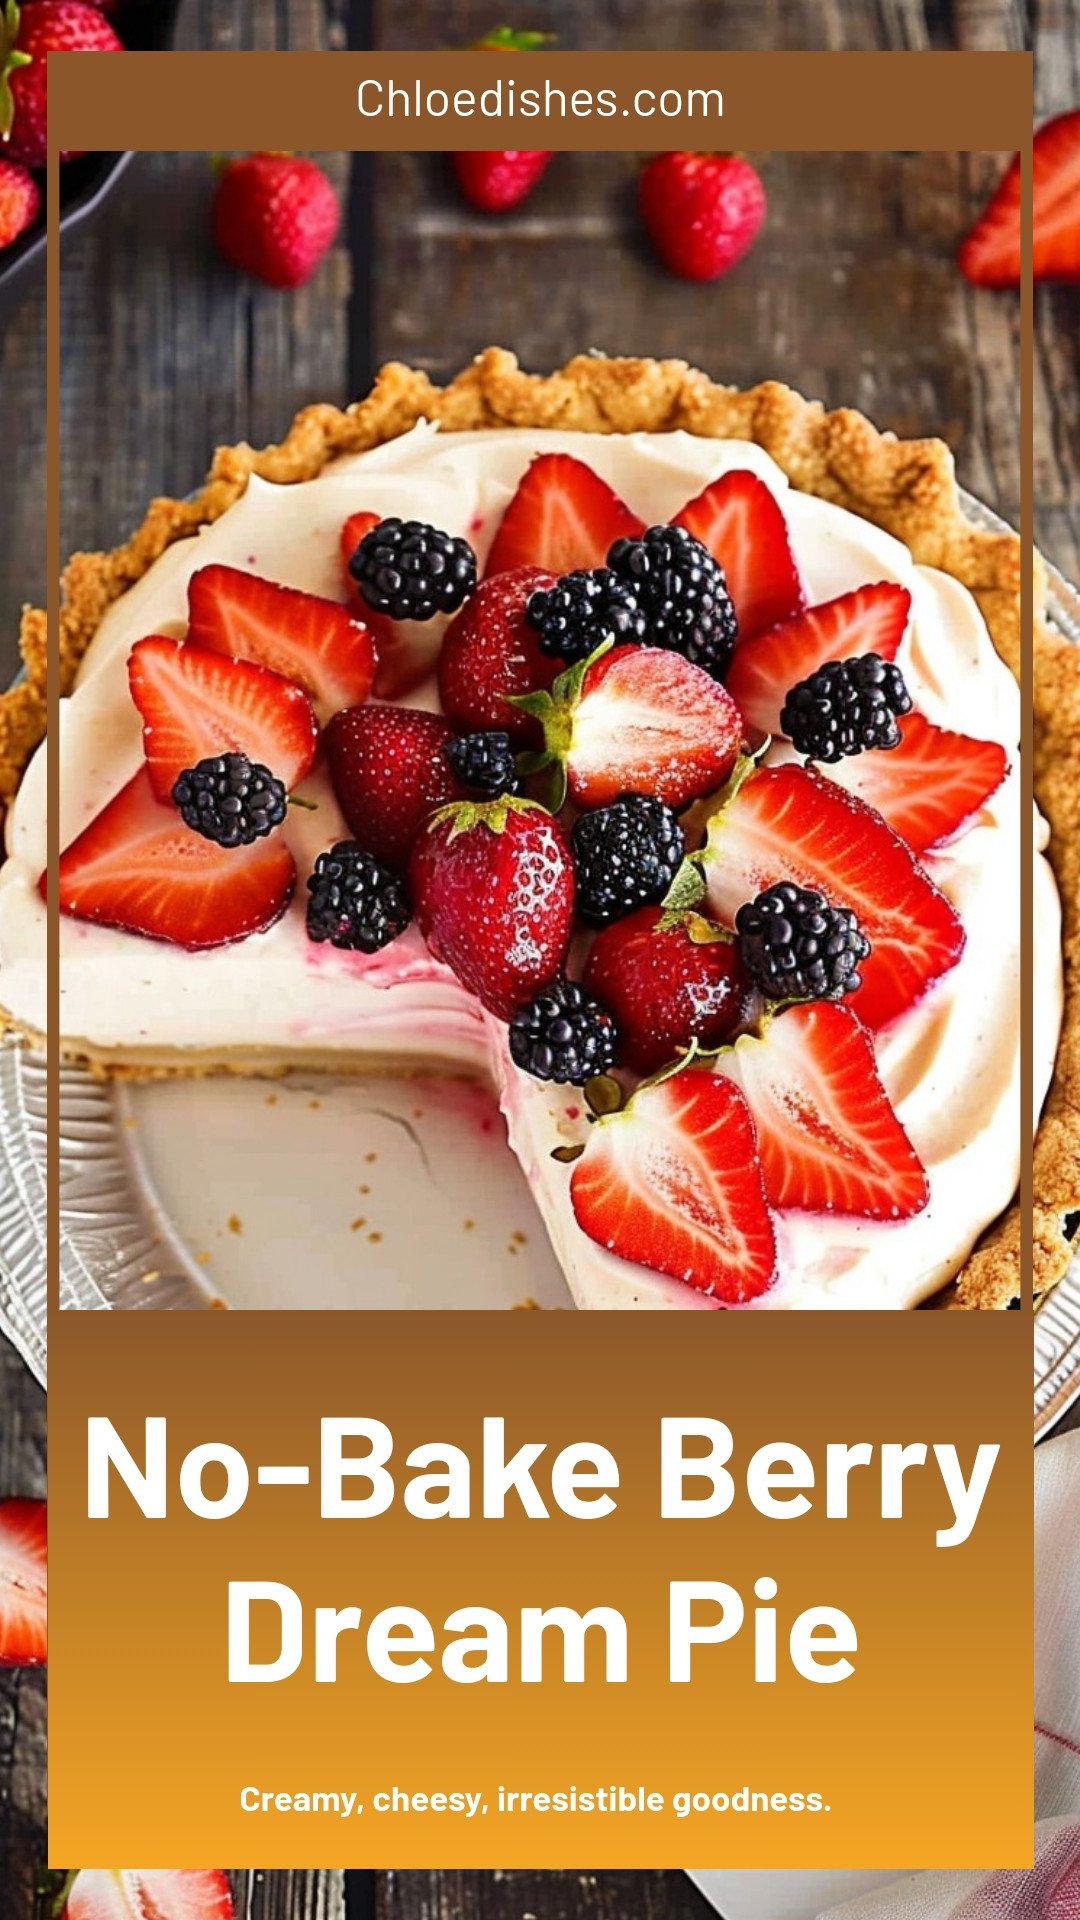
No-Bake Berry Dream Pie: A Sweet Summer Memory
I have always loved summer berry season. The smell of ripe strawberries fills my whole kitchen. This pie is my favorite way to celebrate. It is cool, creamy, and so easy to make. You do not even need to turn on the oven. Let’s create a sweet memory together.
Ingredients:
- 1 (9-inch) graham cracker crust
- 1 (8-ounce) package cream cheese, softened
- 1 cup powdered sugar
- 1 tablespoon lemon juice
- 1 (8-ounce) container frozen whipped topping, thawed
- 2 cups fresh strawberries, sliced
- 1/4 cup strawberry jam, melted
Instructions:
Step 1: Let’s make our dreamy filling. Put your soft cream cheese in a big bowl. Beat it with a mixer until it is perfectly smooth. Now, add the powdered sugar and lemon juice. Mix it all up until it is one happy family. The lemon juice gives it a little zing. I love that fresh taste.
Step 2: Time to fold in the fluffy stuff. This is the whipped topping. Gently mix it into the cream cheese. Do not beat it too hard. We want to keep all that lovely air in there. (A hard-learned tip: Over-mixing makes the filling flat. Gentle folds make it cloud-like!). This creamy dream is ready for its crust.
Step 3: Pour your creamy filling into the graham cracker crust. Spread it out nicely with a spoon. Now for the beautiful berry top. Wash and slice your fresh strawberries. Toss them in a bowl with the melted strawberry jam. This makes them shiny and sweet. Doesn’t that look pretty already?
Step 4: Carefully place the glossy berries on top of the cream. You can make a pattern if you like. I sometimes just let them fall where they may. Now, the hardest part begins. The pie must rest in the fridge for at least four hours. This waiting is always the toughest step for me!
Patience makes the pie slice perfectly. I set a timer so I do not peek. What is your favorite no-bake summer treat? Share below! The cold, creamy slice is worth the wait. It feels like a sweet, cool hug on a warm day.
Cook Time: 4–6 hours (chilling)
Total Time: 4 hours 15 minutes
Yield: 6 servings
Category: Dessert, Pie
Dreamy Twists on a Classic
This pie is a wonderful friend because it loves to change its outfit. You can make it new every time. Here are a few of my favorite ways to play with the recipe. Each one brings a different kind of joy to the table. I wonder which one will become your new favorite.
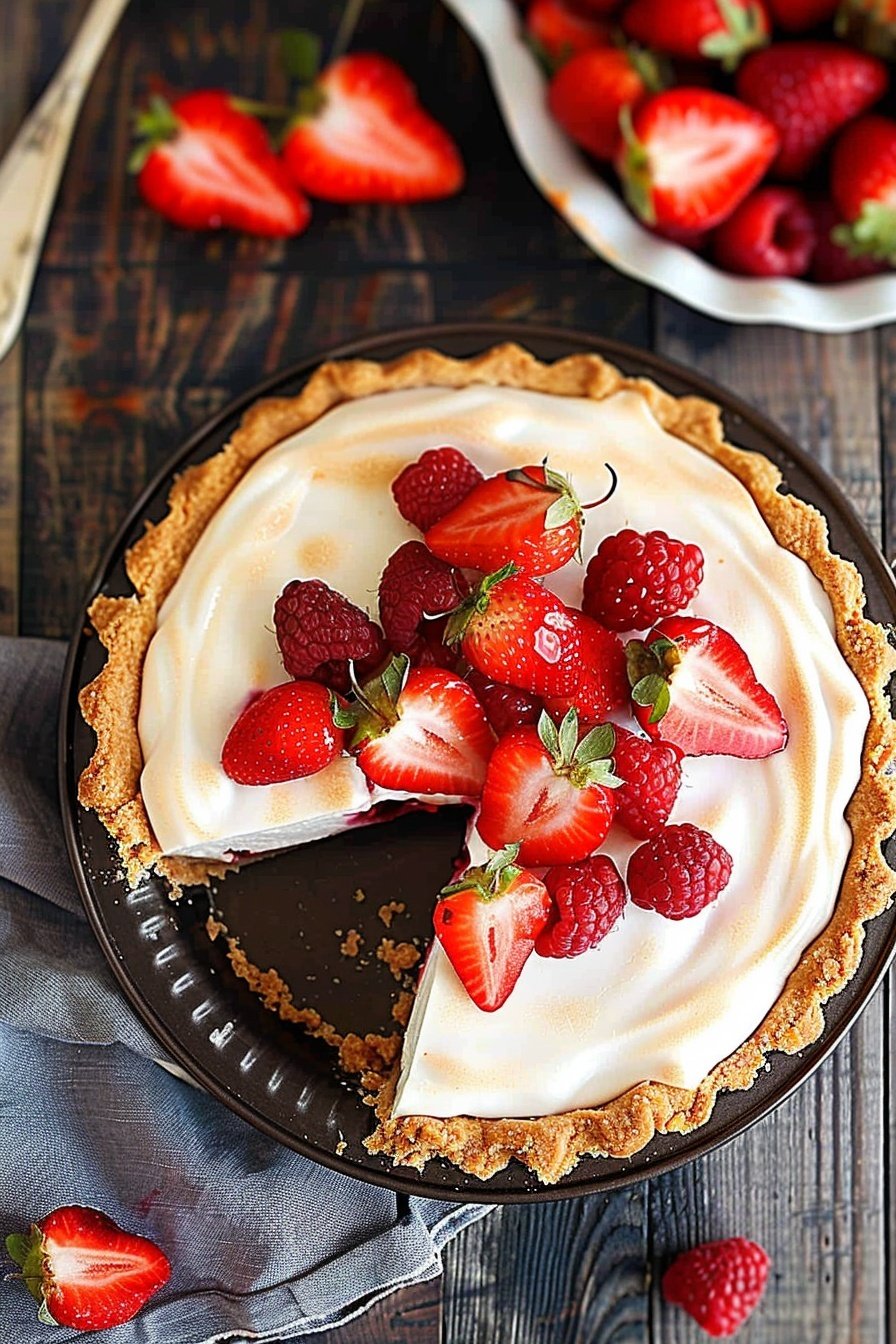
Mixed Berry Bliss: Use raspberries, blueberries, and blackberries with the strawberries. The color is just gorgeous. It looks like a summer sunset in a pie crust.
Chocolate Drizzle Delight: Before adding the berries, drizzle the filling with melted chocolate. The chocolate and strawberry combination is a classic for a good reason. It is simply heavenly.
Lemon Zing Upgrade: Add a teaspoon of lemon zest to the creamy filling. This makes the whole pie taste brighter and sunnier. It is my go-to for a spring picnic.
Which one would you try first? Comment below!
Serving Your Sweet Masterpiece
Presentation is part of the fun. A beautiful pie deserves a beautiful plate. I like to add a tiny dollop of extra whipped topping on each slice. Sometimes I place one perfect, whole strawberry right on top. It makes everyone feel special. A sprig of fresh mint adds a lovely touch of green.
This pie is perfect after a backyard barbecue. For a drink, I love a tall glass of cold milk. It cuts the sweetness so nicely. For the grown-ups, a sweet glass of rosé wine is a lovely partner. It tastes like summer in a glass. Which would you choose tonight?
Keeping Your Berry Dream Pie Perfect
This pie loves a cool home. It must stay in the fridge. Cover it tightly with plastic wrap. This keeps it fresh for up to five days.
I do not recommend freezing this pie. The creamy filling can get watery. The berries will lose their perfect texture. It is best enjoyed fresh from the refrigerator.
I learned this the hard way. I once froze a slice for later. It was a sad, soupy mess. Now I just share it with neighbors instead.
Making this pie ahead is a smart move. It needs time to set in the fridge. This makes your party day so much easier. You can relax and enjoy your guests.
Have you ever tried storing it this way? Share below!
Simple Fixes for a Perfect Pie
Is your cream cheese too lumpy? It must be soft before you mix it. Leave it on the counter for an hour. I remember trying to mix a cold block once. My poor mixer sounded so sad.
This matters because smooth cream cheese makes a silky filling. A smooth filling feels special in your mouth. It makes the whole pie taste better.
Are your strawberries sliding off the top? Your jam might have been too hot. Let the melted jam cool down first. Then it will act like a tasty glue.
Is your filling not fluffy? You might have over-mixed the whipped topping. Gently fold it in until just combined. This keeps the air in the topping.
This matters for a light and dreamy texture. A gentle hand makes the pie feel cloud-like. It builds your confidence as a cook.
Which of these problems have you run into before?
Your Berry Pie Questions Answered
Q: Can I make this gluten-free?
A: Yes! Just use a gluten-free graham cracker crust. They are easy to find at the store.
Q: Can I make it ahead?
A: Absolutely. Make it the night before. The fridge time makes it even better.
Q: What can I use instead of strawberries?
A: Blueberries or raspberries work wonderfully. Use their matching jam for the glaze.
Q: Can I make a bigger pie?
A: You can double the recipe. Use a big 9×13 pan for a party-sized dessert.
Q: Any extra tips?
A: A little lemon zest adds a sunny flavor. Fun fact: The acid in lemon juice also helps keep the berries bright!
Which tip will you try first?
A Sweet Note From My Kitchen
I hope you love making this Berry Dream Pie. It is a recipe full of happy memories for me. I love sharing these kitchen stories with you.
It would make my day to see your creation. Please share a picture of your beautiful pie. Have you tried this recipe? Tag us on Pinterest!
Your stories and photos inspire all of us. Thank you for letting me into your kitchen.
Happy cooking! —Chloe Hartwell.
No-Bake Berry Dream Pie: Creamy, cheesy, irresistible goodness.
Description
No-Bake Berry Dream Pie! This easy, stunning dessert requires zero baking. A creamy filling and fresh berry topping make it the perfect summer treat.
Ingredients
Instructions
- In a large bowl, use a mixer to beat the cream cheese until smooth. Add the lemon juice and powdered sugar and mix to combine. Gradually add the whipped topping and mix to combine, being cautious not to over-mix. Spread the mixture into the prepared crust.
- Add the strawberries to a medium bowl. Pour the cooled (but still liquid) strawberry jam or jelly over the strawberries and toss them to coat in the jelly. Add the strawberries to the top of the pie.
- Refrigerate for at least 4 hours to allow the pie to set. Serve chilled. Store tightly covered in the refrigerator for up to 5 days.
Notes
- For added flavor, top with spicy Sriracha mayo, mango salsa, or use marinated tofu for a vegetarian option.


Leave a Reply