
My Kitchen Helper Secret
I want to tell you a little secret. I almost never mix my dry ingredients in a separate bowl. I just pile them right on top of the butter and sugar. I use a fork to swirl them together a bit first. This saves me from washing an extra dish. I still laugh at that. Why make more work for yourself?
This matters because cooking should be fun, not a chore. Little shortcuts like this keep the joy in it. Now, what’s your favorite kitchen shortcut? Do you have a trick that saves you time?
The Heart of the Cookie
Let’s talk about the butter and sugar. You must beat them for a full four minutes. I set a timer. It feels like a long time. But watch the magic happen. The mixture turns pale and fluffy. It looks like creamy clouds.
This step is the heart of a tender cookie. It adds air so your cookies are soft, not flat and hard. Fun fact: This creaming process was a big deal in old recipes before electric mixers. People did it by hand for ages!
A Story About Mixing
My grandson Sam helped me once. He loved running the mixer. When we added the flour, he didn’t want to stop. He kept mixing and mixing. Those cookies came out tough as little stones. We called them hockey pucks. We still giggle about it.
So listen to your grandma. When the flour is almost mixed in, stop! You should still see tiny flecks. The mixer will finish the job when you add the oats. This matters because overworking the flour makes gluten. Gluten makes cookies tough. We want them soft and chewy.
The Best Part
Now for the fun part. In go the rolled oats, raisins, and chocolate chips. Doesn’t that sound amazing? The dough will be very thick and chunky. That’s perfect. It means every bite will be full of something good.
I love this combo. The oats are hearty. The raisins are sweet and chewy. The chocolate chips are little melted surprises. Do you prefer more raisins or more chocolate chips in your cookies? I’d love to know.
Baking With Your Nose
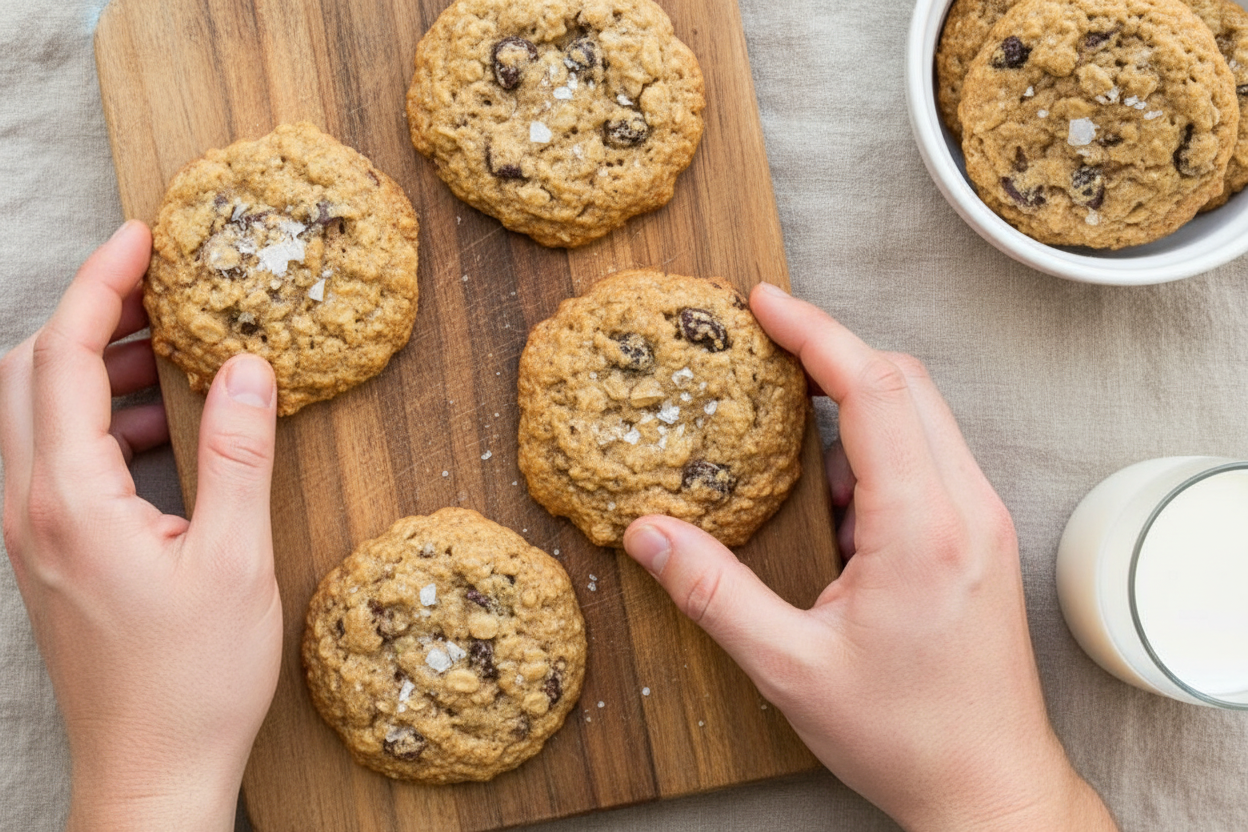
Preheat your oven to 350 degrees. Line your pans with parchment paper. This saves you from scrubbing later. Drop the dough by heaping spoonfuls. Give them room to spread. I like a tiny sprinkle of flaky salt on top. It makes the sweet flavors pop.
Bake for 10 to 13 minutes. The edges will be golden brown. The centers will look soft and pale. They might seem underdone. They are not. They will set as they cool. Doesn’t that smell amazing? Take them out and let them rest. What’s the first thing you smell when these bake? For me, it’s the cinnamon.
Ingredients:
| Ingredient | Amount | Notes |
|---|---|---|
| unsalted butter | 2 sticks (1 cup) | at room temperature |
| brown sugar | 1 1/3 cups (275 g) | packed |
| eggs | 2 large | |
| vanilla extract | 1 tbsp | |
| all-purpose flour | 1 1/4 cups (150 g) | |
| whole wheat flour | 1/4 cup (30 g) | if you don’t have whole wheat flour, just use 1 1/2 cups (180 g) all-purpose flour |
| ground cinnamon | 1 1/2 tsp | |
| baking soda | 1 tsp | |
| kosher salt | 1/2 tsp | |
| rolled oats | 2 3/4 cups | |
| raisins | 1 1/2 cups | |
| chocolate chips | 1 1/2 cups | |
| flaky sea salt (e.g., Maldon) | Optional | for sprinkling on top |
My Cozy Kitchen Cookies
Hello, dear. Come sit a spell. Let’s make my favorite cookies. They are chewy and full of good things. I call them my “kitchen sink” cookies. My grandson gave them that silly name. He said I put everything in but the sink! I still laugh at that.
These cookies smell like a hug. Cinnamon, chocolate, and sweet raisins. Doesn’t that sound wonderful? We’ll mix it all in one bowl. I love a simple recipe. It leaves more time for stories. Are you ready? Let’s begin.
- Step 1: First, warm up your oven to 350°F. Line your baking sheets with parchment paper. Now, let’s make the cookie base. Beat the soft butter and brown sugar together. Keep going until it looks fluffy and light. This takes about four minutes. (My hard-learned tip: Scrape the bowl sides down a few times. It makes all the difference!)
- Step 2: Crack in the eggs, one at a time. Let the first one disappear before adding the next. Then pour in the vanilla. That smell is already amazing. It reminds me of my own grandma’s kitchen. She always used the good vanilla.
- Step 3: Here’s my little trick. Pile all the dry stuff right on top. The flours, cinnamon, baking soda, and salt. Use a fork to mix them a little on the butter mountain. Now, turn the mixer on low. Watch it closely! Stop the second the flour disappears. Why do we stop mixing so soon? Share below!
- Step 4: Time for the good parts! Pour in the oats, raisins, and chocolate chips. Mix on low just until they are tucked in. The dough will be very thick and bumpy. That’s perfect. It means every bite will be interesting.
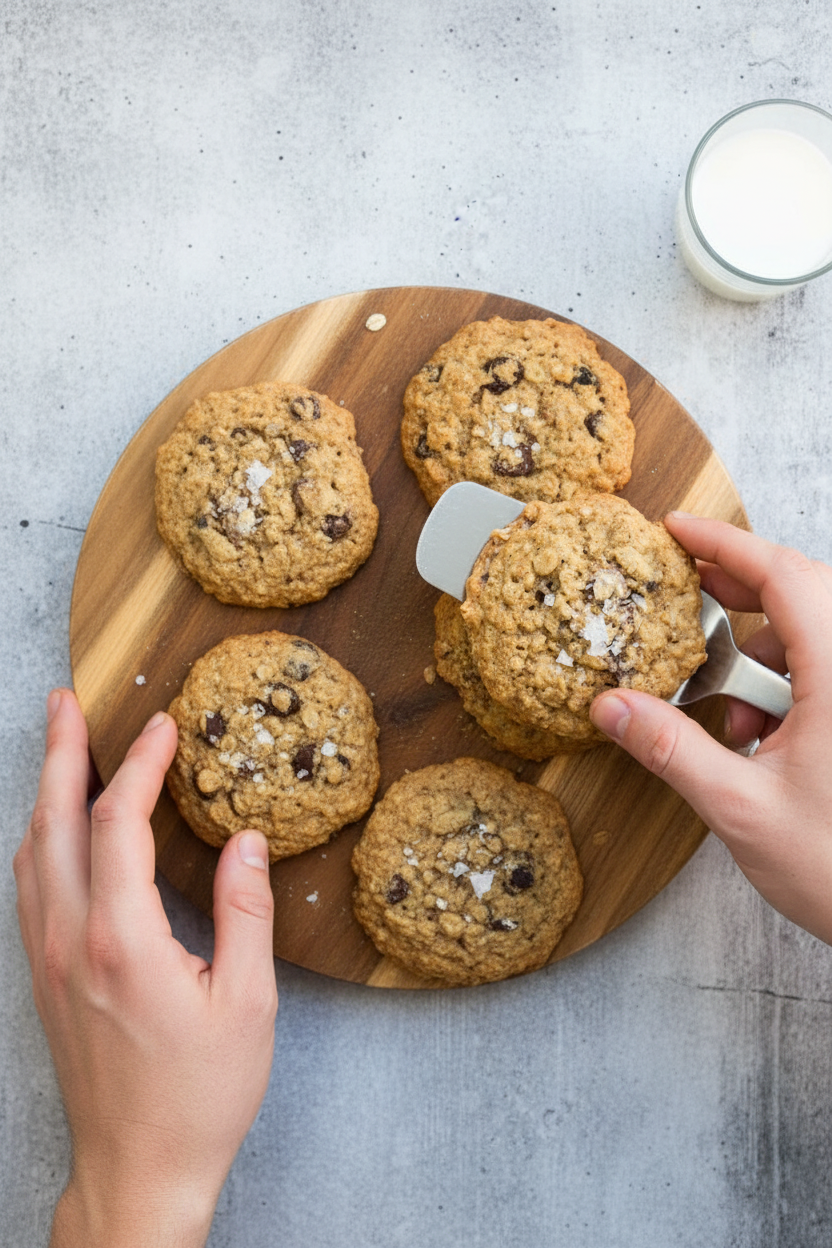
- Step 5: Spoon big mounds onto your sheets. Leave them room to spread and breathe. I like a sprinkle of flaky salt on top. It makes the chocolate taste even sweeter. Bake for 10 to 13 minutes. The edges should be golden, but the centers soft. Let them rest on the pan. This is the hardest part—waiting!
Cook Time: 10-13 minutes per batch
Total Time: About 30 minutes
Yield: About 3 dozen cookies
Category: Dessert, Snack
Three Tasty Twists
This recipe is like a good friend. It’s happy to change its outfit. Here are three fun ways to play. The Nutty One: Swap half the raisins for chopped walnuts or pecans. The Tropical Trip: Use dried cranberries and white chocolate chips instead. The Double Chocolate: Replace a quarter cup of flour with cocoa powder. Which one would you try first? Comment below!
Serving With a Smile
These cookies are stars all on their own. But I love them warm with a scoop of vanilla ice cream. Or crumbled over morning yogurt. For a drink, a cold glass of milk is classic. My husband prefers his with a hot cup of coffee. Which would you choose tonight? Store leftovers in the tin. If they last that long!
Keeping Cookies Happy in the Fridge and Freezer
These cookies keep well at room temperature. Just pop them in a tin. But I love having dough ready to bake. You can freeze scoops of dough on a tray.
Once frozen, put the dough balls in a bag. Then bake a few anytime you want. I once forgot a bag of dough for months. It baked up perfectly, like a sweet surprise.
This matters because fresh cookies fix any bad day. Having dough ready means warm cookies in 15 minutes. It is a little gift to your future self.
Have you ever tried storing cookie dough this way? Share below!
Cookie Troubles and Easy Fixes
First, cookies spreading too much? Your butter was likely too warm. Chill your dough for 30 minutes before baking. This helps them keep their perfect shape.
Second, cookies too tough? You probably mixed the flour too much. Stop mixing as soon as the flour disappears. I remember when my first batch was like little rocks!
Third, cookies not sweet enough? Make sure you pack that brown sugar into the cup. Press it down firmly. This small step adds so much flavor and chew.
Fixing these issues builds your cooking confidence. It also makes your treats taste just right. Which of these problems have you run into before?
Your Quick Cookie Questions, Answered
Q: Can I make these gluten-free? A: Yes! Use your favorite gluten-free flour blend instead of the all-purpose.
Q: Can I make the dough ahead? A: Absolutely. Keep it in the fridge for up to three days.
Q: No raisins or chocolate chips? A: Use any dried fruit or chip you like. Butterscotch chips are wonderful here.
Q: Can I halve the recipe? A: You can. Just use one egg and whisk it first. Then use half.
Q: Is the sea salt needed? A: It is optional but lovely. A tiny pinch of salt makes sweet things taste sweeter. Which tip will you try first?
From My Kitchen to Yours
I hope you love baking these cookies as much as I do. They fill the house with a wonderful smell. That smell is the smell of home.
I would love to see your creations. Share a picture of your cookie tray with me. Have you tried this recipe? Tag us on Pinterest @ChloesCozyKitchen!
Thank you for baking with me today. Happy cooking! —Chloe Hartwell.
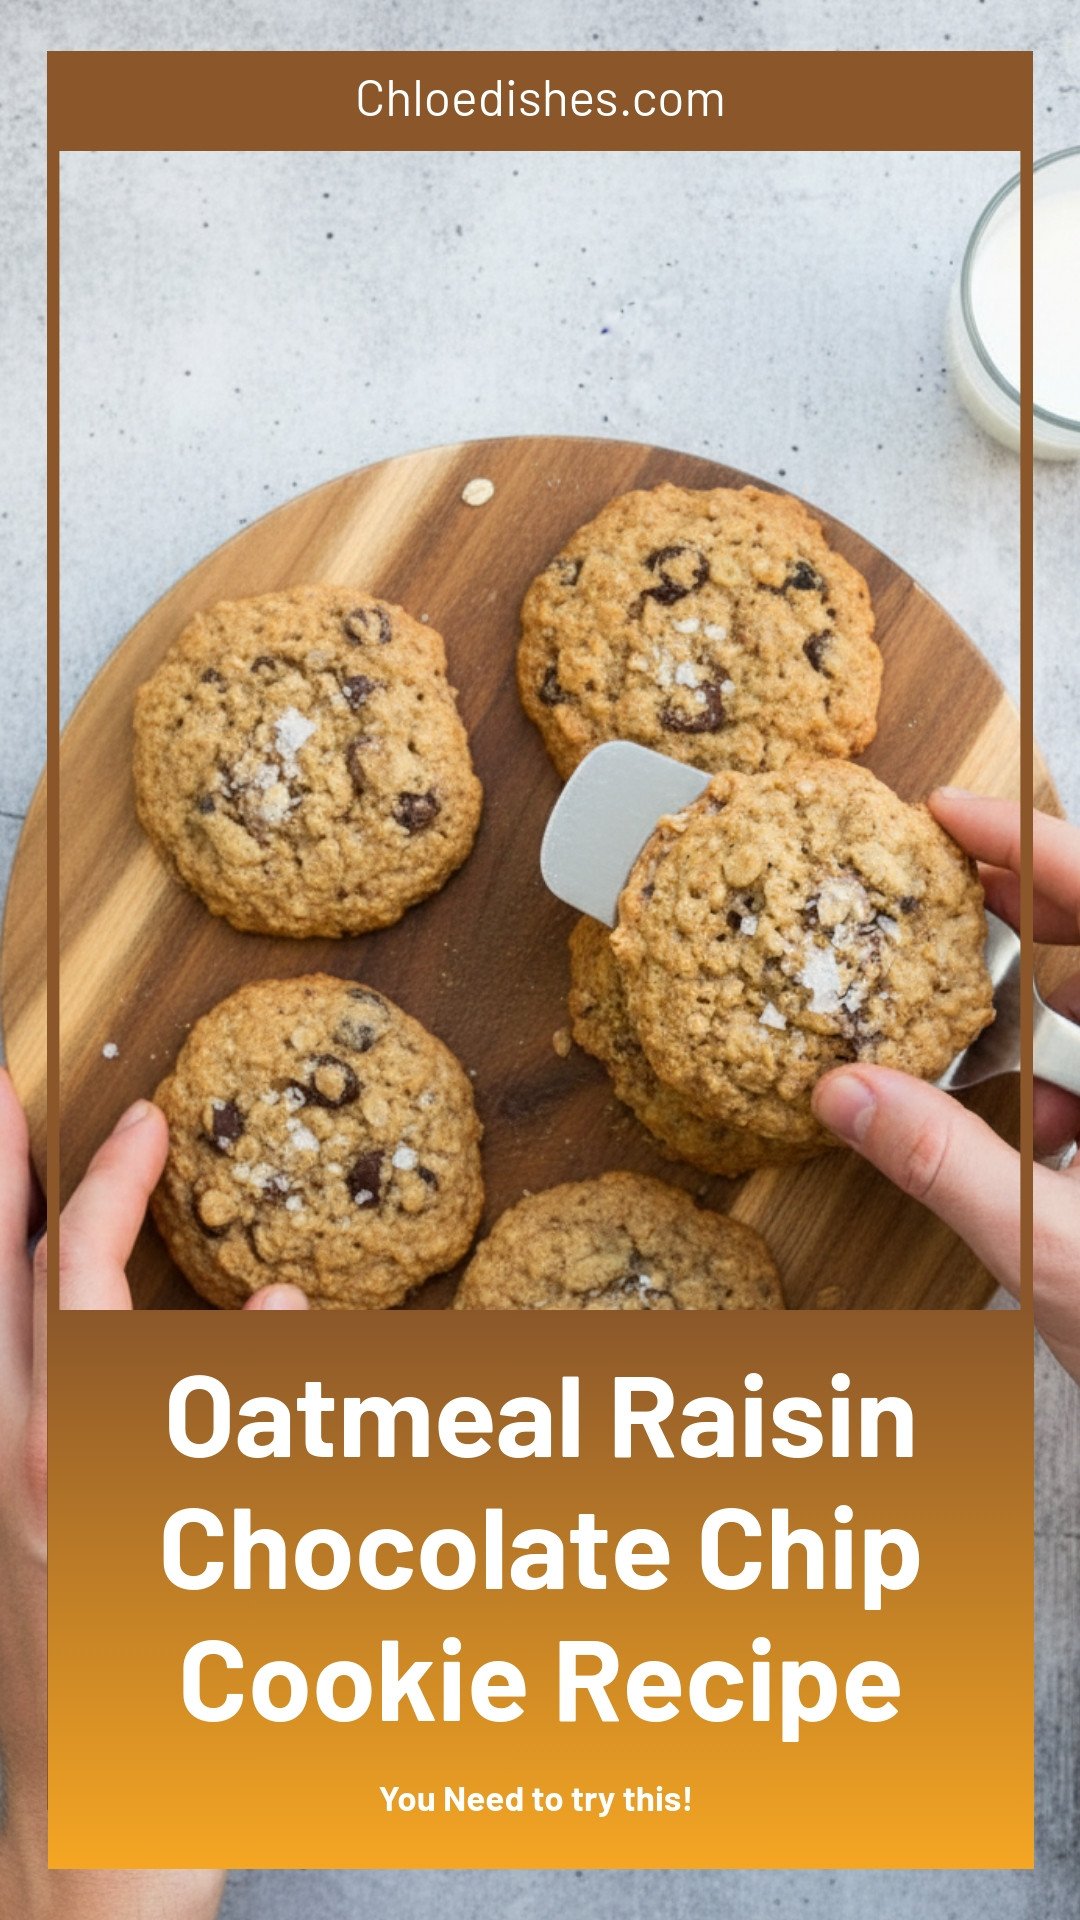

Oatmeal Raisin Chocolate Chip Cookie Recipe
Description
The ultimate soft & chewy oatmeal cookie loaded with raisins and melty chocolate chips. Easy recipe with perfect texture every time!
Ingredients
Instructions
- Preheat oven to 350°F. Line three baking sheets with parchment paper.
- In a stand mixer, beat butter together with the sugar until light and fluffy, about 4 minutes. You’ll need to scrape down the bowl a few times. Beat in the eggs one at a time. Beat in the vanilla extract. Turn off the mixer.
- Add the flours, cinnamon, baking soda, and salt in a big pile on top of the butter mixture. Use a fork to combine all of the dry ingredients as much as possible. This just prevents us from having to dirty up an extra bowl! Turn the mixer back on, on low speed, and beat flour mixture into butter mixture. When it is almost, and only small flecks of flour remain, turn it off immediately! You do not want to overmix, the cookies will get tough!
- Add the oats, raisins, and chocolate chips. Turn the mixer back on, on low speed, for just a few turns of the paddle until the oats, raisins, and chocolate chips are incorporated.
- Spoon the dough out by the heaping tablespoon onto the baking sheets, leaving at least an inch and a half between cookies. Sprinkle with flaky sea salt if desired.
- Bake until cookie edges turn brown but the centers are still very pale and soft looking, 10 to 13 minutes. Allow to cool slightly on the pan, then transfer to a wire rack to continue cooling.
- Store in an airtight container at room temperature for up to 5 days, or freeze!
Notes
- Nutrition information is not provided in the text.


Leave a Reply