
My First Dumpling Disaster
I still laugh at that memory. My first dumplings looked like sad little pillows. Some were bursting. Others were too skinny. My grandson called them “hungry ghosts.” It was a mess. But you know what? They still tasted wonderful. That’s the magic of homemade food.
It matters because cooking is about trying. Your first batch doesn’t have to be perfect. The joy is in the making. So, don’t worry if your pleats are messy. I promise they will taste just right. Have you ever had a funny kitchen fail? I’d love to hear your story.
Let’s Make the Filling
First, let’s chop our veggies. I love the sound of the knife on the board. It sounds like home. Put the carrots, onion, and water chestnuts in a big bowl. Add the chives, egg white, soy sauce, and pepper. Doesn’t that smell amazing already?
Now, add the ground pork. Use your clean hands to mix it all together. This part is fun. You can really feel the food coming together. *Fun fact: The water chestnuts aren’t nuts at all! They are crunchy little vegetables that grow in mud.
The Gentle Art of Folding
Place a spoonful of filling in the middle of a wrapper. Wet the edges with a little water. Now, fold it over and make little pleats. Just pinch and fold, pinch and fold. It’s like giving your food a hug. Curving it makes a pretty crescent moon shape.
Stand them up so they have a flat bottom. This matters because that flat bottom becomes the crispy part. And that’s the best bite! Are you team crispy-bottom or team soft-steamed dumpling? Tell me which one you like more.
The Sizzle and Steam
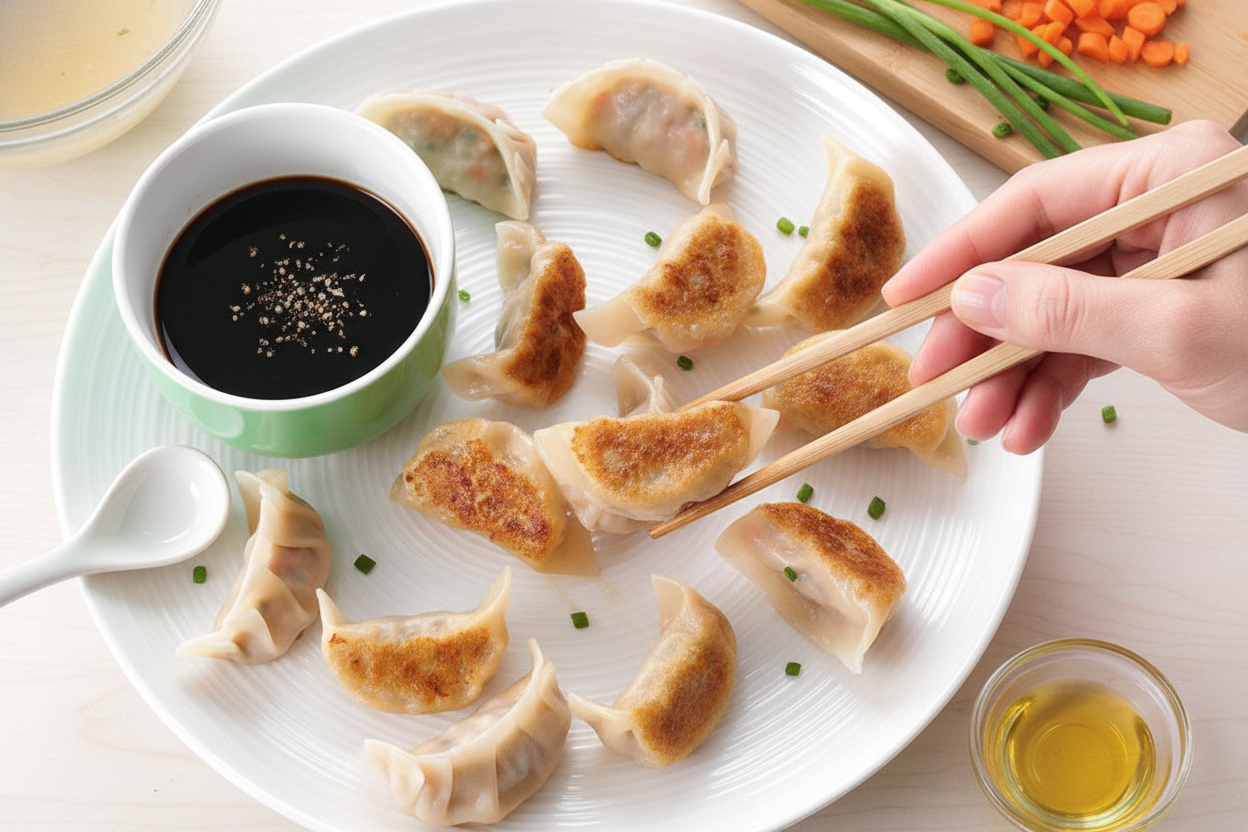
Heat some oil in your pan. Listen for that gentle sizzle. Place the dumplings in, flat side down. Let them get a golden-brown crust. This takes just a minute or two. Then, carefully pour in some chicken broth. It will splash, so be gentle.
Put the lid on right away. Let them steam. This cooks the pork all the way through. When the broth is gone, take the lid off. Let the bottoms get crisp again. That smell is your reward. What’s your favorite kitchen smell? Mine is frying onions.
Why This All Matters
Sharing food is sharing love. When you make dumplings, you make little packages of care. You can freeze them for a busy day. Or share them with a friend who needs a smile. That is the real recipe.
It also matters to know what’s in your food. You chose the veggies. You seasoned it just right. That is a powerful feeling. Let them cool a bit, then dip in soy sauce. Gather everyone and enjoy. What’s a food that makes you feel cared for?
Ingredients:
| Ingredient | Amount | Notes |
|---|---|---|
| carrots | 2 medium | finely chopped |
| onion | 1 small | finely chopped |
| water chestnuts | 1/2 cup | finely chopped |
| fresh chives | 1/3 cup | minced |
| egg white | 1 large | lightly beaten |
| reduced-sodium soy sauce | 3 tablespoons | |
| pepper | 1/2 teaspoon | |
| ground pork | 1 pound | |
| pot sticker, wonton or gyoza wrappers | 60 | |
| canola oil | 3 tablespoons | divided |
| chicken broth | 1 cup | divided |
| additional reduced-sodium soy sauce | for dipping (optional) |
My Golden Pan-Fried Dumplings
Hello, my dear! Come sit. Let’s make my favorite pan-fried dumplings. They are little pockets of joy. I learned this recipe years ago from a neighbor. We would make hundreds for New Year’s. My kitchen smelled so good. I still smile thinking about it.
Gather your ingredients. Doesn’t that mix of fresh chives and soy sauce smell amazing? It’s the heart of the filling. Now, let’s get our hands busy. I’ll walk you through each step. It’s like a fun little craft project. You’ll be a pro in no time.
Step 1: Make the Filling
First, make the filling. Put all your chopped veggies in a big bowl. Add the egg white, soy sauce, and pepper. Now, add the ground pork. Use your clean hands to mix it all together. This part is messy but fun. Feel the cool, squishy mixture between your fingers. Make sure everything is friends.
Step 2: Fill the Wrappers
Time to fill the wrappers. Lay a few wrappers on your counter. Place a good spoonful of filling in each center. Not too much, now! A heaping tablespoon is just right. Too much filling and they will burst open while cooking. (My hard-learned tip: Keep a bowl of water nearby. It helps with the next step!).
Step 3: Shape Your Dumplings
Now, shape your dumplings. Dip your finger in water. Run it around the edge of the wrapper. Fold the wrapper over into a half-moon. Press the edges to seal. You can make little pleats on one side. It looks so pretty. Curving them slightly makes a cute little pouch. Stand them up so the bottom is flat. Do you like pleated or simple seals? Share below!
Step 4: Pan-Fry to Perfection
The magic happens now. Heat oil in your pan. Place dumplings in, flat side down. Listen to that gentle sizzle. Cook until the bottoms turn a golden brown. This is the secret to crunch. Carefully pour in some chicken broth. It will steam and splatter a bit. Cover the pan and let them steam. Uncover to let the bottoms get crisp again. That crispy-soft combo is the best part.
Step 5: Serve and Enjoy
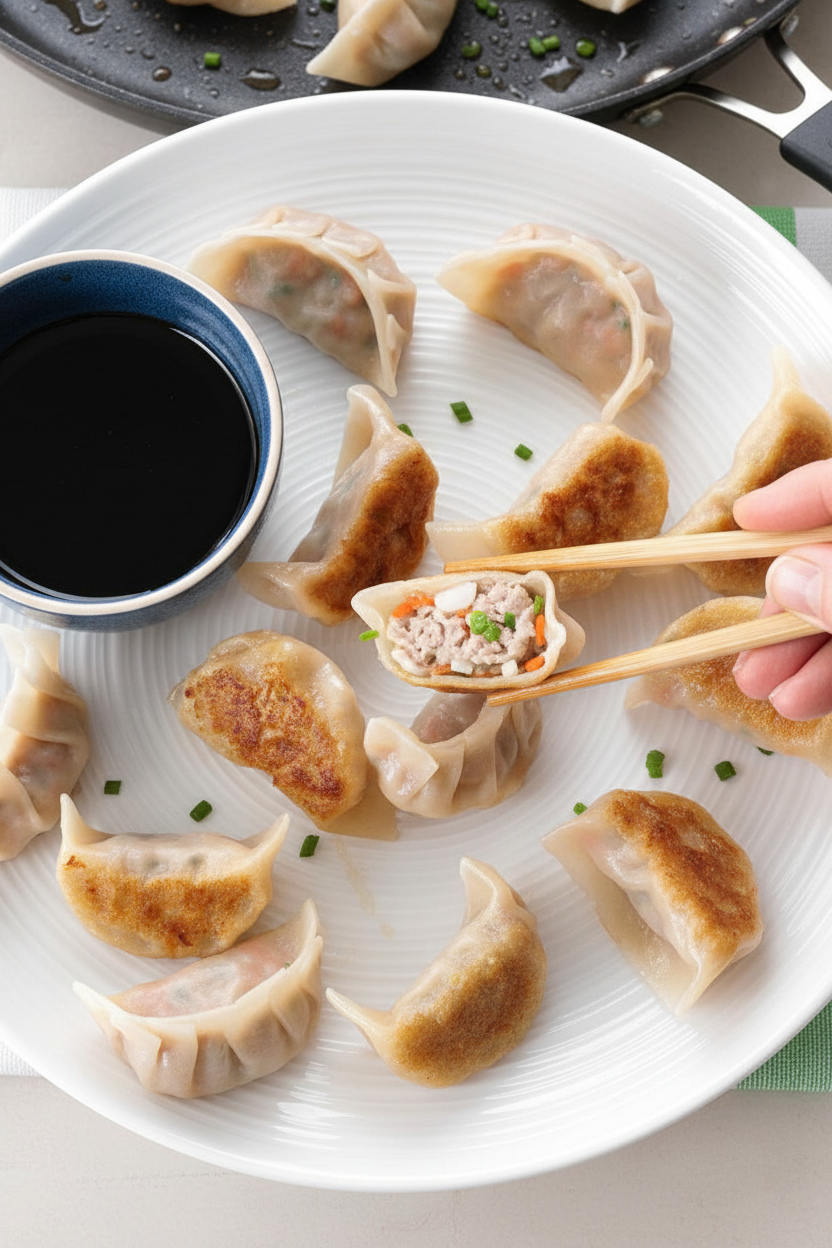
Finally, let them cool for just a minute. They are very hot inside! Serve them with a little dish of soy sauce for dipping. I love that first bite. The crunch gives way to the savory, juicy filling. It’s pure happiness on a plate. I hope you love them as much as I do.
Cook Time: 20–25 minutes
Total Time: 50 minutes
Yield: About 60 dumplings (5–6 servings)
Category: Dinner, Appetizer
Three Tasty Twists to Try
Once you master the basic recipe, you can play. Here are three fun twists I make for my grandkids. They each bring a different smile to the table.
The Garden Patch: Swap the pork for finely chopped mushrooms and cabbage. A perfect veggie delight.
The Spicy Dragon: Add a teaspoon of chili paste to the filling. It gives a wonderful, warm kick.
The Autumn Harvest: Use ground turkey and add a bit of sweet potato. It tastes like a cozy fall day.
Each one tells its own little story. Which one would you try first? Comment below!
Serving Them Up Right
These dumplings are stars on their own. But I love to make a little scene on the plate. Serve them on a big platter with sliced green onions on top. A simple cucumber salad on the side is so refreshing. It cuts through the richness perfectly.
For drinks, my husband likes a light, crisp lager with his. The kids and I prefer sparkling ginger ale. It has a nice little zing that pairs so well. Both are wonderful choices. Which would you choose tonight?
Making Dumplings for Later
Let’s talk about saving some for later. You can freeze these dumplings before cooking them. Just lay them on a baking sheet so they don’t touch. Once frozen, pop them into a bag. They’ll keep for months. You can cook them straight from the freezer, just add a few extra minutes.
I remember my first big batch. I filled my whole freezer! It was so nice on busy nights. Having a homemade meal ready matters. It turns a stressful day into a cozy one. Have you ever tried storing it this way? Share below!
To reheat cooked dumplings, use a skillet. A quick warm-up brings back the crisp bottom. Avoid the microwave, it makes them soggy. Trust me, I learned that the hard way. A little extra effort keeps the texture perfect.
Simple Fixes for Common Hiccups
Sometimes the filling tries to escape. If your dumpling won’t seal, the edge might be too dry. Use a finger to add a bit more water. A good seal keeps all the juicy flavor inside. This matters because it makes every bite delicious.
If the bottoms burn, your heat is too high. I once made a whole batch too dark! Start with medium-high, then go to medium-low with the broth. Gentle steam cooks the pork safely. This builds your cooking confidence.
Do your dumplings stick to the pan? Make sure you use a nonstick skillet. Also, let that golden crust form before adding broth. Which of these problems have you run into before? A fun fact: water chestnuts stay crunchy, giving a nice little snap!
Your Dumpling Questions, Answered
Q: Can I make these gluten-free? A: Yes! Use gluten-free soy sauce and wrappers. Check the wrapper package label.
Q: Can I make the filling ahead? A: Absolutely. Mix it and keep it in the fridge for one day.
Q: What if I don’t have ground pork? A: Ground chicken or turkey works great. It’s a simple swap.
Q: Can I make a smaller batch? A: Of course. Just cut all the ingredients in half. It’s easy.
Q: Is the dipping sauce needed? A: It’s optional but nice. A little soy sauce adds a salty finish. Which tip will you try first?
From My Kitchen to Yours
I hope you love making these little pockets of joy. Cooking is about sharing and creating memories. I would love to see your dumpling creations. Have you tried this recipe? Tag us on Pinterest!
Your stories and photos make my day. Thank you for cooking with me today. Happy cooking!
—Chloe Hartwell.
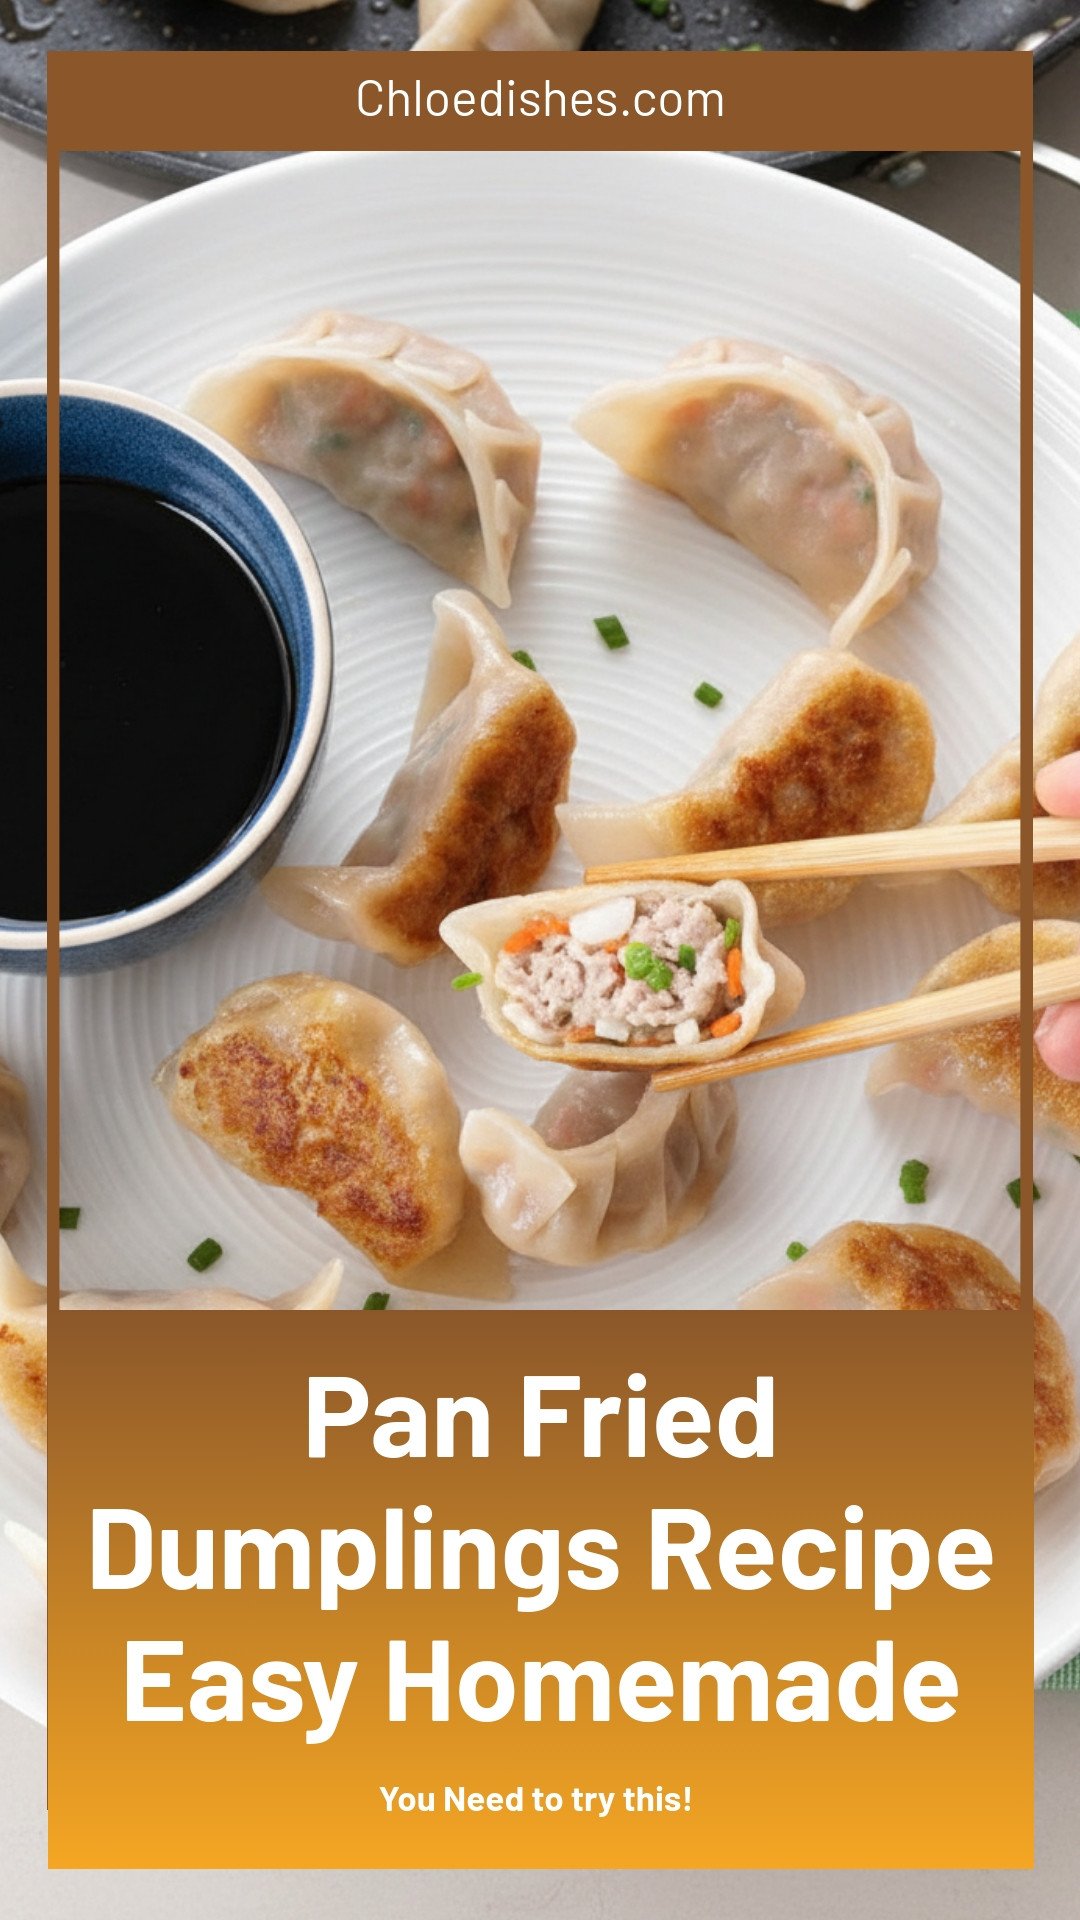

Pan Fried Dumplings Recipe Easy Homemade
Description
Crispy, juicy, and easier than you think! Master this simple pan-fried dumpling recipe for the perfect homemade snack or meal. Ready in minutes!
Ingredients
Instructions
- In a large bowl, combine the carrots, onion, water chestnuts, chives, egg white, soy sauce and pepper. Add the ground pork and mix it well into the veggie and egg white mix.
- Place a tablespoon of your filling in the center of each wrapper.
- Lightly moisten the wrapper edges with water. Gently fold the wrapper over the filling. Seal the edges by pleating the front side several times to form a pouch. Stand the dumplings on a work surface to flatten the bottoms. To create a crescent moon shape, curve them slightly.
- In a large nonstick skillet, heat 1 tablespoon of oil over medium-high heat. Arrange one-third of the dumplings flat side down in concentric circles in the pan. Cook for 1 to 2 minutes or until the bottoms are golden brown. Add 1/3 cup of broth carefully, so it doesn’t splatter. Reduce the heat to medium-low. Continue to cook, covered, for 2 to 3 minutes or until the broth is almost fully absorbed and the pork filling is cooked. Remove the cover from the pan and cook the dumplings for about 1 minute until the bottoms are crisp and the broth is completely evaporated. Repeat with remaining oil, dumplings and broth.
- Let the dumplings cool slightly, and serve with additional soy sauce.
Notes
- Nutrition information is not provided in the text.


Leave a Reply