
A Sweet Little Christmas Secret
I want to share a secret with you. The best Christmas treats are often the simplest. This pastry tree is proof. It looks fancy, but it is so easy. You just need puff pastry and Nutella.
My grandson and I make this every year. We get flour everywhere. I still laugh at that. The kitchen fills with a warm, buttery smell. Doesn’t that smell amazing? That smell is part of the magic. It brings everyone running.
The Story of a Messy First Try
Let me tell you about our first tree. It was a bit lopsided. The “branches” were very short. We used too much Nutella. It oozed out the sides in the oven. We called it our “Christmas Blob.”
But you know what? It tasted perfect. That’s the lesson. It does not have to be perfect. It just has to be made with joy. That’s why this matters. The fun is in the doing, not just the eating.
Shaping Your Sweet Tree
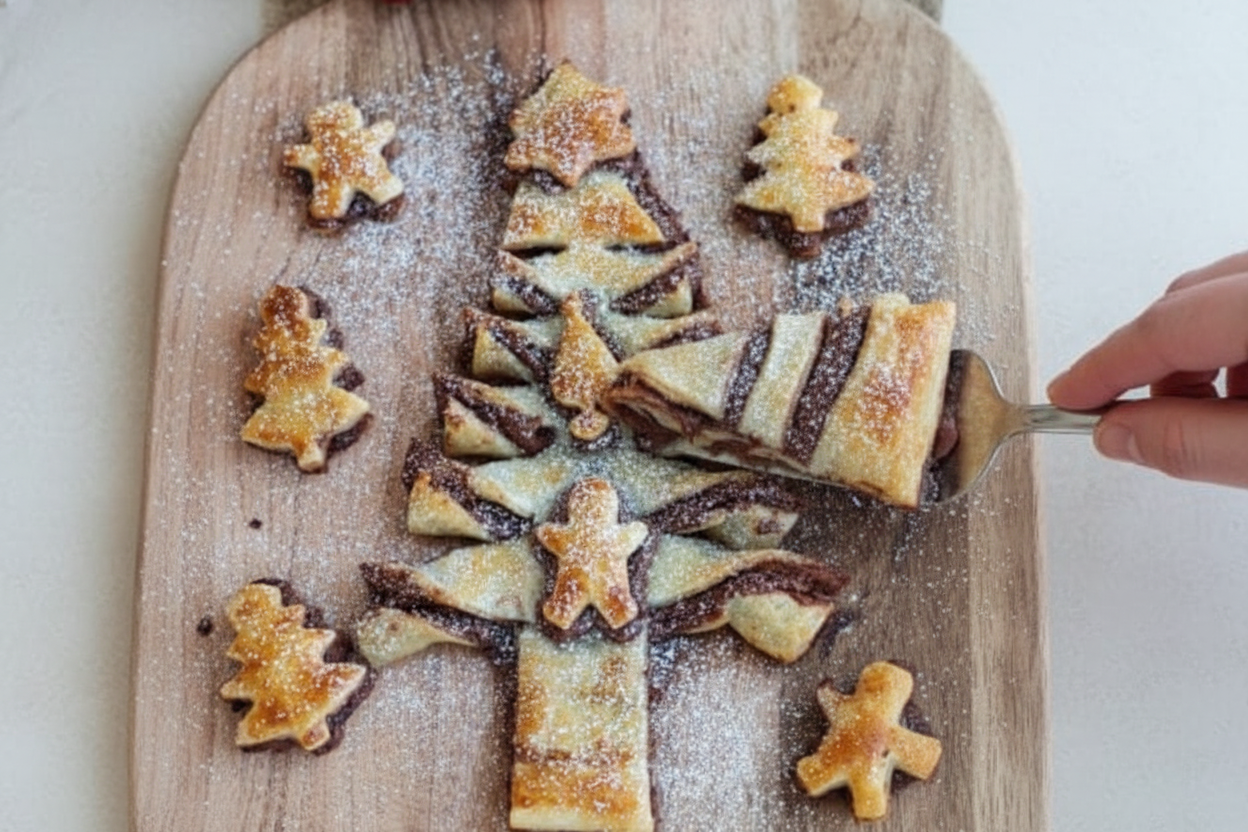
Lay out your pastry on parchment paper. Spread the Nutella evenly. Leave a tiny border. Put the second sheet on top. Now, here comes the fun part. You get to be an artist.
Cut your tree shape. Then twist the strips to make branches. Twist them gently. Do not worry if they break. Just press them back. Fun fact: twisting the pastry helps it puff up and turn golden. What cookie cutter shape would you add? A star? A bell?
Why This Simple Recipe Works
This recipe has only a few parts. Each one has a job. The pastry gets flaky. The egg wash makes it shiny. The Nutella gets all warm and gooey inside. The powdered sugar is like a dusting of snow.
When they work together, it’s magic. That’s the second reason this matters. Good food is about balance. Simple things can be the most special. Do you have a simple recipe that feels special to you?
Your Turn in the Kitchen
Now, you make your own memory. Preheat your oven. Watch your tree through the window. It will puff up and turn a beautiful gold. Let it cool just a bit before you move it.
The final touch is the snow. Shake powdered sugar over the top. It looks so pretty. I love to see everyone’s faces when I bring it to the table. Will you make yours for breakfast or dessert? Tell me which you choose.
Ingredients:
| Ingredient | Amount | Notes |
|---|---|---|
| Gluten-free puff pastry | 2 sheets | |
| Nutella | 6 tablespoons | Amount varies based on size of pastry sheet |
| Egg | 1 | Beaten, for egg wash |
| Powdered sugar | For dusting |
My Magical Christmas Tree Pastry
Hello, my dear! Come sit at the table. Let’s make some magic. Today, we’re baking a Christmas tree you can eat. It’s flaky, chocolaty, and so much fun. I used to make this with my grandkids. Their little faces would light up. Doesn’t that sound lovely?
We just need puff pastry and Nutella. That’s it! The oven does most of the work. I still laugh at that. My first tree looked a bit, well, lopsided. But it tasted perfect. That’s what matters. Are you ready? Let’s begin our step-by-step adventure.
- Step 1: First, heat your oven to 425 degrees. Get out a baking sheet. Lay a piece of parchment paper on top. This stops our tree from sticking. Now, unroll one sheet of puff pastry right on the paper. It might feel cold and stiff. That’s okay.
- Step 2: Time for the chocolate! Spoon your Nutella onto the pastry. Spread it all around with a knife. Leave a tiny border at the edges. Go on, you can taste a little. I always do. Then, lay the second pastry sheet right on top. Press the edges gently.
- Step 3: Here comes the fun part. We cut the tree shape. Imagine a big triangle on your pastry. Cut from the top center out to the sides. This makes the tree top. Then, cut a rectangle at the bottom for the trunk. (My hard-learned tip: use a pizza cutter. It glides so easily!).
- Step 4: Now, make slits along both sides. These are your branches. Give each one a little twist. Twirl them like ribbons. Don’t worry if they’re not perfect. Each tree has its own character. My grandson made one with wild, twisty branches. We called it his “party tree.”
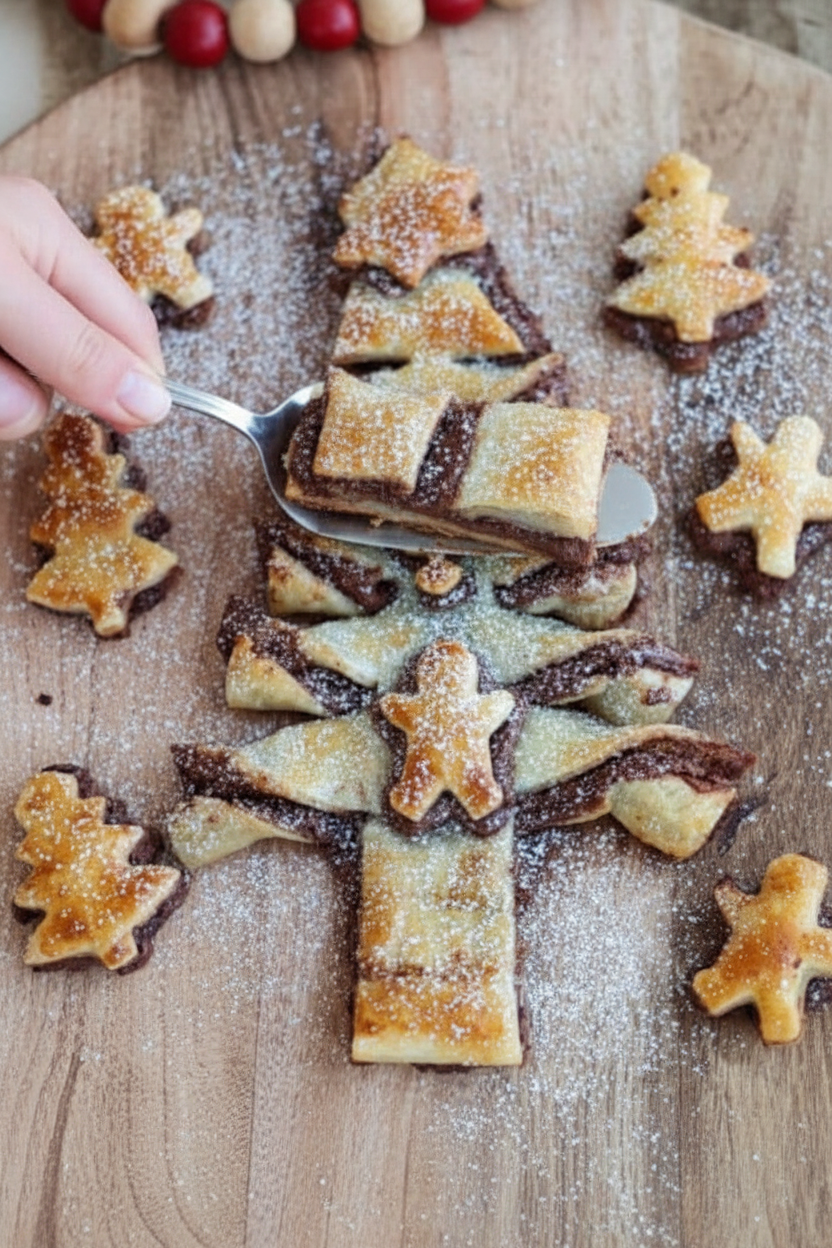
- Step 5: Beat one egg in a small bowl. Brush it lightly all over the tree. This makes it bake up shiny and golden. Doesn’t that smell amazing already? You can add cookie cutter shapes for ornaments. A little star for the top is just darling.
- Step 6: Bake your tree for 12 to 14 minutes. Watch it turn a beautiful golden brown. Let it cool on the pan. Then, the final touch! Dust it with powdered sugar like fresh snow. What’s your favorite part: shaping the tree or the snowy sugar? Share below!
Cook Time: 12–14 minutes
Total Time: 30 minutes
Yield: 1 festive tree
Category: Dessert, Holiday Baking
Three Fun Twists to Try
This recipe is like a blank canvas. You can paint it with so many flavors. Here are three of my favorite ideas. They always bring a smile.
- Sunbutter & Jam: Use sunflower seed butter and raspberry jam instead. It’s sweet, tart, and nut-free.
- Peanut Butter Cup: Mix peanut butter with a spoonful of honey. Sprinkle mini chocolate chips on top before baking.
- Cinnamon Sugar: Skip the spread. Brush with butter, then sprinkle cinnamon sugar. It’s like a giant, flaky cookie.
Which one would you try first? Comment below! I’d love to hear your pick.
Serving Your Sweet Masterpiece
Pull up a chair, it’s time to eat! Tear off warm, gooey branches to share. I like to put it right in the middle of the table. For sides, fresh berries look so pretty. A dollop of whipped cream is heavenly. Or just enjoy it all by itself.
What to drink? A cold glass of milk is the classic choice. It’s my go-to. For the grown-ups, a little glass of sweet sherry pairs nicely. It feels so festive. Which would you choose tonight? The milk or the sherry? I think I know.
Keeping Your Christmas Tree Fresh
This pastry tree is best eaten right away. The crust stays wonderfully crisp. But I know life gets busy. You can store leftovers in a sealed container. They will keep for two days at room temperature.
I do not recommend freezing it after baking. The pastry can get soggy. I learned this the hard way with my first tree. It lost its lovely flaky texture. I was so disappointed for my grandkids!
You can prepare the tree ahead of time. Assemble it on the baking sheet. Then just pop it in the fridge for an hour. This matters because it makes holiday mornings calm. You can visit with family instead of fussing in the kitchen. Have you ever tried storing it this way? Share below!
Simple Fixes for Common Hiccups
Sometimes the Nutella can be too thick. It might tear the pastry when you spread it. Just stir it in a little bowl first. This softens it up perfectly. I remember when my spoon stood straight up in the jar!
If your branches break while twisting, do not worry. Just press them back together gently. The egg wash will help seal them. This matters because cooking should be fun, not stressful. Small fixes build your confidence in the kitchen.
Watch the oven closely near the end. All ovens bake a little differently. Your tree is done when it is golden brown. A fun fact: the sugar in the Nutella helps it get that beautiful color. Which of these problems have you run into before?
Your Quick Questions, Answered
Q: Does it have to be gluten-free puff pastry?
A: No, regular puff pastry works exactly the same. Use what you like best.
Q: Can I make it the night before?
A: Yes! Assemble it, cover it, and keep it in the fridge. Bake it in the morning.
Q: What can I use instead of Nutella?
A: Any chocolate hazelnut spread will do. A seed butter is a good nut-free swap.
Q: Can I make a bigger tree?
A: You can use more sheets. Just layer them and adjust your baking time.
Q: Are the cookie cutter shapes necessary?
A: Not at all. They are just for extra festive fun. A simple tree is still beautiful. Which tip will you try first?
From My Kitchen to Yours
I hope you have as much fun making this as I do. It always brings a smile to my table. I love seeing all your creations. It makes me feel like we are all cooking together.
Please share your holiday baking stories with me. I would love to see your gorgeous pastry trees. Have you tried this recipe? Tag us on Pinterest! Your photos make my day brighter.
Happy cooking!
—Chloe Hartwell.
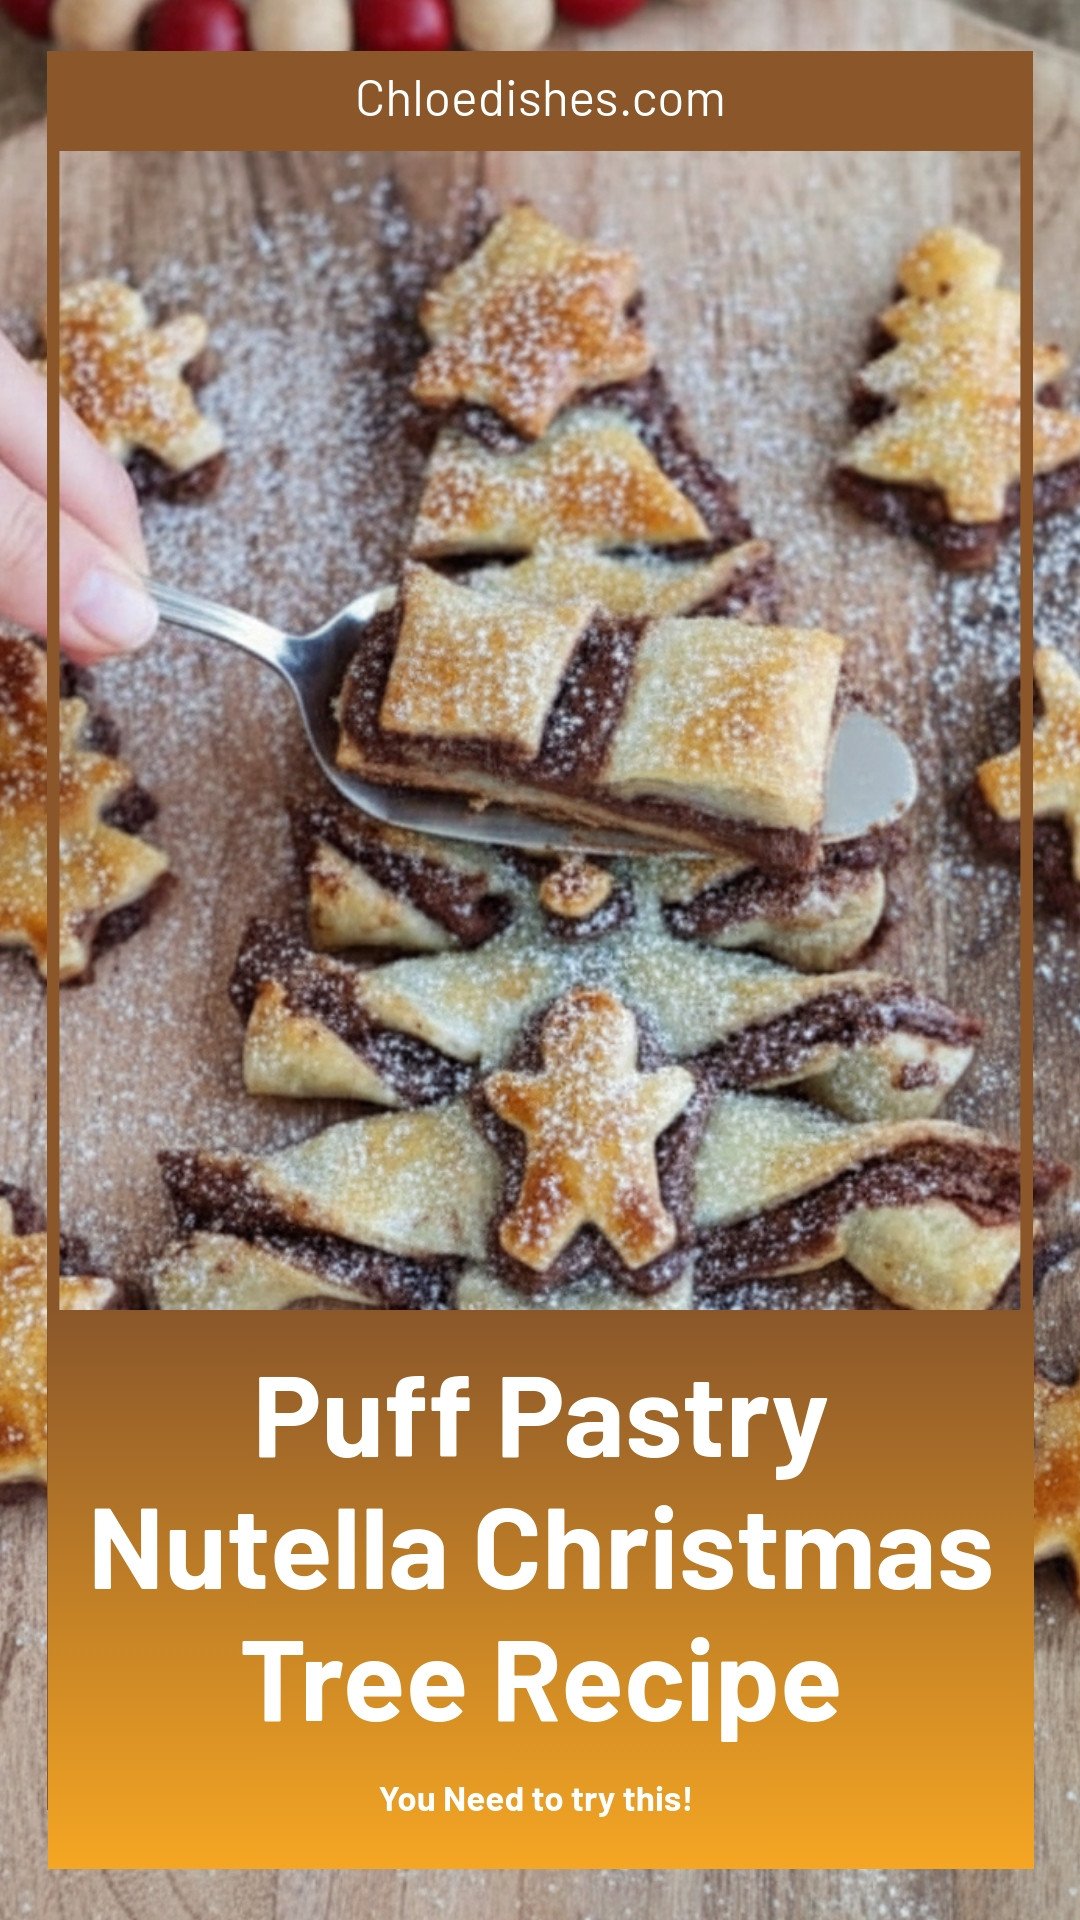

Puff Pastry Nutella Christmas Tree
Description
Impress guests with this stunning, easy Puff Pastry Nutella Christmas Tree! A festive, flaky dessert perfect for holiday parties. Quick to make, impossible to resist.
Ingredients
Instructions
- Preheat the oven to 425 degrees and lay out a sheet of parchment paper.
- Lay out a sheet of gluten-free puff pastry on the parchment paper and spread the Nutella evenly over it.
- Top the Nutella with another sheet of puff pastry.
- Starting from the top of the puff pastry sheet, make an angled cut from the center of the sheet to the edge of the sheet about ¾ of the way down on both sides. This creates the top of the tree.
- Cut across the bottom, leaving a center rectangle for the tree trunk. Then cut slits in the sides at even intervals.
- Twist the cut sides gently to make the branches.
- Use Christmas cookie cutters to cut out extra Christmas cookie shapes and decorate the tree if you like.
- Bake the tree for 12 to 14 minutes until golden.
- Dust the pastry tree with powdered sugar and serve!


Leave a Reply