
A Taste of TV Magic
Let’s bake a little piece of TV history. These are the famous Magnolia cupcakes. They were on that show “Sex and the City.” I remember watching it. The girls were always laughing and eating these pink treats. I still smile thinking about it.
Baking them feels like joining a fun party. It connects us to happy TV moments. That’s why this matters. Food can be a ticket to a good memory. Do you have a favorite food from a movie or show? I’d love to hear about it.
Grandma’s Mixing Bowl Wisdom
First, we mix our flours together. This gives the cupcakes a good lift. Now, cream the butter and sugar. Beat it until it’s light and fluffy. It should look like pale yellow clouds. Doesn’t that smell amazing already?
Add the eggs one at a time. This helps them blend in smoothly. My grandbaby once added all four at once. What a mess we had! I still laugh at that. Now, add the dry stuff and milk slowly. Mix just until you don’t see flour anymore.
The Heart of the Cupcake
Fill your liners three-quarters full. This is important. It gives the cupcakes room to rise into a perfect dome. They bake in a 350-degree oven. Your kitchen will smell like a dream.
Let them cool completely before icing. I know it’s hard to wait! But warm cupcakes melt the frosting. Patience makes it perfect. Fun fact: The original bakery sold over 5,000 cupcakes a day! Can you imagine?
Clouds of Pink Frosting
The buttercream is simple magic. Start with soft butter and lots of powdered sugar. Add the milk and vanilla. Beat it for a few minutes. It turns so smooth and creamy.
Now for the pink! Add just a drop or two of food coloring. Mix it in. You get that pretty, soft pink color. This is the signature look. It’s cheerful and sweet, just like the cupcakes. Do you prefer pink frosting or another color?
The Final Flourish
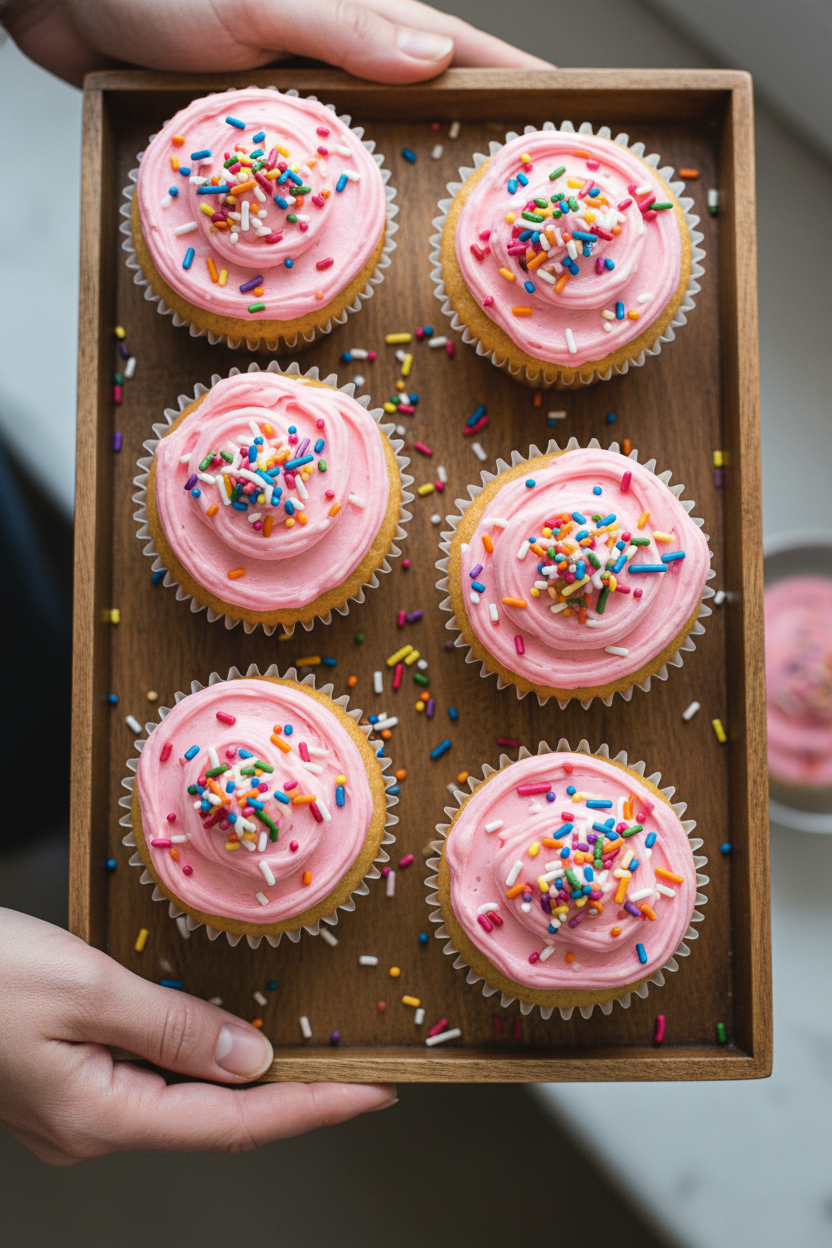
Frost them generously. Use your knife to make a little swirl on top. That swirl is the Magnolia signature. Finally, add your sprinkles. This is the fun part! Let everyone pick their favorite sprinkle mix.
Sharing these cupcakes is the best part. That’s why this matters. A homemade treat says, “I thought of you.” It’s a small act of love. Which friend would you share a cupcake with first?
Ingredients:
| Ingredient | Amount | Notes |
|---|---|---|
| Self-rising flour | 1-1/2 cups | |
| All-purpose flour | 1-1/4 cups | |
| Unsalted butter, softened | 1 cup (2 sticks) | For the cupcake batter |
| Granulated sugar | 2 cups | |
| Large eggs, room temperature | 4 | |
| Milk | 1 cup | For the cupcake batter |
| Vanilla extract | 1 teaspoon | For the cupcake batter |
| Unsalted butter, softened | 1 cup (2 sticks) | For the Vanilla Buttercream Icing |
| Confectioners’ sugar | 6-8 cups | For the Vanilla Buttercream Icing |
| Milk | 1/2 cup | For the Vanilla Buttercream Icing |
| Vanilla extract | 2 teaspoons | For the Vanilla Buttercream Icing |
| Pink food coloring | As desired | For the Vanilla Buttercream Icing |
| Sprinkles | For decoration | For garnish |
Magnolia Bakery’s Famous Cupcakes
Hello, my dear! Let’s bake some joy. These are the famous cupcakes from that TV show. I think the real magic is in sharing them. My granddaughter and I make these every birthday. The kitchen fills with the sweetest smell. Doesn’t that smell amazing?
Here is how we make them. Follow these steps and you’ll do perfectly.
Step 1: First, get your oven ready. Heat it to 350 degrees. Line your muffin tins with pretty papers. In a small bowl, mix your two flours together. Just give them a little stir. Set that bowl aside for now.
Step 2: Now, let’s make the batter. Beat the softened butter until it’s smooth. Slowly add the sugar. Beat it for three whole minutes. It will get light and fluffy. Add the eggs, one by one. Let each one say hello before adding the next.
Step 3: Time to mix it all. Add some flour, then some milk and vanilla. Repeat until everything is in the bowl. Mix just until you don’t see flour anymore. (My hard-learned tip: Overmixing makes tough cupcakes! Gentle does it.) Scrape the sides with a spatula. The batter will be lovely and thick.
Step 4: Spoon the batter into your papers. Fill them about three-quarters full. This gives them room to rise into perfect domes. Bake for 20 to 25 minutes. They’re done when a toothpick poked in the center comes out clean. Let them cool completely before icing. I know, the waiting is hard!
Step 5: For the icing, beat the butter with four cups of sugar, milk, and vanilla. It will look a bit messy at first. Keep beating! It becomes smooth and creamy. Add more sugar until it’s thick and spreadable. Now, add a drop or two of pink coloring. What’s your favorite cupcake color? Share below!
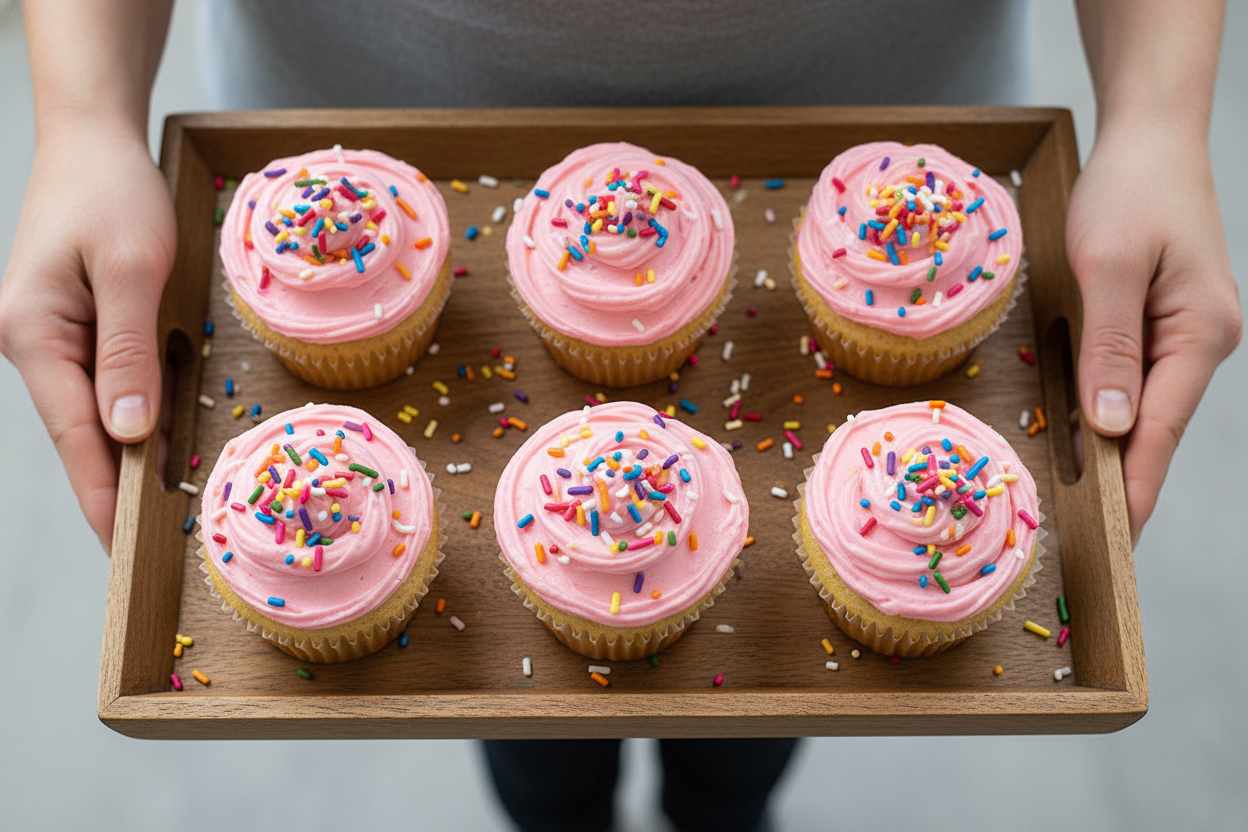
Step 6: The final touch! Swirl that pink icing on high. Use your knife to make a cute peak on top. Cover them with sprinkles. I still laugh at the sprinkle mess we always make. But it’s part of the fun. Now, you have a box of pure happiness.
Cook Time: 25 minutes
Total Time: 1 hour 15 minutes (with cooling)
Yield: About 24 cupcakes
Category: Dessert, Baking
Three Sweet Twists to Try
Once you master the classic, try a little twist. It makes baking your own adventure. Here are three ideas my family loves.
Lemon Sunshine: Add lemon zest to the batter. Use lemon juice in the icing instead of milk.
Berry Surprise: Place one fresh raspberry in the center of each cupcake before baking.
Cookies and Cream: Mix crushed chocolate sandwich cookies into the batter. Use vanilla icing and top with cookie crumbs.
Which one would you try first? Comment below!
Serving with a Smile
These cupcakes are a celebration all by themselves. For a party, I arrange them on a cake stand. It looks so fancy! You could also serve them with a bowl of fresh berries on the side. A little fruit makes it feel special.
What to drink? A cold glass of milk is always perfect. It’s my favorite. For the grown-ups, a little glass of champagne or prosecco is lovely. The bubbles cut through the sweet icing beautifully.
Which would you choose tonight?
Keeping Cupcakes Fresh and Happy
Let’s talk about keeping these sweet treats fresh. First, cool cupcakes completely. Any warmth makes frosting melt. Store them in a tight container at room temperature for two days.
For longer storage, freeze them unfrosted. Wrap each cupcake in plastic wrap. Then pop them all in a freezer bag. I once froze a whole batch for my grandson’s surprise visit. They thawed perfectly on the counter.
Batch cooking saves time for busy weeks. Bake the cakes and freeze them. Make frosting fresh when you need it. This matters because homemade goodness should be easy. Have you ever tried storing cupcakes this way? Share below!
Fixing Common Cupcake Troubles
Sometimes cupcakes don’t turn out right. That’s okay. Here are easy fixes. First, sunken middles often mean too much liquid. Measure your milk carefully. I remember once using a big splash instead of a cup.
Second, tough cupcakes come from overmixing. Mix just until you see no more flour. This matters for a soft, tender bite. Third, runny frosting needs more sugar. Add it slowly until it’s thick and creamy.
Getting the texture right builds your cooking confidence. Good flavor needs the right foundation. Which of these problems have you run into before? We’ve all been there in the kitchen.
Your Cupcake Questions, Answered
Q: Can I make these gluten-free? A: Yes. Use a good gluten-free flour blend. Add 1 teaspoon of baking powder.
Q: Can I make them ahead? A: Absolutely. Bake cakes up to two days early. Frost the day you serve them.
Q: What if I don’t have self-rising flour? A: Make your own. For this recipe, use 1 1/2 cups all-purpose flour. Add 2 1/4 teaspoons baking powder and 3/4 teaspoon salt.
Q: Can I halve the recipe? A: You can. Just halve all the ingredients. You’ll get about 12 lovely cupcakes.
Q: Are sprinkles required? A: Not required, but very fun. The original bakery sold these with simple pink frosting. Which tip will you try first?
Bake, Share, and Enjoy
I hope you love baking these famous cupcakes. They are pure joy. Sharing them with friends is even better.
I would love to see your creations. Your kitchen stories make my day. Have you tried this recipe? Tag us on Pinterest! You can find me at @ChloesKitchen.
Thank you for baking with me today. Remember, the best ingredient is always love. Happy cooking! —Chloe Hartwell.
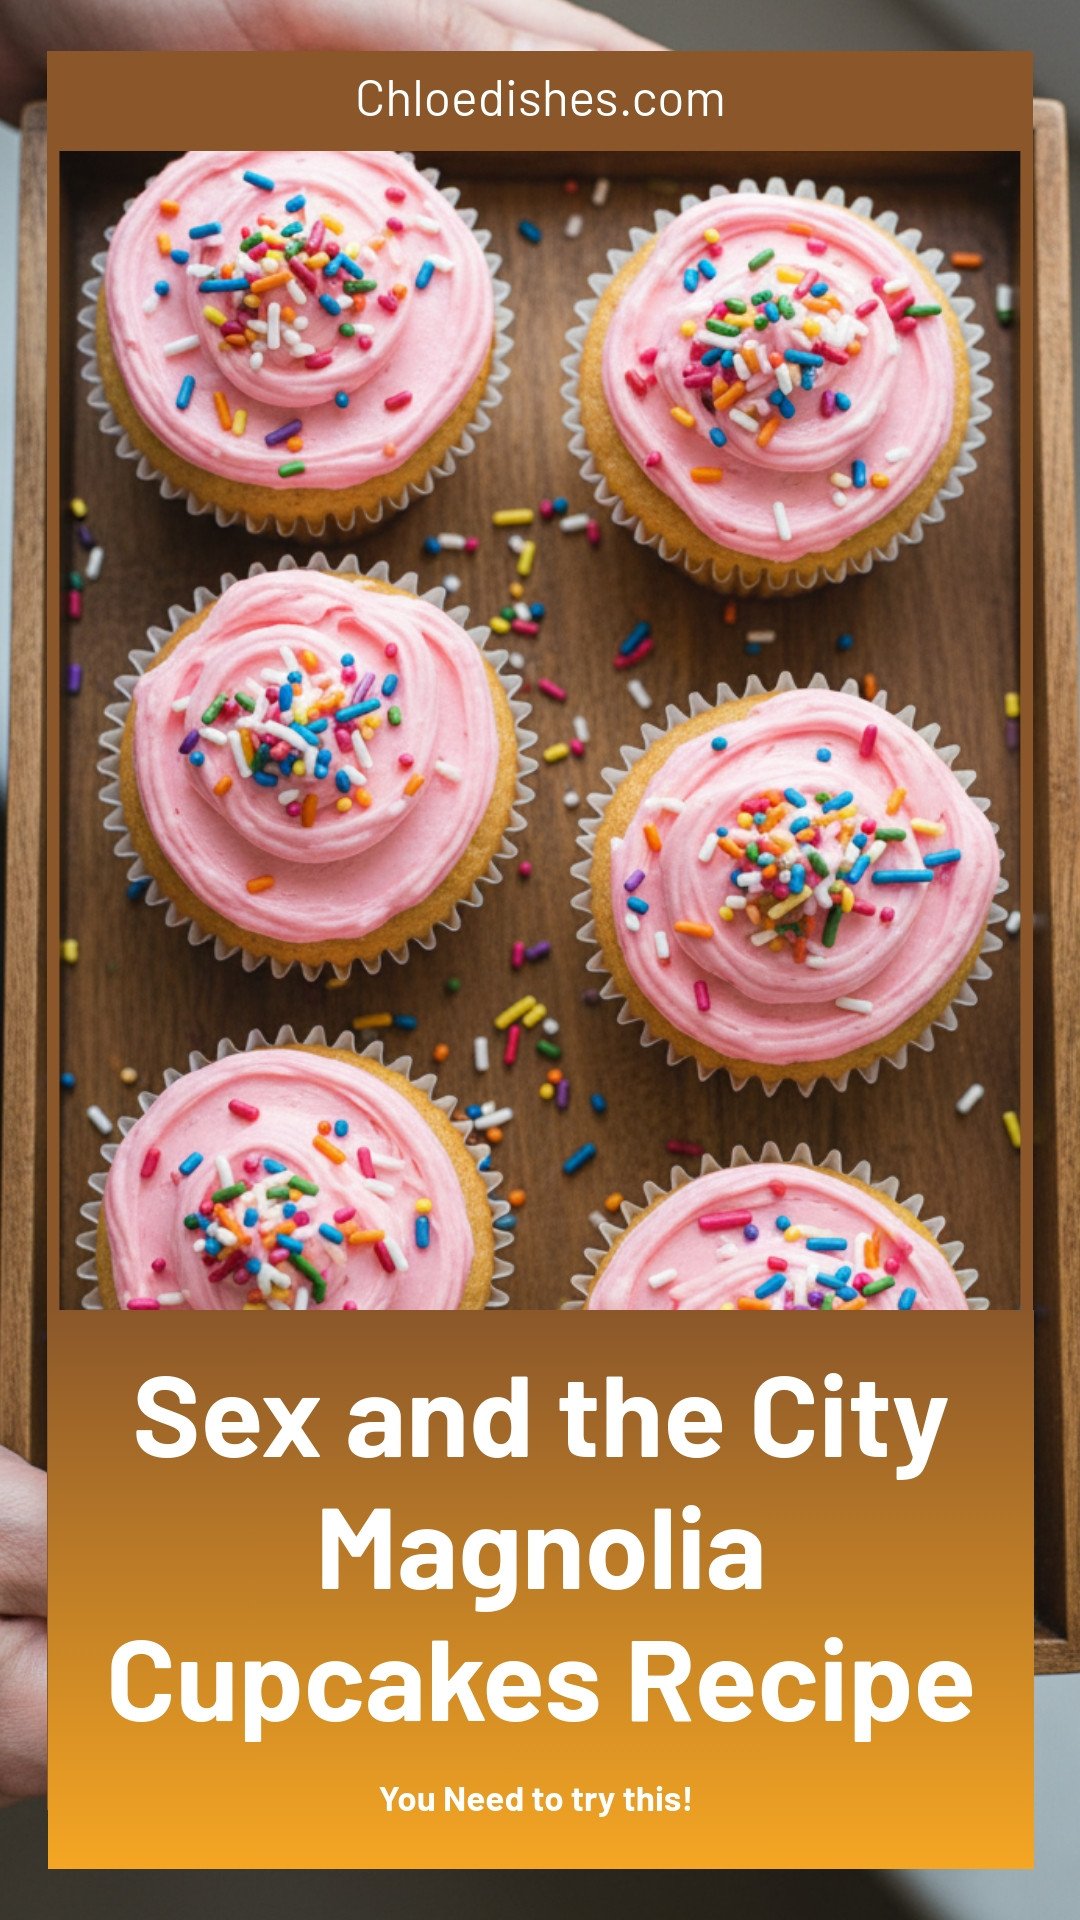
Sex and the City Magnolia Cupcakes Recipe
Description
Recreate Carrie’s iconic Magnolia Bakery cupcakes from Sex and the City! Easy vanilla cupcake recipe with classic pink buttercream frosting.
Ingredients
Vanilla Buttercream Icing:
Instructions
- Preheat the oven to 350°F. Line two 12-cup muffins tins with cupcake liners.
- In a small bowl, combine the flours. Set aside.
- In the large bowl of an electric mixer, cream the butter on medium speed until smooth. Add the sugar gradually and beat until fluffy, about 3 minutes. Add the eggs, one at a time, beating well after each addition.
- Add the dry ingredients in three parts, alternating with the milk and vanilla. With each addition, beat until the ingredients are incorporated but do not overbeat. Using a rubber spatula, scrape down the batter in the bowl to make sure the ingredients are well blended.
- Carefully spoon the batter into the cupcake liners, filling them three-quarters full. Bake for 20-25 minutes, or until a cake tester inserted into the center comes out clean. Cool the cupcakes in the tins for 15 minutes. Remove from the tins and cool completely on a wire rack before icing.
- To make the icing, place the butter in a large mixing bowl. Add 4 cups of the confectioners’ sugar and then the milk and vanilla. On the medium speed of an electric mixer, beat until smooth and creamy, about 3-5 minutes. Gradually add the remaining sugar, 1 cup at a time, beating well after each addition (about 2 minutes). The icing should be thick enough to be of good spreading consistency. You may not need all of the sugar.
- If desired, add a few drops of pink food coloring and mix thoroughly.
- Generously frost each cupcake, adding a final flourish with the knife at the end to create the signature swirl on Magnolia cupcakes. Top with sprinkles.
Notes
- Nutrition information is not provided in the text.


Leave a Reply