
A Sweet Slice of TV History
Let me tell you about a famous bakery. It’s called Magnolia. It was on a very popular TV show. The characters loved their cupcakes. I remember watching it with my daughter. We always wanted to try one.
Baking these cupcakes feels special. It’s like being part of a fun story. Food connects us to happy memories. That’s why this matters. It’s more than just a snack. It’s a little piece of joy.
Getting Your Batter Just Right
First, let your butter get soft. Leave it on the counter for an hour. This makes it easy to mix. Cream it with the sugar until it’s fluffy. It should look like pale clouds. Doesn’t that smell amazing already?
Add your eggs one at a time. This helps them blend in smoothly. Then mix your flours and milk in turns. Do not overbeat the batter! A few lumps are just fine. Overmixing makes tough cupcakes.
The Pink Icing Secret
The icing is the best part. It’s sweet and creamy. You start with lots of powdered sugar. Add it slowly so it doesn’t fly everywhere. I learned that the hard way. I once made a snowstorm in my kitchen. I still laugh at that.
Now for the pink color. Just a few drops will do. It makes them look so happy and pretty. Fun fact: The bakery’s pink icing became its famous trademark. What’s your favorite cupcake color? Is it pink, or something else?
Baking with Love
Fill your cupcake liners three-quarters full. This gives them room to rise. They will make a perfect little dome. Watch them bake through the oven window. It’s the best part. They smell like a warm hug.
Let them cool completely before icing. I know, it’s hard to wait! But if you ice a warm cupcake, the frosting will melt. Patience makes a prettier treat. Do you like to eat the cupcake top or bottom first?
Your Own Signature Swirl
Time to frost! Use a butter knife. Start from the outside and swirl into the center. Make a tall, pretty peak. This is the Magnolia signature look. It feels fancy, but it’s easy. You can do it.
Finally, add sprinkles. This is where you can be creative. Use your favorite kind. The final touch matters. It shows you cared. That’s why this matters. Sharing food you made with love is a wonderful gift. What sprinkles will you choose?
Ingredients:
| Ingredient | Amount | Notes |
|---|---|---|
| Self-rising flour | 1-1/2 cups | |
| All-purpose flour | 1-1/4 cups | |
| Unsalted butter, softened | 1 cup (2 sticks) | For the cupcakes |
| Granulated sugar | 2 cups | |
| Large eggs, room temperature | 4 | |
| Milk | 1 cup | For the cupcakes |
| Vanilla extract | 1 teaspoon | For the cupcakes |
| Unsalted butter, softened | 1 cup (2 sticks) | For the Vanilla Buttercream Icing |
| Confectioners’ sugar | 6-8 cups | |
| Milk | 1/2 cup | For the Vanilla Buttercream Icing |
| Vanilla extract | 2 teaspoons | For the Vanilla Buttercream Icing |
| Pink food coloring | As needed | Optional, for decoration |
| Sprinkles | As needed | For decoration |
My Famous Pink Cloud Cupcakes
Hello, my dear! Let’s bake my famous pink cloud cupcakes. They remind me of my granddaughter’s birthday parties. The kitchen would be full of laughter and pink sprinkles. I still laugh at that. These cupcakes are soft and sweet, like a hug.
We’ll make them step-by-step. It’s easier than you think. Just follow along with me. Doesn’t that butter smell amazing already? Let’s get our bowls ready.
Step 1:
First, turn your oven to 350 degrees. Line your muffin tins with pretty papers. Now, mix your two flours together in a small bowl. Just give them a little stir. Set them aside for a moment.
Step 2:
Now, let’s make the batter. Cream the soft butter until it’s smooth. Slowly add the sugar. Beat it until it’s fluffy and light. It will look like pale yellow clouds. Add the eggs, one at a time. Mix well after each one.
Step 3:
Here’s the secret. Add some flour, then some milk and vanilla. Repeat until it’s all in. Mix just until you don’t see flour anymore. (My hard-learned tip: Overmixing makes tough cupcakes!). The batter will be lovely and thick.
Step 4:
Spoon the batter into your papers. Fill them about three-quarters full. This gives them room to rise. Bake for 20 to 25 minutes. They’re done when a toothpick comes out clean. What’s your favorite cupcake liner color? Share below!
Step 5:
Let the cupcakes cool completely. Now, the fun part! Make the icing. Beat the butter, some sugar, milk, and vanilla. Keep adding sugar until it’s thick and spreadable. Add a few drops of pink coloring. Swirl it on high and add sprinkles!
Cook Time: 25 minutes
Total Time: 1 hour 15 minutes
Yield: About 24 cupcakes
Category: Dessert, Baking
Three Sweet Twists to Try
Once you master the classic, try a twist! It’s fun to play in the kitchen. Here are three of my favorite ideas. They always bring a smile.
Lemon Sunshine: Add lemon zest to the batter. Use yellow food coloring in the icing. It tastes like a sunny day.
Berry Blast: Fold fresh raspberries into the batter. Top with a fresh berry instead of sprinkles. So juicy and good.
Chocolate Dip: Skip the pink icing. Just dip the cooled cupcake tops in melted chocolate. Let it set into a shiny shell.
Which one would you try first? Comment below!
Serving with a Smile
These cupcakes are a celebration all by themselves. But you can make them extra special. I love serving them on my old china plate. It makes everyone feel fancy.
For a party, add a bowl of fresh strawberries on the side. The red and pink look so pretty together. You could also serve them with small scoops of vanilla ice cream. The mix of warm cake and cold cream is wonderful.
What to drink? For the grown-ups, a little glass of champagne is nice. It bubbles just like your laughter. For everyone, a cold glass of milk is the classic choice. It’s the perfect partner for a sweet treat. Which would you choose tonight?

Keeping Cupcakes Happy and Fresh
Let’s talk about keeping these sweet treats fresh. First, cool cupcakes completely. Any warmth will make the icing melt. Store them in a sealed container at room temperature for two days.
For the freezer, skip the icing. Wrap plain cupcakes tightly in plastic. They freeze beautifully for a month. Thaw them on the counter before frosting.
I once iced cupcakes before freezing. What a sticky, messy lesson that was! Now I know better. Batch cooking the batter saves time. You can bake a few now and freeze the rest for later.
This matters because good planning means fresh treats anytime. A happy surprise is always ready for you. Have you ever tried storing cupcakes this way? Share below!
Simple Fixes for Common Cupcake Troubles
Sometimes baking has little hiccups. Do not worry. Here are easy fixes. First, if your cupcakes are dense, you may have over-mixed. Mix just until the flour disappears.
Second, cracked tops happen if the oven is too hot. An oven thermometer helps. I remember when my cupcakes looked like little volcanoes! My oven was running hot.
Third, runny icing means you need more sugar. Add it slowly until it is thick. Getting these right builds your confidence. It also makes your treats taste and look perfect. Which of these problems have you run into before?
Your Cupcake Questions, Answered
Q: Can I make these gluten-free? A: Yes. Use a good gluten-free flour blend made for baking.
Q: Can I make them ahead? A: Absolutely. Bake them a day early. Frost them the day you serve.
Q: What if I don’t have self-rising flour? A: For each cup, use 1 cup all-purpose flour, 1 1/2 tsp baking powder, and 1/4 tsp salt.
Q: Can I halve the recipe? A: You can. Just halve all the ingredients exactly. *Fun fact: This recipe is famous from a TV show about friends in New York!*
Q: Are sprinkles required? A: No, but they add joy. Use your favorite colors. Which tip will you try first?
Bake Some Joy and Share It
I hope you have fun baking these. The best part is sharing them. Give one to a friend or a neighbor. See their smile.
It makes all the measuring and mixing worth it. I would love to see your beautiful creations. Your kitchen stories warm my heart.
Have you tried this recipe? Tag us on Pinterest! Use our handle @ChloesKitchen. I cannot wait to see your pink-frosted masterpieces.
Happy cooking! —Chloe Hartwell.
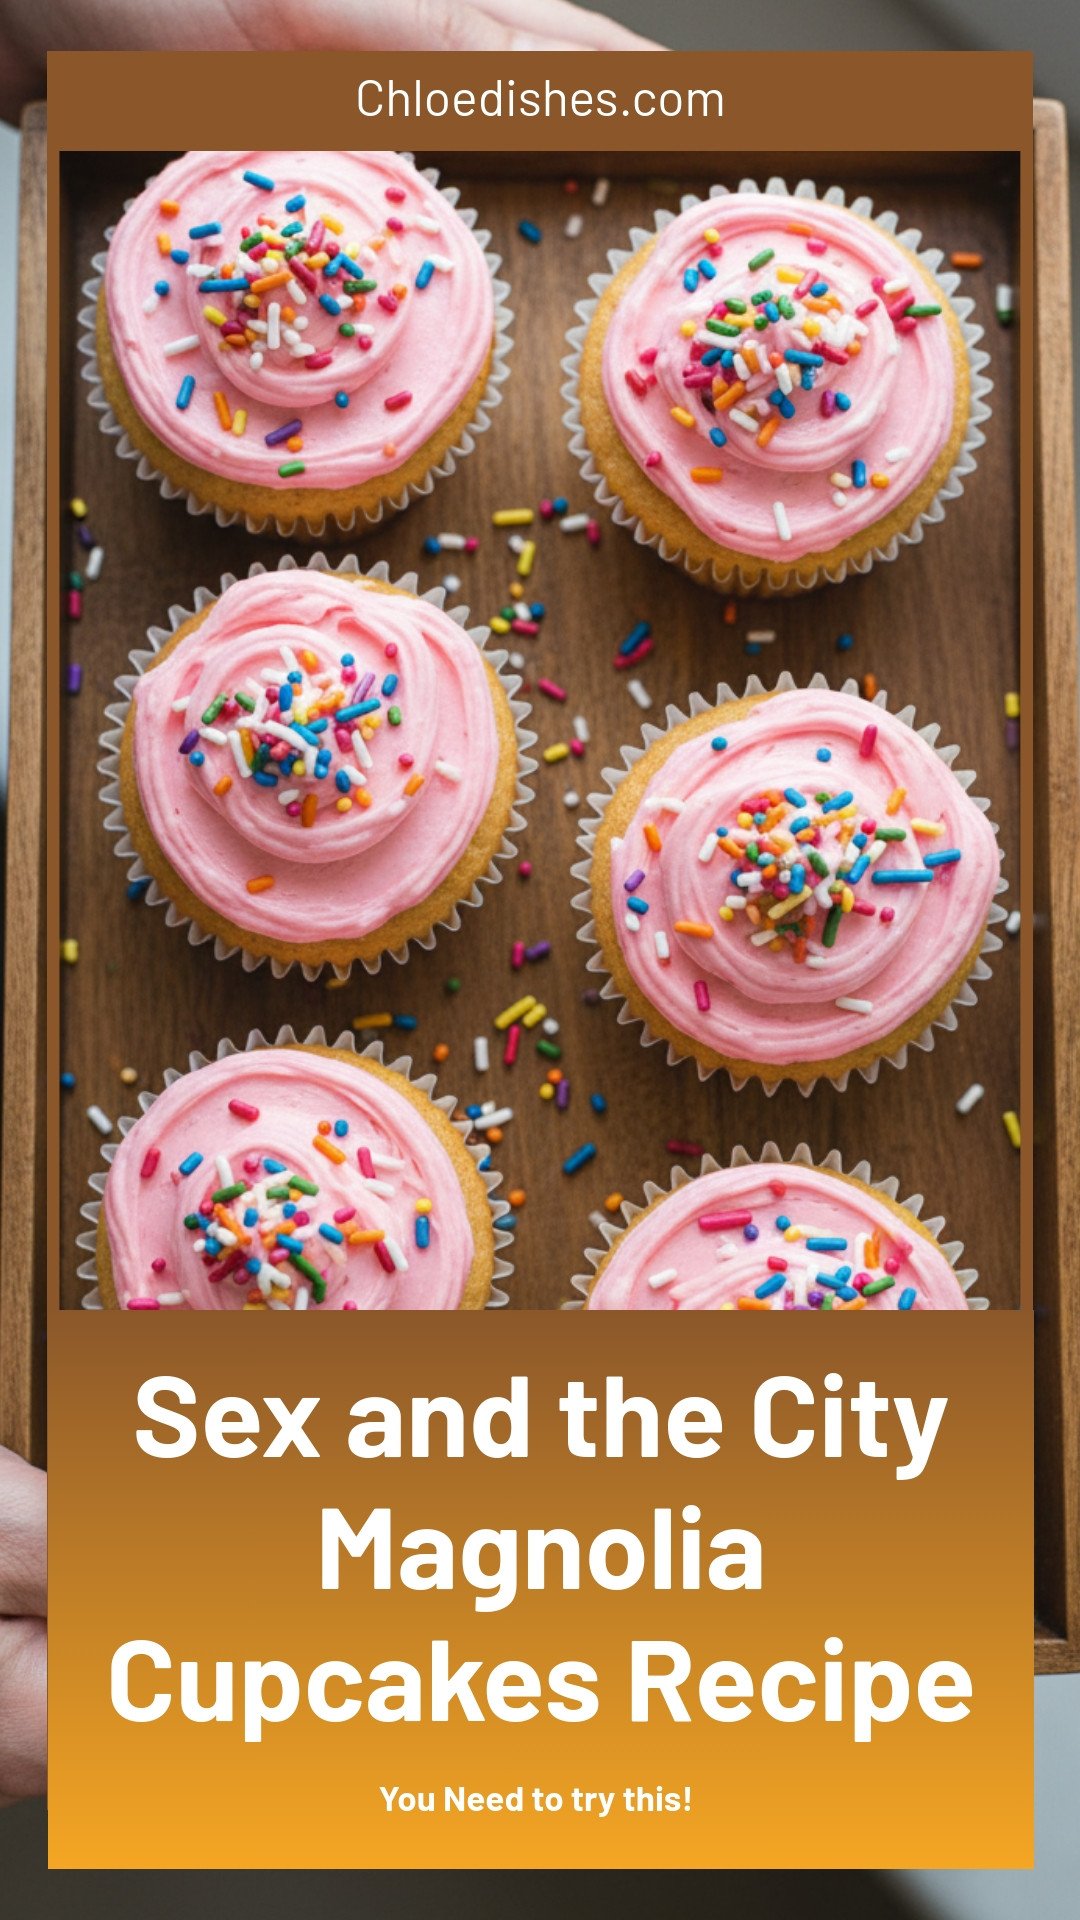

Sex and the City Magnolia Cupcakes Recipe
Description
Bake the iconic Magnolia Bakery cupcakes from Sex and the City! Easy vanilla cupcake recipe with fluffy vanilla buttercream frosting. Perfect for a girls’ night in.
Ingredients
Vanilla Buttercream Icing:
Instructions
- Preheat the oven to 350°F. Line two 12-cup muffins tins with cupcake liners.
- In a small bowl, combine the flours. Set aside.
- In the large bowl of an electric mixer, cream the butter on medium speed until smooth. Add the sugar gradually and beat until fluffy, about 3 minutes. Add the eggs, one at a time, beating well after each addition.
- Add the dry ingredients in three parts, alternating with the milk and vanilla. With each addition, beat until the ingredients are incorporated but do not overbeat. Using a rubber spatula, scrape down the batter in the bowl to make sure the ingredients are well blended.
- Carefully spoon the batter into the cupcake liners, filling them three-quarters full. Bake for 20-25 minutes, or until a cake tester inserted into the center comes out clean. Cool the cupcakes in the tins for 15 minutes. Remove from the tins and cool completely on a wire rack before icing.
- To make the icing, place the butter in a large mixing bowl. Add 4 cups of the confectioners’ sugar and then the milk and vanilla. On the medium speed of an electric mixer, beat until smooth and creamy, about 3-5 minutes. Gradually add the remaining sugar, 1 cup at a time, beating well after each addition (about 2 minutes). The icing should be thick enough to be of good spreading consistency. You may not need all of the sugar.
- If desired, add a few drops of pink food coloring and mix thoroughly.
- Generously frost each cupcake, adding a final flourish with the knife at the end to create the signature swirl on Magnolia cupcakes. Top with sprinkles.
Notes
- Nutrition information is not provided in the text.


Leave a Reply