
The Day I Learned to Trust a Ripe Banana
Let me tell you about the first time I made these muffins. I had three bananas sitting on my counter that were so spotty and brown, my grandson called them “zombie bananas.” I almost threw them away. But my neighbor, old Mrs. Pena, taught me something years ago. The uglier the banana, the sweeter the muffin. Those dark bananas break down like magic in the bowl. You don’t need extra sugar or oil when nature has already done the work. Does your family ever give you a hard time for keeping old fruit on the counter? I still laugh at how I used to hide my spotted bananas behind the bread box. *Fun fact: A really ripe banana is almost three times sweeter than a yellow one. That is why you can skip so much added sugar in this recipe.*Why We Don’t Need Oil Today
I grew up thinking every muffin needed a big glug of oil. But here is the truth. The peanut butter in this recipe does all the heavy lifting. It gives you moisture and protein without any extra fat. When you mash it with the bananas, something special happens. The batter gets thick and creamy, just like a good oatmeal. This matters because a lot of us are trying to eat a little lighter these days. We want treats that feel good in our stomachs, not heavy ones. Have you ever tried baking without oil before? It feels a bit like riding a bike without training wheels, but you get the hang of it fast. Here is why this matters for your body: Peanut butter has healthy fats that help your brain and heart. Oil does not always have that same goodness. You get more food for your money when you use real nut butter.My Measuring Cup Trick
I want to share a little secret that changed my baking forever. The recipe says you need 1 and a half cups of mashed banana. I used to just guess. Some days my muffins were dry, other days they were too soggy. Then I started mashing my bananas in a large measuring cup first, just like the recipe suggests. I use an avocado masher, but a fork works fine too. Mash until smooth, then check your measurement. If you are short, add a little more banana. If you have too much, save it for a smoothie. This one simple step stops you from making rubbery disappointment. Have you ever ended up with sad, flat muffins? I sure have, and it is no fun. This matters because baking is really just a little chemistry lesson. The right amounts make everything puff up nice and tall. Your family will think you are a kitchen wizard.Don’t Overmix, Sweetheart
Here is where a lot of folks go wrong, and I have done it myself a hundred times. You mix the dry ingredients into the wet, and you want to keep stirring until it is perfectly smooth. Do not do that. I am serious. When you overmix muffin batter, you wake up the gluten. Gluten is a protein that makes bread chewy and strong. That is great for a sandwich loaf, but terrible for a tender muffin. You want your muffins to be soft and pillowy, not like a shoe sole. Just stir until you cannot see any more white flour. A few lumps are your friends. The first time I taught my granddaughter this, she asked why the batter looked bumpy. I told her it is supposed to look like a sleepy face. We both laughed. What is one baking rule you break on purpose? I would love to hear about it.The Almond Sliver Debate
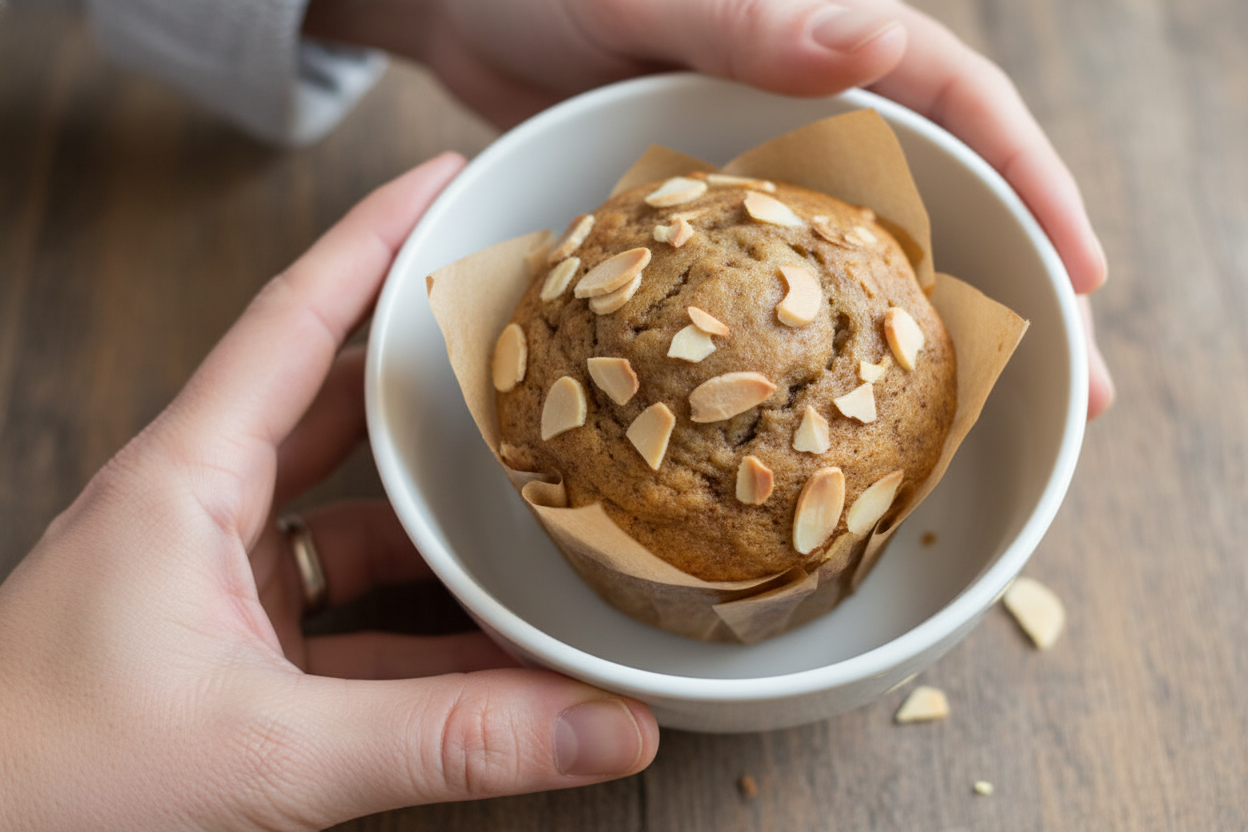
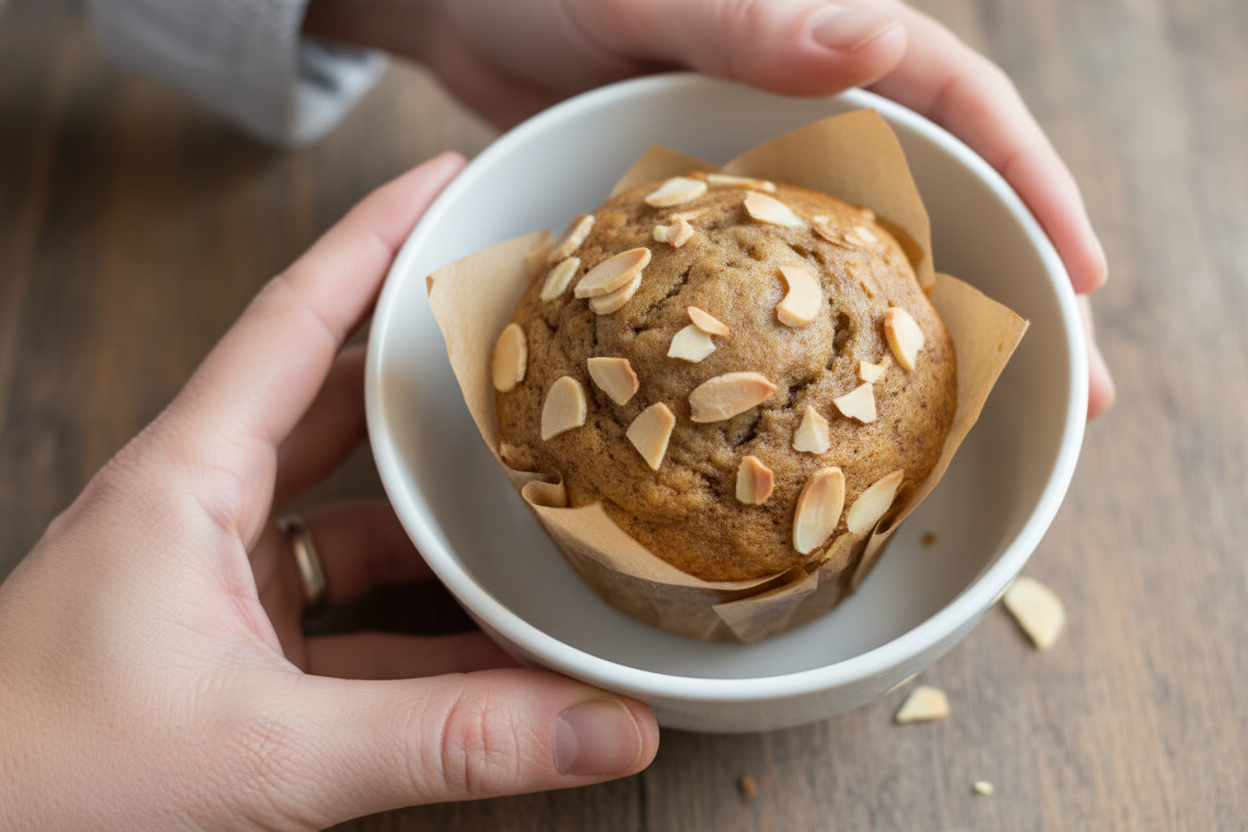
The recipe says almond slivers are optional. I say they are the cherry on top, even though there are no cherries here. Those little crunchy bits on the top remind me of a sunny Sunday morning. They toast up golden in the oven and make the muffins look fancy. But here is the thing. My husband does not like nuts on top. He says they fall off and make a mess on his plate. So I only put them on half of the muffins. That way, everyone wins. Do you have a picky eater in your house who likes things a certain way? I think most families do. Why this matters: When you let people choose their own toppings, they feel special. A little almond on top gives you extra crunch and protein. It turns a simple muffin into a real treat.The 15 Minute Waiting Game
You have pulled the muffins out of the oven. They smell amazing. Your kitchen smells like a bakery. You want to grab one right now and take a big bite. Please, wait just a little while. The recipe says to let them cool in the pan for 15 minutes. This is not just patience for the sake of patience. When muffins are hot, they are still steaming inside. If you pull them out too soon, they fall apart in your hands. You will end up with a pile of crumbs on your plate instead of a nice muffin. Believe me, I have cried over lost muffin crumbs before. Also, the bottom of the muffin needs to set. Those 15 minutes let the structure firm up. Once they cool, you can pick them up and they hold together like a little hug. Doesn’t that smell amazing while you wait? I always sit at the counter and just breathe it in.Now It Is Your Turn
I hope you try these muffins. They are simple enough for a beginner but tasty enough for a holiday breakfast. The best part is that they use things you probably already have in your kitchen. No fancy ingredients, just real food. Before you go, I have one more question for you. What is your favorite memory of baking with someone you love? Maybe it was your mom, your dad, or a kind neighbor. I would love to hear that story. And if you make these muffins, please let me know how they turn out. Did you use the almonds? Did your kids ask for seconds? Tell me everything.Ingredients:
| Ingredient | Amount | Notes |
|---|---|---|
| Gluten free 1:1 flour | 1 ¾ cup | Dry ingredient |
| Coconut sugar (organic brown) | ½ cup | Dry ingredient |
| Cinnamon | ½ teaspoon | Dry ingredient |
| Baking powder | 2 teaspoon | Dry ingredient |
| Bananas (large, mashed) | 3 | Wet ingredient |
| Maple syrup | 2 tablespoon | Wet ingredient |
| Naked Crunch Peanut Butter (spreadthelove) | ½ cup | Wet ingredient |
| Eggs (room temperature) | 2 | Wet ingredient |
| Vanilla extract | 1 ½ teaspoon | Wet ingredient |
| Almond slivers | For topping | Optional |
My Grandma Always Said, “Bake With What You Love”
This banana muffin recipe came to me on a rainy Tuesday. I had three sad, spotty bananas on the counter and a hungry family. Doesn’t that smell amazing already? Bananas and cinnamon just belong together, I think.
My friend Janie taught me the trick of using an avocado masher. She said it saves your wrists and makes you feel fancy. I still laugh at that because I use it for everything now. The peanut butter here adds protein without any oil. It makes these muffins soft and filling, not heavy.
Now, grab your mixing bowls and let’s make something wonderful together. I promise these will disappear faster than you can say “snack time.” (Hard-learned tip: Don’t skip the cooling rack step! Hot muffins stuck to a tray will tear. I learned that the hard way on a very sad birthday morning.)
Step 1: Preheat your oven to 365 degrees. Then line a muffin tray with paper liners. My cat always watches me do this step. I think she hopes one will fall.
Step 2: In a medium bowl, whisk together all the dry ingredients. That is flour, coconut sugar, cinnamon, and baking powder. Give it a good mix so no lumps hide. (Hard-learned tip: Whisk the baking powder really well. Nobody wants a pocket of bitter powder in their muffin.)
Step 3: In a large bowl, mash three large bananas until almost smooth. You want exactly 1.5 cups of mashed banana. I use a big measuring cup to check. Add a little more banana if your pile seems short. This is the most important step for moist muffins.
Step 4: To the banana in the large bowl, add peanut butter, eggs, maple syrup, and vanilla extract. Whisk everything until it looks like a creamy, happy batter. The peanut butter melts right in. Doesn’t that smell amazing?
Step 5: Carefully pour the dry ingredients into the wet bowl. Use a rubber spatula to fold it all together. Mix just until you can’t see any flour. Over-mixing makes rubbery muffins, and nobody wants that. (Hard-learned tip: Stop stirring the second the flour disappears. Trust me on this.)
Step 6: Use a cookie scoop to fill each liner evenly. Sprinkle almond slivers on top if you like crunch. Bake for 17 to 20 minutes. Test with a toothpick—if it comes out clean, they are ready. Now, let them cool in the tray for 15 minutes. What is your favorite way to use up old bananas? Share below!
Cook Time: 17–20 minutes
Total Time: 45 minutes
Yield: 12 muffins
Category: Snack, Breakfast
Three Fun Twists on This Muffin
Sometimes I change the recipe just for fun. My kids never guess what I did, but they always cheer. Here are three easy ways to shake things up.
Chocolate Chip Dream: Fold in a handful of dark chocolate chips before baking. The warm chocolate melts into the banana. It tastes like a hug from the inside.
Pumpkin Spice Fall: Swap the cinnamon for pumpkin pie spice. Add a quarter cup of canned pumpkin in with the wet ingredients. Your whole kitchen will smell like autumn leaves and coziness.
Peanut Butter & Jelly: Swirl a spoonful of your favorite jam into each muffin cup before baking. Strawberry or raspberry works best. You get a little burst of fruity sweetness in every bite. Which one would you try first? Comment below!
How to Serve and Sip Your Muffins
These muffins are perfect on their own, but I love to dress them up a little. Split one in half and toast it lightly. Spread a thin layer of butter or a drizzle of honey on top. Serve them with a handful of fresh berries on the side. It feels like a fancy café breakfast, but you made it.
For a drink, pour yourself a tall glass of cold milk or a warm mug of chamomile tea. The tea is my favorite for a quiet afternoon. If you are having an adult evening, try a small glass of bourbon. The caramel notes pair beautifully with the banana and peanut butter. Which would you choose tonight?
Storing Your Muffins Right
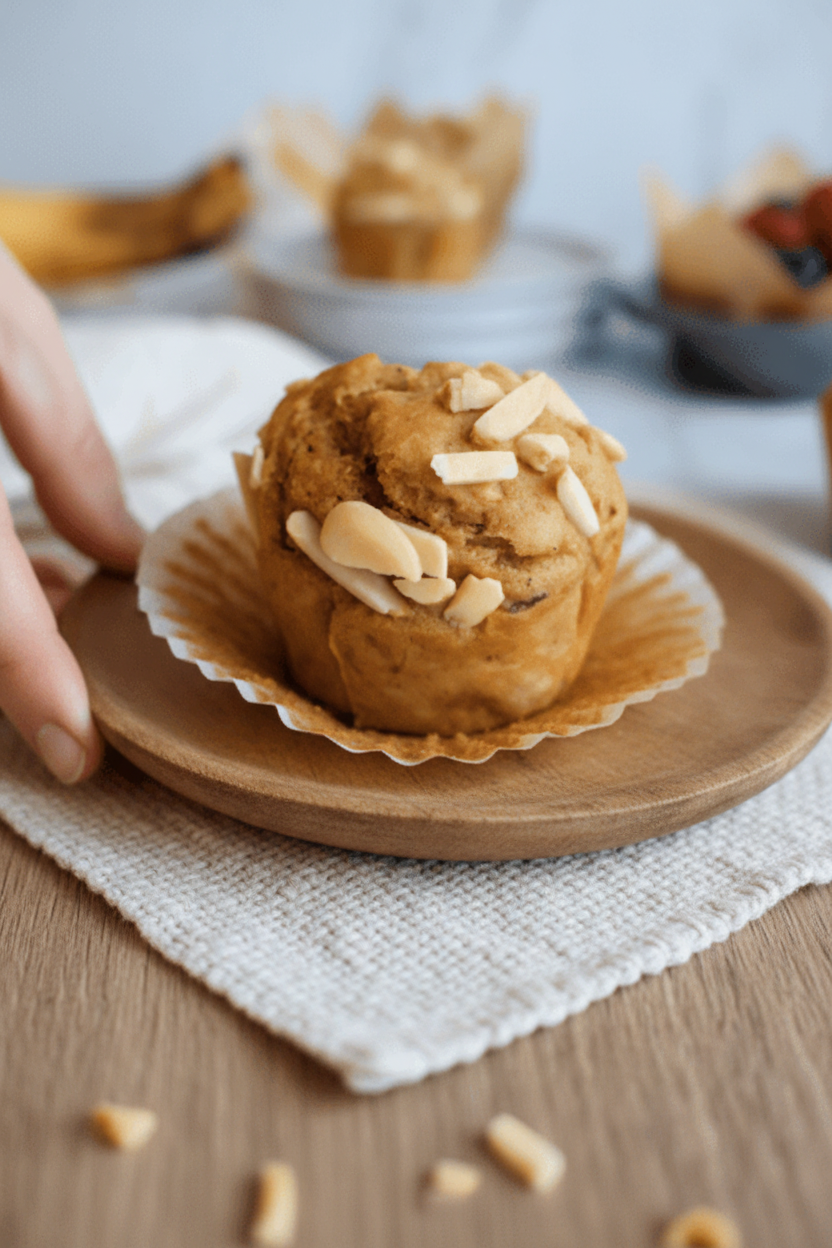
These banana muffins freeze like little treasures. Let them cool completely first. Then place them in a freezer-safe bag or container. They will keep for up to three months. When you want one, just pull it out and let it thaw on the counter. I once forgot a bag in the freezer for two months. They tasted just as fresh as the day I baked them.
For the fridge, store them in an airtight container. They will stay good for about five days. Do not put warm muffins in the fridge. The steam will make them soggy. To reheat, pop one in the microwave for 15 seconds. Or warm them in a toaster oven for five minutes. I like mine warm with a little butter.
Batch cooking is a smart move. Make a double batch on Sunday. Then you have breakfast ready for the week. It saves time and money. No more rushing in the morning. Have you ever tried storing it this way? Share below!
Why this matters: When you store food correctly, you waste less. This helps your budget and the planet. It also means you always have a healthy snack ready. That is a win for everyone.
Three Common Fixes
Sometimes muffins come out too dense. This happens when you over-mix the batter. Mix just until the flour disappears. A few lumps are okay. I remember my first batch was tough like hockey pucks. My grandma laughed and said, “Stir less, love more.”
Another problem is muffins that stick to the liner. The fix is easy. Use good quality paper liners. Or spray the liners with a little oil. Your muffins will slide right out. Why this matters: No one likes peeling liner bits off their muffin. It is frustrating and wastes food.
Last, muffins that do not rise. Check your baking powder. It must be fresh. Test it by dropping a little in hot water. If it fizzes, it is good. If not, buy new powder. Which of these problems have you run into before?
Why this matters: Fixing these small mistakes makes you a better baker. You gain confidence. And your muffins will taste amazing every time.
Your Questions Answered
Q: Can I use regular flour instead of gluten-free?
A: Yes! Use the same amount of all-purpose flour. The texture will be a little different.
Q: Can I make these ahead of time?
A: Yes. Bake them the night before. Store in a sealed container on the counter.
Q: Can I swap the peanut butter?
A: Yes. Use any nut butter or sunflower seed butter. The taste will change a bit.
Q: How do I scale the recipe to feed more people?
A: Double everything. Bake in two trays. Check for doneness after 20 minutes.
Q: Are the almond slivers necessary?
A: No. They just add a nice crunch. You can leave them out or use chopped walnuts.
Which tip will you try first?
A Sweet Goodbye
Thank you for baking with me today. These muffins are a little hug for your tummy. I hope they bring you joy. If you make them, please share a photo. I would love to see your creation. Have you tried this recipe? Tag us on Pinterest! Happy cooking! —Chloe Hartwell.
Oil Free Protein Banana Muffin Recipe
Description
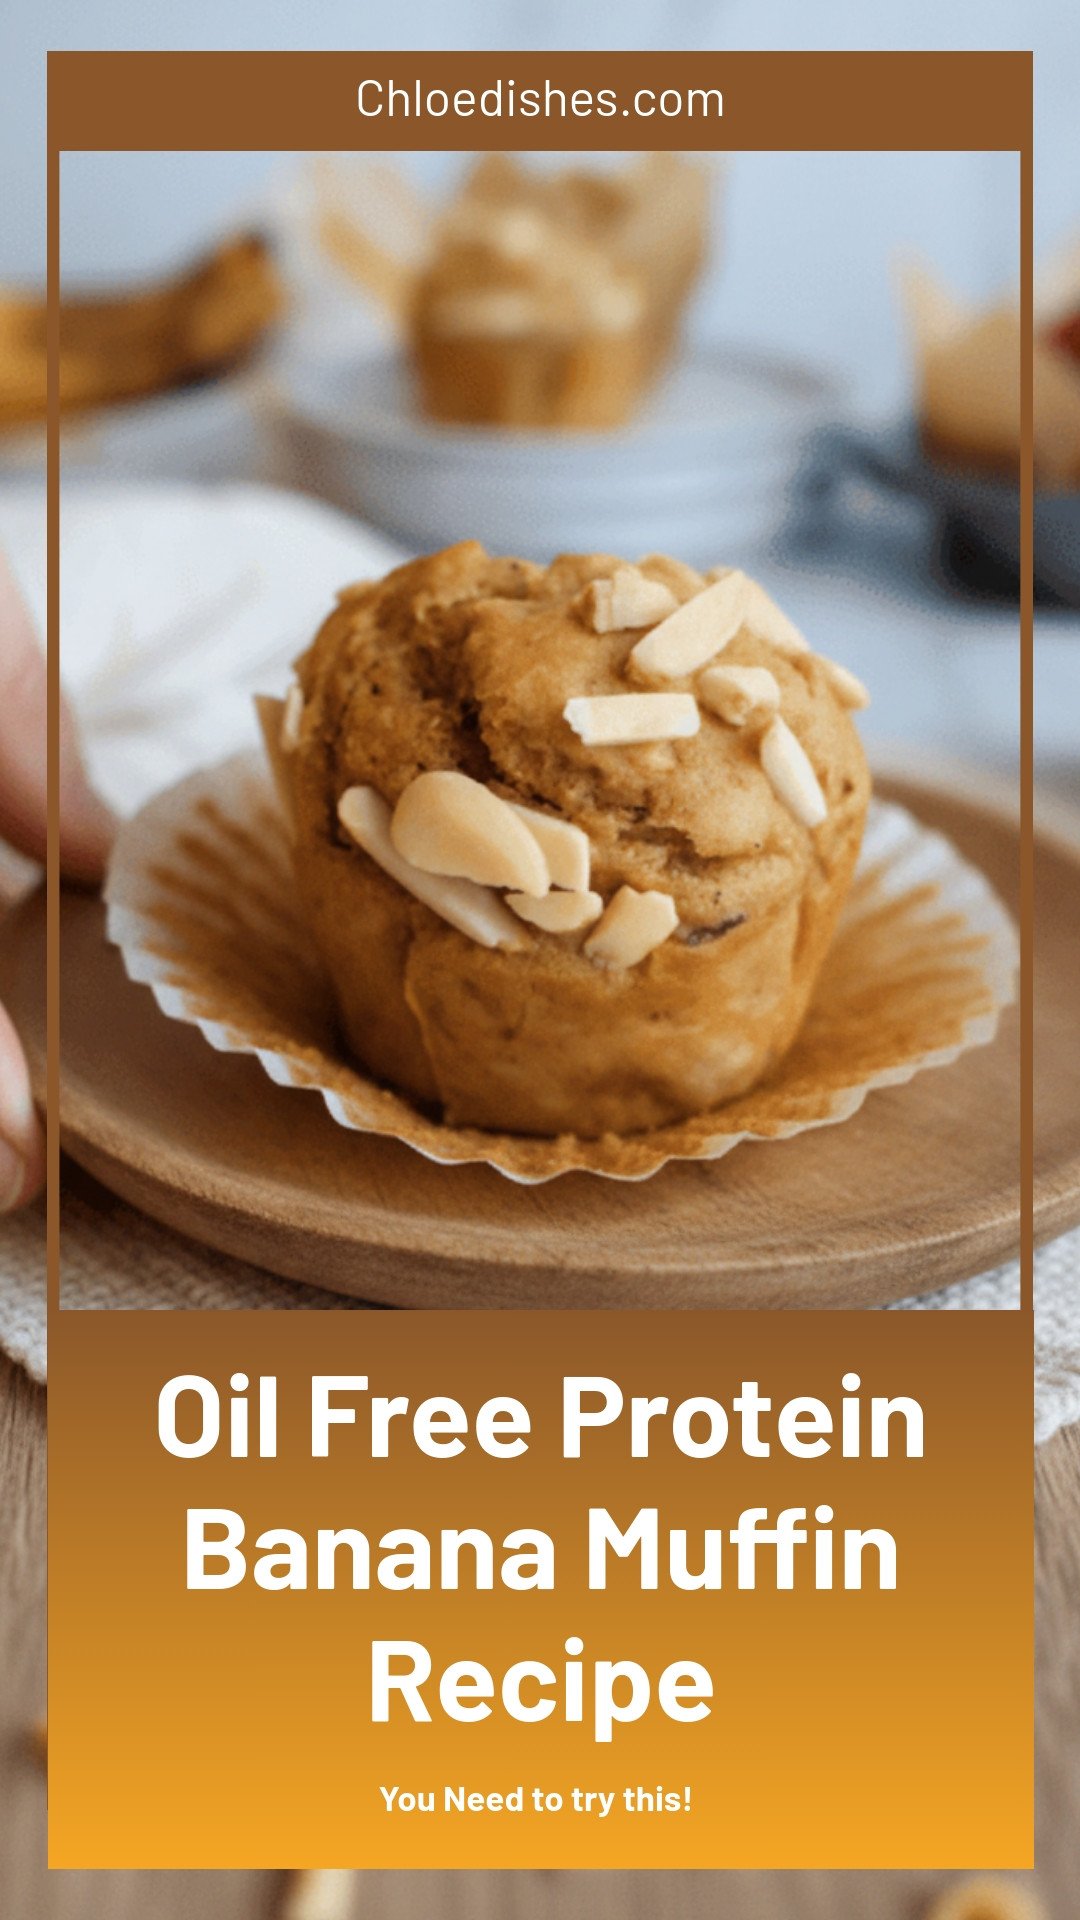
Moist, oil-free protein banana muffins made with simple ingredients. Healthy, flourless, gluten-free, and packed with natural sweetness. Perfect clean eating breakfast.
Ingredients
Instructions
- First preheat the oven to 365 ℉ degrees. Then, line a cupcake tray with muffin or cupcake liners.
- Next, in a medium bowl, combine all dry ingredients together and whisk to combine.
- Then, in a large mixing bowl, mash bananas until almost smooth. Or, place bananas into a large measuring cup, and mash using an Avocado mash prefer to do it this way, that way I am able to be certain I have 1 ½ cups. If your bananas don’t measure 1 ½ cup slowly add more bananas until the measurement is met.
- Once bananas are in the large mixing bowl, add peanut butter, eggs, maple syrup, and vanilla extract. Using a whisk, mix until well combined.
- Then, carefully pour the dry ingredients into the wet ingredients. Using a rubber spatula, mix until well combined, but be careful not to over-mix. You don’t want rubbery muffins!
- Using a cookie or Ice cream scoop, add batter evenly to the muffin liners. Lastly, if using the almond slivers, sprinkle these on top of the batter at this point.
- Place the muffin tray in the oven and bake for 17-20 minutes until a toothpick comes out clean. Muffins will have risen nicely at this time. Place the muffin tray onto a cooling rack and allow it to cool for 15 minutes before removing it from the tray.




Leave a Reply