
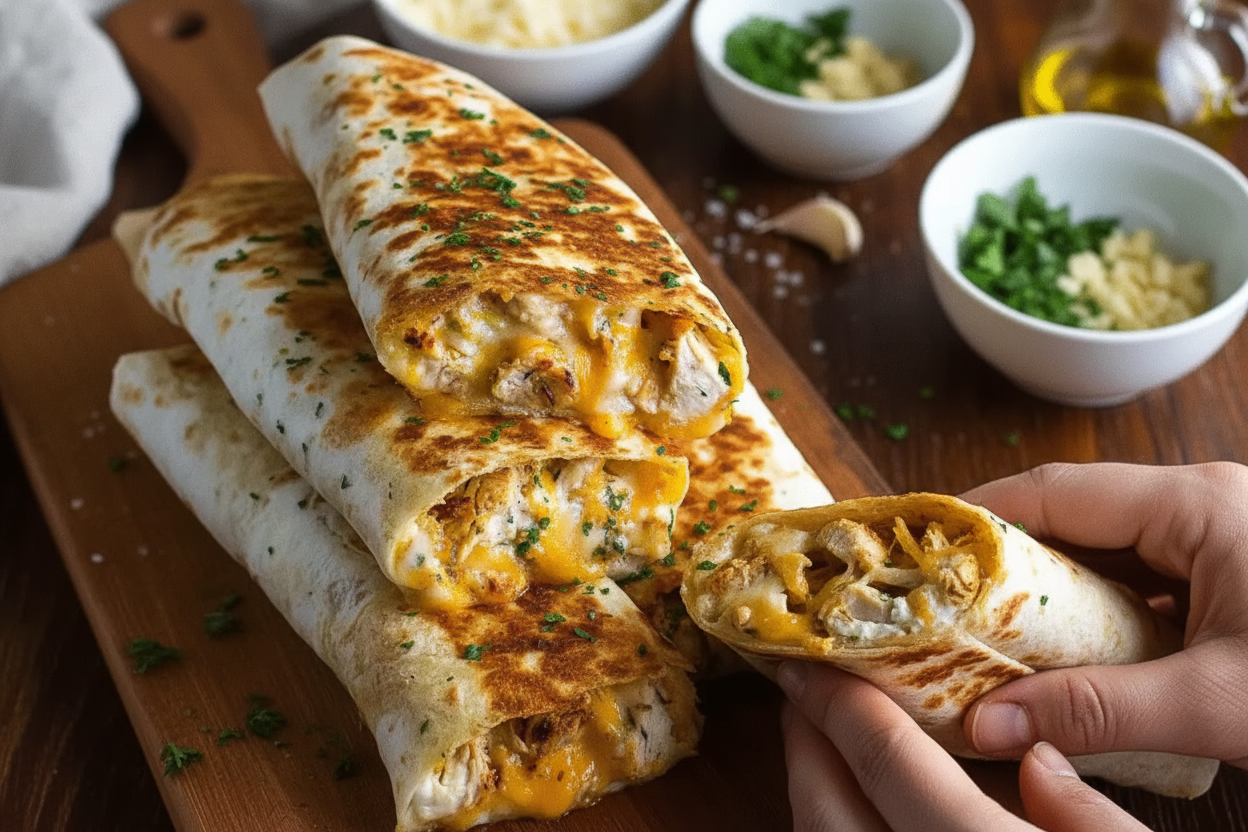
The Day I Stuffed Too Much Garlic
Some kitchen mistakes turn into happy accidents. I remember the first time I made these cheesy garlic wraps. I was talking to my neighbor through the window and lost track of how much garlic I added. I used almost half a cup, which is a lot. My family ate every single piece without a complaint. I still laugh at that. We all had to brush our teeth twice before bed. That is how I learned that garlic can be your best friend in the kitchen. It makes simple things taste like a million bucks. Have you ever accidentally added too much of something and liked it even more?Why This Mix Works Like Magic
Here is a little secret about cream cheese. It melts into everything and makes it creamy and smooth. The mozzarella gives you long, stretchy pulls of cheese when you bite in. Together, they hug the shredded chicken like a warm blanket. That is why these wraps turn out so ooey and gooey. You get a crispy shell on the outside and a soft, melty middle on the inside. Why does this matter? Because texture makes food fun. Think about how boring a plain cracker is versus a soft cookie with crunchy nuts. Same idea here. Every bite has a little crunch and a lot of stretch. *Fun fact: Mozzarella cheese was first made from water buffalo milk in Italy hundreds of years ago.*Rolling Up the Goodness
Now comes the tricky part. You have to roll your tortillas tight but not squeeze the filling out the ends. When I was a kid, my grandma let me help her roll burritos. I always made a mess. She would just smile and tell me that practice makes perfect. Now I hold the sides in with my fingers as I roll. It keeps everything inside where it belongs. Doesn’t that smell amazing when they hit the hot oil? That sizzle means you are on the right track. What fillings do you usually put in your wraps at home?The Bite That Says Everything
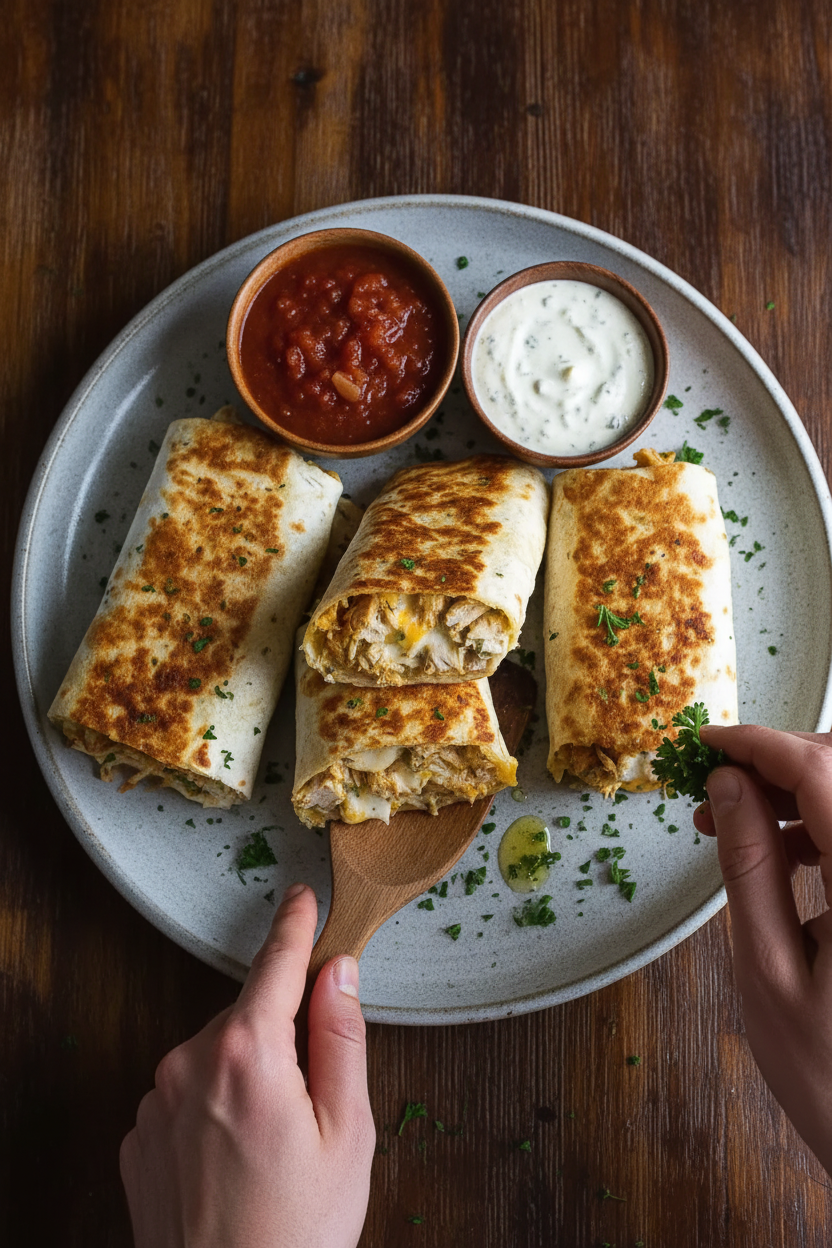
When you slice these wraps and serve them warm, watch people’s faces. The cheese pulls apart in long strings. The edges are golden and crispy. I like to dip mine in a little ranch dressing or some extra garlic sauce. My youngest grandchild just eats them plain, dipped in ketchup. To each their own, I say. Why does this matter? Because food is about sharing happy moments. A simple wrap can turn a regular Tuesday into a mini party. Next time you make these, try putting out different dips and see what everyone picks.Keeping the Crunch for Later
These wraps taste best fresh from the skillet. But if you have leftovers, here is a trick. Let them cool completely. Wrap them in foil and put them in the fridge. The next day, warm them in a dry skillet again, not the microwave. The microwave makes them soggy. Nobody wants a soggy wrap. I keep a little bowl of chopped parsley on the table. Sprinkling fresh herbs on top makes it look fancy. You can also add a squeeze of lemon juice. It cuts through the richness. Do you prefer your wraps fresh and hot, or do you like them cold the next day for lunch?Your Turn to Try
This recipe is hard to mess up. You just mix, roll, and fry. Even a beginner cook can make these and feel proud. I would love to hear how yours turn out. Did you add anything extra, like bell peppers or spinach? Did your family ask for seconds? Drop a note in the comments and tell me your favorite dipper. I am always looking for new ideas to try in my own kitchen.Ingredients:
| Ingredient | Amount | Notes |
|---|---|---|
| Cooked chicken, shredded | 2 cups | |
| Mozzarella cheese, shredded | 1 cup | |
| Cream cheese, softened | 1/2 cup | |
| Garlic, minced | 1/4 cup | |
| Fresh parsley, chopped | 1/4 cup | |
| Large tortillas | 4 | |
| Olive oil | 1 tablespoon | |
| Salt and pepper | To taste |
The Story Behind These Gooey, Garlicky Wraps
I remember the first time I made these wraps. It was a rainy Tuesday, and nothing says “cozy dinner” like melted cheese and garlic. Does that smell amazing?
This little number comes from my “I-have-leftover-chicken-and-I’m-tired” collection. You know those nights. The whole family was standing in the kitchen, sniffing the air like puppies. I still laugh at that.
The secret is mixing the cream cheese until it’s very soft. That makes the filling super creamy, not lumpy. My grandma taught me to always let cream cheese sit on the counter for a bit. It makes a world of difference.
Are you a garlic lover? Because this recipe doesn’t hold back. We use a full quarter cup of the good stuff. Don’t worry, the cooking sweetens it up.
Let’s Make Cheesy Garlic Chicken Wraps
Step 1: Grab your biggest mixing bowl. Toss in 2 cups of shredded cooked chicken, 1 cup of shredded mozzarella cheese, and 1/2 cup of very soft cream cheese. Don’t forget the 1/4 cup of minced garlic and 1/4 cup of chopped fresh parsley. (Hard-learned tip: Shred your chicken when it’s still a little warm—it mixes in so much easier than cold chicken!)
Step 2: Use a big spoon or your clean hands to mix everything together. Make sure every shred of chicken gets a little bit of cream cheese and garlic love. Then sprinkle in some salt and pepper. I like a little extra pepper for a tiny kick. What’s your favorite way to add flavor to chicken? Share below!
Step 3: Lay four large tortillas flat on your counter. Spoon the chicken mixture onto the center of each one. Spread it evenly in a line down the middle, leaving about an inch of space on the sides. Don’t overstuff, or your wraps will burst.
Step 4: Roll each tortilla up tight like a little sleeping bag. Tuck the sides in first, then roll from the bottom. Press gently to keep the filling inside. Once they’re all rolled, set them seam-side down on a plate.
Step 5: Heat 1 tablespoon of olive oil in a big skillet over medium heat. Carefully place your wraps in the pan, seam-side down. Let them cook for about 3-4 minutes, until the bottom is a beautiful golden brown. Then flip them over and cook the other side the same way. The cheese inside will get all stretchy and warm.
Step 6: Take the wraps out of the skillet and let them rest for just one minute. This makes them easier to slice. Cut each wrap into little pinwheels or just serve them whole. You want to hear that crunch when you bite in.
Cook Time: 8–10 minutes
Total Time: 20 minutes
Yield: 4 wraps (great for lunch, dinner, or a snack)
Category: Dinner, Quick Meals
Three Fun Twists to Try
Veggie Lover’s Swap: Skip the chicken! Use 2 cups of cooked, well-drained spinach and a handful of sun-dried tomatoes instead. It’s earthy and so good with garlic.
Spicy Fiesta Style: Add a half teaspoon of red pepper flakes to the filling. Throw in some pickled jalapeños before rolling. The heat wakes up all the cheesy flavors.
Spring Garden Fresh: Mix in a cup of finely chopped asparagus (blanched for 2 minutes) and a handful of fresh chives. It gives the wraps a bright, green crunch.
Which one would you try first? Comment below!
How to Serve and Sip These Wraps
Serve these warm wraps with a simple side of cherry tomatoes and cucumber slices. A little bowl of ranch dressing or sour cream for dipping is lovely. I sometimes put a small handful of crisp lettuce on the plate—it adds freshness.
For a drink, try a cold glass of iced tea with a squeeze of lemon. The tangy tea cuts through the rich cheese perfectly. If you want something grown-up, a crisp, unoaked white wine like a Sauvignon Blanc pairs nicely with the garlic.
Which would you choose tonight?
How to Store and Reheat Your Wraps
These cheesy garlic chicken wraps are perfect for making ahead. You can store them in the fridge for up to three days. Just wrap each one tightly in foil or plastic wrap.
I once made a big batch for a busy week. I put them in the fridge and grabbed one for lunch each day. It felt like having a little gift waiting for me.
For freezing, wrap them tightly in foil and then put them in a freezer bag. They will keep for about a month. To reheat, thaw in the fridge overnight. Then warm them in a skillet for a few minutes. Why does this matter? Batch cooking saves you time on hectic nights. You get a hot, homemade meal without the stress. Have you ever tried storing it this way? Share below!
Common Problems and Easy Fixes
Sometimes your wrap might fall apart when you cook it. This happens if you overfill it. Use a gentle hand and don’t add too much filling.
Another problem is the outside burns before the inside is warm. Your pan might be too hot. Turn the heat down to medium-low. Cook slowly for a golden, even color. I remember when I first made these, I was in a hurry. The wraps came out black on one side and cold in the middle. It was a sad dinner.
You might also find the filling is dry. This usually means you need more cream cheese or a splash of chicken broth. Why does fixing these issues matter? It builds your confidence in the kitchen. You learn to trust your eyes and your nose over a timer. Which of these problems have you run into before?
Your Top 5 Questions Answered
Q: Can I make these gluten-free? A: Yes. Use large gluten-free tortillas. They work the same way.
Q: Can I prep these the night before? A: Absolutely. Just keep them uncooked in the fridge. Cook them the next day.
Q: Can I swap the cheese? A: Sure. Try cheddar or pepper jack for a different flavor.
Q: How do I make more than four? A: Just double the ingredients. Use two skillets or cook in batches.
Q: Any extra tips? A: Add a pinch of paprika for color. Or dip them in ranch dressing. *Fun fact: Garlic is great for your immune system.* Which tip will you try first?
A Warm Goodbye from My Kitchen to Yours
I hope you love these cheesy garlic chicken wraps as much as my family does. They are simple, warm, and full of flavor. Cooking should feel like a hug, not a chore.
I would love to see your creations. Take a photo and share it. Have you tried this recipe? Tag us on Pinterest! It makes my day to see your table set with something I shared.
Keep cooking with joy and a little bit of mess. That is where the best memories are made. Happy cooking! —Chloe Hartwell.

Cheesy Garlic Chicken Wraps Recipe
Description
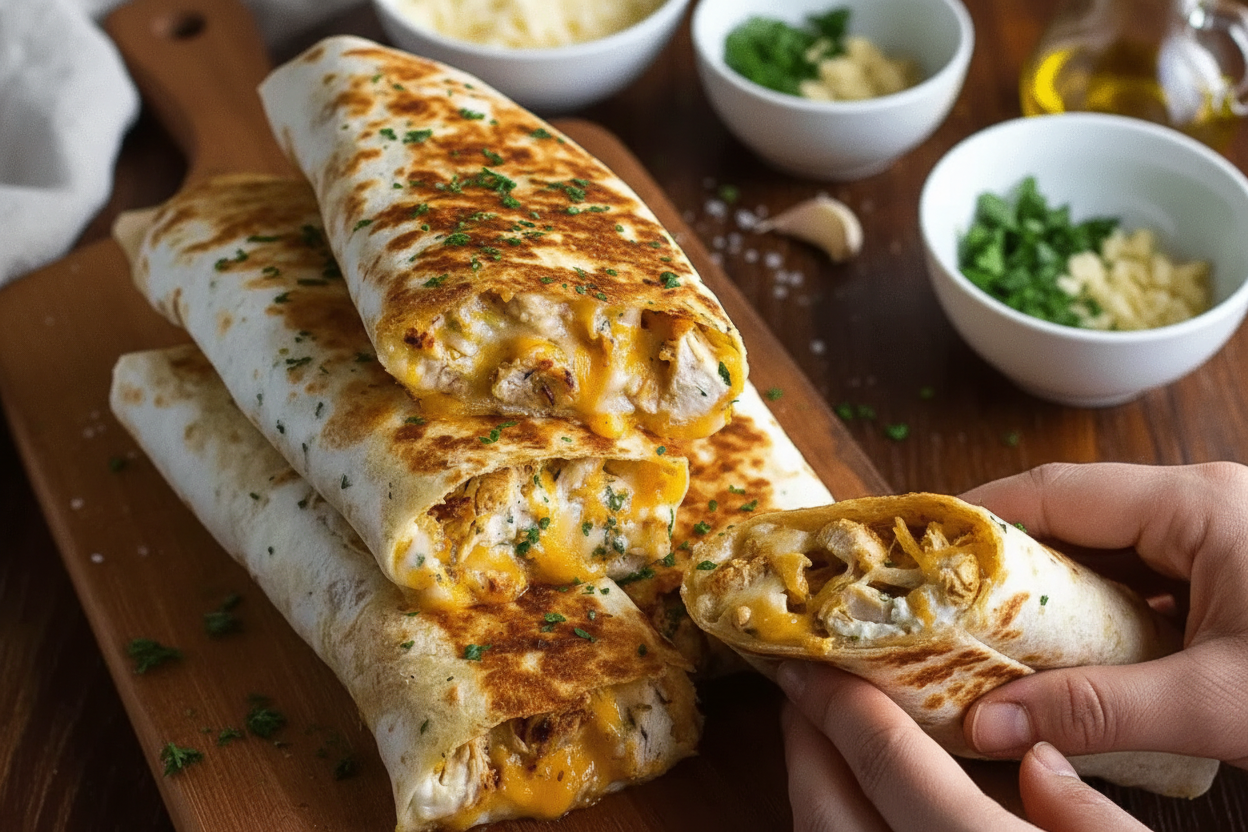
Juicy chicken, melted cheese, and garlic in a crispy tortilla. Easy 20-minute dinner or lunch. Perfect for busy weeknights!
Ingredients
Instructions
- In a large bowl, mix the shredded chicken, mozzarella cheese, cream cheese, minced garlic, and parsley. Make sure everything is combined well.
- Add salt and pepper to the chicken mixture based on your taste.
- Spread the chicken mixture evenly onto each tortilla.
- Roll each tortilla tightly to form wraps.
- Heat olive oil in a skillet over medium heat.
- Place the wraps seam-side down in the skillet. Cook until they are golden brown, about 3-4 minutes on each side.
- Remove them from the skillet, slice, and serve warm.




Leave a Reply