
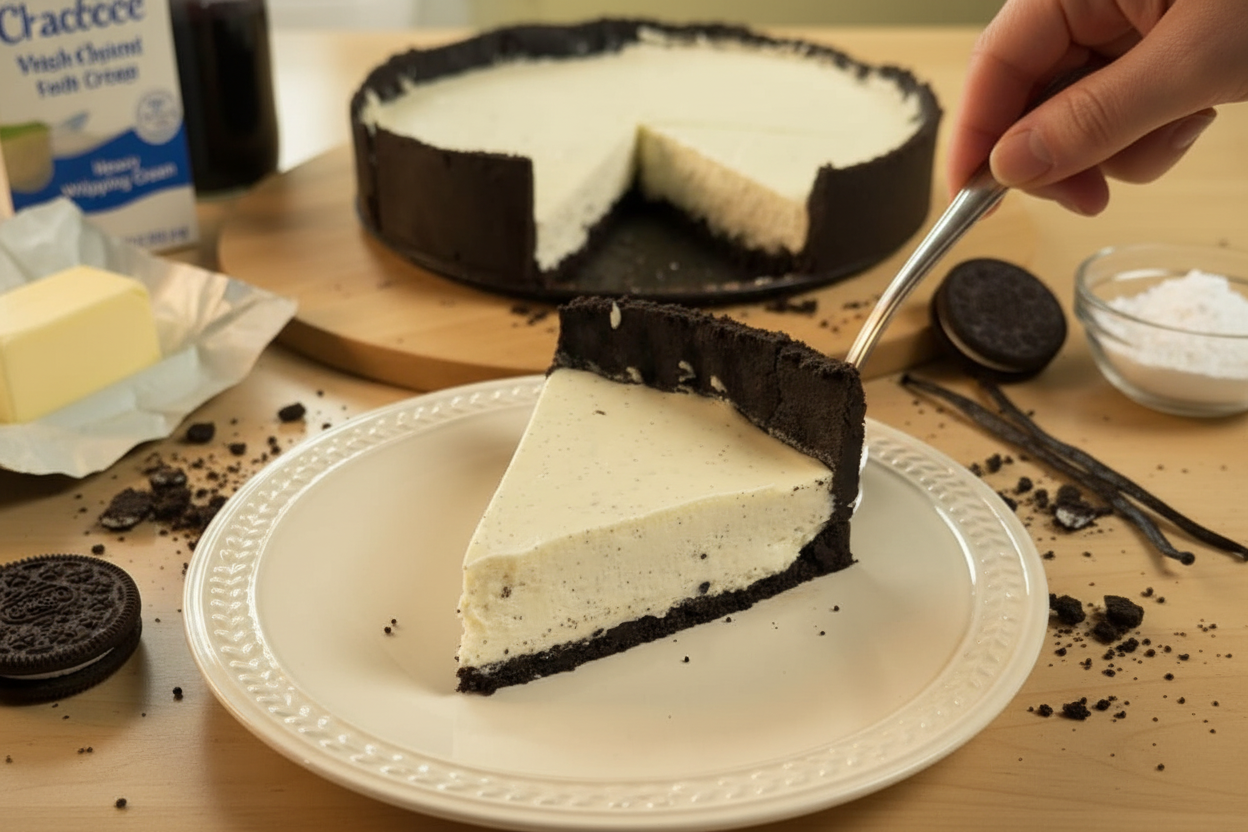
The First Time I Made This Cheesecake
The first time I made this cheesecake, I forgot to chill the crust. I was so excited, I poured the filling right in. Then I watched it melt and slide everywhere like a sad puddle. I still laugh at that mess. It taught me something important: patience is a secret ingredient. My grandmother always said, “Good things wait.” She was right. This recipe is special because it uses real vanilla beans. Not extract from a bottle. Real beans from a pod. You scrape out the tiny black seeds. They look like little specks of dark sand. When you taste them, it is pure vanilla magic. Doesnt that smell amazing just thinking about it?What You Need and Why It Matters
The crust uses whole Oreos, cream filling and all. You crush them into fine crumbs. Then you mix in melted butter. That butter is why it sticks together. *Fun fact: Oreo crumbs were invented by accident in a school cafeteria test kitchen in 1912.* Press the crust firmly into the pan. Up the sides, not just the bottom. Why does that matter? Because a thick crust gives you something crunchy to bite into with every forkful. That contrast of soft and crunchy is pure joy. The filling uses full-fat cream cheese. Do not use low-fat. I know it sounds scary. But the fat is what makes it silky and smooth. Low-fat cheese turns grainy and sad. You deserve better than grainy cheesecake. So go for the good stuff. Have you ever tasted a cheesecake that was too light? It just feels like air, doesnt it?Making the Filling—Slow and Gentle Wins
You need room-temperature cream cheese. Cold cream cheese makes lumps. And nobody wants lumpy cheesecake. Sift the powdered sugar over the top. Then fold it together gently with a spatula. Not a whisk. A whisk beats too much air in. You want it dense and creamy, not fluffy like a cloud. Fold, fold, fold. Press out those lumps like little enemies. Now the vanilla beans. Cut each one down the middle with a small knife. Scrape out the seeds with the back of the blade. Stir them into the cream cheese. You will see tiny black specks floating around. That is a sign of real vanilla. Then whip the cream until soft peaks form. Soft peaks mean the cream holds a little shape but still droops. If you whip too much, it turns into butter. I have done that. It is a sad day. So stop early. Gently fold the cream into the cheese mixture. Be careful. Dont stir like you are angry. Stir like you are petting a sleepy cat.Assemble and Wait (The Hard Part)
Pour the filling into the chilled crust. Smooth the top with a spoon or spatula. Then cover it loosely with plastic wrap. Now comes the hardest part: waiting. Refrigerate for at least 8 hours. Overnight is best. Why so long? Because the filling needs time to set into a firm, sliceable cake. If you cut it too early, it will be a goopy mess. I have made that mistake twice. The first time, I ate it with a spoon and called it pudding. That was fun. But not cheesecake. This waiting time matters for another reason. The flavors blend together. The vanilla gets cozy with the cream cheese. The Oreo crust softens just a little but stays crunchy. It is like they become friends overnight. Have you ever let a dessert sit in the fridge and tasted it the next day? It always tastes better. Why do you think that is?Serving: The Little Tricks That Help
When the cheesecake is ready, run a thin knife around the edge. Then pop open the springform ring. Let it sit on the counter for about 10 minutes. Room temperature brings out the flavor. Cold cheesecake tastes good. Cool cheesecake tastes perfect. For clean slices, dip your knife in hot water and wipe it dry between cuts. This sounds fussy. But it works. You get neat, pretty pieces that look like a bakery made them. I like to sprinkle extra Oreo crumbs on top. Or a tiny pinch of sea salt. The salt makes the sweet taste sweeter. Try it. You will be surprised. What do you like to put on top of your cheesecake? Chocolate sauce? Fresh berries? Nothing at all?Why This Dessert Is Worth the Work
This cheesecake is not quick. It takes time and love. But that is why it feels so special. When you bring it to the table, people stop talking. They look at it. They smile. You made that. With your own hands. That feeling is worth more than any fast dessert from a box. This is a dessert for celebrations. For birthdays. For Tuesdays when you just need something good. The other reason this matters: real vanilla beans cost a little more, but they taste like the real thing. Vanilla extract can taste fake and sharp. Real vanilla is warm and sweet and floral. It makes the whole kitchen smell like a bakery. And that smell stays with you all night. Does anything smell better than vanilla and butter together? I dont think so.A Story About My First Oreo Crust
I made my first Oreo crust when I was 12. My mother let me use her good food processor. I was so proud. But I pressed the crumbs too hard. The crust was rock hard. Nobody could cut through it. We ended up breaking the cheesecake into chunks and eating it like cookies. It was a disaster. But we laughed. And my dad said it was the best-smelling disaster he ever ate. I learned that mistakes are just stories waiting to happen. So if your crust cracks or your filling wobbles, dont worry. Call it rustic. Call it homemade. And enjoy every bite. Now I want to hear from you. Have you ever made a cheesecake before? What went wrong or right? I love reading your kitchen stories. They make me smile every time.Ingredients:
| Ingredient | Amount | Notes |
|---|---|---|
| Oreo cookies | 300 g (2¾ cups of crumbs) | For the Oreo Crust |
| Butter | 75 g (⅓ cup) | For the Oreo Crust |
| Full-fat cream cheese | 500 g (2 eight-ounce blocks) | For the Vanilla Bean Filling |
| Fresh vanilla beans | 4 | For the Vanilla Bean Filling |
| Powdered sugar | 267 g (2¼ cups) | For the Vanilla Bean Filling |
| Heavy whipping cream | 270 g (1⅛ cups) | For the Vanilla Bean Filling |
My Grandma’s Secret Cheesecake (With Oreo Crust)
I remember the first time I made this cheesecake for my niece. She took one bite, closed her eyes, and said, “Chloe, this tastes like a hug.” I still laugh at that. This recipe uses real vanilla beans, not extract, and the Oreo crust is just like the one my grandma made for Sunday dinners. It’s rich, creamy, and surprisingly simple. Let me walk you through it like we’re standing in my kitchen together.
First, let’s talk about the crust. You’ll crush up whole Oreos — yes, the cream filling too — and mix them with melted butter. It should feel like wet sand when you press it into the pan. Make sure it’s packed tight, especially up the sides. (Here’s a hard-learned tip: if the crust is too loose, slices will fall apart. Press firmly with the bottom of a glass.)
Now for the filling. You’ll gently fold room-temperature cream cheese with powdered sugar until it’s smooth as butter. Then scrape the tiny black seeds from four fresh vanilla beans. Doesn’t that smell amazing? It’s like a vanilla cloud in a bowl. Whip cold heavy cream until soft peaks form — be careful not to over-whip, or it’ll turn grainy. Fold it all together gently.
Pour the filling into your chilled crust and smooth the top. Cover it loosely and let it sit in the fridge for at least eight hours. Overnight is better. I once tried to rush this and ended up with a soupy mess. Patience, my friend. By the time you’re ready to serve, run a knife around the edge, dip your slicer in hot water, and cut clean slices. Serve with a sprinkle of sea salt or extra Oreo crumbs. What’s your favorite cheesecake memory? Share below!
Here are the recipe details you’ll need: Cook Time: 8 hours (chilling) — no baking! Total Time: 8 hours 20 minutes. Yield: 10–12 servings. Category: Dessert, no-bake cheesecake.
Three Fun Twists to Try
Want to shake things up? Here are three easy ways to change this cheesecake. Try them out and let me know which sounds best to you!
1. Mint Chocolate Dream: Add 1 teaspoon of peppermint extract to the filling and crush a few mint Oreos into the crust. It’s like a thin mint cookie turned into a cheesecake. So refreshing in summer.
2. Berry Swirl Surprise: Warm 1 cup of raspberry or strawberry jam until runny, then swirl it into the filling before chilling. You’ll get pretty pink ribbons and a tangy sweetness that cuts through the richness.
3. Salty Caramel Crunch: Drizzle store-bought caramel sauce over the top before serving, then sprinkle with flaky sea salt and crushed pretzels. Sweet, salty, and crunchy — it’s absolutely addictive. Which one would you try first? Comment below!
How to Serve It Right
This cheesecake is wonderful all on its own, but a little something extra never hurts. For a fancy touch, serve each slice with a small mound of fresh berries and a dollop of whipped cream. A drizzle of chocolate sauce also feels like a celebration. My grandpa always asked for a tiny cup of strong black coffee on the side. For a non-alcoholic drink, a tall glass of cold milk is unbeatable — it’s how I always ate my slice as a kid. If you’re feeling grown-up, a sweet dessert wine like Moscato or a vanilla stout pairs beautifully. Which would you choose tonight?
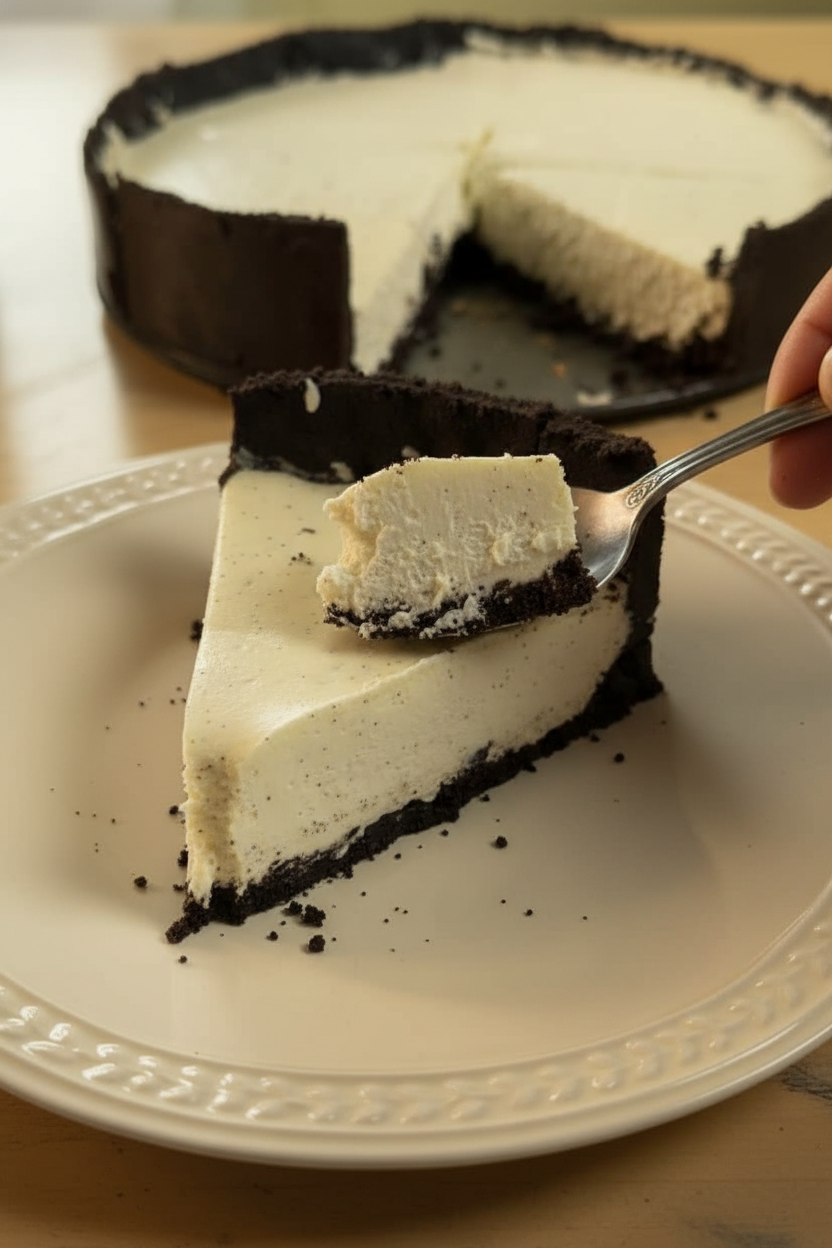
Storing Your Cheesecake Like a Pro
This cheesecake keeps well in the fridge for up to five days. Just cover it tight with plastic wrap. I once forgot to cover mine, and it picked up onion smells from the leftover meatloaf. Trust me, you want that wrap on tight! For the freezer, wrap the whole cheesecake in two layers of plastic and then foil. It stays good for three months. When you want a slice, let it thaw in the fridge overnight. This matters because a properly stored cheesecake tastes just as good on day four as it did on day one.
Batch cooking this cheesecake is a lifesaver for big holidays. Make two at once and freeze one. I remember making one for Easter and pulling out the frozen one for a surprise Sunday dinner. Everyone thought I slaved all day. Nope! Just smart planning. Have you ever tried storing it this way? Share below!
Three Common Cheesecake Fixes
Sometimes your filling turns out lumpy. This happens when your cream cheese is too cold. Always let it sit on the counter for thirty minutes first. I learned this the hard way when I made a birthday cheesecake for my grandson. It had little lumps all through it. He didn’t mind, but I sure did! Smooth filling means a smooth, creamy slice every time.
Another problem is a crust that crumbles apart. The trick is pressing it firmly into the pan. Use the bottom of a flat glass to push it down tight. Why this matters: a solid crust holds your filling perfectly. It also makes slicing much cleaner. Speaking of slicing, if your knife gets sticky, dip it in hot water between cuts. I once ruined a whole cheesecake trying to cut it with a cold knife. What a mess! Which of these problems have you run into before?
One more issue is a filling that doesn’t set. You must chill it for a full eight hours. Overnight is even better. Patience is your best friend here. This matters because a proper set gives you that beautiful, tall slice. It also means you can serve it without it sliding off the plate.
Your Cheesecake Questions, Answered
Q: Can I make this gluten-free? A: Yes. Use gluten-free Oreo-style cookies for the crust.
Q: Can I make it ahead of time? A: Absolutely. Make it two days before you serve it. It tastes even better.
Q: What can I swap for vanilla beans? A: Use two teaspoons of pure vanilla extract instead.
Q: Can I use low-fat cream cheese? A: I don’t recommend it. Full-fat gives the best creamy texture.
Q: How do I scale this recipe? A: For a larger pan, double the ingredients. For a smaller pan, cut everything in half.
*Fun fact: Vanilla beans come from orchids. Each flower blooms for just one day.* Which tip will you try first?
From My Kitchen to Yours
Thank you for spending time with me today. I hope this cheesecake brings joy to your table. There is something special about a homemade dessert made with care. Take a picture of your creation and share it with me. Have you tried this recipe? Tag us on Pinterest! I love seeing your beautiful bakes. Remember, the best recipes are the ones made with love and shared with friends. Happy cooking! —Chloe Hartwell.
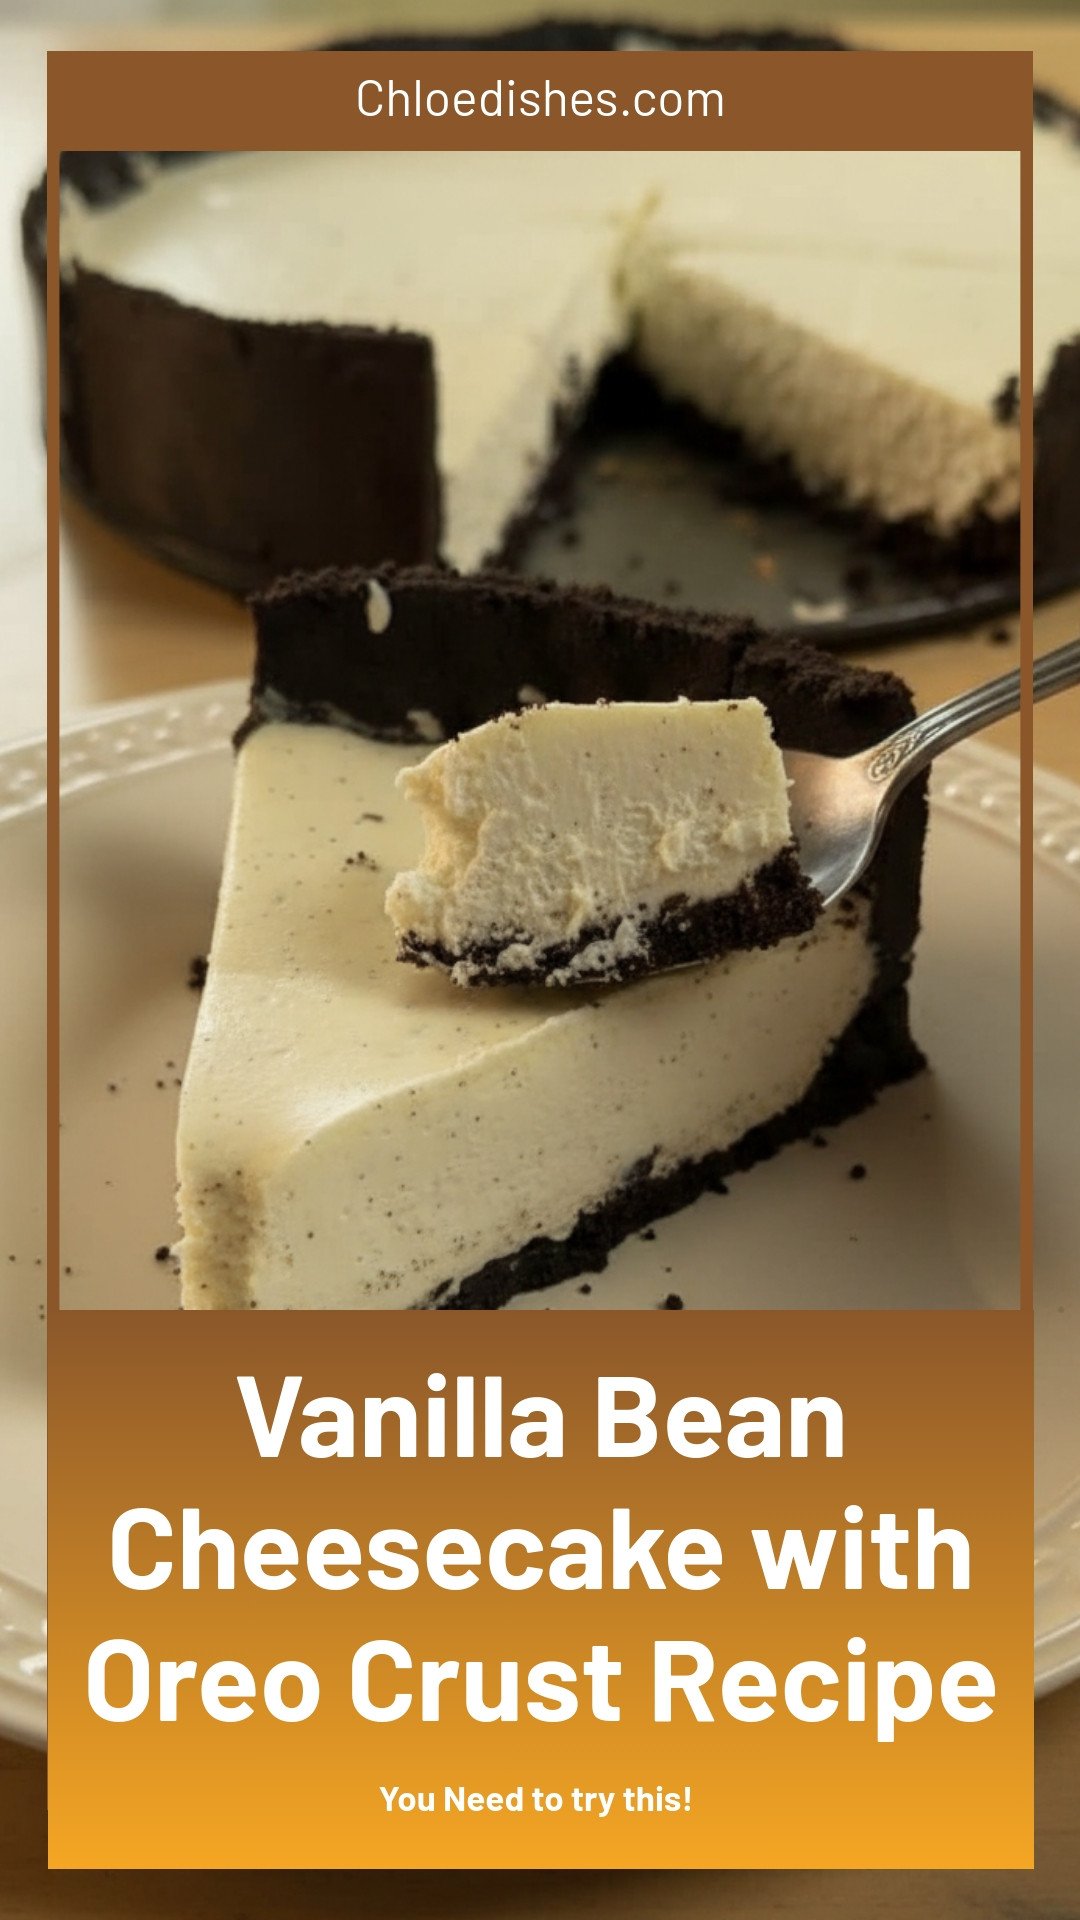
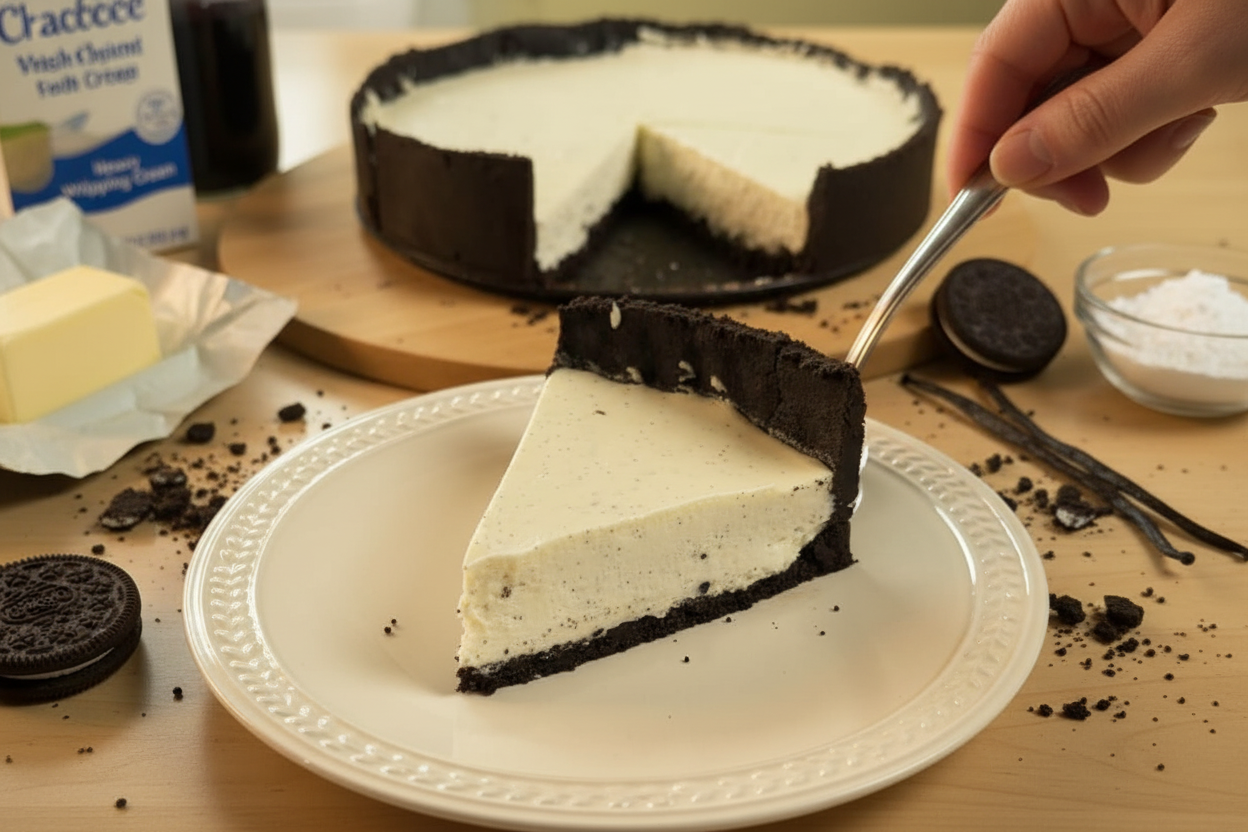
Vanilla Bean Cheesecake with Oreo crust: Vanilla Bean Cheesecake with Oreo Crust Recipe
Description
Creamy vanilla bean cheesecake on a rich Oreo crust. Easy dessert recipe perfect for holidays or special occasions.




Leave a Reply