
The First Time I Made This
I was a brand new grandma, holding my first little one in my arms. I wanted to make something special for a family dinner. But I was tired and had almost nothing in the fridge. Just pears, some leftover cheese, and a jar of honey from the farmer’s market.
I put it all together and prayed it would taste okay. When I pulled it out of the oven, the smell made everyone stop talking. My son-in-law ate three helpings. I still laugh at that. Have you ever made a happy accident in the kitchen?
Why Simple Food Feels So Good
This recipe uses just a few ingredients. Pears, blue cheese, walnuts, honey, and lemon. Nothing fancy or hard to find. That is what I love most about it.
Think about why this matters. When you cook with simple things, you taste each one clearly. The sweetness of the pear, the salty tang of the cheese, the crunch of the walnut. They all get a chance to shine.
The Little Story of the Ingredients
Pears have been around for thousands of years. People in ancient China and Rome grew them. They are one of the oldest fruits we eat. *Fun fact: There are over 3,000 types of pears in the world, but we only see a few in our stores.*
Blue cheese is just regular cheese with a type of mold added on purpose. It sounds strange, I know. But that mold gives it that sharp, punchy flavor that makes the pears taste even sweeter.
How to Pick the Best Pears
For this recipe, you want pears that are ripe but still firm. If they are too soft, they will turn to mush in the oven. If they are too hard, they will not get sweet.
Press gently near the stem with your thumb. It should give just a little, like a hug you did not ask for. Which pear do you like best? Bosc, Anjou, or Bartlett? I am a Bosc girl myself.
Making It Your Own at Home
Do you not like blue cheese? Swap it for goat cheese or even cream cheese. Do you have a nut allergy? Leave the walnuts out or use sunflower seeds instead. That is the beauty of cooking.
This recipe is a base, not a rule. You can add a pinch of salt or a sprinkle of dried cranberries. I once used maple syrup instead of honey, and it was wonderful. Try what you have in your pantry.
Why This Matters for Your Table
This dish is fancy enough for company but easy enough for a Tuesday night. It looks like you spent hours, but you only need twenty minutes of work. That is a secret every cook should know.
Here is another reason why this matters. It brings something sweet, salty, and crunchy to the table all at once. That mix makes people slow down and really enjoy their food. Tell me, who would you serve this to?
The Warm Feeling of Caramelized Pears
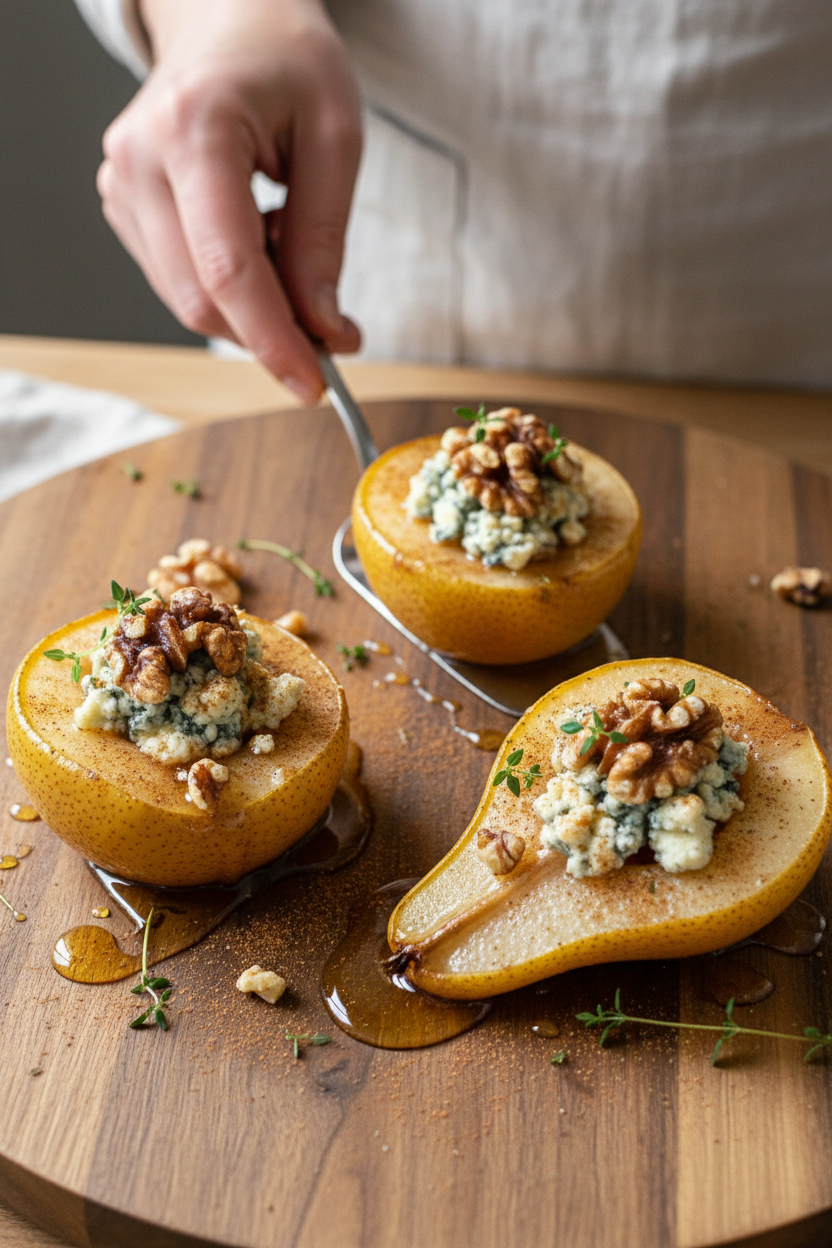
When the pears roast, their natural sugars come out. They turn golden and sticky, like candy from the earth. The cheese melts into the little hollow where the core used to be.
I love pulling the dish out of the oven. The kitchen smells like honey and cinnamon. I always sneak a walnut off the top before anyone sees me. Doesn’t that smell amazing just thinking about it?
Ingredients:
| Ingredient | Amount | Notes |
|---|---|---|
| Ripe but firm pears (Bartlett, Anjou, or Bosc varieties) | 4 | |
| Unsalted Butter | 2 tbsp | Melted for coating |
| Blue Cheese | 1 cup | Crumbled |
| Walnuts | 1/2 cup | Toasted; substitute with pecans if desired |
| Honey | 1/4 cup | Optional; maple syrup can be used |
| Fresh Lemon Juice | 2 tbsp | |
| Cinnamon | 1/2 tsp | Optional |
| Fresh Thyme | 1 tbsp | For garnish |
My Kitchen Table Memory
I still remember the first time I made these pears. My kitchen smelled like autumn itself, all warm and cozy. My neighbor Mary popped in and said, “Chloe, what is that heavenly smell?” I handed her a spoonful, and she just closed her eyes. That is the kind of recipe this is. It feels fancy, but it is really just simple, honest food. I love how the sweet pear meets the salty, crumbly cheese. Doesn’t that sound amazing?
You want pears that are ripe but still hold their shape. Think of them like a little boat, ready to carry a tasty filling. Bosc pears are my favorite because they are sturdy and sweet. I once used a very soft pear, and it turned into pear soup. That was a hard-learned tip right there. So press gently on the neck of the pear. If it gives just a little, you are ready to go.
Now let us talk about the filling. Blue cheese can be a little strong for some folks. My grandkids used to wrinkle their noses at it. But the honey and walnuts soften that sharpness into something wonderful. It is like a little magic trick. Toast the walnuts first if you can. It wakes up their flavor. Here is a fun fact call-out: Toasting nuts takes just 3–4 minutes in a dry pan. Watch them closely or they will burn!
Let’s Make Them Together
Alright, put on your favorite apron and let us get cooking. This is a recipe that feels like a hug. I love making it on a chilly Sunday afternoon. The whole house smells like honey and thyme. It is a perfect little project for you and a helper. Let us go step by step.
Step 1: Set your oven to 350 degrees. That is 175 for my friends using Celsius. While it heats, wash your pears gently. I like to dry them with a soft cloth. It gives the butter a nice clean surface to stick to.
Step 2: Cut each pear in half, right down the middle. Now use a small spoon or a melon baller to scoop out the core and seeds. You are making a little nest for the filling. Do not scoop too deep, or the pear might break. I broke one once, and I just ate that piece myself. No waste in this kitchen!
Step 3: Brush the cut side of each pear with melted butter. This helps them get that golden, caramelized look. Place them cut-side up in a greased baking dish. Make sure they sit flat. A wobbly pear is a sad sight when it comes out of the oven.
Step 4: In a bowl, mix the crumbled blue cheese, toasted walnuts, honey, lemon juice, and a pinch of cinnamon. Stir it gently. Taste it. Does it need a little more honey? Trust your taste buds. Fill each pear hollow with this mixture, mounding it slightly. (Here is a hard-learned tip: Do not overfill, or the filling will spill everywhere while baking. A little mound is perfect.)
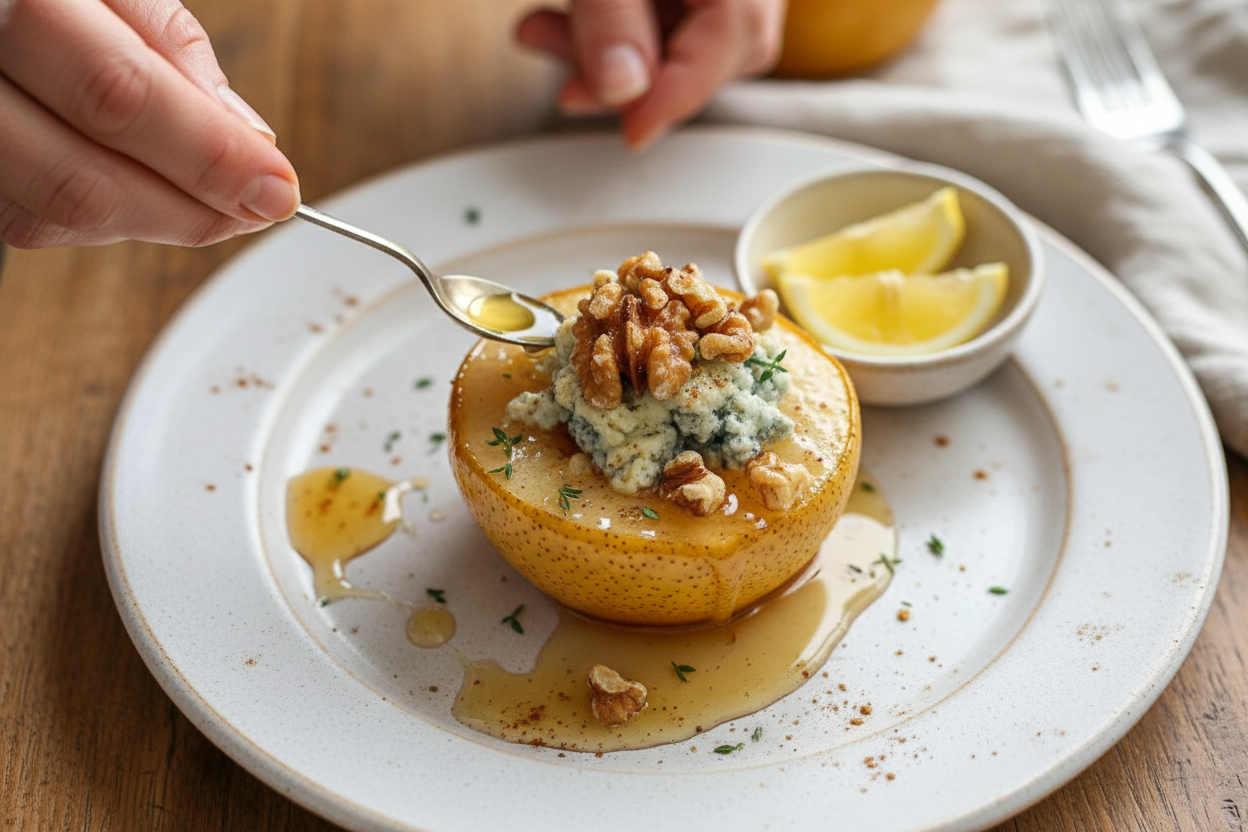
Step 5: Roast the pears for 20 to 25 minutes. You want them tender when poked with a fork. The cheese should be bubbly and golden. When they come out, drizzle a little more honey on top. Sprinkle fresh thyme leaves over everything. Now, here is a mini-quiz for you: What is your favorite herb to pair with fruit? Is it thyme, rosemary, or mint? Share below!
Cook Time: 20–25 minutes
Total Time: 40 minutes
Yield: 4 servings
Category: Dessert or Appetizer
Play With Your Food: 3 Fun Twists
I love how one recipe can become three new ones. These pears are like a blank canvas. Here are some ways I have played with them over the years.
Swap the Cheese: If blue cheese is too strong for you, try soft goat cheese or creamy feta. It is still tangy but much gentler. My niece loves this version. It tastes like a spring morning.
Make it Spicy: Add a pinch of red pepper flakes to the filling. The heat dances with the sweet honey in a wonderful way. I tried this by accident once, and now it is my secret favorite.
Go Seasonal in Fall: Swap the walnuts for toasted pecans and add a tablespoon of bourbon or apple cider to the filling. It tastes like a walk through a crisp orchard. My whole family asks for this one at Thanksgiving. Which one would you try first? Comment below!
How to Serve and Sip
These pears are lovely all on their own. But they love friends on the plate. Serve them warm over a scoop of vanilla ice cream or a dollop of plain Greek yogurt. The cool creaminess is perfect with the warm, jammy pear.
For a fancy touch, set each pear on a plate with a small salad of arugula and a drizzle of balsamic glaze. The peppery greens cut through the richness. It feels like a restaurant dish, but you made it in your own kitchen.
For drinks, I recommend a glass of chilled hard cider if you are of age. It is apple-y and crisp. For the rest of us, a tall glass of sparkling apple cider with a sprig of thyme is just perfect. It feels so festive. Which would you choose tonight?
Storing Your Roasted Pears
These roasted pears taste best warm from the oven. But leftovers are a real treat too. Let them cool completely first. Place them in a glass container with a tight lid. They will keep in the fridge for up to three days.
I remember my first batch of roasted pears. I stored them in a metal pan by mistake. The honey made them stick. Now I always use glass. To reheat, pop them in a 300°F oven for ten minutes. The microwave works too, but the pears get soft.
For the freezer, I do not recommend it. The pears get watery when thawed. The blue cheese changes texture too. Batch cooking is smarter. Roast extra pears for a party. Then serve them cold with yogurt for breakfast. That is why storing matters. It lets you enjoy the dish twice. Have you ever tried storing it this way? Share below!
Common Problems and Easy Fixes
Sometimes the pears turn out mushy. That happens if they are too ripe. Pick pears that feel firm at the store. Press near the stem. If it gives just a little, it is perfect. This small step saves your dish.
Another problem is the blue cheese tasting too strong. I once used a crumbly blue that my kids hated. Now I mix the cheese with cream cheese. It softens the flavor. You can also use Gorgonzola. It is milder and creamy.
The walnuts might burn in the oven. Chop them into small pieces. Toast them first for extra crunch. Then put them inside the pears. This keeps them from burning. Fixing these issues builds your cooking confidence. You learn what works for your family. Which of these problems have you run into before?
Quick Q&A for This Recipe
Q: Is this recipe gluten-free?
A: Yes. The ingredients have no wheat. Just double-check your blue cheese label.
Q: Can I make this ahead of time?
A: Yes. Assemble the pears in the dish. Keep them in the fridge for up to 8 hours. Bake just before serving.
Q: What if I do not like blue cheese?
A: Swap it for goat cheese or feta. Both are tangy and soft.
Q: Can I scale the recipe for a big crowd?
A: Yes. Double or triple everything. Use a larger baking dish. Add five more minutes to the bake time.
Q: Any optional tips?
A: Sprinkle a pinch of salt on top. It makes the honey and cheese pop. Which tip will you try first?
A Warm Goodbye from Chloe
Thank you for cooking along with me today. This roasted pear recipe feels like a hug on a plate. It is sweet, salty, and a little bit fancy. But it is also simple enough for a weeknight.
I hope you try it with the ones you love. Share your photos with us. Tag our blog on Pinterest so I can see your creation. Have you tried this recipe? Tag us on Pinterest!
Happy cooking!
—Chloe Hartwell.
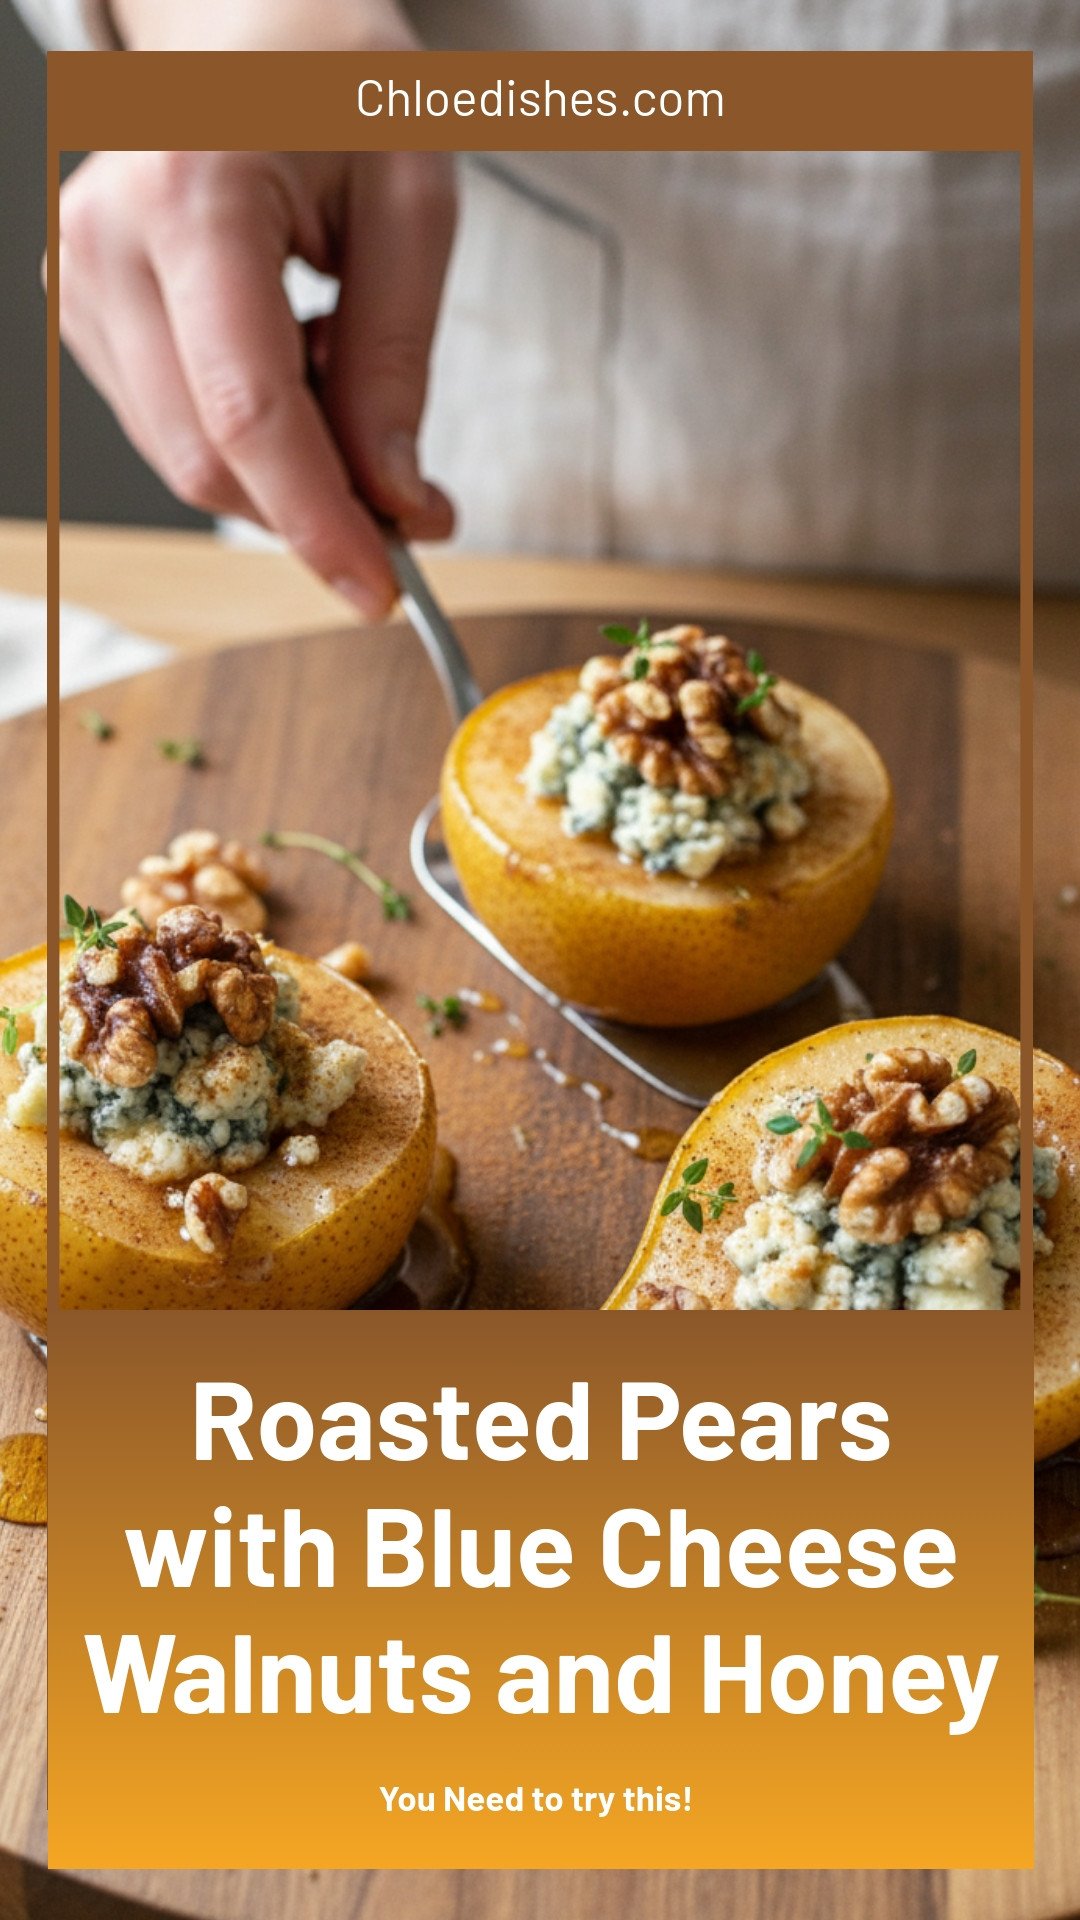
Roasted Pears with Blue Cheese Walnuts and Honey
Description
Roasted Pears with Blue Cheese, Walnuts & Honey – a sweet, savory, easy fall dessert. Perfect for holiday entertaining. gluten-free appetizer, fall baking recipe, pear dessert, honey walnuts, cheese plate idea
Ingredients
Instructions
- Preheat your oven to 350°F (175°C).
- Wash and dry the pears. Halve each pear and remove the core.
- Brush the cut sides of the pears with melted butter.
- Place halved pears cut side up in a greased baking dish.
- Mix blue cheese, walnuts, honey, lemon juice, and cinnamon in a bowl.
- Fill the hollowed pears with the cheese and walnut mixture.
- Roast in the oven for 20-25 minutes until tender and caramelized.
- Remove from oven, drizzle with honey, and garnish with thyme before serving.




Leave a Reply