
The Night Before: A Little Bowl of Magic
Let me tell you about a bread that likes to play tricks. Salt-rising bread is a pioneer recipe. It doesn’t use yeast like normal bread. Instead, it uses a funny little starter made from cornmeal. The night before you bake, you mix warm water, cornmeal, a pinch of salt, some baking soda, and a tiny bit of sugar. Then you put it in a warm place, like your oven with just the light on. I once put mine on top of the fridge by accident. It got too cold and did nothing! I still laugh at that mistake. You want it to be about as warm as a sunny summer day.
Why does this matter? Because the warmth wakes up special tiny helpers in the cornmeal. They make bubbles. Those bubbles are what make the bread rise. No store-bought yeast needed. Isn’t that clever? Have you ever tried to bake something with a starter before?
The Smelly Morning Test
The next morning, you check on your starter. It should have little bubbles on top. But the real test is your nose. This starter gets a very strong smell. Some people say it smells like old cheese. Others say it smells like dirty socks. I promise you, the bread tastes amazing. It is not like the smell at all. Trust the process, sweetie. If the smell is very light, just put it back in the warm spot for another hour. Does that smell remind you of anything else?
I remember the first time I made this. My husband walked into the kitchen and asked if a mouse had died in the wall. We both laughed so hard. But then he tried the warm bread with butter. He ate three slices and asked for the recipe. *Fun fact:* Salt-rising bread was a favorite during the California Gold Rush because it didn’t need yeast, which was hard to get back then.
Pouring in the Milk and Flour
Once your starter smells strong enough, you add milk, more salt, and about four cups of flour. You want it to look like thick pancake batter. Cover the bowl and put it in a warm water bath. You have to keep the water warm for a few hours. It is like giving your bread a warm bath. Why does this matter? This second warm bath helps the bubbles grow bigger and stronger. It makes the dough light and airy. I like to check on it every hour. It feels like watching a pet grow. What is the funniest thing you have ever smelled in a kitchen?
Kneading and Waiting
When your mixture is very bubbly and has grown tall in the bowl, you add it to a mixer. Add the rest of the salt, some butter or shortening, and more flour. Knead it until it is smooth and a little sticky. Then divide the dough into three loaf pans. Cover them and let them rest for about an hour. They need to double in size again. This is a bread that asks for patience. But that patience pays off. Do you like watching dough rise, or do you get impatient waiting?
The Baking and The Butter
Bake the loaves at 375°F for about 30 to 40 minutes. When they come out of the oven, rub the tops with a big smear of butter. The butter melts and makes the crust soft and shiny. Then let the bread cool completely. I know it is hard to wait. But if you cut it too soon, it gets gummy inside. Just walk away for a little while. Doesn’t that golden-brown crust look beautiful? How do you like to eat fresh bread—plain, with butter, or with jam?
A Slice of History
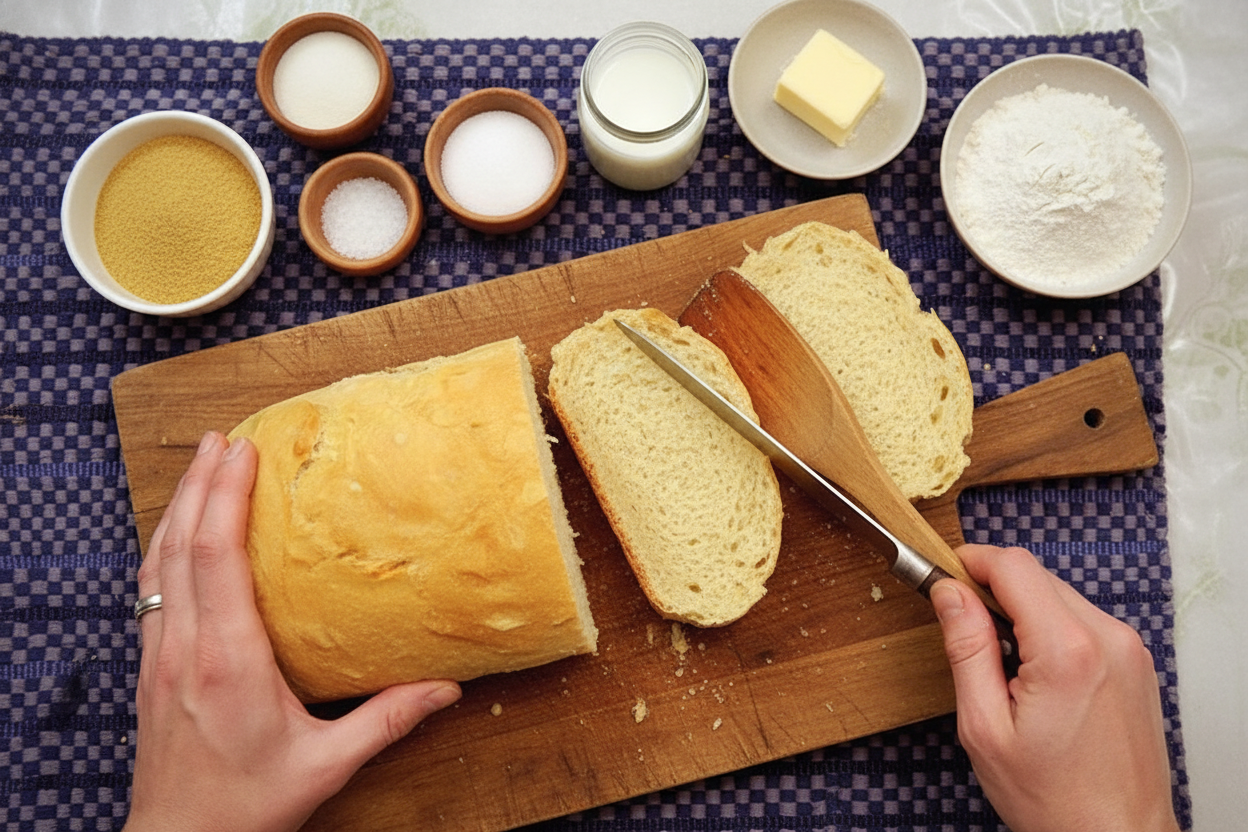
When you finally cut into your loaf, give yourself a pat on the back. You did real pioneer work. This bread has a tight, soft crumb. It tastes a little bit tangy and a little bit cheesy, but in a good way. It is perfect for toast or just with a pat of butter. Your kitchen will smell like history. Every time I bake it, I think about the families who made this bread over an open fire. They didn’t have thermometers or fancy ovens. They just had their hands and their nose. You have done something special. Take a bite and enjoy your success.
Ingredients:
| Ingredient | Amount | Notes |
|---|---|---|
| Water | 1-1/2 cups | |
| Organic, yellow grist mill cornmeal | 1/2 cup | |
| Salt, divided | 1 3/4 teaspoon | |
| Baking soda | 1/8 teaspoon | |
| Sugar | 1 teaspoon | |
| Milk | 4 cups | |
| Flour, divided | 6-8 cups | |
| Shortening, butter or lard, softened | 3-4 tablespoons |
Baking Bread Like the Pioneers
I remember the first time I tried making salt-rising bread. My kitchen smelled like old socks and cheese. I was sure I had ruined everything. But my grandma just laughed and said, “That’s how you know it’s working, honey.” This bread is a little tricky, but so rewarding. You’ll feel like a real pioneer when you pull that golden loaf from the oven.
The secret is in the starter. It uses cornmeal, water, and a warm spot to grow. No commercial yeast here—just wild fermentation. It sounds fancy, but it’s really just letting nature do its thing. And trust me, the smell is the signal. If it smells funky, you’re on the right track. Doesn’t that smell amazing? Well, not at first. But soon, your whole house will smell like toast.
Now, let’s get our hands a little messy. This bread takes patience, but it’s worth every minute. I still laugh at that time I forgot to check the oven temperature. My starter didn’t bubble at all. I had to start over, but I learned a good lesson. (Hard-learned tip: Never skip checking the thermometer—your oven’s light might not be warm enough on a cold night.)
Step 1: The night before, heat 1-1/2 cups water until tiny bubbles form around the pan’s edge. Pour that warm water into a heatproof bowl with 1/2 cup cornmeal, 1/4 teaspoon salt, 1/8 teaspoon baking soda, and 1 teaspoon sugar. Cover the bowl with plastic wrap and put it in a warm spot, like your oven with just the light on. Keep it at 90-100°F overnight. Check the temperature with a thermometer—your oven might need an hour to warm up first.
Step 2: In the morning, look at your starter. It should have tiny bubbles and have grown a little. Sniff it—does it smell like old parmesan or dirty socks? That’s perfect. If the smell is very faint, put it back in the warm spot for another hour. (Hard-learned tip: If there’s zero smell, your starter failed. Toss it and try again—it happens to the best of us.)
Step 3: When the starter smells ready, add 4 cups milk, 1/2 teaspoon salt, and about 4 cups flour. Stir until it’s as thick as pancake batter. Cover the bowl and place it in a container of warm water (90-100°F). Keep the water warm by swapping out a little water every hour. Let it sit in your lit oven or proofer until it doubles in size—about 2-4 hours. My aunt Doris always said to change the water slowly so the temperature stays steady.
Step 4: Now your mixture should be very bubbly and risen high. Pour it into a stand mixer. Add the remaining 1 teaspoon salt, 3-4 tablespoons softened butter or lard, and more flour (2-4 cups), a little at a time. Mix until the dough is smooth but still slightly sticky. Knead for 8-10 minutes. (Hard-learned tip: Add flour slowly—too much makes the bread dense, like a brick.)
Step 5: Grease three loaf pans and divide the dough among them. Cover with a towel and let the loaves rest until they double in size—about an hour. This is a good time to sit and daydream about butter. What’s your favorite thing to spread on fresh bread? Share below!
Step 6: Bake the loaves at 375°F for 30-40 minutes. The tops should be golden brown. Right when they come out, slather the crust with a generous pat of butter. Let them cool completely before slicing. I know it’s hard to wait. The smell will drive you crazy!
Step 7: Slice that beautiful loaf, toast it if you like, and add more butter. You did it—just like the pioneers. Store your bread in a bread box for up to a week, or freeze it to keep it fresh longer. Cook Time: 30-40 minutes
Total Time: About 12-14 hours (includes overnight rest)
Yield: 3 loaves
Category: Bread, Breakfast, Snack
Three Fun Twists to Try
Love experimenting? This pioneer bread is a great base for some fun flavors. The recipe is simple, so you can add little surprises without messing it up. Here are three ideas I’ve tried in my own kitchen. Some were hits, others were… well, lessons. Which one would you try first? Comment below!
Cheesy Herb Twist: Mix in 1 cup of shredded sharp cheddar and a tablespoon of dried rosemary when you add the last cup of flour. The cheese melts into little pockets of goodness. It smells like a fancy bakery.
Honey Cinnamon Swirl: After kneading, flatten the dough and spread a mix of 1/4 cup honey, 2 teaspoons cinnamon, and 2 tablespoons melted butter. Roll it up and place it in the pan. Every slice is a sweet surprise.
Bacon and Black Pepper: Cook 6 strips of bacon until crispy, then crumble them. Knead the bacon bits and 1 teaspoon of coarsely ground black pepper into the dough. It’s like breakfast inside a loaf. My nephew says it’s the best thing ever.
How to Serve Your Salt-Rising Bread
This bread is a star all by itself, but it loves company. For a simple snack, toast a thick slice and slather it with salted butter and a drizzle of honey. For a heartier meal, serve it alongside a big bowl of tomato soup or a warm stew. It’s also perfect for grilled cheese sandwiches—the crust gets so crunchy.
For a drink, try a cold glass of buttermilk. It’s a classic pioneer pairing that cuts through the bread’s richness. If you’re having a grown-up meal, a glass of crisp apple cider (hard or non-alcoholic) is wonderful. The sweetness plays off the bread’s tangy flavor. Which would you choose tonight?
Storing Your Pioneer Bread Like a Pro
I remember my first salt-rising loaf. I was so proud. Then it went stale in two days. I learned a few tricks since then.
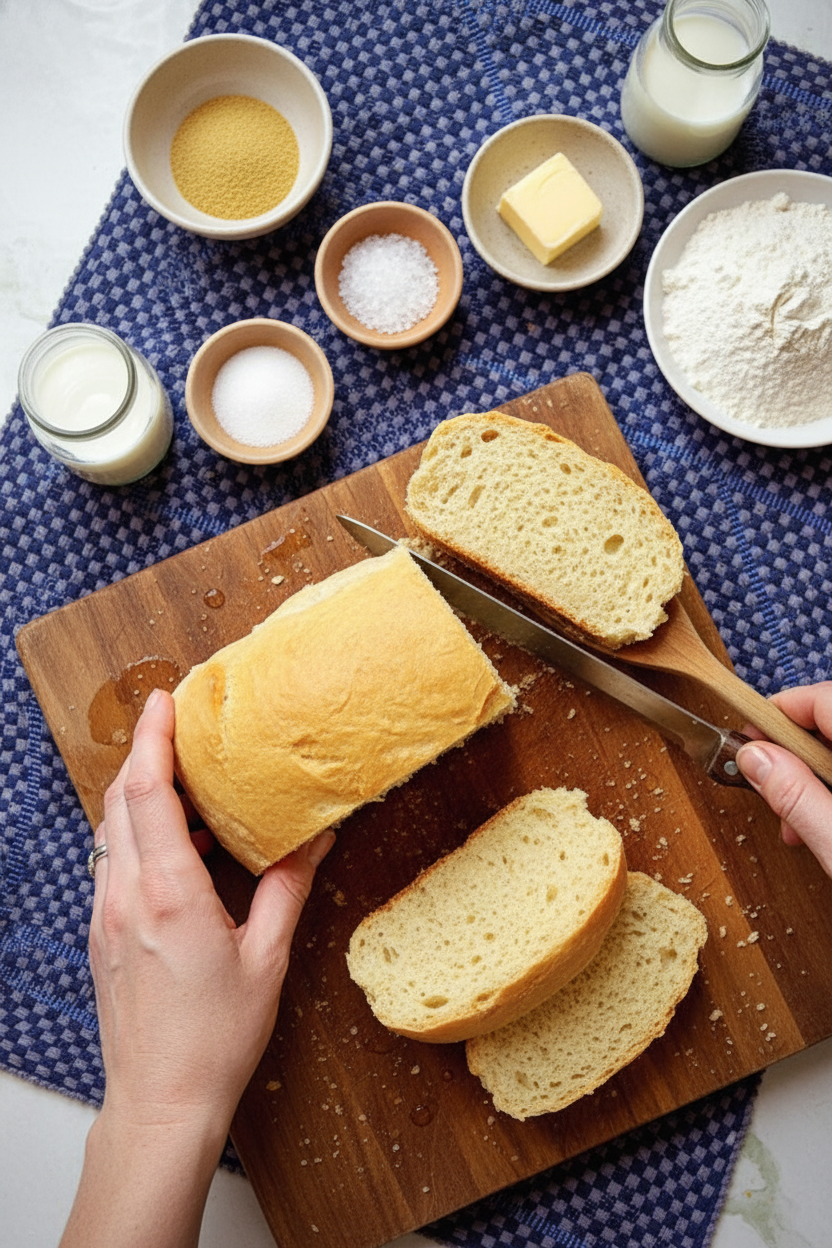
Store your cooled bread in a bread box or paper bag at room temperature. It will stay fresh for about a week. Do not use plastic bags. They make the crust soft and sad.
For longer storage, wrap each loaf tightly in plastic wrap. Then place it in a freezer bag. It will keep for three months. When you want some, let it thaw on the counter overnight.
To reheat, pop a slice in a 300°F oven for five minutes. The crust gets crispy again. It tastes like fresh-baked. Why this matters: Good storage saves money and waste. You can bake once and enjoy for weeks.
This bread also makes amazing toast. I like to bake two loaves at once. I freeze one for busy weeks. Have you ever tried storing it this way? Share below!
Three Common Problems and Easy Fixes
My friend Betty called me once. Her starter smelled fine but never bubbled. She was so frustrated. I told her to check the temperature. Her oven light was too weak. She moved the bowl closer to the light bulb. Bubbles appeared in an hour.
Problem one: Your starter has no smell. This means the good bacteria did not wake up. Fix it by checking your proofing spot. It needs to stay between 90°F and 100°F. Use a cooking thermometer to be sure.
Problem two: Your dough is too sticky. I once added too much milk. My dough looked like soup. Fix it by adding flour one tablespoon at a time. Keep kneading until it pulls away from the bowl. Why this matters: Learning to fix sticky dough makes you a better baker. You stop being afraid of mistakes.
Problem three: Your bread does not rise in the pans. This happens when the kitchen is cold. Fix it by setting the pans on a warm stove top. Or place them in the oven with just the light on. Why this matters: Small fixes like this build cooking confidence. You learn to trust your eyes and hands. Which of these problems have you run into before?
Your Questions Answered
Q: Can I use regular cornmeal instead of organic yellow grist mill?
A: Yes. Regular cornmeal works fine. The bread just might have a softer texture. Use what you have on hand.
Q: Can I make this bread gluten-free?
A: Salt-rising bread needs wheat flour to rise properly. Gluten-free flour does not work the same way. I would not try it.
Q: Can I use butter instead of shortening or lard?
A: Yes. Butter gives a nice flavor. Just let it soften first. Do not use melted butter.
Q: Can I cut the recipe in half?
A: Yes. Just use half of each ingredient. Watch the rising time closely. It might rise faster in smaller pans.
Q: Can I skip the starter smelling step?
A: No. The smell tells you the starter is alive. Skipping this step means guessing. And guessing leads to flat bread. Which tip will you try first?
A Warm Goodbye from Chloe
Thank you for baking along with me. Salt-rising bread is a little tricky. But it is so worth it. That tangy, toasty taste reminds me of my grandmother’s kitchen.
Fun fact: Pioneers used this method because they had no store-bought yeast. They let wild bacteria do the work.
I would love to see your loaves. Have you tried this recipe? Tag us on Pinterest! Let me know how your bread turned out. I read every comment.
Happy cooking!
—Chloe Hartwell
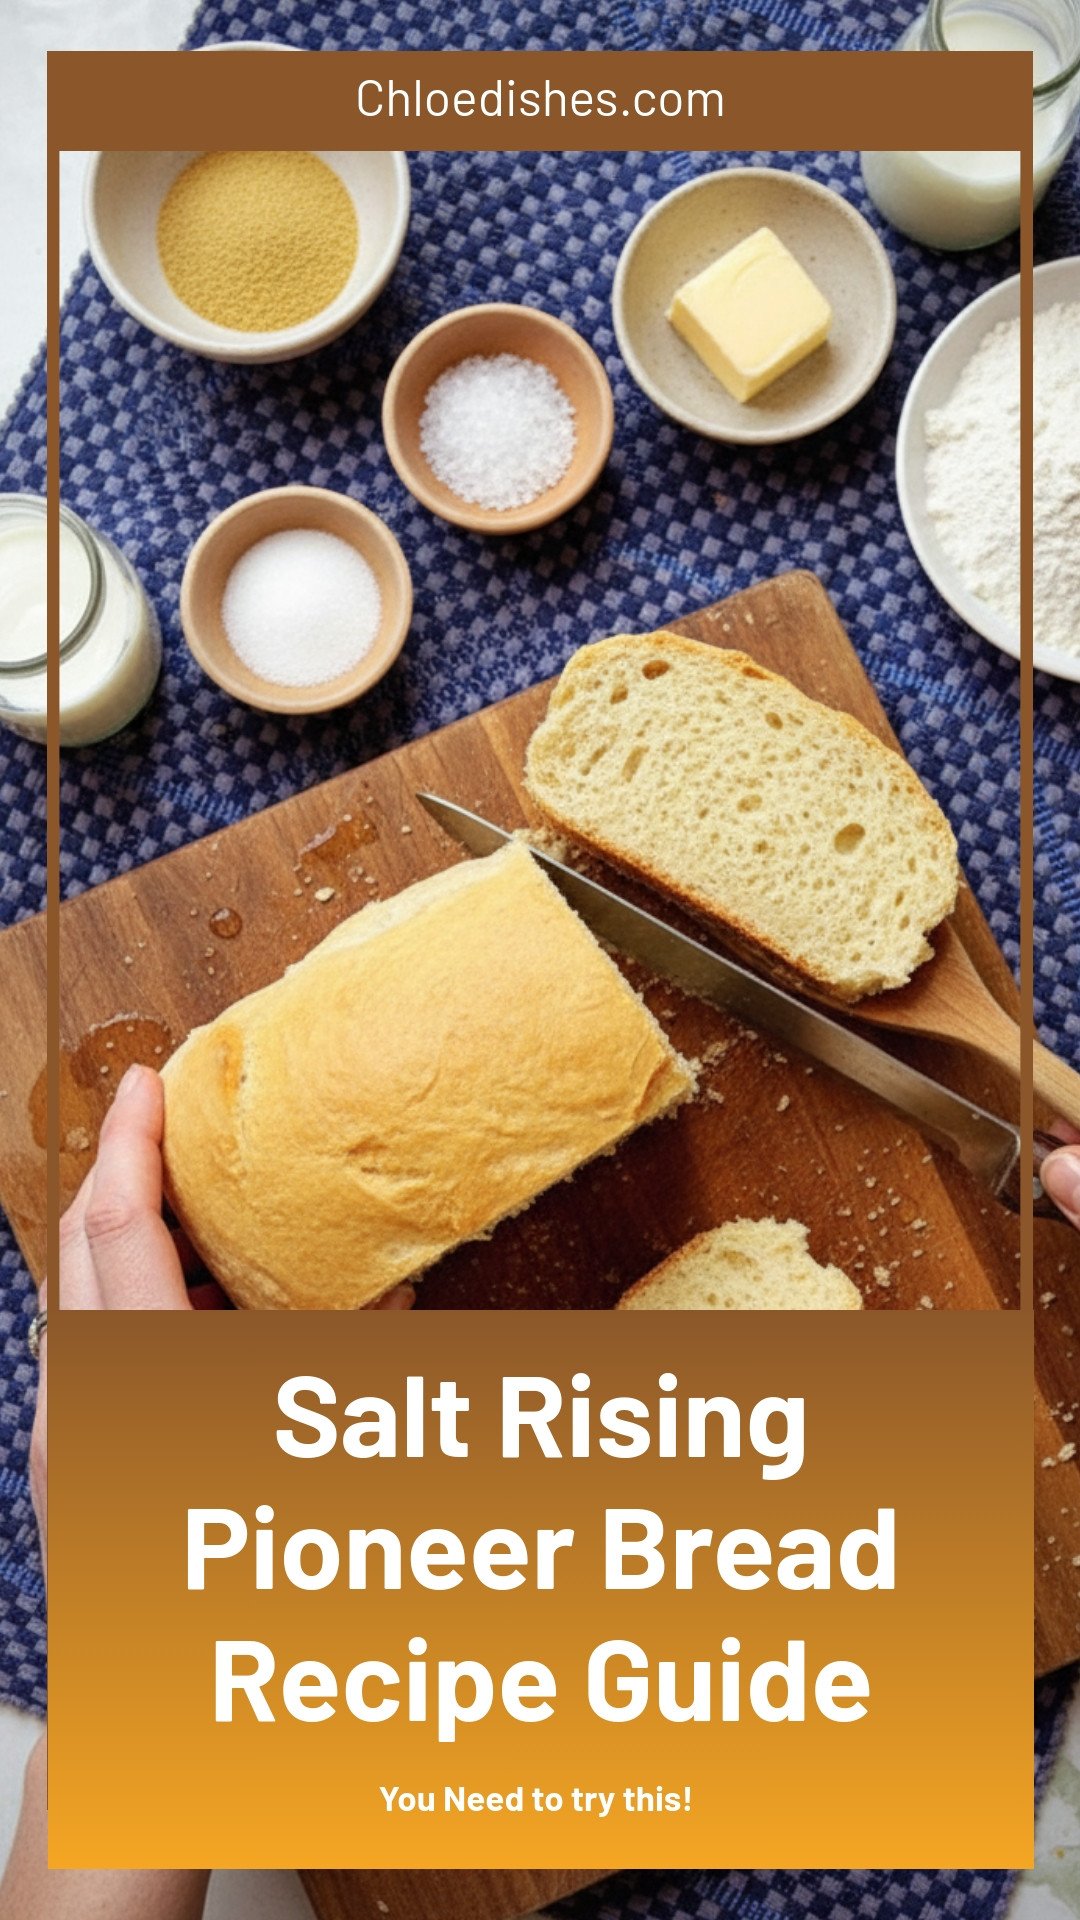
Salt Rising Pioneer Bread Recipe Guide
Description
Discover the secrets of authentic Salt Rising Pioneer Bread with this step-by-step recipe guide. Bold, tangy, and timeless.
Ingredients
Instructions
- The night before you bake, heat your water until it is almost boiling, with small bubbles around the sides of the pan. Add the warm water, cornmeal, 1/4 teaspoon of salt, baking soda and sugar to a heatproof bowl that will allow the mixture to expand and combine well. Then, cover the bowl with plastic wrap and place it in a warm place to prove. You’ll want to find somewhere that is consistently between about 90°F and 100°F. There are two places that work really well: An electric proofer that allows for hands-free temperature control. The oven. If you don’t own a proofer, you can use an electric oven instead. Simply turn your oven light (but not the oven itself) on 2 hours before making the starter, which should warm the oven to around 95°F. Be sure to check that this method has actually warmed your oven with a cooking thermometer.
- In the morning, remove your starter from its proofing spot. It should have expanded slightly with small visible bubbles. The best way to know if the job is done? The starter will smell. It may sound silly, but to some, the fermentation will smell like old parmesan and to others, it smells like dirty socks. Trust us: It’s going to taste delicious. Pro tip: If the smell is slight, pop it back into the electric proofer or oven for another hour and check again. If there is no smell, your starter has likely not worked and you’ll have to try again.
- When your starter is looking (and smelling!) ready, add the milk, 1/2 teaspoon of salt and enough flour until the mixture has the consistency of a thick pancake batter—about four cups. Cover the bowl with plastic wrap and add it to a container of very warm water (between 90°F and 100°F). For this step, Doris explains, “You will likely have to drain some of the water off and replace with warmer water on a continuing basis. Try not to make any drastic change in the temperature as you are adding the warmer water, change only a small amount of water at a time to hold the temperature as constant as possible.” We recommend placing the container back into your electric proofer or lit oven at 90-100°F until the mixture has doubled in size, about 2-4 hours.
- Your mixture should now be very bubbly and moved up the sides of the bowl. Add it to a stand mixer along with the remaining teaspoon of salt, the fat of your choice and enough flour for the mixture to become a dough that is still slightly sticky, about 2-4 cups. Be sure to add the flour in a bit at a time to make sure too much flour isn’t added. Then, knead until smooth, about 8-10 minutes. Pro tip: If the starter refused to form bubbles, you can try raising the heat of your proofer or oven a few degrees. If it still hasn’t formed bubbles and expanded, though, you’ll have to toss it and start over.
- Divide the dough into three greased loaf pans, cover and allow to rest until they have doubled in bulk, about an hour.
- Once the loaves have risen, bake them at 375°F for 30-40 minutes. Remove them from the oven and immediately grease the crust with a healthy helping of butter and allow to cool completely.
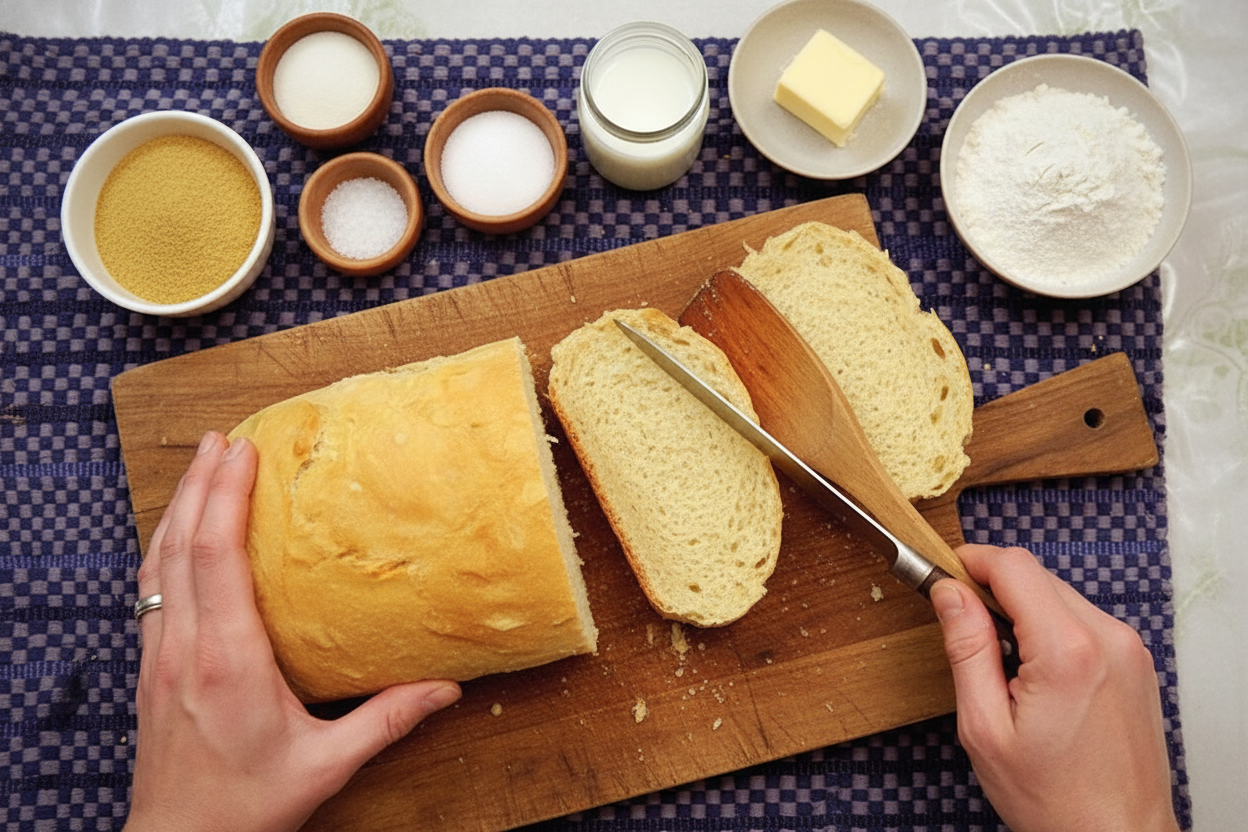
- When your bread has cooled, give yourself a pat on the back. You did it, just like the pioneers did! Cut into your salt-rising loaf, slather on some butter and take a bite out of your success. To save for later: Loaves can be stored in your pantry or bread box for about a week. After that, be sure to freeze them to maintain their freshness.
Notes
- Nutrition information is not provided in the text.




Leave a Reply