
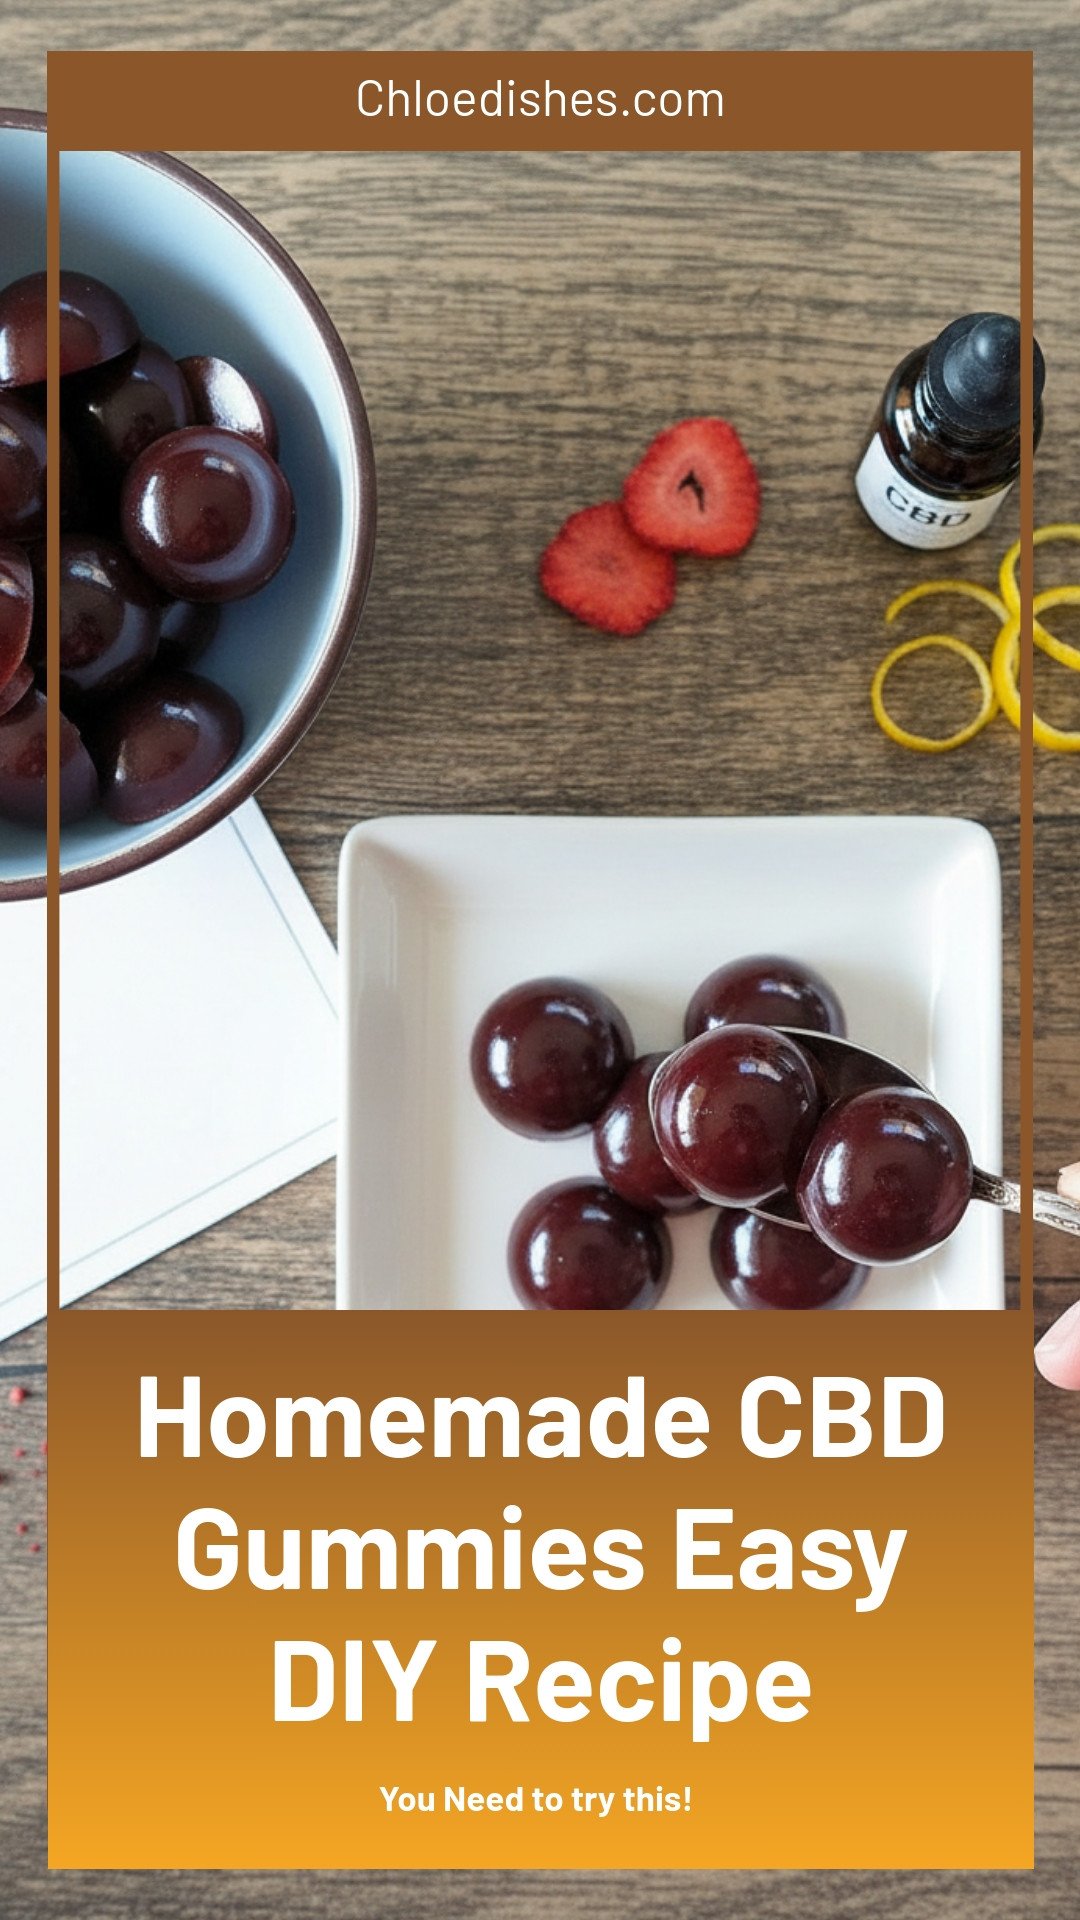
The Day My Gummy Bears Got Fancy
I remember the first time I tried making candy at home. I was twelve, maybe thirteen. I spilled sugar all over the counter and my little brother laughed until he hiccupped. I still laugh at that memory. Now I want to share a special version. These are homemade CBD gummies. They are sweet, a little sour, and very relaxing. You can make them right in your own kitchen. Have you ever made candy from scratch before?Why We Use Hibiscus Tea
The secret to this recipe is the tea. We start by making a strong cup of hibiscus tea. It turns the water a beautiful ruby red. It also gives the gummies a tart, fruity taste that reminds me of summer berries. This is where the flavor really comes alive. You also add a little dried fruit powder and sugar. It smells like a garden in a pot. Doesn’t that smell amazing? The tea is just the beginning of our story.The Science of a Perfect Gummy
Gelatin is the magic ingredient. It makes the liquid turn into a jiggly, chewy treat. When you sprinkle it in, you must whisk fast. If you stop whisking, you get lumpy gummies. Here is why this matters: cooking is all about tiny changes. Heat turns liquid to solid. That is a small miracle happening in your saucepan. Understanding this helps you cook anything with confidence. *Fun fact: Gelatin comes from animal bones and skin. It has been used to make jiggly desserts for over a hundred years.*Adding the Calm
Once the gummy base is smooth and glassy, we take it off the stove. This is the most important step. We stir in the CBD tincture. Do not add it when the pot is still boiling. The heat can ruin the special oils. This is why it matters: CBD is gentle. It likes warmth, not heat. Treat it like a shy friend. Give it a nice, warm bath, not a hot shower. Have you ever used CBD before? What did you think?Pouring and Patience
Now comes the tricky part. You pour the liquid into a gummy mold. A small dropper works best. You have to work fast because the gelatin starts to set right away. I always poke tiny bubbles with a toothpick. Then you put the mold in the fridge. For two whole hours. I know that feels like forever. But this waiting time is what makes them firm and bouncy. Do you like chewy gummies or soft ones? Tell me in your head.Letting Them Breathe
After they are firm, pop them out of the mold. If you want them extra chewy, let them sit on a wire rack for a day. They lose a little moisture. They get a nice, springy bite. You can also roll them in sugar. Just toss them in a bowl with a spoonful of sugar. It makes them look like little jewels. I like to save some without sugar for a less sweet snack. Which way would you try?Sharing the Joy
These gummies are perfect for a quiet evening. You can eat one or two and feel a gentle calm. They are not for kids, of course. They are for grown-ups who need a little pause. I keep mine in a glass jar in the fridge. They last about two weeks. Every time I open the lid, I remember that messy kitchen and my laughing brother. Cooking is about making happy moments. What happy moment will you create today?Ingredients:
| Ingredient | Amount | Notes |
|---|---|---|
| Water | 1 cup | |
| Dried hibiscus flowers or hibiscus tea bags | 1/4 cup or 6 bags | |
| Dried fruit powder (raspberry or strawberry) | 3 tablespoons | |
| Refined white sugar | 1-1/2 tablespoons | |
| Fresh lemon or lime juice | 1 tablespoon | |
| Unflavored gelatin | 4 tablespoons | |
| CBD-rich tincture or oil | 24 dose servings |
My Grandma Surprised Me With These
I remember the first time I made gummy candies. It was a rainy Saturday, and my kitchen smelled like a fruit stand. My granddaughter kept peeking over my shoulder. She wanted to help, but mostly she wanted to taste test. I still laugh at that memory.
These homemade CBD gummies are simple and fun to make. The hibiscus tea gives them a lovely red color. The fruit powder adds a sweet, tangy punch. Doesnt that smell amazing? You will feel proud pulling them out of the fridge.
Step 1: Start by making your hibiscus tea. Boil one cup of water and pour it over the dried hibiscus flowers or tea bags. Let it steep for five minutes. Strain out the flowers, then measure out three-quarters of a cup of tea. (Hard-learned tip: Do not skip straining, or you will have gritty gummies.)
Step 2: Pour the tea into a small saucepan. Add the dried fruit powder, the sugar, and the lemon juice. Whisk it all together until it looks smooth. Bring the mixture to a gentle simmer over medium-low heat. It should be hot but never bubbling hard.
Step 3: Slowly sprinkle the gelatin into the pot while you whisk. Keep whisking until every bit of gelatin melts away. The liquid will turn glassy and clear. I once stopped whisking for a second, and it clumped up. Learn from my mistake, friend. Stir, stir, stir.
Step 4: Take the pot off the heat. Pour in your CBD tincture or oil. Stir really well so it spreads evenly. Now, fill your gummy molds quickly using a pipette or a spoon. The mixture sets fast, so do not dawdle. Pop any bubbles with a toothpick.
Step 5: Place the mold in the fridge for about two hours. When they feel firm, pop them out by flipping the mold over. If you want chewier gummies, let them sit on a wire rack for a whole day. It is worth the wait, I promise.
Step 6: An optional but fun step: coat them in sugar. Toss the gummies in a bowl of sugar until they sparkle. Let them dry on a rack for one more hour. My grandson always steals a few before they are even coated. Do you coat yours in sugar or leave them plain? Share below!
Cook Time: 10 minutes Total Time: 2 hours 15 minutes Yield: 24 gummies Category: Candy, Snack
Fun Ways To Change The Flavor
Once you master the basic recipe, you can play around. It is like being a little kitchen scientist. Each twist brings a new surprise. Which one would you try first? Comment below!
Spicy Mango Gummies: Swap the fruit powder for mango powder and add a tiny pinch of chili flakes. It is sweet and then warm on your tongue.
Lemon-Lavender Gummies: Use lemon juice and a drop of lavender extract instead of fruit powder. It tastes like a garden in springtime.
Berry Mint Gummies: Replace the fruit powder with blueberry powder and stir in a few crushed mint leaves. So refreshing on a hot day.
How To Serve And Sip Them
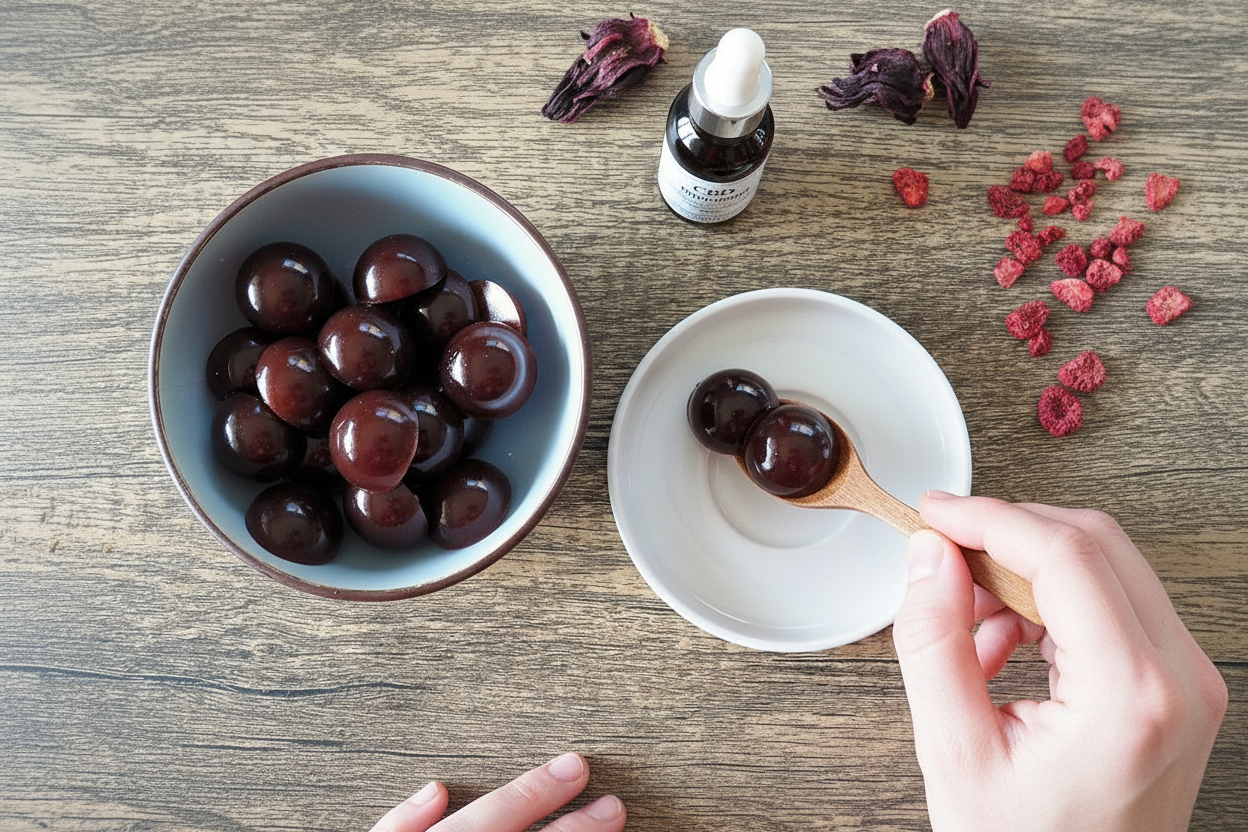
I love serving these gummies on a little wooden board with fresh berries. They look so pretty next to grapes or orange slices. You can also dust them with a little extra sugar for sparkle.
For a grown-up drink, try a glass of cold sparkling water with a splash of cranberry juice. For everyone else, a tall glass of iced hibiscus tea pairs perfectly. Which would you choose tonight?

Storing Your Homemade Gummies
Keep your gummies in a sealed jar in the fridge. They stay fresh and chewy for up to two weeks. I once left a batch on the counter overnight. They turned into a sticky, sad puddle. Learn from my mistake, dear.
For longer storage, freeze them on a baking sheet first. Then pop them into a freezer bag. They will keep for three months. Just thaw them in the fridge when you want one. Batch cooking is a lifesaver for busy weeks.
Why does this matter? It saves you time and waste. You can make a double batch and always have a treat ready. Have you ever tried storing it this way? Share below!
Common Problems and Easy Fixes
The gummies can stick to the mold. Use a tiny spray of cooking oil before pouring. I remember my first batch. I had to chisel them out with a spoon. Don’t be like me.
Gummies can turn cloudy instead of clear. This happens if you boil the mixture. Always simmer, never boil. Keep the heat low and steady. Why does this matter? Clear gummies look prettier and feel smoother. It makes you proud to share them.
Sometimes the gelatin clumps. Sprinkle it slowly into the warm liquid while whisking. Go slow and steady. This stops lumps from forming. Which of these problems have you run into before?
Your Questions, Answered
Q: Are these gummies gluten-free?
A: Yes, as long as your tincture and fruit powder are gluten-free. Always check labels.
Q: Can I make these ahead of time?
A: Absolutely. They last two weeks in the fridge. Perfect for party prep.
Q: What if I don’t have hibiscus flowers?
A: Use any strong berry tea. Cherry or raspberry work well. The color will change, but flavor stays bright.
Q: How do I scale the recipe?
A: Double or triple everything evenly. Keep the same ratios. Just use a bigger pot.
Q: Any tip for easy pouring?
A: Use a small measuring cup with a spout. It is faster than a pipette. Which tip will you try first?
A Sweet Send-Off from Chloe
Thank you for cooking with me today. Making treats at home is a form of love. Your kitchen is a happy place. I hope these gummies bring you joy.
Please share your creations. I love seeing your photos and hearing your stories. Have you tried this recipe? Tag us on Pinterest! It helps our little community grow.
*Fun fact: Hibiscus tea turns bright red with a splash of lemon. It is like a science experiment you can eat.*
Happy cooking! —Chloe Hartwell.
Homemade CBD Gummies Easy DIY Recipe
Description
Easy DIY recipe for homemade CBD gummies with simple ingredients. Make your own relaxing treats at home.
Ingredients
Instructions
- Bring the water to a boil and pour it over the hibiscus flowers (or hibiscus tea bags) in a heatproof cup or bowl. Let the mixture steep for 5 minutes before straining out the flowers. Measure out 3/4 cup tea and discard any remaining liquid.
- Place the 3/4 cup hibiscus tea in a small saucepan along with the dried fruit powder, sugar and lemon juice. Stir the mixture with a whisk until it’s well combined. Bring the mixture to a simmer over medium-low heat, cooking until it’s hot but not boiling. Slowly sprinkle the gelatin mixture into the pot, whisking continuously to ensure the gelatin dissolves. Continue to cook the mixture over medium-low heat until the gelatin is completely melted and the mixture is smooth and glassy.
- Remove the mixture from the heat and add the CBD-infused tincture. Stir well, until the tincture is well-dispersed.
- Place the gummy mold on a rimmed baking sheet. Using a small pipette or a spoon, carefully fill the gummy mold with the mixture. The liquid will begin to solidify after it’s removed from the heat, so work as quickly as you can. Remove any large bubbles by poking them with a toothpick or gently tapping the mold against the countertop. Chill the gummies in the refrigerator until they’re firm, about 2 hours.
- When the gummies are firm, release them from the mold by inverting the mold or popping them out from the bottom. To make the gummies chewier, let them air-dry on a wire rack in a dry room for about 24 hours.
- To give the gummies a sugar coating, pour a small amount of sugar in a bowl. Add the gummies a few at a time and toss them in the sugar until they’re well coated. Let them air-dry on a wire rack for an hour before storing.


Leave a Reply