
Q: What can I swap for the heavy cream?
A: Use half-and-half, but your filling will be less rich. No skim milk.
Q: How do I scale this recipe for a smaller pan?
A: Use a 6-inch springform pan. Halve all the ingredients.
Q: Any tip for skipping the water bath?
A: Place a pan of hot water on the rack below. It helps keep moisture in. Which tip will you try first?
A Warm Goodbye from Chloe
I hope you feel ready to bake this creamy Crème Brûlée Cheesecake. Remember, it is okay if your first one is not perfect. Mine was not. The joy is in sharing a slice with people you love. I would love to see your creation. Take a photo and share it. Have you tried this recipe? Tag us on Pinterest! Your pictures make my day. Thank you for cooking with me. Keep your kitchen warm and your heart full. Happy cooking! —Chloe Hartwell.
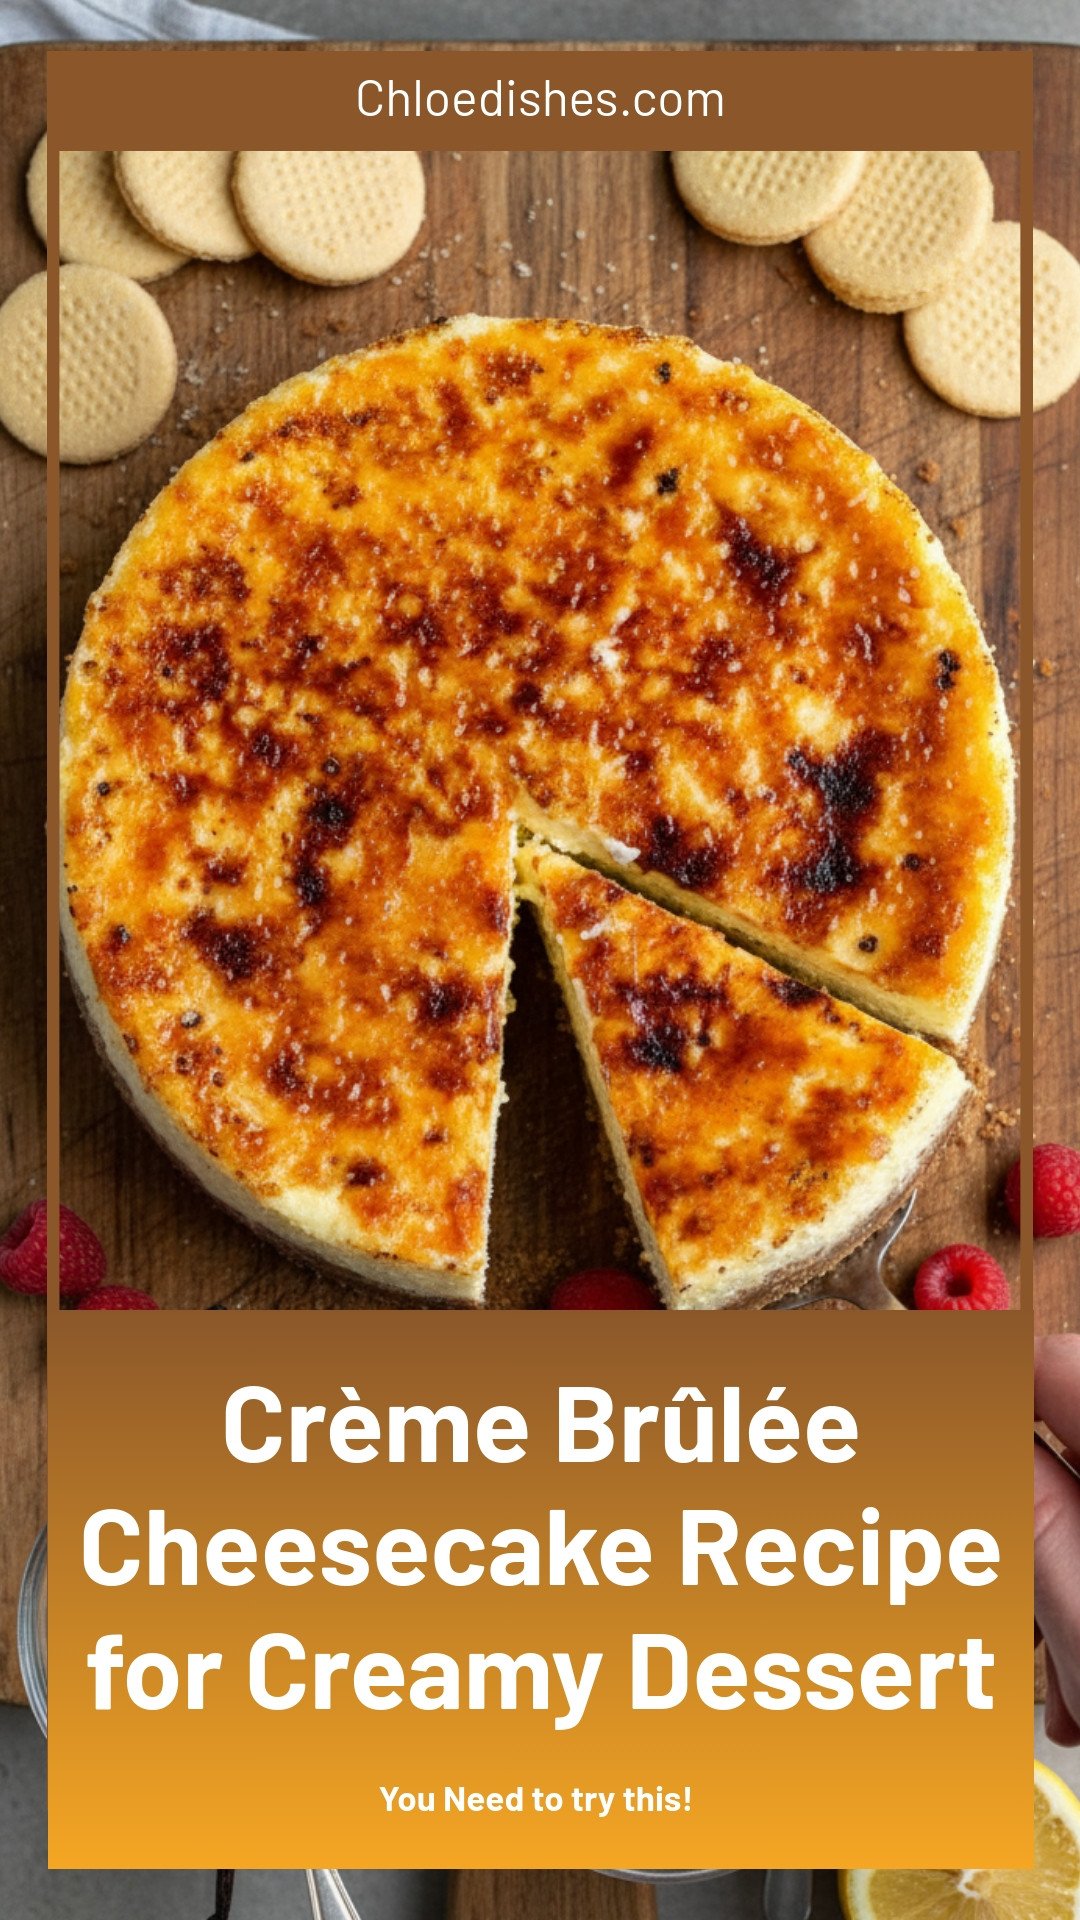
Crème Brûlée Cheesecake Recipe for Creamy Dessert
Description
Indulge in a rich, creamy Crème Brûlée Cheesecake with a caramelized sugar top, the perfect elegant dessert for any occasion.
Ingredients
Instructions
- Whisk the eggs, sugar and vanilla until the eggs are broken. Heat the cream until it starts to simmer, then slowly pour over the egg mixture while continuously whisking. Strain the mixture through a fine sieve mesh twice, and set aside to cool down.
- Preheat oven to 350F (conventional) and butter the bottom of a 9″ springform pan. Wrap 2-3 sheets of aluminum foil on the outside of the pan tightly (along the bottom and outer edges) so water cannot get in. Crush the Nilla Wafers and melted butter in a food processor until they form a fine crumb. Transfer to the pan and press down as tightly as you can into a crust. I like to push some up the sides too. Bake for 7-8 min. Once done, change the oven temperature to 325F (conventional).
- Add the cream cheese, sugar and salt to the bowl of a stand mixer, and whisk using the paddle attachment for 2-3 min until creamy. Scrape the edges and bottom of the bowl in the middle to ensure everything is well combined. Add the cooled down creme patisserie in 3 additions, whisking slowly between each for just 15-20 seconds. In the last addition, also add the sifted cornstarch and lemon juice. Scrape the bowl and whisk for just 15-20 seconds or until the ingredients are just combined, taking care not to overmix.
- Pour the cheesecake batter into the pan with the baked crust. Shake gently and tap the pan on the counter 30-40 times to remove air bubbles. You can also run a skewer gently through the batter. Place a large tray in the oven (middle rack) and place the cheesecake pan in the middle. Pour 1-2″ of boiling water into the tray so the cheesecake pan is dipped in water on the outside (this is a water bath). Make sure no water gets into the cheesecake pan. Close the oven door and bake for ~80-85 minutes. You can open the oven door around 75 min to check for doneness. The cheesecake should be jiggly in the middle but firm around the edges. Remove the cheesecake pan from the oven once baked, and leave it uncovered at room temperature for 15 minutes. Then take a butter knife and gently run it around the edge of the cheesecake (between the pan and the cheesecake). Cool at room temp for 2-3 hours, then transfer to the fridge and chill overnight (uncovered).
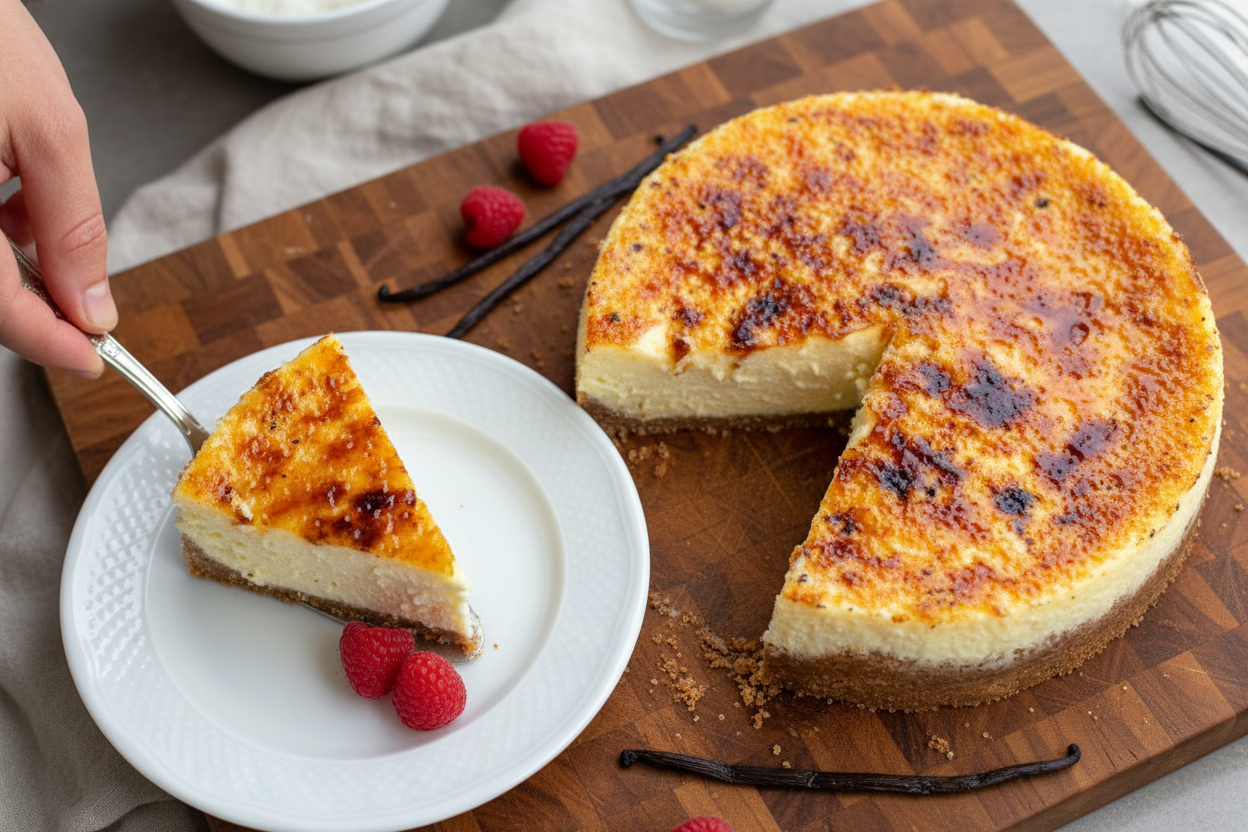
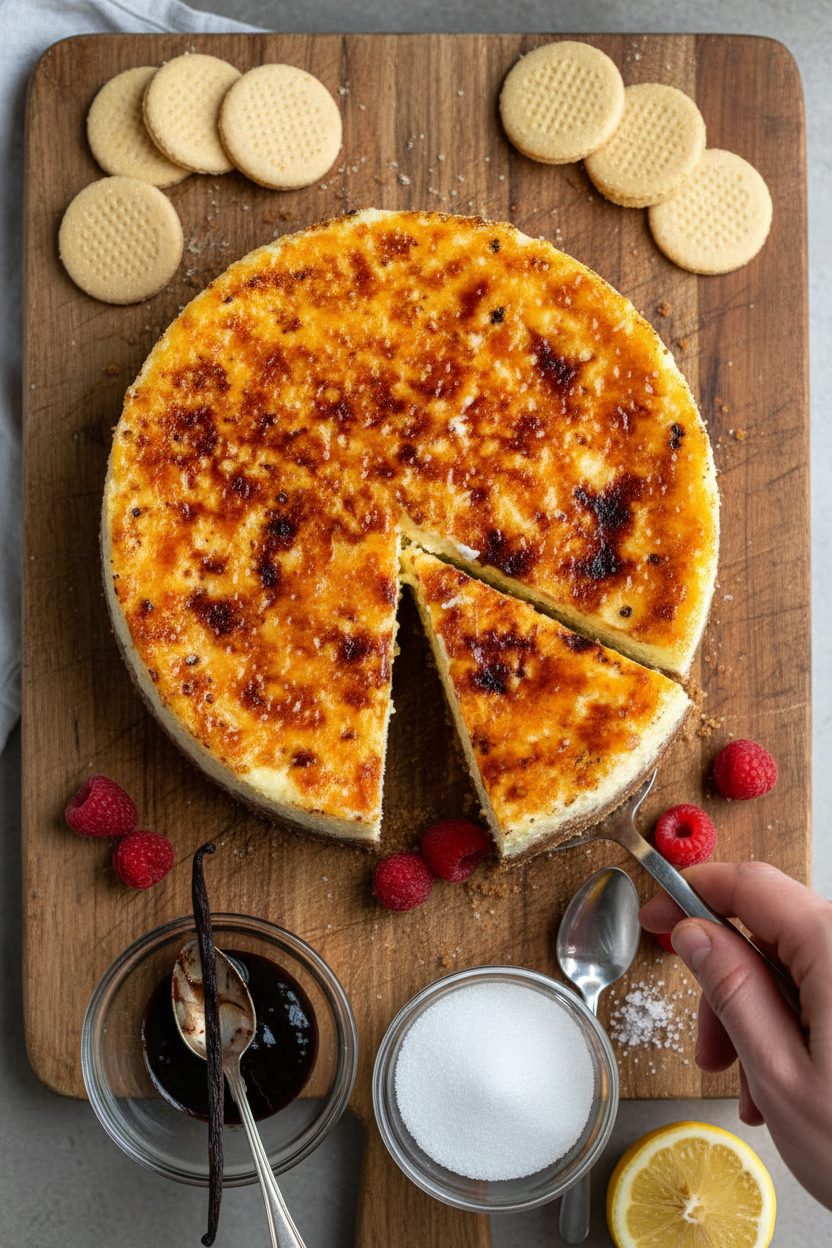
- The next day, carefully remove the cheesecake from the pan and place it onto your serving board. Sprinkle the sugar onto the cheesecake in thin layers, and use your blowtorch to caramelize it (it should melt and reach a deep golden color). Doing this in thin layers will speed up the process and achieve even caramelization. Serve & enjoy!
Q: Can I make this cheesecake gluten-free?
A: Yes. Use gluten-free graham crackers or Nilla Wafers for the crust.
Q: Can I prepare this dessert ahead of time?
A: Absolutely. Make it two days before. It needs to chill overnight anyway.
Q: What can I swap for the heavy cream?
A: Use half-and-half, but your filling will be less rich. No skim milk.
Q: How do I scale this recipe for a smaller pan?
A: Use a 6-inch springform pan. Halve all the ingredients.
Q: Any tip for skipping the water bath?
A: Place a pan of hot water on the rack below. It helps keep moisture in. Which tip will you try first?
A Warm Goodbye from Chloe
I hope you feel ready to bake this creamy Crème Brûlée Cheesecake. Remember, it is okay if your first one is not perfect. Mine was not. The joy is in sharing a slice with people you love. I would love to see your creation. Take a photo and share it. Have you tried this recipe? Tag us on Pinterest! Your pictures make my day. Thank you for cooking with me. Keep your kitchen warm and your heart full. Happy cooking! —Chloe Hartwell.
I remember my first cheesecake had a big crack right down the middle. I was so upset. But I learned that cracks happen when you overmix the batter. Mix just until combined. That is the secret. Another issue is a soggy crust. This happens when water sneaks into the pan during the water bath. Wrap your pan in two or three layers of foil. Check for tears. I once forgot this step and ended up with a wet, crumbly mess. My family still teases me about it. The third problem is a runny center. This means your cheesecake is underbaked. It should jiggle in the middle but stay firm at the edges. Let it cool slowly on the counter. Why does fixing these issues matter? It builds your confidence in the kitchen. You learn to trust your hands and your oven. Also, a perfect cheesecake tastes better. No cracks mean every bite is creamy and smooth. Which of these problems have you run into before?
*Fun fact: Cheesecake is actually a type of custard. That is why it needs gentle heat and patience.
Your Questions Answered
Q: Can I make this cheesecake gluten-free?
A: Yes. Use gluten-free graham crackers or Nilla Wafers for the crust.
Q: Can I prepare this dessert ahead of time?
A: Absolutely. Make it two days before. It needs to chill overnight anyway.
Q: What can I swap for the heavy cream?
A: Use half-and-half, but your filling will be less rich. No skim milk.
Q: How do I scale this recipe for a smaller pan?
A: Use a 6-inch springform pan. Halve all the ingredients.
Q: Any tip for skipping the water bath?
A: Place a pan of hot water on the rack below. It helps keep moisture in. Which tip will you try first?
A Warm Goodbye from Chloe
I hope you feel ready to bake this creamy Crème Brûlée Cheesecake. Remember, it is okay if your first one is not perfect. Mine was not. The joy is in sharing a slice with people you love. I would love to see your creation. Take a photo and share it. Have you tried this recipe? Tag us on Pinterest! Your pictures make my day. Thank you for cooking with me. Keep your kitchen warm and your heart full. Happy cooking! —Chloe Hartwell.
The Day I Fell in Love With Two Desserts at Once
I remember the first time I made this. I was testing it for a friend’s birthday. I love crème brûlée. And I love cheesecake. So I thought, why not put them together? My kitchen smelled like vanilla and rich cream all day. I still laugh at that memory. My cat kept sitting by the oven, hoping for a taste.
Doesn’t that smell amazing just thinking about it? Have you ever mixed two favorite desserts before? Tell me about it.
What Makes This So Special
This isn’t just another cheesecake. It has a hidden layer of crème pâtissière inside. That’s the fancy French name for a creamy custard. It makes the center extra smooth and rich. You get the tangy cream cheese and that silky custard together. It’s like a hug for your taste buds.
Why this matters: You don’t need to be a pro baker to make this. The steps are simple, and the results look fancy. It teaches you how patience pays off. Waiting overnight for it to chill is the hardest part. But it’s worth it.
A Little History in Your Kitchen
Crème brûlée has been around since the 1600s. Chefs in France and England argued over who invented it first. Cheesecake is even older. People in ancient Greece made it for athletes at the Olympics. I think it’s funny that these two old desserts finally got together.
This recipe is a modern twist on a classic idea. *Fun fact: the blowtorch step became popular in the 1980s when chefs started using kitchen torches instead of broilers. Much easier and faster.*
What’s your favorite old-fashioned dessert? Maybe you can give it a new twist too.
The Crust: Don’t Skip This Part
The crust is made from Nilla Wafers or graham crackers. I like to crush them myself. It feels cozy, like making mud pies as a kid. You press them into the pan with melted butter. Then you bake it for just 7 minutes. It gets golden and slightly crunchy.
Why this matters: A good crust holds everything together. It also adds a sweet, buttery crunch that contrasts with the creamy filling. If you push some crust up the sides, you get even more texture in every bite.
The Secret to a Smooth Filling
Here’s the trick with the cream cheese. Let it sit out for an hour before you start. Cold cream cheese makes lumps. Nobody wants lumps in their cheesecake. You beat it slowly with sugar and salt until it’s fluffy. Then you add the custard in three parts. Do not overmix. Overmixing adds too much air and can cause cracks.
I once rushed this step. My cheesecake looked like a mountain range. It still tasted good, but I learned my lesson. Have you ever made a baking mistake that taught you something new?
The Water Bath Will Save You
Baking in a water bath sounds scary, but it’s easy. You wrap the pan in foil so water stays out. Then you set the pan in a larger tray of hot water. This steams the cheesecake gently. It bakes evenly without drying out or cracking on top. My grandma called this “giving the cake a hot bath.”
After 80 minutes, you let it cool slowly. First on the counter, then in the fridge overnight. This is the hardest wait. But when you finally crack that sugar top the next day? Pure joy.
The Fun Part: Torch It
On the second day, you sprinkle sugar on top. Then you use a blowtorch to melt it into a glassy shell. If you don’t have a torch, you can use your oven’s broiler for a minute. Watch it closely. Sugar burns fast. You want a deep golden color, not black. Tap it with a spoon and hear that crisp crack.
That cracking sound is the reward for your patience. It makes everyone smile. I’d love to know: do you like a thick, hard sugar top or a thin, delicate one? That’s your choice. There’s no wrong answer.
Ingredients:
| Ingredient | Amount | Notes |
|---|---|---|
| Nilla Wafers or Graham Crackers | 200g | For crust |
| Unsalted butter, melted | 4 tbsp (60g) | For crust |
| Heavy cream | 1 ½ cups (360g) | For crème patisserie |
| Large eggs | 4 | For crème patisserie |
| Sugar | ⅓ cup (75g) | For crème patisserie |
| Vanilla bean pod (or vanilla bean paste) | 1 pod (1-2 tsp paste) | For crème patisserie |
| Full-fat cream cheese | 32 oz (4 blocks, 910g) | For cheesecake filling |
| Granulated sugar | 1 cup (220g) | For cheesecake filling |
| Salt | ½ tsp | For cheesecake filling |
| Cornstarch, sifted | 1.5 tbsp | For cheesecake filling |
| Lemon juice (optional) | To taste | For cheesecake filling |
| Granulated sugar | 2-4 tbsp | For topping |
My Grandma’s Secret Dessert
I still remember the first time I made this cheesecake. My kitchen smelled like vanilla and caramel for days. Doesn’t that smell amazing? I was trying to impress my grandma, but I burned the sugar top black. She just laughed and said, “Honey, you can’t rush a good thing.” Now, I always take my time with that blowtorch.
This recipe is a little fancy, but I promise it’s not hard. It’s like making two desserts in one—a creamy custard and a rich cheesecake. Your friends will think you bought it from a bakery. Let me walk you through it, step by step.
Step 1: Start with the custard. Whisk the eggs, sugar, and vanilla bean paste until the eggs are broken up. It will look pale yellow and smooth. I like to pretend I’m a chef in a fancy restaurant when I do this.
Step 2: Heat the cream in a small pot until you see tiny bubbles at the edges. Don’t let it boil! Slowly pour the hot cream over the egg mixture while whisking fast. This is called tempering, and it keeps your eggs from scrambling. (Hard-learned tip: If you pour too fast, you’ll get sweet egg soup. Go slow!)
Step 3: Strain the custard through a fine sieve twice. This catches any tiny lumps. Set it aside to cool completely. While it cools, preheat your oven to 350F. Butter the bottom of a 9-inch springform pan. Wrap the outside with two layers of foil so no water sneaks in later.
Step 4: Crush the Nilla Wafers or graham crackers in a food processor with melted butter. Press the crumbs firmly into the pan. I push some up the sides for a pretty edge. Bake the crust for 7–8 minutes. Then turn your oven down to 325F.
Step 5: Beat the cream cheese, sugar, and salt for 2–3 minutes until it’s smooth and creamy. Scrape the bowl halfway through. Now add the cooled custard in three parts, mixing slowly for just 15 seconds each time. In the last addition, add the cornstarch and a squeeze of lemon juice. Don’t overmix!
Step 6: Pour the batter into the pan. Tap the pan on the counter 30–40 times—yes, count them! This pops air bubbles so your cheesecake is silky. Run a skewer through the batter gently, too. Place the pan inside a bigger tray, then pour boiling water around it until it’s an inch deep. Bake for 80–85 minutes. The center should jiggle like jelly.
Step 7: Let the cheesecake cool at room temp for 15 minutes. Run a butter knife around the edge. Let it sit for 2–3 more hours, then refrigerate overnight uncovered. The next day, sprinkle sugar in thin layers and torch it until golden and crackly. What’s the most creative dessert you’ve ever made? Share below!
Cook Time: 1 hour 30 minutes
Total Time: 12 hours (includes chilling overnight)
Yield: 12 servings
Category: Dessert
Three Fun Twists to Try
Berry Swirl: Before baking, drop spoonfuls of raspberry jam on top. Use a knife to swirl it around. It looks like a pink galaxy!
Salted Caramel: Skip the lemon juice. Instead, drizzle salted caramel sauce over the finished cheesecake. A little sea salt on top makes it irresistible.
Pumpkin Spice: Add a teaspoon of pumpkin pie spice to the cheesecake batter. Top with candied pecans for a cozy fall treat. Which one would you try first? Comment below!
How to Serve and Sip
I love serving this cheesecake with fresh berries on the side. A tiny dollop of whipped cream makes it look extra special. For a crunchy contrast, sprinkle toasted almonds around the plate.
For a grown-up drink, try a small glass of cold-brew coffee—it matches the caramel notes perfectly. Kids (and me!) love a tall glass of cold milk. It cuts through the richness like magic. Which would you choose tonight?
Storing Your Creamy Crème Brûlée Cheesecake
Let me tell you about the first time I made this cheesecake. I was so proud, I left it on the counter overnight. Big mistake. The top got sticky, and it lost its creamy magic. Always store your cheesecake in the fridge. Wrap it tightly in plastic wrap or use a cake carrier. It stays perfect for up to five days. For the freezer, slice it first. Wrap each slice in plastic, then foil. It will keep for two months. When you want a piece, let it thaw in the fridge overnight. Never microwave it. That will ruin the smooth texture. I learned this the hard way when my grandson asked for a slice and I zapped it. It turned into a sad, soupy mess. Batch cooking is wonderful. Bake two cheesecakes at once. Freeze one for a busy week. It saves time and gives you a treat when you need it most. Why does this matter? Because a well-stored cheesecake tastes just as good as the day you baked it. You deserve that joy on a Tuesday night. Have you ever tried storing it this way? Share below!
Fixing Common Cheesecake Problems
I remember my first cheesecake had a big crack right down the middle. I was so upset. But I learned that cracks happen when you overmix the batter. Mix just until combined. That is the secret. Another issue is a soggy crust. This happens when water sneaks into the pan during the water bath. Wrap your pan in two or three layers of foil. Check for tears. I once forgot this step and ended up with a wet, crumbly mess. My family still teases me about it. The third problem is a runny center. This means your cheesecake is underbaked. It should jiggle in the middle but stay firm at the edges. Let it cool slowly on the counter. Why does fixing these issues matter? It builds your confidence in the kitchen. You learn to trust your hands and your oven. Also, a perfect cheesecake tastes better. No cracks mean every bite is creamy and smooth. Which of these problems have you run into before?
*Fun fact: Cheesecake is actually a type of custard. That is why it needs gentle heat and patience.
Your Questions Answered
Q: Can I make this cheesecake gluten-free?
A: Yes. Use gluten-free graham crackers or Nilla Wafers for the crust.
Q: Can I prepare this dessert ahead of time?
A: Absolutely. Make it two days before. It needs to chill overnight anyway.
Q: What can I swap for the heavy cream?
A: Use half-and-half, but your filling will be less rich. No skim milk.
Q: How do I scale this recipe for a smaller pan?
A: Use a 6-inch springform pan. Halve all the ingredients.
Q: Any tip for skipping the water bath?
A: Place a pan of hot water on the rack below. It helps keep moisture in. Which tip will you try first?
A Warm Goodbye from Chloe
I hope you feel ready to bake this creamy Crème Brûlée Cheesecake. Remember, it is okay if your first one is not perfect. Mine was not. The joy is in sharing a slice with people you love. I would love to see your creation. Take a photo and share it. Have you tried this recipe? Tag us on Pinterest! Your pictures make my day. Thank you for cooking with me. Keep your kitchen warm and your heart full. Happy cooking! —Chloe Hartwell.


Leave a Reply