
Why I Started Making Kefir
My grandma used to keep a jar of something white and bubbly on her counter. I was maybe ten. I asked her if it was spoiled milk. She laughed and said, “It’s alive, honey.” She poured me a tiny sip. I made a sour face. She just winked. Now I understand why she loved it so much. Kefir is like a science project you can drink. It fills your belly with good tiny helpers called probiotics. That always made me smile. Doesn’t that sound like a fun experiment to try? Have you ever had anything that tastes sour but feels good for you?What You Will Need
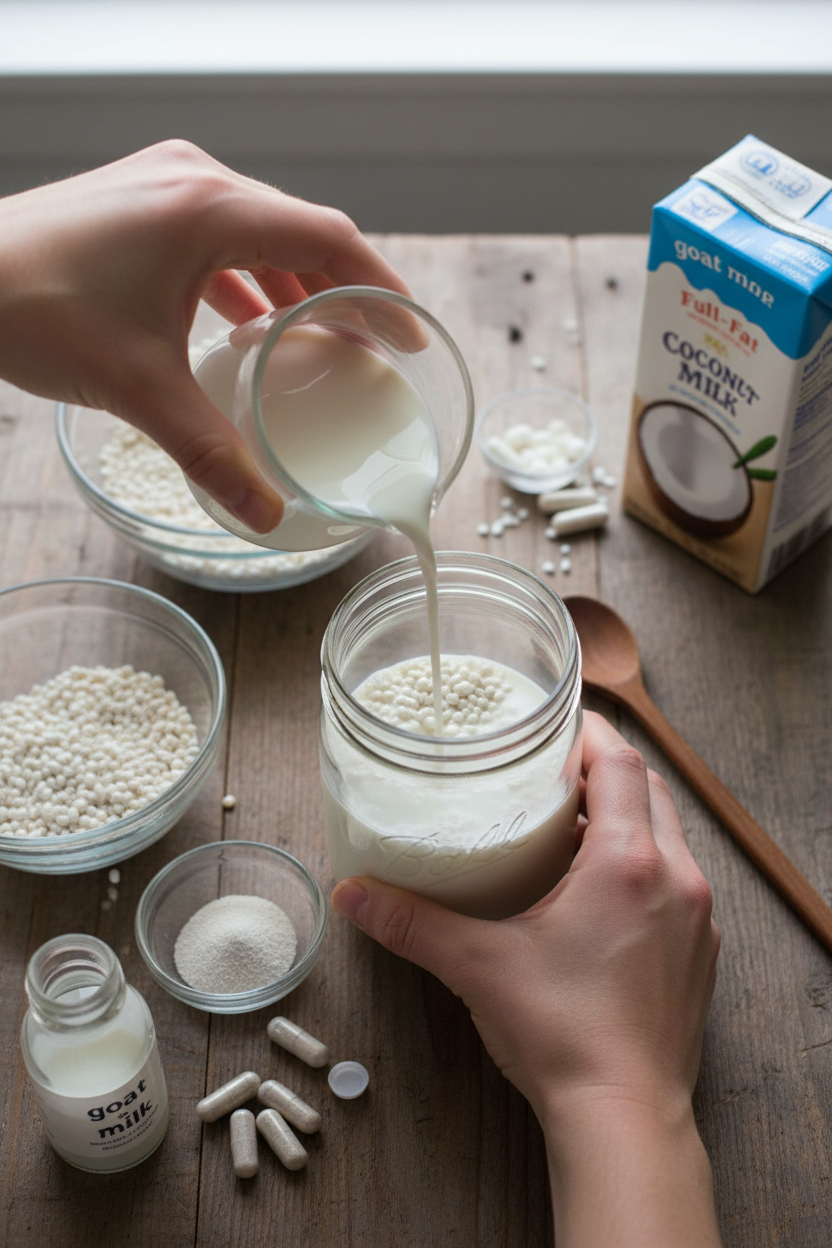
First, grab a clean glass jar. Metal can hurt the little living things in kefir. You want them happy. You need 16 ounces of milk. Raw milk is best, but store-bought works too. Even coconut milk works if you want a dairy-free start. Then you need a starter. This can be kefir grains that look like little yellow cauliflower bits. Or you can break open a live probiotic capsule. Both work fine. I have used both. I still laugh at that time I used a capsule and my jar looked like a science fair winner. Why this matters: Using the right tools keeps your kefir alive and healthy. Using a metal spoon would kill your friendly bacteria. That would make a sad jar.The Easy Steps
Pour your milk into the jar. Add your starter or grains. Stir gently with a wooden or plastic spoon. Not metal, remember? Cover the top with a cheesecloth or a coffee filter. Secure it with a rubber band or string. Do not screw on a lid. The good guys need to breathe. Set the jar in a dark, slightly warm spot. The top of your fridge is perfect. Let it sit for 24 to 48 hours. Check it once. Give it a little stir. Does it smell tangy? Is it a little thicker? Then you did it right. *Fun fact*: Kefir grains are not actual grains. They are a living colony of good bacteria and yeast. People have passed them down for hundreds of years. What spot in your kitchen is warm and dark? Maybe tell me in your head.A Little Patience Goes a Long Way
If you use kefir grains, you must strain them out after fermentation. Pour the kefir through a cheesecloth or a plastic strainer. Never metal. Save those grains. You can reuse them for your next batch. They multiply, too. Soon you will have more than you know what to do with. I once gave a jar of extra grains to my neighbor. She named them George. I still laugh at that. Now she makes kefir every week. Why this matters: Kefir is not a one-time thing. It keeps going. You are building a tiny farm in your fridge. That is pretty cool.How to Know It Is Done
After 24 hours, take a look. The milk should smell a little sour, like yogurt but sharper. It should look thicker, almost like buttermilk. If it is still runny and smells like plain milk, give it more time. Taste a tiny spoonful. Does it make your tongue tingle? That is the good guys working. When you like the taste, pop the jar in the fridge. It will keep for up to seven days. It gets stronger the longer it sits. Doesn’t that smell amazing? Do you like sour or tangy foods, like pickles or plain yogurt?Ways to Enjoy It
You can drink it plain, but it is very tangy. I like to pour it over berries. Or mix it with a little honey and vanilla. You can even use it in smoothies. It adds a nice zing. My grandson pours it on his pancakes instead of syrup. He says it is weird and wonderful. I just laugh. Have you ever tried making your own sour drink before? What would you mix with kefir?What I Learned the Hard Way
One time I left my kefir for three whole days. It separated into clumps and clear liquid. I thought I ruined it. I almost threw it out. But I stirred it up and tasted it. It was super sour but not bad. I learned that kefir is very forgiving. It just gets stronger. So do not be scared. If it smells like dirty socks, toss it. But if it just smells tangy, you are fine. Trust your nose. What is one kitchen mistake you made that turned out okay? I would love to hear about it.Ingredients:
| Ingredient | Amount | Notes |
|---|---|---|
| Raw milk (dairy, goat milk, or full fat coconut milk) | 16 oz | Can use dairy, goat milk, or vegan milk |
| Kefir starter (kefir grains or live probiotic capsule) | ½ teaspoon | Can use kefir grains or break open a live probiotic capsule |
My Grandma’s Secret to Tangy, Creamy Kefir
I remember my grandma pulling a jar from the top of the fridge. She’d grin and say, “Smell that magic.” Homemade kefir was her pride. It always made the kitchen feel alive. Now I make it the same way. You can too. It’s easier than baking a cake. Doesn’t that smell amazing? Let me walk you through it.
You only need two things. Fresh raw milk and some kefir starter. I use raw dairy milk, but goat milk works too. Even full-fat coconut milk does the trick. My friend Julie tried it with oat milk once. We still laugh at that. It turned into a weird pudding. Stick to the milks I listed and you are golden.
Let’s Make It Step by Step
Follow these steps and you will have creamy kefir in no time. I still mess up sometimes, so don’t worry. That is how you learn.
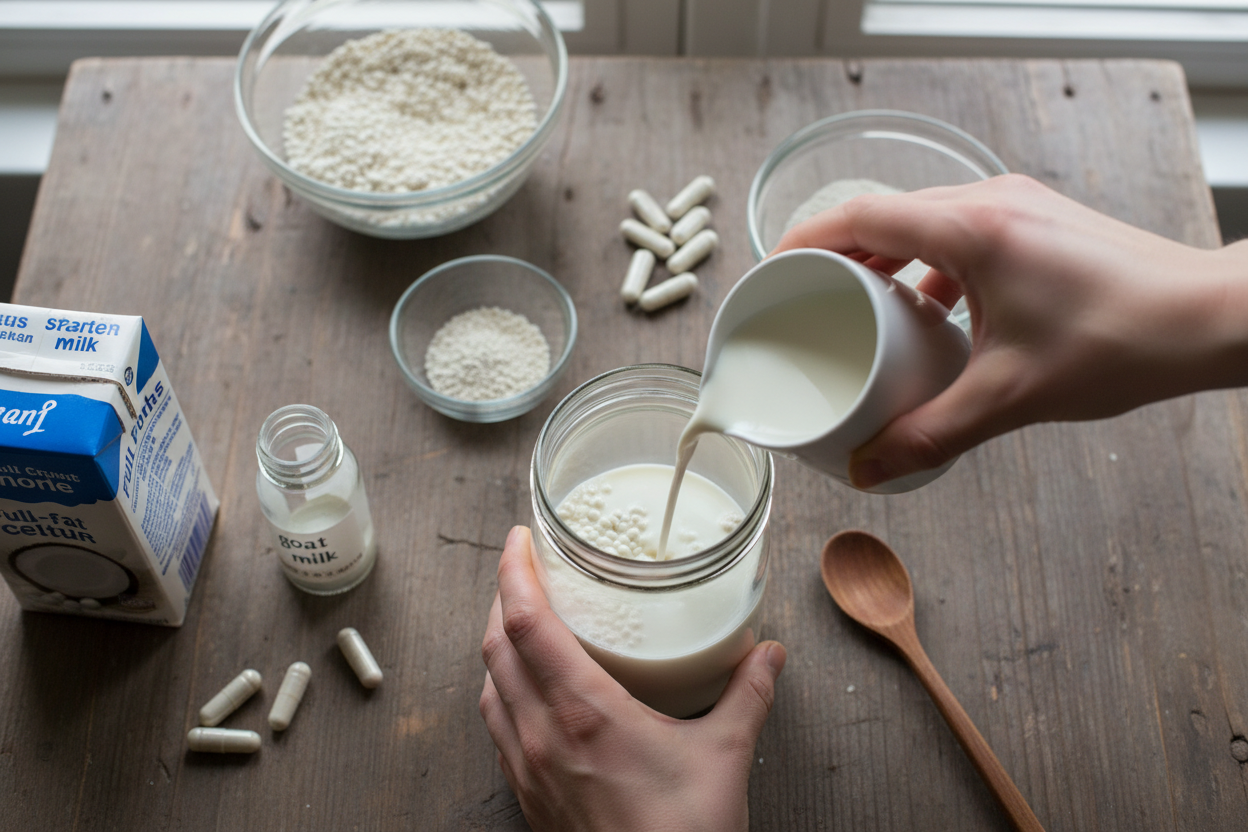
Step 1: Pour 16 ounces of raw milk into a clean glass jar. A wide-mouth jar works best so you can stir easily. Add half a teaspoon of kefir starter. You can use live kefir grains or break open a probiotic capsule from the store. I always use grains because they last forever. (Hard-learned tip: Do not use a metal spoon or lid. Metal can upset the good bacteria and ruin your batch.)
Step 2: Stir the milk and starter with a wooden or plastic spoon. Cover the jar with a piece of cheesecloth. Secure it with a rubber band or string. Do not screw on a metal lid. The mixture needs to breathe. I once used a tight lid and the jar exploded in my pantry. My cat jumped a foot in the air. We still laugh about it.
Step 3: Put the jar in a dark, dry spot that is slightly warm. The top of your fridge is perfect. Let it sit for 24 to 48 hours. Check it once or twice and give it a gentle stir. It should start smelling tangy and look a little thicker. What does your kitchen smell like right now? Share below!
Step 4: Taste it after 24 hours. If you like a mild tang, you can stop there. If you want it stronger, let it sit another day. When it is ready, put the jar in the fridge. It will last up to seven days. If you used kefir grains, strain them out with a cheesecloth or a plastic strainer. Save the grains for your next batch.
Cook Time: 24–48 hours
Total Time: 24–48 hours
Yield: About 2 cups
Category: Fermented Drink
Three Fun Twists to Try
Plain kefir is lovely. But sometimes you want a little adventure. Here are three easy ways to change it up.
Berry Blast Kefir: Throw in a handful of frozen blueberries or raspberries after it ferments. Stir them in gently. The berries turn the kefir pink and sweet. My niece calls it “unicorn milk.”
Spicy Mango Twist: Add a few chunks of fresh mango and a tiny pinch of chili powder before serving. It sounds strange, I know. But the heat and sweet together are incredible. You will surprise yourself.
Honey and Cinnamon Swirl: Drizzle in a teaspoon of raw honey and a dash of cinnamon. Stir until it looks like a cloudy sunset. This is my go-to on cold winter mornings. Which one would you try first? Comment below!
How to Serve and Sip Your Kefir
Kefir is not just for drinking straight. Pour it over granola with sliced bananas for a quick breakfast. Or use it as a tangy base for smoothies. My neighbor swirls it into her tomato soup. She says it makes the soup taste like a cloud. I believe her.
For a fun drink pairing, try it with a glass of iced herbal tea. Peppermint or chamomile works beautifully. Grown-ups might enjoy a small splash of gin mixed with kefir and lime. It is surprisingly smooth. Which would you choose tonight?
Your Kefir in the Fridge and Freezer
Once your kefir is tangy and thick, pop it in the fridge. It stays good for up to seven days. I remember my first batch of kefir. I left it on the counter too long, and it got sour and fizzy. Now I set a timer on my phone so I never forget.
You can freeze kefir grains for months. Just rinse them gently, put them in a small jar with a splash of milk, and freeze. When you want to make more kefir, thaw them in the fridge overnight. They wake up happy and hungry. Batch cooking kefir saves you money. You always have a healthy starter on hand. Have you ever tried storing it this way? Share below!
Why this matters: Storing your kefir right keeps the good bacteria alive. That tangy taste is the bacteria doing their job. A happy batch of kefir means a happy tummy. Batch cooking makes your kitchen feel like a cozy little factory. You get a steady supply of creamy, fizzy goodness.
Three Common Kefir Fixes
Problem one: your kefir is too thin. This means it needs more time. Let it sit for another 12 to 24 hours. I once checked my jar every hour like a nervous hen. Just leave it alone and stir once a day. Problem two: your kefir smells yeasty. The room might be too warm. Move it to a cooler spot, like a dark cupboard.
Problem three: your kefir tastes like old socks. That means you used a metal spoon. Metal can kill the friendly bacteria. Always stir with a wooden spoon or a plastic one. Which of these problems have you run into before? Fixing these issues makes you a confident kefir-maker. You learn to trust your nose and your taste buds.
Why this matters: Every mistake teaches you something new. When you fix a thin batch, you learn patience. When you adjust the room temperature, you become the boss of your kitchen. You build a quiet pride in making something alive and real from simple milk.
Five Kefir Questions Answered
Q: Can I make kefir with gluten-free milk? A: Yes. Use full-fat coconut milk or any nut milk. It will be thinner but still tangy.
Q: Can I make a bigger batch? A: Yes. Just double the milk and starter. The ferment time stays the same.
Q: What if I don’t have kefir grains? A: Open a live probiotic capsule. Stir it into the milk. It works like a charm.
Q: Can I flavor my kefir before drinking? A: Yes. Add a splash of vanilla or mashed berries after it is done.
Q: Is raw milk safer than store milk for kefir? A: Raw milk has its own natural bacteria. Store milk is pasteurized, which is fine too. Both work. Which tip will you try first?
*Fun fact: Kefir grains are not grains at all. They are a rubbery clump of bacteria and yeast that looks like a tiny cauliflower.*
A Warm Send-Off From My Kitchen to Yours
I hope this little guide helps you make a jar of tangy, bubbly kefir. There is nothing quite like pulling a jar from the cupboard and hearing that soft fizz. It feels like a secret you are sharing with the good bacteria. I would love to see your creations. Have you tried this recipe? Tag us on Pinterest!
Share a photo of your kefir jar on the counter. Tell me how it turned out. Did it come out thick or thin? Did the kids drink it up? Every batch is a little story. You are now part of the grandmothers’ club. Happy cooking!
—Chloe Hartwell.
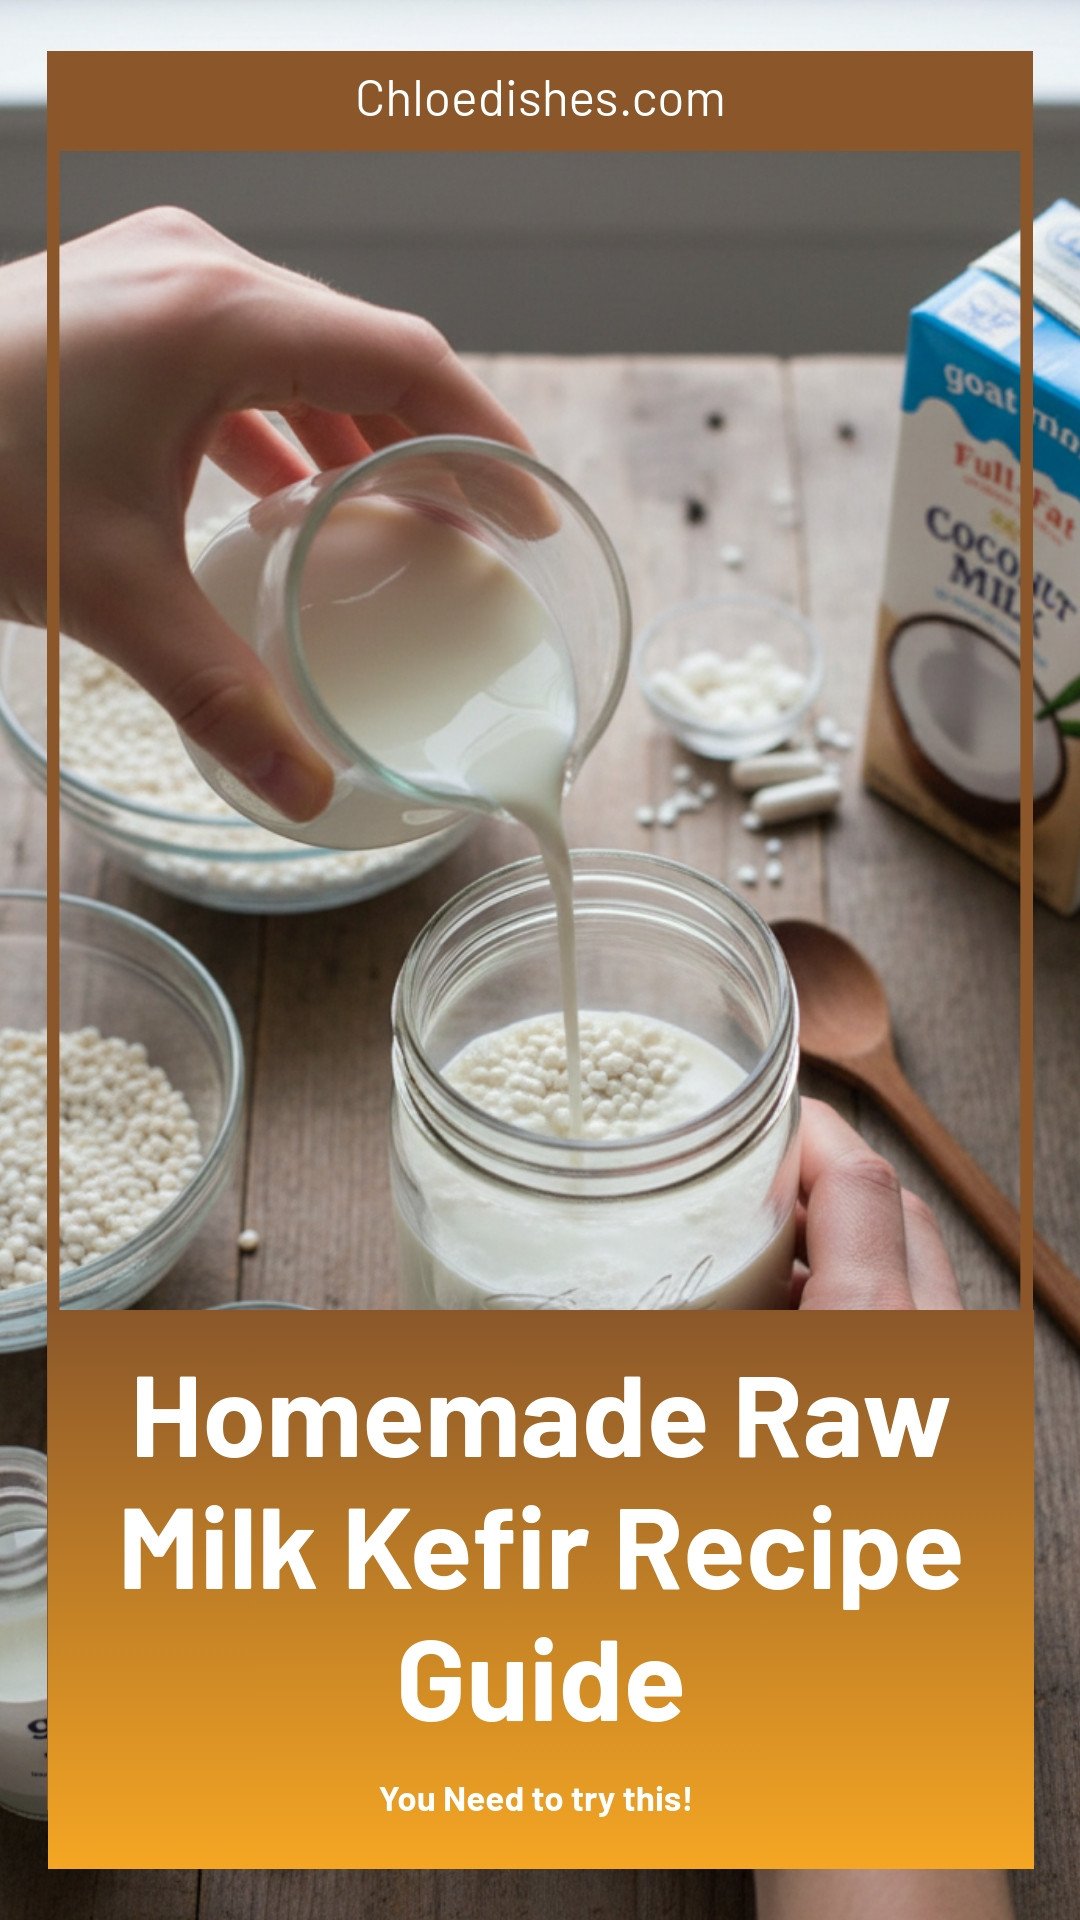
Homemade Raw Milk Kefir Recipe Guide
Description
Learn how to make creamy homemade raw milk kefir with this simple step-by-step guide. Probiotic-rich and beginner-friendly.
Ingredients
Instructions
- Pour milk into a glass jar. Add kefir starter or grains.
- Stir with a non-metal spoon. Cover with a cheesecloth and secure. Do not use a metal lid.
- Place in a dark, dry area that is slightly warm. Top of the fridge may work. Let sit for 24-48 hours. Check and stir. It should have a tangy taste and slightly thickened.
- If you are using kefir grains, strain your grains through a cheesecloth or non-metal fine mesh strainer.
- Once it has fermented to your satisfaction, place it in the refrigerator for up to 7 days.


Leave a Reply