
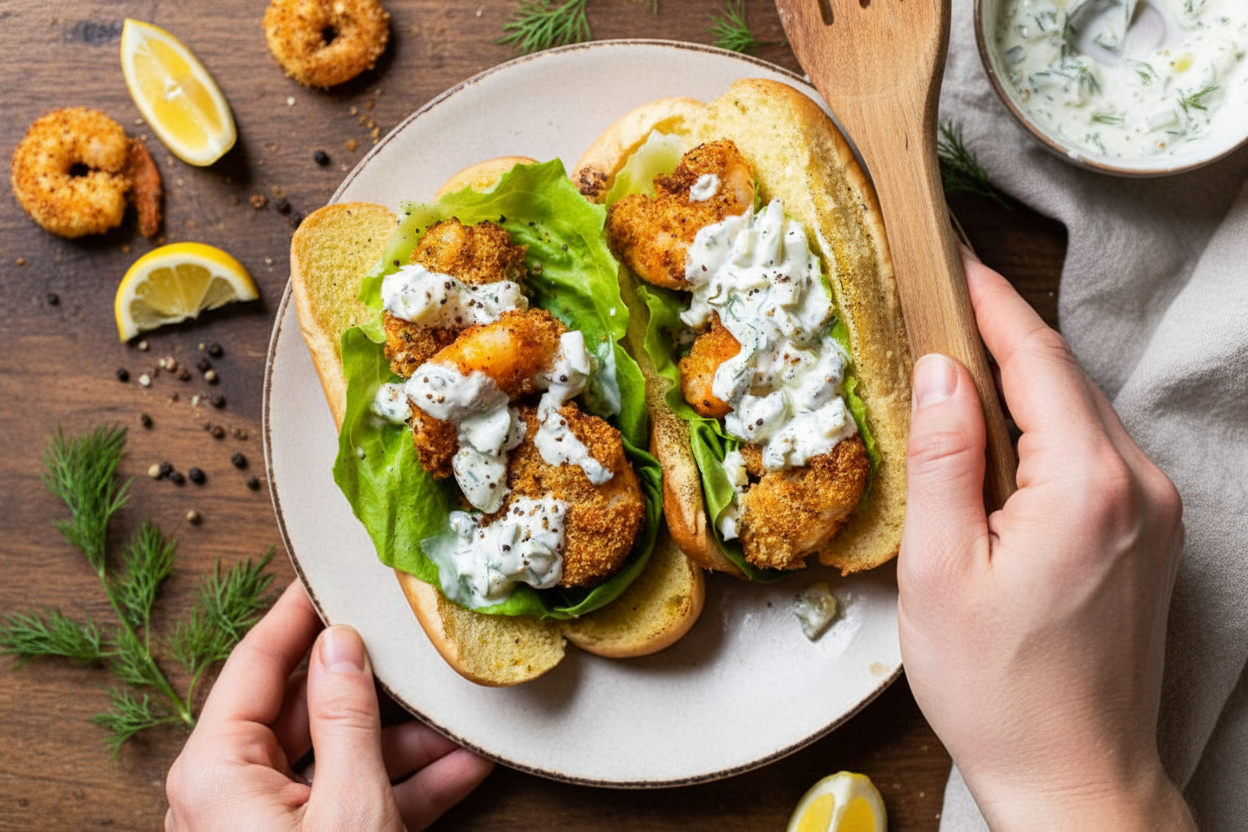
A Shrimp Sandwich Memory
When I was a little girl, my grandma would fry shrimp in a big, heavy pot. The oil would pop and sizzle, and the whole kitchen would get smoky. My job was to stand way back and hand her the paper towels. I still laugh at that memory, because I was always so scared of the hot oil. But the shrimp was always worth it, golden and crunchy.
This recipe takes away the scary hot oil. It uses an air fryer, which is like a tiny, friendly oven with a fan. The shrimp comes out just as crispy, but without the mess. Doesn’t that sound easier? Have you ever used an air fryer before, or are you new to them like I was last year?
The Secret to Crunchy Shrimp
The key is in the coating. We use two kinds of breadcrumbs: panko and whole wheat. Panko are light and flaky, like little clouds. The whole wheat ones are finer and add a toasty flavor. Together, they make a perfect little jacket for the shrimp.
You also need to spray them with oil. I know it sounds funny, but a little spray helps them turn that beautiful golden brown. *Fun fact: Panko breadcrumbs were invented by a Japanese baker after World War II to make food feel lighter during hard times.* See, even crunchy food has a story.
Making the Tangy Sauce
This tartar sauce is the best part, if you ask me. It is creamy and a little sour from the pickles and lemon juice. My husband always says it tastes like a summer picnic. You just stir everything together in a bowl. It takes about two minutes flat.
Let it sit in the fridge while you cook the shrimp. The flavors get to know each other that way. Why does this matter? Because letting a sauce rest helps the flavors mix and get deeper. It is a quiet little secret that makes everything taste better. Do you like your sauces tangy or mild?
Easy Steps, Big Taste
Now for the easy part. You dip each shrimp in the egg, then in the crumbs. It is like dressing up a little soldier. Place them in a single layer in the air fryer basket. Do not crowd them, or they will get sad and soft instead of crispy.
Air fry them at 400 degrees for four minutes. Then shake the basket and cook for two more minutes. That shake is important. It flips them over so every side gets crispy. When they come out, they will be hot and golden. Doesn’t that smell amazing?
Building the Perfect Sandwich
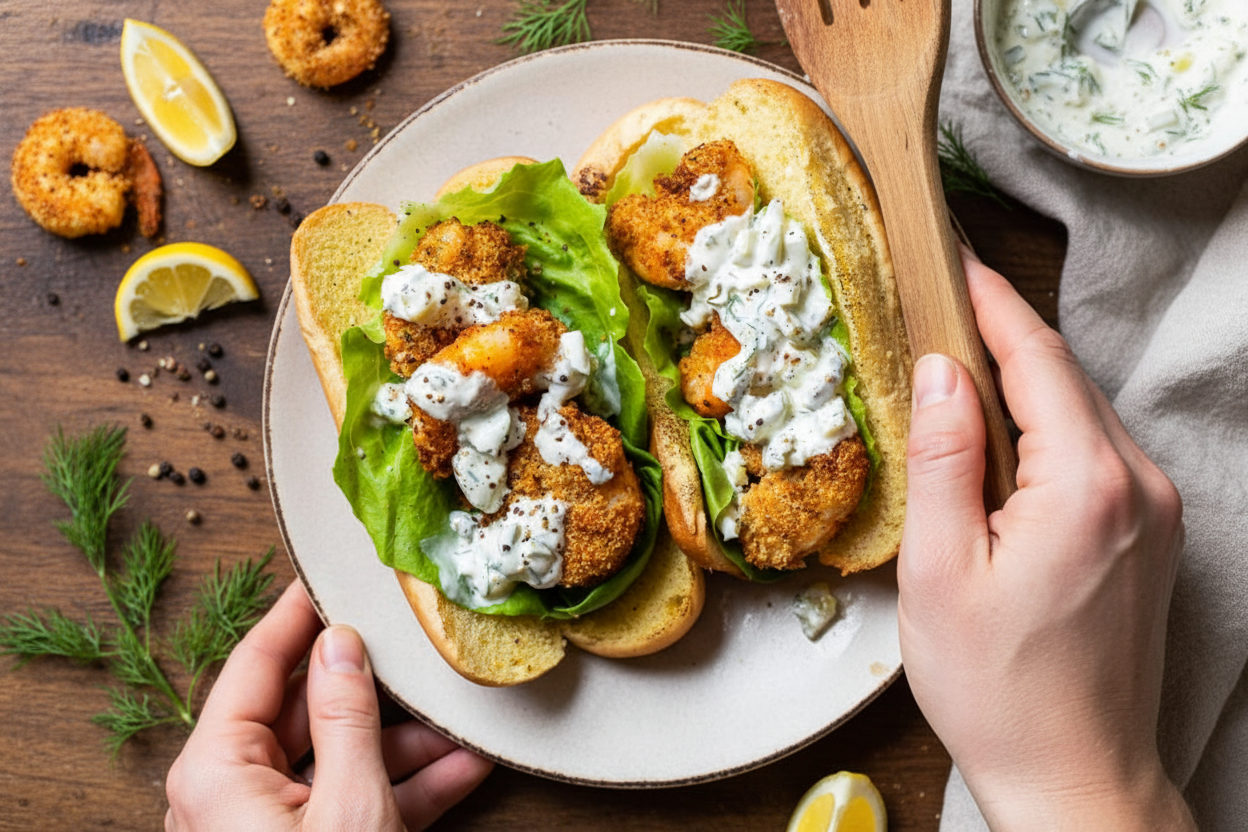
Now comes the fun part. Grab your whole wheat bun. I like to toast it a little in the air fryer while the shrimp rests. Then lay down a big piece of butter lettuce. It is like a soft green blanket for the shrimp. Pile on the crispy shrimp.
Finally, spread that cold, tangy tartar sauce on the top bun. Put it all together and take a big bite. The crunch, the cream, the cool lettuce. This matters because a good sandwich is not just food. It is a hug you can hold in your hands. What is your favorite thing to put in a sandwich?
A Healthier Crunch
I love that this sandwich is lighter than the old-fashioned version. It has 352 calories and a lot of protein. That means it fills you up without making you feel heavy. The whole wheat bun and the lettuce add fiber, which is good for your belly.
We used light mayo and reduced-fat sour cream for the sauce. You cannot even tell the difference. Why does this matter? Because you do not have to choose between yummy and healthy. You can have both, and it feels good. Have you ever tried swapping ingredients for a lighter version of a favorite meal?
The Best Part of Sharing
The best part of this recipe is eating it with people you love. My neighbor came over when I made these last week. She took one bite and said, “This is better than the restaurant kind.” That made me smile big.
So grab some shrimp and your air fryer. Make a mess and laugh about it. Then sit down and enjoy every crunchy, tangy, delicious bite. I would love to hear how yours turns out. Will you try this recipe this week? Let me know in your heart, and maybe even tell a friend about it.
Ingredients:
| Ingredient | Amount | Notes |
|---|---|---|
| Raw peeled and deveined jumbo shrimp, tails removed | 20 (about 14 to 16 oz) | |
| Large egg, beaten | 1 | |
| Dry seasoned panko crumbs | 1/3 cup | |
| Whole wheat seasoned breadcrumbs | 1/2 cup | |
| Olive oil spray | as needed | |
| Butter lettuce, leaves separated | 1 head | |
| Whole wheat 100 calorie potato buns (round or long) | 4 | |
| Reduced fat sour cream | 1/4 cup | For tartar sauce |
| Light mayonnaise | 3 tablespoons | For tartar sauce |
| Finely chopped dill pickles | 1/3 cup | For tartar sauce |
| Fresh chopped dill | 1 tablespoon | For tartar sauce |
| Fresh lemon juice | 1 teaspoon | For tartar sauce |
| Kosher salt | 1/8 teaspoon | For tartar sauce |
| Black pepper | 1/8 teaspoon | For tartar sauce |
The Best Fried Shrimp Sandwich You’ll Make at Home
I still remember the first time I bit into a fried shrimp sandwich. It was at a tiny beach shack, and the crunch made me close my eyes. This recipe brings that same happy feeling right to your kitchen. But we use an air fryer, so it’s lighter and less messy. Doesn’t that smell amazing already?
Start by making the tartar sauce. It’s so simple, my granddaughter can do it with her eyes closed. Just mix the sour cream, mayo, pickles, dill, lemon juice, salt, and pepper in a small bowl. Pop it in the fridge to chill while you work on the shrimp. That little wait makes the flavors get friendly with each other.
Step 1: Crack the egg into a shallow bowl and beat it with a fork until it’s smooth and yellow. In another bowl, stir together the panko crumbs and the whole wheat breadcrumbs. (I once used plain crumbs by mistake—don’t skip the seasoning! That’s my hard-learned tip.) Now grab a fork and pick up one shrimp at a time.
Step 2: Dip each shrimp into the egg, letting the extra drip off. Then roll it in the crumb mixture until it’s fully coated. Place each breaded shrimp on a plate in a single layer. My youngest always tries to eat one raw right here—I still laugh at that. Do you have any little kitchen helpers? Share below!
Step 3: Spray the top of the shrimp generously with olive oil spray. Place them oil-side down into your air fryer basket in a single layer. You might need to do this in batches. Spray the other side with oil too. Air fry at 400°F for 4 minutes—just long enough to catch a whiff of that toasty breading.
Step 4: Shake the basket gently and cook for 2 more minutes, or until golden brown. Repeat with the rest of your shrimp. While they cook, toast your buns if you like. Then divide the shrimp among the four buns. Tuck a lettuce leaf under each pile for a fresh crunch, and spoon about 2½ tablespoons of tartar sauce on top.
Cook Time: 6 minutes
Total Time: 20 minutes
Yield: 4 sandwiches
Category: Dinner, Lunch
Three Fun Twists to Try
Sometimes I like to change things up. These twists keep dinner exciting and never boring. Want to make it your own? Pick a favorite and give it a go!
Spicy Kick: Add a teaspoon of hot sauce to the beaten egg and a pinch of cayenne to the breadcrumbs. Your taste buds will thank you with a little dance.
Crunchy Veggie Swap: Swap the shrimp for thick slices of zucchini or firm tofu. Follow the same breading steps, and you’ve got a wonderful vegetarian version that even my meat-eater husband loves.
Lemony Herb Fresh: Mix a tablespoon of chopped fresh parsley and the zest of one lemon into your breadcrumbs. It makes every bite taste like summer on a bun. Which one would you try first? Comment below!
How to Serve and Sip
A good sandwich needs good company on the plate. I love serving these with crispy sweet potato fries and a crunchy pickle spear on the side. It feels like a real treat, even on a busy Tuesday.
For a bright and cool drink, try a tall glass of iced tea with a squeeze of lemon. It cuts through the richness so nicely. Grown-ups might enjoy a crisp, cold lager or a light white wine like Sauvignon Blanc. Which would you choose tonight?
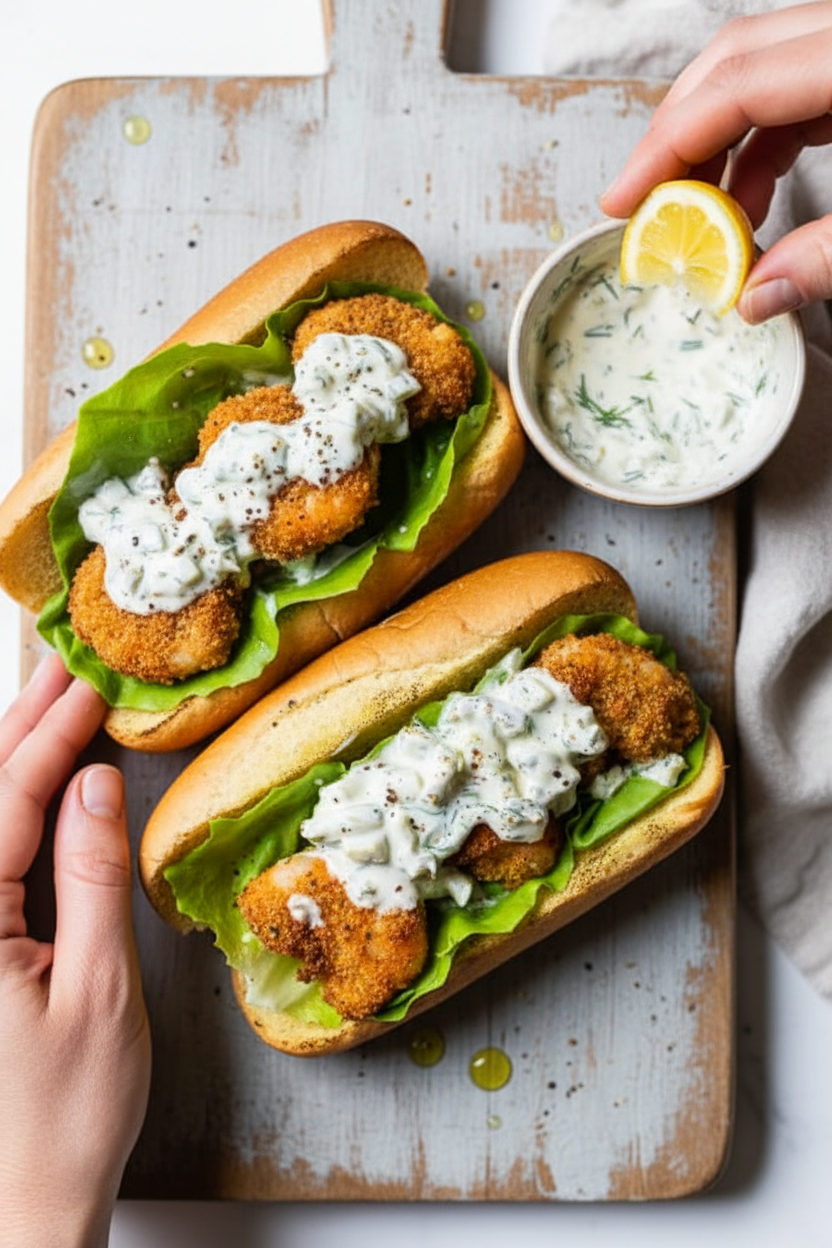
How to Store and Reheat Your Shrimp Sandwich
Let me tell you a little secret. I once made these shrimp sandwiches for a big family dinner. We had three left over, and I wasn’t sure what to do. I tried keeping them in the fridge, and they were still good the next day.
Here is how I store them. Put each sandwich in a sealed container. Keep them in the fridge for up to two days. Don’t freeze the whole sandwich, or the lettuce will get mushy. The shrimp alone can be frozen for a month, though.
For reheating, do not use the microwave. It makes the bread soggy. Instead, pop the shrimp back in the air fryer at 350°F for three minutes. Toast the bun separately. This keeps everything crispy. Why does this matter? Because a soggy sandwich is a sad sandwich. You want that crunch you worked for.
Have you ever tried storing it this way? Share below!
Three Common Problems and Easy Fixes
I remember the first time I made this. My breading fell right off. It was a mess. Here is the trick: Dry your shrimp well with a paper towel before dipping. Wet shrimp makes the breading slip.
Another problem is soggy shrimp. This happens when you crowd the air fryer basket. Give each shrimp its own space. Cook them in batches if you need to. Air needs to flow around them to get golden and crisp.
Third, your tartar sauce might be too runny. I once added too much pickle juice. Now I always drain the pickles first. Pat them dry with a paper towel. Why does this matter? Because fixing these small things builds your confidence. You learn to trust your hands in the kitchen.
Which of these problems have you run into before?
Your Questions, Answered
Q: Can I make this gluten-free? A: Yes. Swap the panko and breadcrumbs for gluten-free versions. The air fryer works the same.
Q: Can I make the shrimp ahead of time? A: Absolutely. Bread the shrimp and keep them in the fridge for up to four hours before cooking.
Q: What if I don’t have dill pickles? A: Use sweet pickles or chopped capers. It changes the taste a bit, but it is still good.
Q: Can I double the recipe? A: Yes, just cook the shrimp in batches. Do not overload the air fryer.
Q: Any tips for less salt? A: Use unsalted breadcrumbs and skip the salt in the tartar sauce. The pickles add enough flavor.
Which tip will you try first?
An Invitation from My Kitchen to Yours
Thank you for cooking with me today. I love knowing this recipe is now in your hands. That little crunch, that creamy sauce, that soft bun—it is all yours to enjoy. Take a bite and smile.
*Fun fact: The air fryer was invented in 2005, long after I learned to fry on the stove. But I sure love it now.*
I would love to see your sandwich. Snap a picture and share it. Have you tried this recipe? Tag us on Pinterest! It makes my day to see your kitchen creations.
Happy cooking!
—Chloe Hartwell.
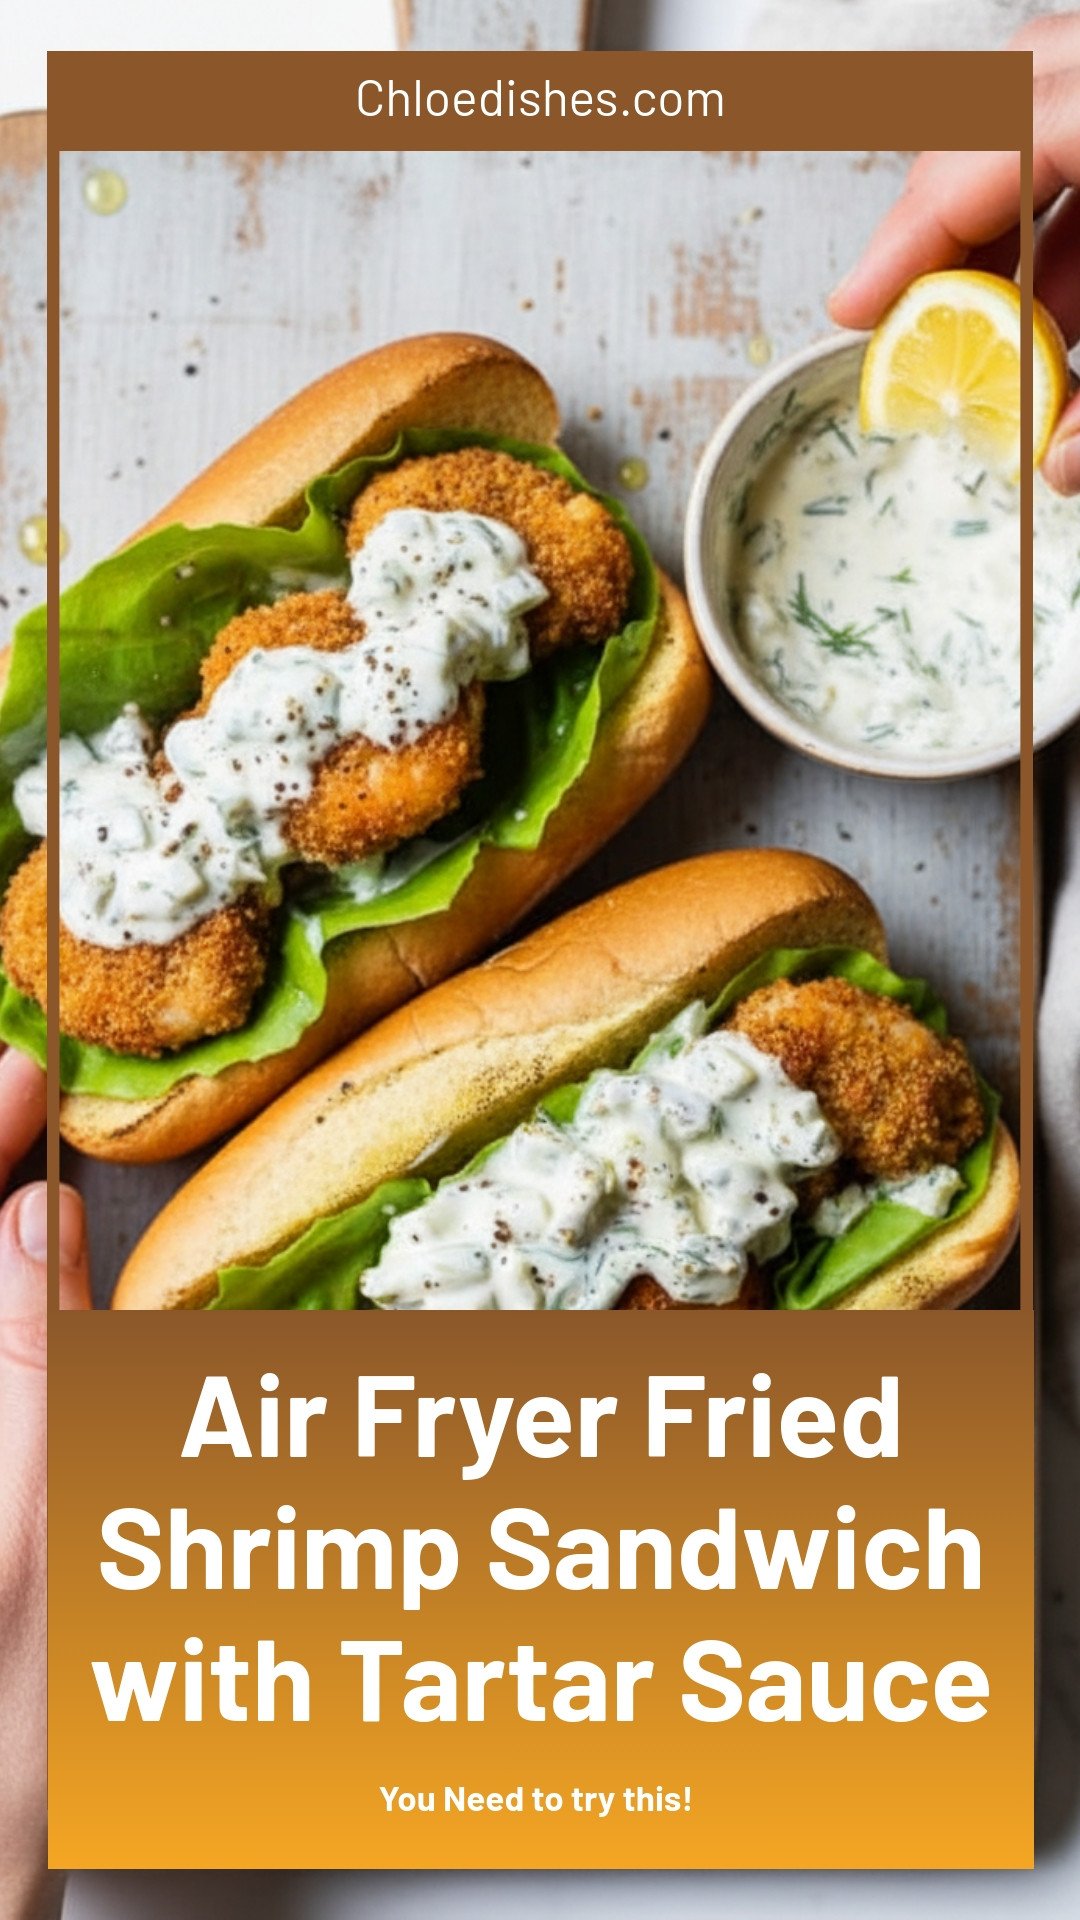
Air Fryer Fried Shrimp Sandwich with Tartar Sauce
Description
Make crispy Air Fryer Fried Shrimp Sandwiches with creamy Tartar Sauce in minutes. Easy, juicy, and perfectly golden!
Ingredients
Instructions
- Combine the ingredients for the tartar sauce and refrigerate until ready to serve.
- Crack the egg into a bowl and beat it. Combine panko, and breadcrumbs in a second bowl.
- Using a fork, place shrimp 1 at a time into the egg, then into the crumbs, then onto a plate in a single layer while breading the rest.
- Spray the top of the shrimp generously with oil then transfer oil side down to the fryer basket in a single layer in batches.
- Spray the other side with oil and air fry 400F 4 minutes.
- Shake the basket and cook 2 more minutes, or until golden. Repeat with the remaining shrimp.
- On 4 buns, divide the shrimp on each, top with lettuce and 2 1/2 tablespoons tartar sauce on the top side of the bun.




Leave a Reply