
The Dinner That Almost Wasn’t
Let me tell you about the first time I baked chicken breasts. I was a young bride, nervous and excited. I put those raw chicken breasts in the oven and prayed. They came out dry as sandpaper. My poor husband chewed and smiled. I still laugh at that sad little dinner. That’s why I love this recipe so much. It never fails me. Have you ever had a kitchen disaster that makes you giggle now?
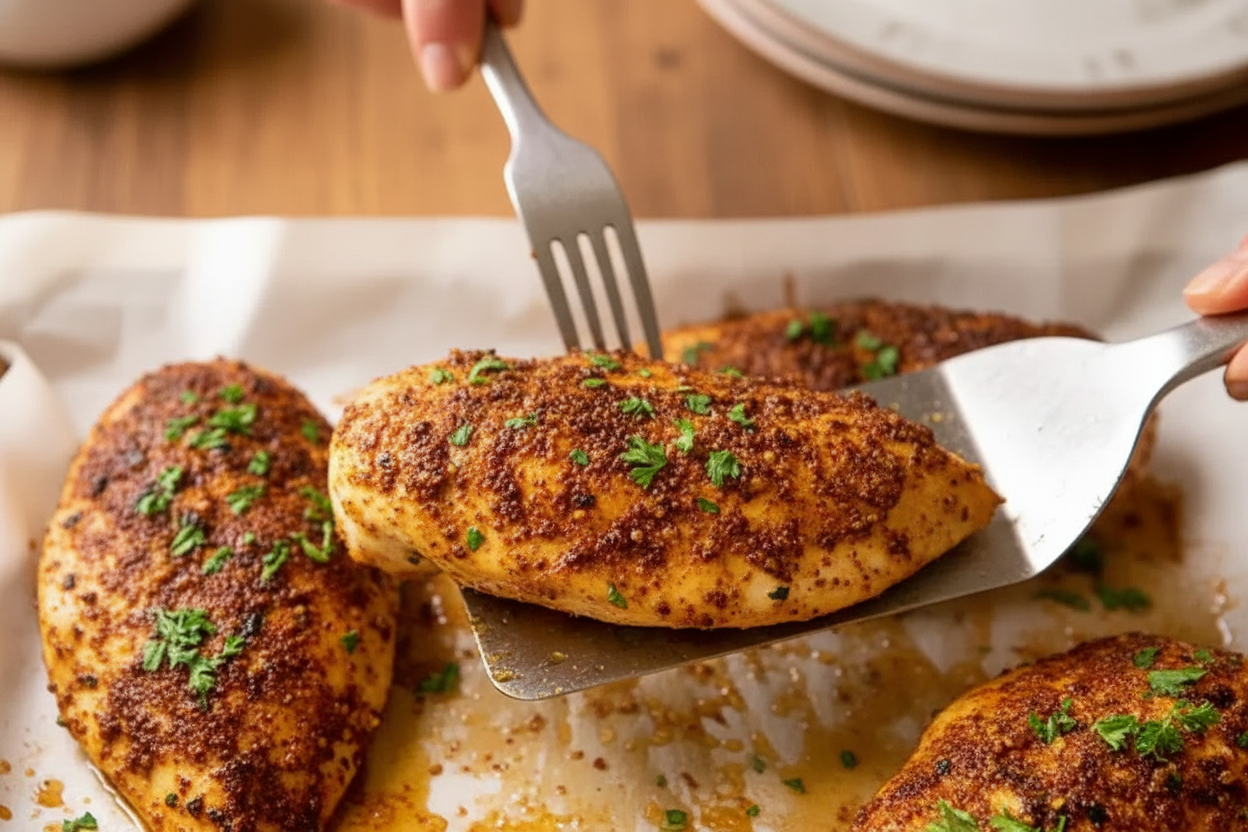
Baking chicken is about trust. You need to trust the heat and the timer. This recipe makes that easy. The brown sugar and paprika create a beautiful, sweet crust. That crust locks all the good juices inside. Your chicken will taste like you worked all day. But really, the oven does the hard work for you.
Why This Method Works So Well
The secret is the high oven temperature. We are baking at 425 degrees Fahrenheit. That might sound hot. But it is perfect for chicken. The heat seals the outside fast. This keeps the inside soft and tender. Think of it like giving the chicken a warm hug. It traps the flavor and doesn’t let it escape.
Doesn’t that smell amazing just thinking about it? Another trick is pounding the chicken flat. You don’t have to be perfect. Just make the thick parts as thick as the thin parts. This way, everything cooks at the same speed. No more dry edges with a raw middle. *Fun fact: Pounding chicken also helps relax the muscle fibers, making it naturally more tender to bite into.*
A Little Story About the Seasoning
My grandmother never measured anything. She would sprinkle and sniff. I was always amazed. This seasoning mix is my tribute to her free spirit. The brown sugar is the star. It is not just for sweetness. It helps create that lovely golden-brown crust that everyone loves. The paprika gives it color. The oregano adds a little earthiness.
You can swap the oregano for thyme or rosemary. That is the fun part. What is your favorite dried herb to use in the kitchen? I love hearing what families enjoy. This rub is forgiving. As long as you have the salt and brown sugar, you can be creative. That is what cooking is all about.
How to Make It Foolproof Every Time
Here is the most important tool: a meat thermometer. Please get one if you don’t have it. You want the chicken to reach 165 degrees Fahrenheit inside. That is the safe zone. It is also the perfect doneness. No more cutting into the chicken to see if it’s pink. The thermometer tells the truth.
Why does this matter? Overcooked chicken is sad chicken. It gets tough and chewy. Undercooked chicken is unsafe. The thermometer takes the guesswork out. You simply bake for about 18 minutes, then check. If it needs more time, give it 3 more minutes. This is peace of mind on a plate. Have you ever used a meat thermometer before? It changes everything.
Let It Rest, Dear Friend
This step is easy to skip. Please don’t. When the chicken comes out of the oven, move it to a clean plate. Let it sit for 3 to 5 minutes. Do not cut into it right away. I know you are hungry. I know it smells wonderful. But resting lets the juices settle back into the meat.
If you cut too soon, all those beautiful juices run out onto the cutting board. Your chicken becomes dry again. Waiting is the hardest part. But it is also the kindest thing you can do for your meal. Why this matters: That short rest makes the difference between good chicken and amazing chicken. Trust me on this one.
Making It Your Own
I love serving this with garlic butter rice and roasted broccoli. The rice soaks up any extra juice from the chicken. But you can serve it with anything. Try it with mashed potatoes and green beans. Or slice it thin and put it on top of a big salad. Leftovers are wonderful for lunch the next day.
A squeeze of lemon at the end brightens everything up. Or a pinch of fresh parsley. Think of these as small gifts for your taste buds. I would love to know: What do you like to eat with your baked chicken? Share your favorite side dish with me. There is always room to learn something new from a friend.
Ingredients:
| Ingredient | Amount | Notes |
|---|---|---|
| Chicken breasts | 4 (150–180g / 5–6 oz each) | Boneless, skinless |
| Olive oil | 2 teaspoons | For drizzling |
| Brown sugar | 1 ½ tablespoons | For seasoning mix |
| Paprika | 1 teaspoon | For seasoning mix |
| Dried oregano (or thyme) | 1 teaspoon | Or any preferred herb blend |
| Garlic powder | ¼ teaspoon | For seasoning mix |
| Salt | ½ teaspoon | For seasoning mix |
| Black pepper | ½ teaspoon | For seasoning mix |
The Secret to Juicy Baked Chicken Breasts
I remember the first time I baked chicken breast. It came out dry and sad. My grandma just smiled and handed me her little trick. It all starts with the right heat and a gentle touch. Now I want to share that same secret with you.
Doesn’t that smell amazing just thinking about it? We will use a simple brown sugar rub. That sugar helps create a lovely golden crust while keeping the inside tender. Here is a hard-learned tip: (If your chicken breasts are very thick, do not skip the pounding. It makes all the difference.)
Step 1: Preheat your oven to 425°F (220°C). If you have a fan-forced oven, set it to 200°C. This high heat cooks the chicken fast and traps the juices inside. I always let my oven sing for a good ten minutes before putting the tray in.
Step 2: Take your chicken breasts and place them between two sheets of baking paper. Use a rolling pin to gently pound them until they are about 1.5 cm thick. This makes sure every piece cooks evenly. My kids used to love this part, they called it “smashing the chicken.”
Step 3: In a small bowl, mix 1.5 tablespoons of brown sugar, 1 teaspoon paprika, 1 teaspoon dried oregano, ¼ teaspoon garlic powder, ½ teaspoon salt, and ½ teaspoon black pepper. Stir it all together until it looks like a cozy, warm-colored rub. I still laugh at how simple it is.
Step 4: Line a baking tray with foil and place parchment paper on top. Put the chicken smooth-side down. Drizzle 1 teaspoon of olive oil and rub it in. Sprinkle half the seasoning mix over this side. Flip the chicken, add the rest of the oil, and massage the remaining seasoning all over. Be generous, your hands are your best tools here.
Step 5: Bake the chicken for 18 minutes. Check the thickest part with a meat thermometer. It should read 165°F (75°C). The surface will look golden and slightly crisp. For larger breasts, add 3 to 5 more minutes. But be careful, dry chicken breaks my heart.
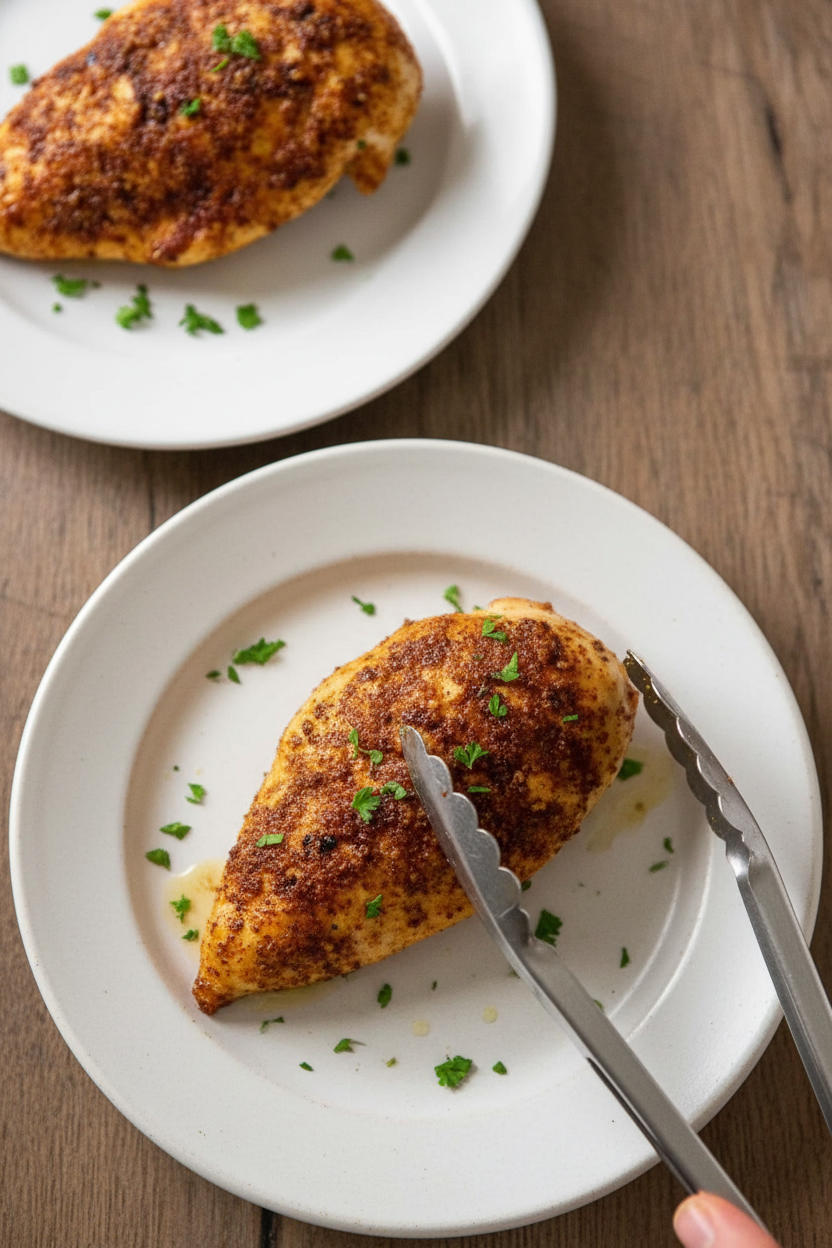
Step 6: Take the chicken out of the oven and move it to a clean plate. Let it rest for 3 to 5 minutes before slicing. This resting time lets the juices settle back into the meat. I usually set a little timer so I do not forget. What is your favorite side dish to serve with chicken? Share below!
Cook Time: 18 minutes
Total Time: 30 minutes
Yield: 4 servings
Category: Dinner
Three Fun Twists on This Recipe
Sometimes I like to shake things up in the kitchen. Here are three easy ways to change this dish. Each one brings a new flavor and a little fun to your plate.
Spicy Kick Twist: Add ½ teaspoon of cayenne pepper to the seasoning mix. It gives the chicken a warm, tingly heat. My neighbor loves this, and she always asks for the recipe.
Honey Garlic Glaze: After baking, brush the chicken with a mix of 2 tablespoons of honey and 1 teaspoon of minced garlic. Pop it back in the oven for 2 minutes. It gets sticky and sweet, my grandkids call it “candy chicken.”
Lemon Herb Version: Swap the brown sugar for 1 teaspoon of lemon zest. Add fresh rosemary instead of oregano. The chicken tastes bright and fresh, perfect for a spring evening. Which one would you try first? Comment below!
How to Serve and Sip Alongside
A good meal is about more than just the main dish. These sides will make your chicken feel like a special occasion. I always say, the plate should look like a garden of colors.
Serve the chicken with garlic butter rice and roasted asparagus. Or try a fresh garden salad with a simple lemon vinaigrette. For a cozy night, pair it with creamy mashed potatoes. Everything goes well with this chicken.
For a drink, try a chilled glass of Sauvignon Blanc if you like wine. For something non-alcoholic, a sparkling lemonade with fresh mint is lovely. The bubbles and citrus match the chicken’s golden crust perfectly. Which would you choose tonight?
Storing and Reheating Your Chicken
You made too much chicken. That is a good thing. I remember the first time I baked extra breasts for the week. I was so proud I nearly danced in my kitchen. Let me tell you how to store it so it stays tender and tasty.
Let the chicken cool for about 20 minutes after baking. Then put it in an airtight container. It will keep in the fridge for 3 to 4 days. You can also freeze it for up to 3 months. Wrap each breast in plastic wrap first. Then put them in a freezer bag. This keeps the freezer burn away and the juices inside.
To reheat, use the oven at 350°F for 10 minutes. The microwave works in a pinch, but the oven keeps it moist. I once reheated a breast in the microwave too long. It turned into a rubber shoe. Learn from my mistake! Batch cooking saves time on busy nights. It gives you a warm dinner when you are tired. That is why storing it well matters so much. Have you ever tried storing it this way? Share below!
Common Problems and Easy Fixes
Dry chicken is the biggest kitchen heartbreak. I remember pulling out a breast that looked like a desert. The fix is simple: use a meat thermometer. Take the chicken out at 165°F inside. Do not guess. Trust the tool. Which of these problems have you run into before?
Another problem is uneven cooking. Thick breasts cook slower on the inside. They burn on the outside. That is why we pound them flat. It makes the whole piece cook at the same speed. This matters because even cooking gives you confidence. You know every bite will be perfect.
The third problem is bland flavor. You might think you added enough salt. But the seasoning sits on top. The trick is to rub it in gently. Massage the spices into the meat. This lets the flavor sink deep. Better flavor means you enjoy your meal more. You feel proud of what you made. That feeling matters a lot in the kitchen.
Your Questions, Answered
Q: Is this recipe gluten-free? A: Yes, all the spices and brown sugar are naturally gluten-free. Just check your dried oregano label to be safe.
Q: Can I make this ahead of time? A: Absolutely. Season the chicken and store it in the fridge for up to 24 hours. Then bake when ready.
Q: What if I don’t have brown sugar? A: Use honey or maple syrup instead. Mix it with the oil first. It works the same magic.
Q: How do I double the recipe? A: Just double every ingredient. If your baking tray gets crowded, use two trays. Give each breast a little space to bake evenly.
Q: Any tips for extra crispiness? A: Broil the chicken for the last 1 minute. Watch it closely so it doesn’t burn. That little step adds a lovely crunch. Which tip will you try first?
A Warm Goodbye from Me
Thank you for spending time in this little kitchen with me. I hope this baked chicken brings you a cozy, easy dinner. Cooking is about sharing love, one meal at a time. If you make this recipe, I would love to see it. Have you tried this recipe? Tag us on Pinterest! Share your photos and let the world see your beautiful work.
*Fun fact: Letting the chicken rest is not a suggestion. It is a secret to keeping every drop of juice inside the meat.
Keep cooking with a happy heart. I will be here, cheering you on. Happy cooking! —Chloe Hartwell.

Baked Chicken Breast Recipes for Easy Dinners
Description
Juicy baked chicken breast recipes for easy weeknight dinners. Simple, healthy, and flavorful meals the whole family will love.
Ingredients
Instructions
- Set your oven to 425°F (220°C). For fan-forced ovens, reduce to 200°C. This high temperature allows the chicken to cook quickly, sealing in the juices and creating a lightly caramelized surface.
- If the chicken breasts are thick, place them between two sheets of baking paper and gently pound them with a rolling pin or meat mallet until each breast is about 1.5 cm (0.6 inches) thick at the thickest part. This ensures even cooking and a tender bite. If using very large breasts (8 oz or more), consider cutting them horizontally into thinner pieces.
- Combine the brown sugar, paprika, oregano, garlic powder, salt, and black pepper in a small bowl. Mix well until you have a uniform seasoning rub. The brown sugar not only adds sweetness but also helps with caramelization during baking.
- Line a baking tray with foil and place a piece of parchment paper on top (for easy cleanup). Place the chicken breasts smooth-side down. Drizzle 1 teaspoon of olive oil over the exposed side and rub it in evenly. Sprinkle half of the seasoning mix over this side, making sure every surface is coated. Flip the chicken over, drizzle the remaining olive oil, and rub in the rest of the seasoning mix. Massage the seasoning gently to cover all surfaces, ensuring maximum flavor.
- Transfer the tray to the preheated oven. Bake for 18 minutes, or until the internal temperature of the chicken reaches 165°F (75°C) when tested with a meat thermometer. The surface should look golden and slightly crisp. For larger breasts or bone-in cuts, you may need an additional 3–5 minutes of baking. Avoid overcooking, as this can dry out the meat.
- Remove the chicken from the oven and immediately transfer it to a clean plate. Let it rest for 3–5 minutes before slicing or serving. Resting allows the juices to redistribute, keeping every bite succulent.
- Finish with a sprinkle of freshly chopped parsley or a squeeze of lemon juice for added brightness. Serve alongside Garlic Butter Rice, roasted veggies, or a fresh garden salad.




Leave a Reply