
My First Face Mask Mess
My grandma was the one who taught me this little trick. I was about your age, and I had a pimple on my nose the size of a button. She walked into the kitchen, grabbed a box of baking soda, and said, “Sit down, honey. We’re going to fix that.” I watched her mix things in a tiny bowl, and it bubbled like a volcano. I still laugh at that memory because the paste dripped off my chin onto the counter. It was a good mess.What You Need From the Pantry
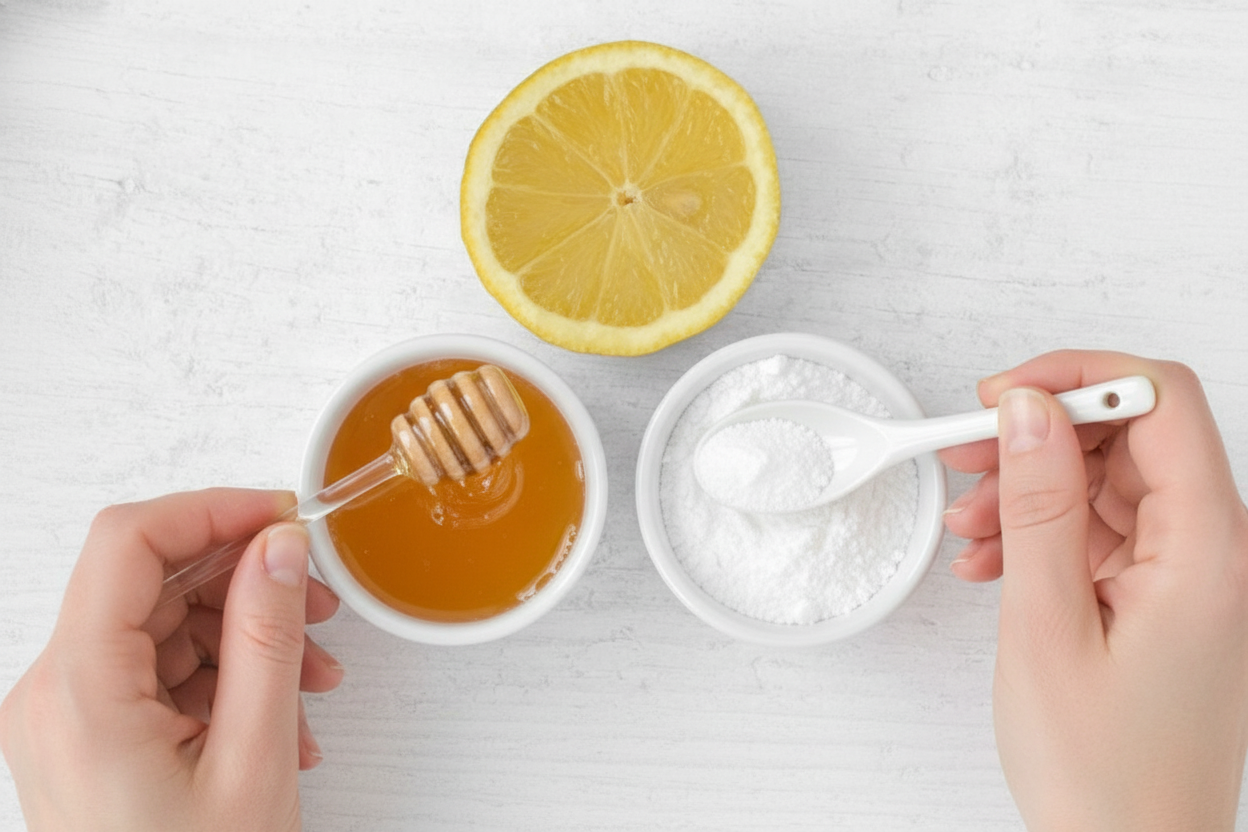
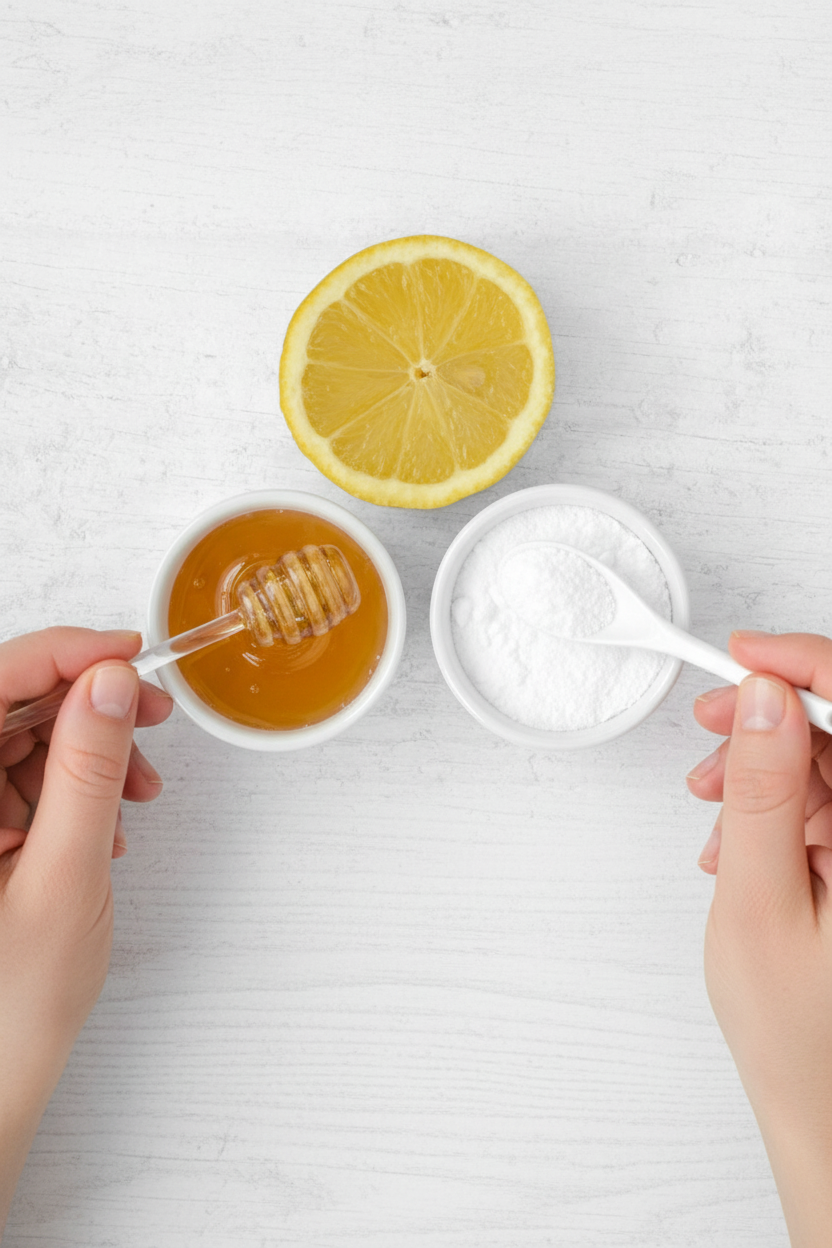
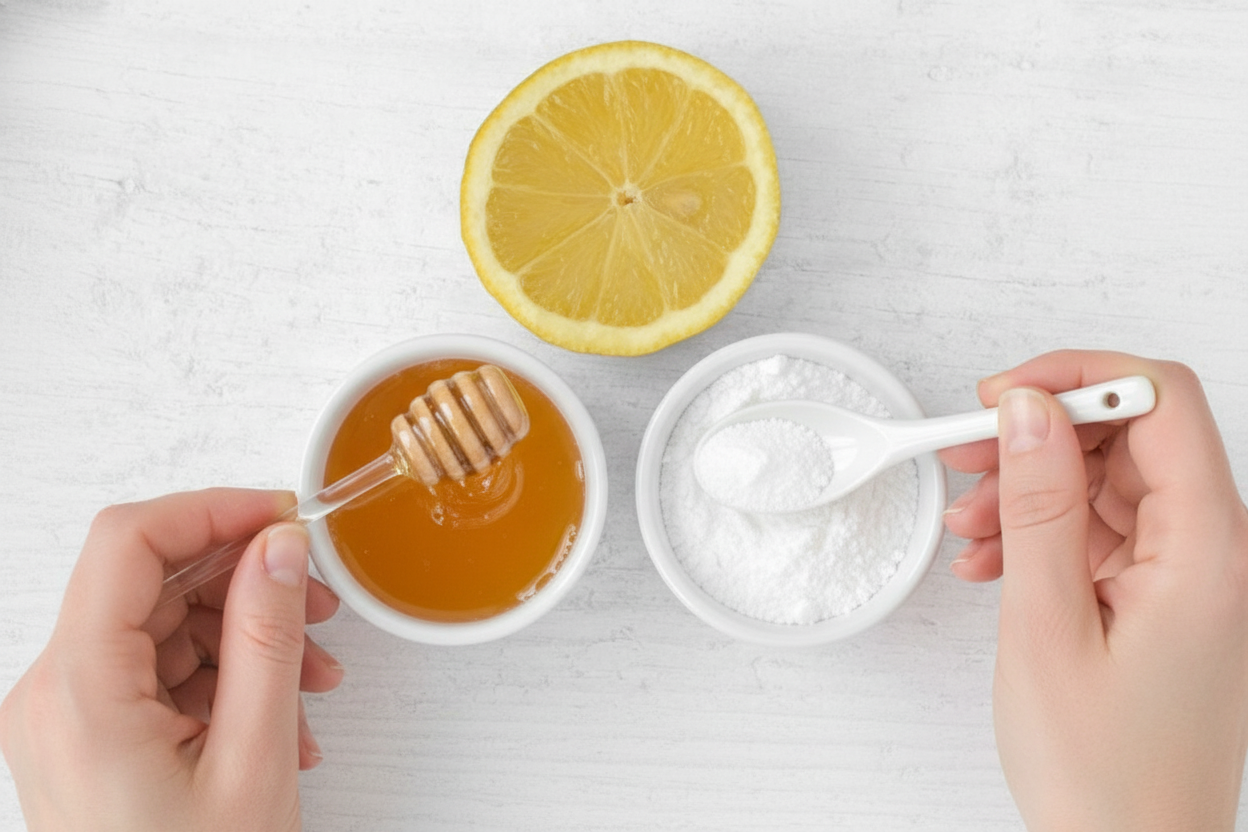
You probably have all of this in your kitchen right now. Grab a lemon, a box of baking soda, and some honey. That’s it. Only three simple things. Nothing scary or expensive. Doesn’t that smell amazing already? Just thinking about the lemon makes my nose tingle. Here is a quick question for you: Have you ever used honey on your face before? I would love to hear your story in the comments below.Why This Little Recipe Matters
This is not about looking perfect. This is about taking a quiet moment for yourself. When you mix this mask, you are saying, “I am worth this tiny bit of time.” The baking soda gently cleans away dirt, and the honey helps your skin feel soft. It is a little hug for your face. Another reason this matters is because you are using real food. No weird chemicals or long names you cannot read. You know exactly what is going on your skin. That is a powerful feeling.Step One: Mix It Up Like a Mad Scientist
Squeeze the juice from half a lemon into a small bowl. Add one tablespoon of baking soda and one teaspoon of honey. Stir it all together with a spoon. You want it to look like thick paste, not soup. If it is too runny, just add a little more baking soda. If it is too thick, add a tiny splash of water. *Fun fact: Baking soda and lemon juice fizz together because they are making a gas called carbon dioxide. That is the same gas that makes soda pop bubbly!*Step Two: Paint Your Face Gently
First, wash your face with a gentle soap and pat it dry with a clean towel. Then, use your clean fingers or a soft makeup brush to spread the paste on your skin. Be very careful. Do not scrub or rub hard. Just paint it on like you are a little artist. Avoid the area right around your eyes. Now, I have a little poll for you: Which do you think is more fun, using your fingers or a brush? Tap your answer below!Step Three: Relax and Let It Work
Now comes the best part. You get to sit still for five to fifteen minutes. I like to lie on my bed and listen to a song or two. You might feel a light tingle or a tight feeling. That means it is working. Do not leave it on longer than fifteen minutes, or your skin might get upset. This is my favorite moment of the whole recipe. It is so quiet, and you can just breathe. I want you to tell me one thing: What song would you play while you wait? I need new music ideas!Step Four: Rinse and Be Kind to Yourself
Use warm water and a soft, clean washcloth to gently wipe the mask off. Move your hands in little circles. This helps rub off dead skin without being mean to your face. Pat your skin dry with a towel. Do not rub it, just pat. Last thing: Put on your favorite moisturizer. This is very important. The mask cleaned your skin, but now it needs a drink of water. Massage the moisturizer in gently. Look in the mirror and smile. You just did something lovely for yourself. Does your skin feel soft? I bet it does.Ingredients:
| Ingredient | Amount | Notes |
|---|---|---|
| Lemon juice | Juice from 1/2 lemon | Or 1-2 drops of lemon essential oil |
| Baking soda | 1-2 tablespoons | |
| Honey | 1 teaspoon |
My Grandma’s Little Kitchen Secret
When I was your age, my grandma would mix up face masks on Sunday afternoons. She called it “kitchen spa time.” I remember the fizzy sound of baking soda meeting lemon juice. It made me giggle every time. This simple mask was her favorite trick for glowing skin.
You only need three things from your pantry. Lemon juice, baking soda, and a little honey. It feels so fancy, but it costs almost nothing. Doesn’t that smell amazing already? I still smile thinking about her sticky fingers.
Here is how to make it. Follow these steps, and treat yourself like royalty. Just remember, this is for your face, not your tummy! We don’t eat this one, okay?
How to Make Your Kitchen Spa Mask
Step 1: Grab a small bowl. Squeeze the juice from half a lemon. If you have lemon essential oil, just 1-2 drops is plenty. Add 1-2 tablespoons of baking soda and 1 teaspoon of honey. Stir it all together until it feels like a thick paste. (Hard-learned tip: if it drips off your finger, add a tiny pinch more baking soda. You want it thick like peanut butter.)
Step 2: First, wash your face with a gentle cleanser. Pat it dry with a soft towel. Now, use your clean fingers or a makeup brush to spread the paste all over your face. Be gentle, like you are petting a kitten. Do not scrub or rub hard—just smooth it on. I once scrubbed too hard, and my face turned pink for an hour. Learn from my silly mistake!
Step 3: This is the fun part. Lie down or sit back and relax for 5 to 15 minutes. You might feel a light tingle or a tight pull on your skin. That is the mask working its magic. I like to close my eyes and imagine I am at a fancy spa. What song would you play while you wait? Share below!
Step 4: Time to rinse. Wet a soft washcloth with warm water. Use gentle circular motions to wipe the mask away. Do not rush—take your time. Once it is all gone, pat your face dry. Finish with your favorite moisturizer. Your skin will feel so soft and fresh. I still laugh at how shiny my nose looked after my first time.
Cook Time: 5-15 minutes Total Time: 10-20 minutes Yield: 1 face mask Category: Skincare, DIY
Three Fun Twists to Try
Oatmeal Soother: Add 1 teaspoon of ground oatmeal to the mix. It makes the mask extra gentle for sensitive skin. Perfect for chilly days.
Yogurt Cooler: Swap the lemon juice for 1 tablespoon of plain yogurt. It feels cool and creamy. Great for summer afternoons.
Turmeric Glow: Add a pinch of turmeric powder. It gives your face a warm, golden shine. Just be careful—it can stain your nails! Which one would you try first? Comment below!
How to Make It a Real Spa Night
Turn this into a cozy ritual. Put on comfy pajamas. Light a candle or dim the lights. Serve yourself a tall glass of cold cucumber water on the side. It feels so fancy and refreshing.
For a beverage pairing, try a warm cup of chamomile tea. It calms you down while the mask works. For grown-up nights, a glass of chilled white wine is lovely.
For a snack, slice up some apple wedges with a little honey drizzle. Or munch on a few almonds. Keep it light and simple. Which would you choose tonight?
Storing Your Baking Soda Face Mask
This mask is best made fresh each time. It does not store well in the fridge or freezer. The lemon juice and honey can spoil quickly. I once left a leftover batch on my counter. It turned watery and weird by the next morning. That is why I mix only what I need for one use. Batch cooking does not work here. You want the fizz and freshness of the baking soda right away. Have you ever tried storing it this way? Share below!
Why does this matter? A fresh mask keeps the gentle scrub just right. Storing it can make it clumpy or lose its power. It is better to take two minutes to mix it than to use a lumpy paste. Trust me, your skin will feel the difference. Keep your baking soda box handy. Mix and apply. That is the simple secret.
Common Problems and Easy Fixes
Sometimes the mask feels too runny. That means your lemon juice is too much. Just add a tiny pinch more baking soda. I remember my first time. My paste dripped right off my chin into the sink. I learned to stir slowly and add dry ingredients a little at a time.
Another problem is a stinging or burning feeling. This happens if you have a cut or if the lemon is too strong. Rinse off right away with cool water. Always do a small patch test on your arm first. Why does this matter? Your skin should tingle, not hurt. Getting the balance right keeps your face calm and happy.
The third problem is a dry, tight skin after rinsing. That means you left the mask on too long. Next time, set a timer for 10 minutes. I once forgot and watched a whole TV show. My face felt like a drum. A good moisturizer after is your best friend. Which of these problems have you run into before?
Your Questions Answered
Q: Can I make this gluten-free?
A: Yes, all the ingredients in this mask are naturally gluten-free. You are safe.
Q: Can I make it ahead of time?
A: No, it is best fresh. The fizz goes away after a few hours.
Q: Can I swap lemon for something else?
A: Yes, plain yogurt or apple cider vinegar works. Use the same amount.
Q: How do I scale this for more people?
A: Use equal parts. One tablespoon baking soda to one teaspoon honey. Double or triple it.
Q: Any extra tips?
A: Add a pinch of ground oatmeal for a soft scrub. *Fun fact: Baking soda is actually a natural deodorizer, so it can help with mild breakouts. Which tip will you try first?
A Warm Goodbye from Chloe
I hope you enjoy this simple mask as much as I do. It reminds me of summer days in my kitchen. Mixing up little helpers for my own skin. Take your time. Be gentle with yourself. Have you tried this recipe? Tag us on Pinterest! I love seeing your creations. Happy cooking! —Chloe Hartwell.
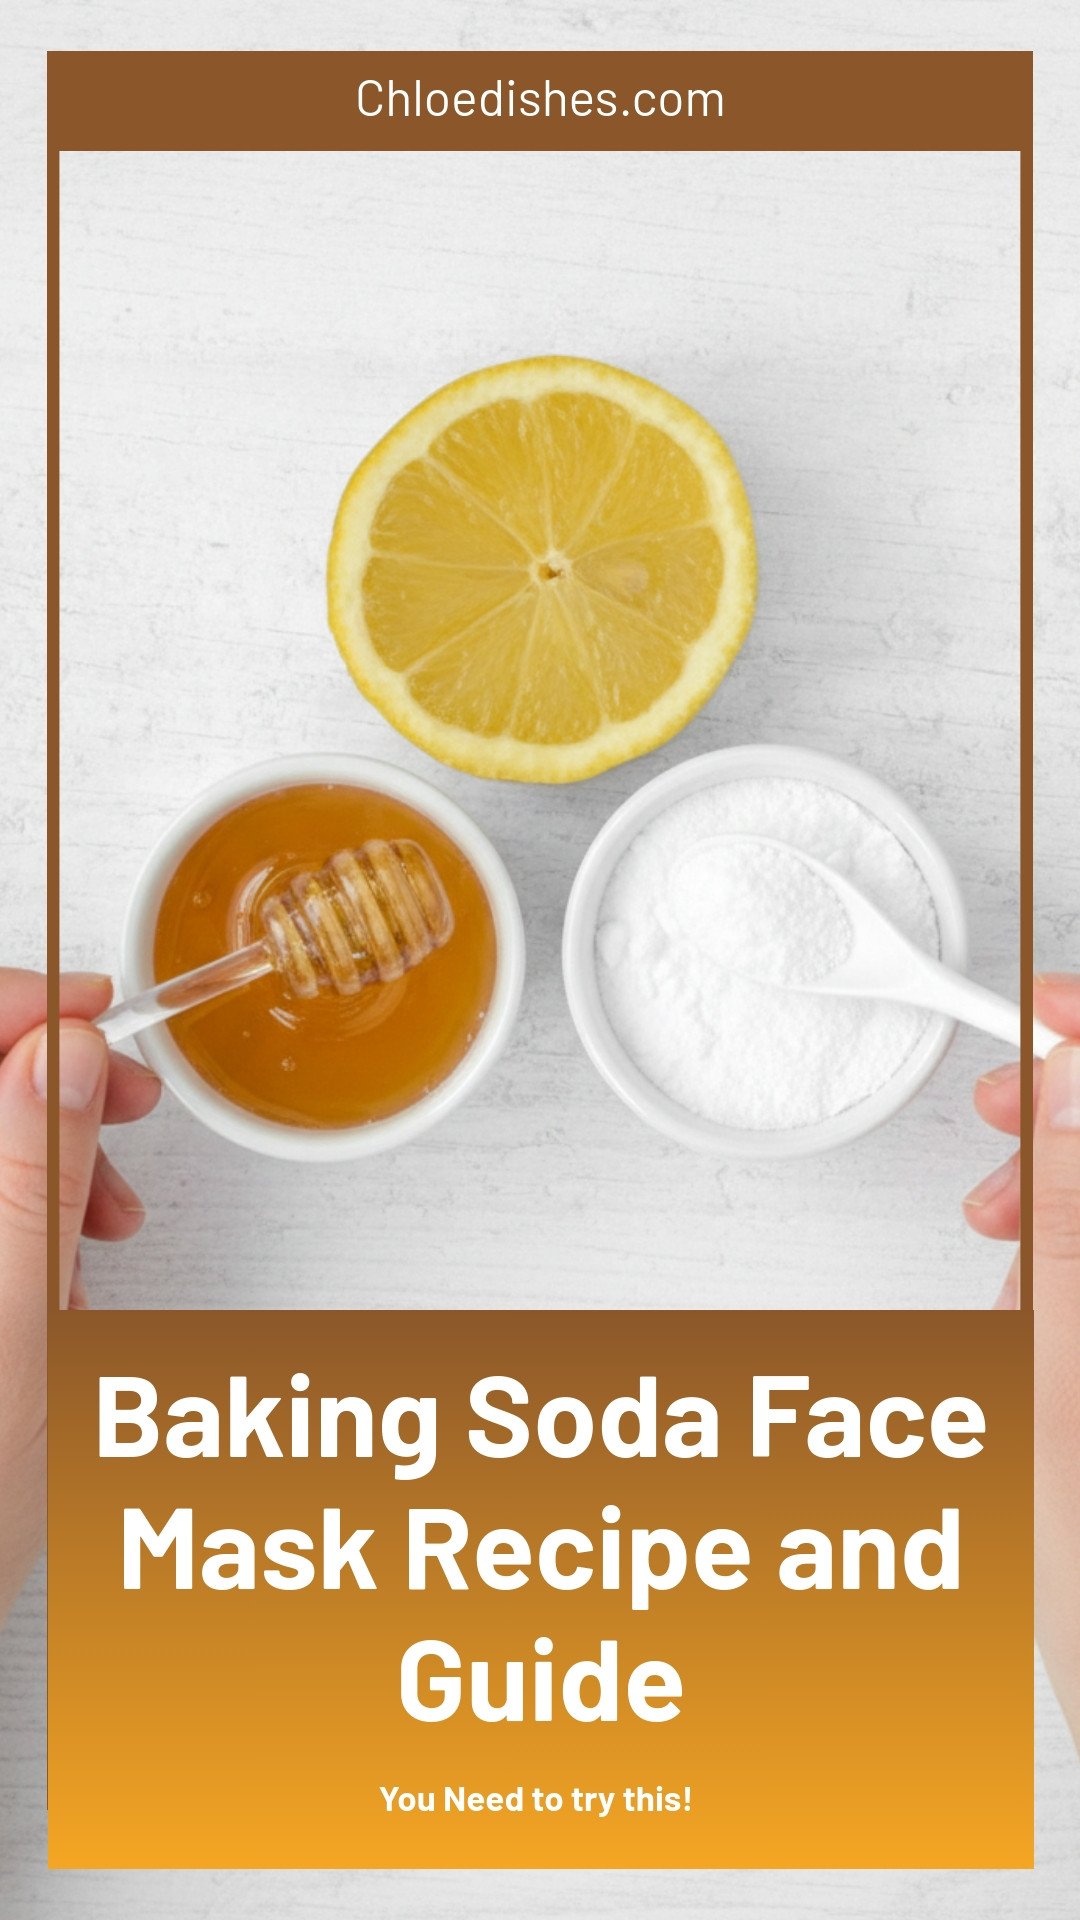
Baking Soda Face Mask Recipe and Guide
Description
Discover the best Baking Soda Face Mask recipe with this easy DIY guide for glowing, clear skin. Simple and natural skincare.
Ingredients
Instructions
- In a small bowl, mix together lemon juice (or essential oil), baking soda and honey. You want a paste-like consistency. If it’s too runny, add more baking soda. If it’s too thick, you can thin it out with a little water.
- Remove all makeup and dirt with a gentle face wash and pat skin dry. Gently apply the mask mixture to your face using your fingers or a makeup brush. Be careful not to scrub.
- Let the mask sit on your face for about 5-15 minutes. You might feel some light tingling and tightening.
- Remove the mask with gentle circular motions using warm water and a soft washcloth. Finish with your favorite moisturizer.
Notes
- Nutrition information is not provided for this non-edible face mask.




Leave a Reply