
A Sweet Surprise from My Kitchen
The first time I made these cookies, I was nervous. I had never hidden a surprise inside a cookie before. But when I bit into one, warm Biscoff spread ran down my chin. I still laugh at that happy mess. These are not just cookies. They are little pockets of joy. My grandson calls them “lava cookies” because the filling is hot and gooey. Have you ever tried a cookie with a hidden middle?Why These Taste Better Than Store-Bought
Crumbl cookies are fine, but they are made in a factory. You miss the love. When you make these at home, you control everything. You use real butter and vanilla bean paste. That is why they taste so rich. The secret is the frozen Biscoff ball inside. While the cookie bakes, the spread stays thick for a while. Then, right at the end, it melts into a lava river. *Fun fact: Biscoff spread was invented in Belgium in 1932 for coffee shops.*The Little Trick That Makes All the Difference
I want to share a trick I learned the hard way. You must freeze the filling first. If you skip that step, the spread will leak out and burn. I ruined a whole batch once. The kitchen smelled sad. Also, do not overmix the dough. When you add the flour, fold gently. Overmixing makes cookies tough. We want them soft, like a hug from a friend. Does your family love soft cookies or crunchy ones?A Memory from My Childhood
When I was little, my grandma made cookies every Sunday. She never used a recipe. She just knew how much flour to add by feel. I wish I had watched more closely. Now I write everything down so I do not forget. This recipe reminds me of her. She loved adding sneaky surprises to desserts. Once, she put a whole cherry inside a muffin. I bit into it and laughed. It is fun to surprise people you love with food.Why This Recipe Matters for Busy Days
You might think this recipe takes too long. But the hard part is just waiting. The dough rests in the fridge overnight. That means you do the work one day, and bake the next. It is perfect for planning ahead. The waiting is important. Chilling the dough makes the flavors mix together. It also stops the cookies from spreading too flat. This is why they turn out thick and chewy. How do you like to save time in the kitchen?The Best Part: Drizzle It Like a Pro
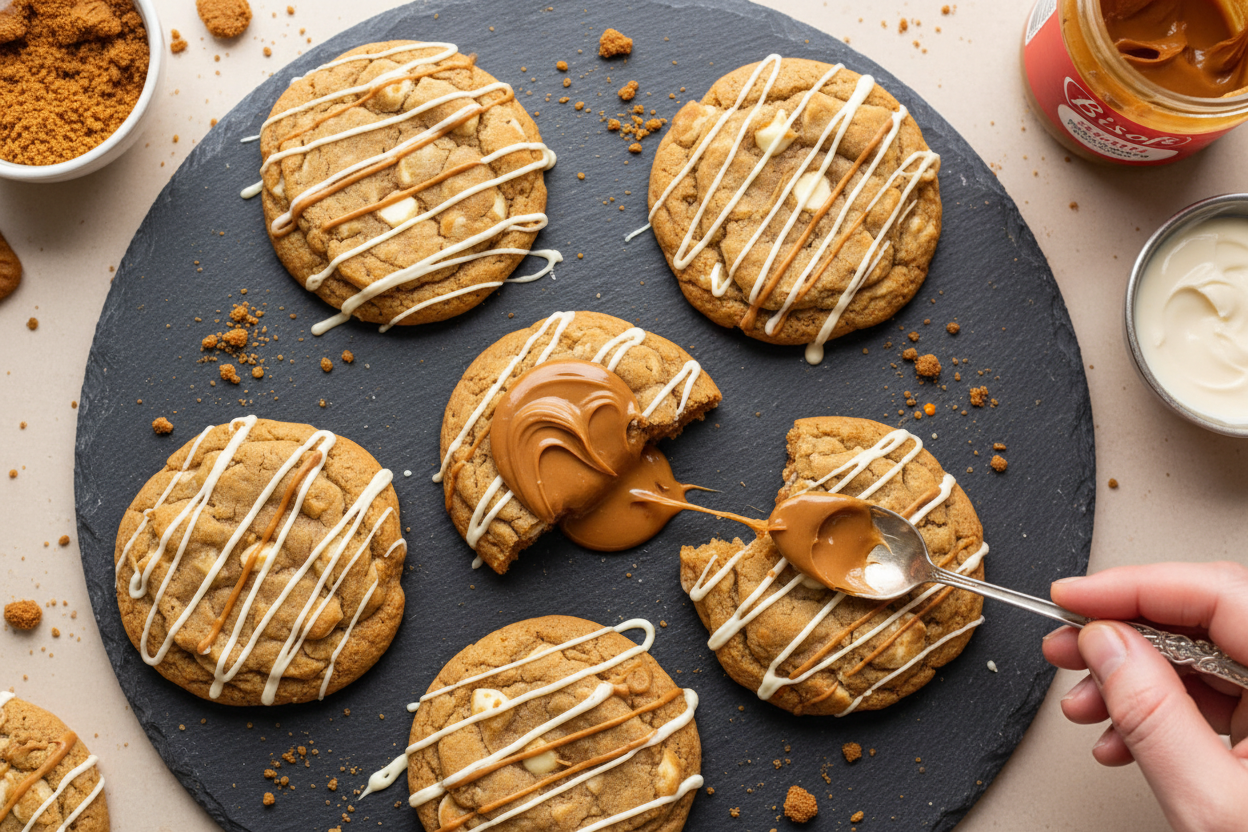
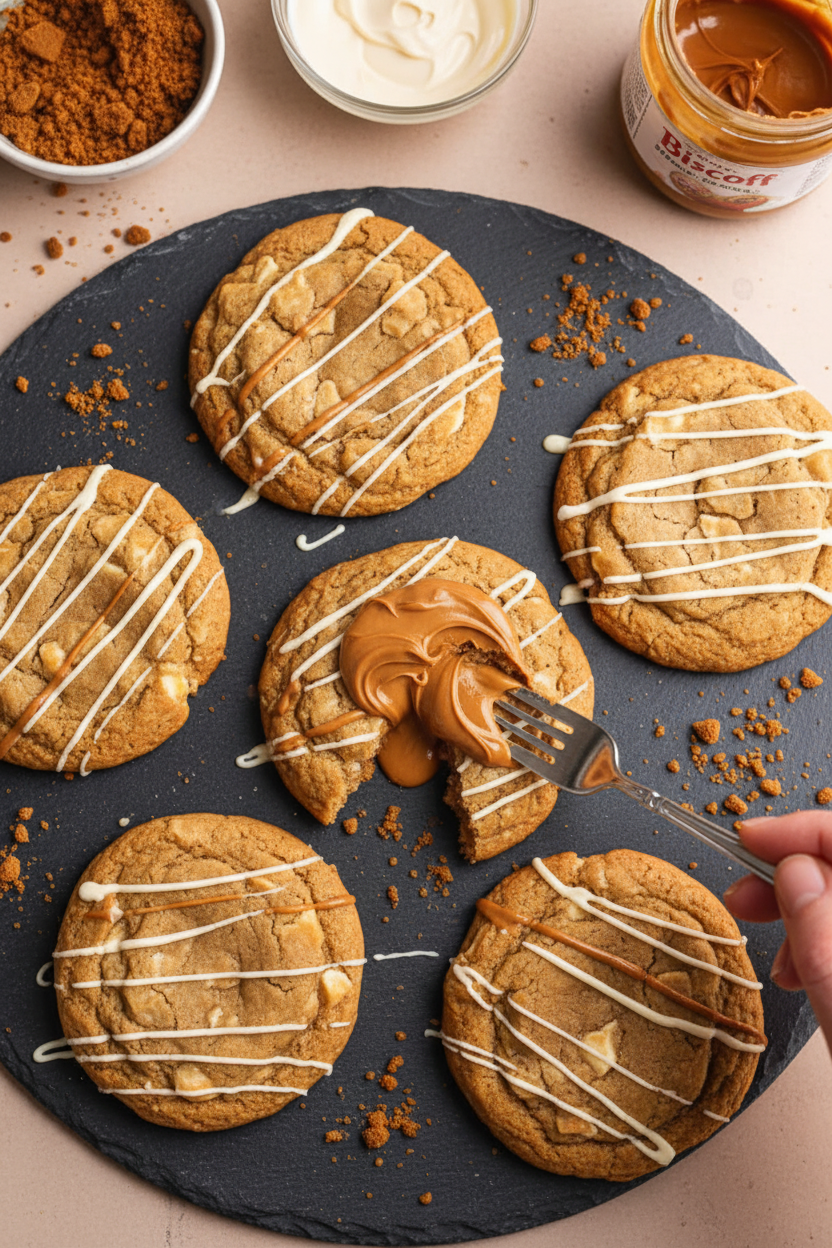
After baking, you can add a fancy drizzle. Melt some extra Biscoff spread and white chocolate. Put them in small bags, snip the corner, and squiggle over the cookies. It looks like you bought them from a bakery. But honestly, they are perfect without the drizzle too. The cookie itself is already amazing. The drizzle is just for show. When I serve these to guests, they always ask for the recipe. You will too, I bet.Let’s Make Them Together
I hope you try these lava cookies. They are a little work, but so worth it. The first bite is always a surprise, even for me. And I have made them dozens of times. Doesn’t that smell amazing? Before you go, tell me: What is your favorite cookie filling? Have you ever baked with Biscoff before? I would love to hear your stories in the comments. Let’s share the joy of baking together.Ingredients:
| Ingredient | Amount | Notes |
|---|---|---|
| Biscoff spread (filling) | ¾ cup (180g) | |
| Unsalted butter | ¾ cup (12 tbsp or 170g) | Room temperature |
| Light brown sugar | ⅔ cup (133g) | Packed |
| Granulated sugar | ¼ cup (50g) | |
| Large egg | 1 | |
| Egg yolk | 1 | |
| Vanilla bean paste | 1 tsp | |
| Biscoff spread (dough) | ¼ cup (60g) | |
| Crushed Biscoff cookies | ½ cup (60g) | |
| All purpose flour | 1 ¾ cup (227g) | |
| Baking powder | ¾ tsp | |
| Baking soda | ¼ tsp | |
| Salt | 1 tsp | |
| White chocolate chips | 180g | |
| Biscoff spread (optional drizzle) | 2 tbsp | Optional, for topping |
| Melted white chocolate (optional drizzle) | 2 tbsp | Optional, for topping |
The Sweetest Little Secret in My Kitchen
I still remember the first time I bit into a warm Biscoff cookie and found a gooey, melted center. My granddaughter squealed, and I knew we had a new family favorite. These Biscoff Lava Cookies taste even better than the ones from that fancy bakery downtown. The secret is freezing little balls of Biscoff spread before wrapping them in cookie dough. Doesn’t that smell amazing just thinking about it?
This recipe uses simple things you probably have in your pantry. Butter, sugar, eggs, and flour come together with that special cookie butter everyone loves. The dough needs to chill overnight, which is the hardest part because you’ll want to eat them right away. I once skipped the chilling step and my cookies turned into flat puddles. Learn from my mistake, dear.
Let’s Make These Together, Step by Step
Grab your apron and let’s get started. I’ll walk you through each part so you end up with perfect lava cookies every single time. (Hard-learned tip: Do not skip freezing the filling balls or overnight chilling. Your cookies will spread too much and the lava will leak out.)
Step 1: Line a small plate or baking sheet with parchment paper. Spray a tablespoon measure with a little oil. Scoop 6 heaping tablespoon-sized balls of Biscoff spread, each about 30 grams. Place them on the paper and pop them in the freezer to get really hard while you make the dough.
Step 2: In a big bowl, beat your room-temperature butter with brown and white sugars. Whisk on medium-high speed for 2-3 minutes until it looks fluffy and light, like clouds. (Hard-learned tip: Scrape the bowl halfway through so everything mixes evenly.)
Step 3: Crack in one whole egg and one extra yolk, then add the vanilla bean paste. Whisk for another minute until it becomes a creamy, dreamy mixture. My grandson loves to help with this part, though he always gets batter on his nose.
Step 4: Beat in the ¼ cup of Biscoff spread until it’s fully combined. Then use a rubber spatula to gently fold in the crushed Biscoff cookies. Stir just until you see little cookie bits throughout the dough.
Step 5: In a separate bowl, sift together the flour, baking powder, baking soda, and salt. Mix with a fork. Add these dry ingredients to the wet dough and fold gently with your spatula until the flour is almost mixed in. Then add the white chocolate chips and fold until no dry streaks remain. Don’t overmix or your cookies will be tough.
Step 6: Take your frozen Biscoff balls out of the freezer. Divide your dough into 5-ounce portions (you should have 6 total). Flatten one dough piece in your palm, place a frozen filling ball in the center, and wrap the dough around it completely. Roll into a smooth ball. Repeat with all portions.
Step 7: Place your filled dough balls on a plate and cover loosely with plastic wrap. Refrigerate overnight, or at least 6 hours. This is non-negotiable for the best lava texture. Which one would you try first? Comment below!
Step 8: When ready to bake, preheat your oven to 375°F (no fan). Line a large light-colored baking sheet with parchment. Place chilled dough balls 3 inches apart. Bake for 5 minutes at 375°F, then lower the temperature to 340°F and bake 13-14 more minutes. They’re done when golden on the edges but soft in the middle.
Step 9: Let cookies cool on the sheet for 20 minutes. If you want the fancy drizzle, melt 2 tablespoons each of Biscoff spread and white chocolate in separate bowls (microwave in 15-second bursts). Snip a tiny corner off piping bags and drizzle over the cookies. Rest 10 more minutes, then enjoy every warm, gooey bite.
Cook Time: 18-19 minutes
Total Time: Overnight chill + about 40 minutes active time
Yield: 6 large cookies
Category: Dessert, Cookies
Three Fun Twists to Try
Salted Caramel Lava: Swap the Biscoff filling balls for soft caramel candies. Add a sprinkle of sea salt on top before baking. Sweet and salty magic.
Peanut Butter Chocolate Dream: Use creamy peanut butter for the frozen filling instead of Biscoff. Swap the white chocolate chips for dark chocolate chunks. Perfect for peanut butter lovers.
Spiced Apple Crumble: Mix ½ teaspoon cinnamon and ¼ teaspoon nutmeg into the dough. Use apple butter for the frozen filling. Fold in ¼ cup dried cranberries with the chips. Tastes like autumn in a cookie.
Which one would you try first? Comment below!
How to Serve Your Lava Cookies
Place each warm cookie on a small plate with a dollop of vanilla ice cream melting into the gooey center. Or serve them alongside a bowl of fresh berries to cut the sweetness. For a pretty platter, dust the cookies with a little powdered sugar and arrange on a wooden board.
For drinks, a tall glass of cold milk is the classic choice. It’s like a hug for your taste buds. Grown-ups might enjoy a small cup of strong coffee or a warm chai latte on the side.
Which would you choose tonight?
How to Store and Reheat Your Biscoff Lava Cookies
These cookies are best fresh, but you can store them too. Keep leftover cookies in an airtight container at room temperature for up to three days. I once put a warm cookie in a tin box, and it turned mushy by morning. Learn from my mistake—let them cool completely first.
For longer storage, freeze the unbaked cookie dough balls. Place them on a tray and freeze until hard. Then wrap each one in plastic wrap and store in a freezer bag. You can bake them straight from the freezer—just add two minutes to the bake time. This is perfect for batch cooking. You make the dough once and enjoy cookies for weeks.
To reheat a baked cookie, pop it in a 300°F oven for about five minutes. The center will get warm and gooey again. Storing this dough matters because it saves you time. You can have a hot, fresh cookie in minutes whenever a craving hits. Have you ever tried storing it this way? Share below!
Three Common Problems and Easy Fixes
Sometimes your cookies spread too thin. This usually means the dough was too warm. I remember once I skipped the overnight chill. My cookies turned into flat puddles. The fix is simple: chill the dough for at least six hours. Cold dough holds its shape better. This matters because flat cookies lose the gooey center.
Another problem is the filling leaking out. This happens if the Biscoff ball is not fully sealed. Make sure the cookie dough covers it completely. Press any cracks shut with your fingers. I learned this after one cookie burst open in my oven. Which of these problems have you run into before? Fixing this matters because it keeps the lava center inside where it belongs.
The third issue is cookies that are too hard. Overbaking is the usual cause. Watch for the edges to turn golden. The centers should still look soft when you pull them out. They will firm up as they cool. This way you get that chewy, soft bite every time.
Your Top Questions Answered
Q: Can I make this gluten-free?
A: Yes, swap the all-purpose flour for a 1:1 gluten-free baking blend. The texture stays soft.
Q: Can I make the dough ahead of time?
A: Absolutely. The dough keeps in the fridge for up to three days before baking.
Q: What if I don’t have Biscoff spread?
A: You can use any cookie butter. Peanut butter works too, but the flavor changes.
Q: How do I make just three cookies?
A: Halve all the ingredients. Freeze the filling balls for the same time before baking.
Q: Can I skip the white chocolate drizzle?
A: Yes, the cookies taste great without it. The drizzle just adds extra sweetness.
Which tip will you try first?
From My Kitchen to Yours
Thank you for spending time with me today. I hope these cookies bring a little sweetness to your week. There is something special about pulling a warm, gooey cookie from the oven. It feels like a hug on a plate. *Fun fact: Biscoff cookies were first made in 1932 in Belgium.*
I would love to see your cookies. Snap a photo and share it with us. Have you tried this recipe? Tag us on Pinterest! Your kitchen stories make this community so warm.
Happy cooking!
—Chloe Hartwell

Biscoff Lava Cookies Better Than Crumbl
Description
Indulge in homemade Biscoff lava cookies with gooey centers, way better than Crumbl. Easy, viral dessert recipe for cookie lovers.
Ingredients
Optional: 2 tablespoon each Biscoff spread and melted white chocolate to drizzle on top
Instructions
- Lay parchment paper on a baking sheet or a plate. Spray a round tablespoon measure with oil or nonstick spray, and use it to scoop 6 balls of Biscoff spread that are ~30g each (1 heaping tablespoon). Place the balls on the parchment paper. Transfer to the freezer to allow the balls to freeze while you work on the cookie dough
- Add the butter, brown sugar and granulated sugar to a bowl and whisk on medium high speed for 2-3 minutes until the mixture turns fluffy and light in color. Keep scraping the bowl along the way
- Add the egg, egg yolk and vanilla. Whisk for another minute until a creamy mixture forms
- Add the ¼ cup Biscoff spread and whisk until combined
- Add the crushed Biscoff cookies and use a rubber spatula to fold them in until combined
- Now sift the flour, baking powder, baking soda and salt in a separate bowl and mix to combine. Add the dry ingredients to the cookie dough and use a rubber spatula to gently fold until the flour is almost mixed into the dough
- Add the white chocolate chips and continue folding until no more streaks of flour remain and the chocolate is evenly dispersed. Don’t overmix
- The cookie dough should be soft and easy to work with. If it feels too sticky, refrigerate it for 10-15 minutes until it becomes easier to shape with your hands
- Remove the Biscoff balls from step 1 from the freezer. Now divide the cookie dough into 5oz portions – you should get 6 balls. Working one piece at a time, flatten the cookie dough into a disc in your palm, place the Biscoff ball in the middle, then fold the cookie dough around it to completely seal it. Make sure the Biscoff is fully encased, then gently roll the cookie dough into a ball. Repeat with all portions so you have 6 balls filled with Biscoff, each weighing ~6oz
- Place the cookie dough balls on a plate/tray and refrigerate overnight (minimum 6 hours, overnight recommended for best results)
- When you’re ready to bake after chilling, pre-heat the oven to 375F (conventional / no fan) and line a large light colored baking sheet with parchment paper
- Place the chilled cookie dough balls on the baking sheet, keeping at least 3″ between each. Place in the oven and bake at 375F for 5 minutes, then drop the temperature to 340F and bake for another 13-14 minutes for a total baking time of 18-19 minutes. The cookies are done baking when they are golden in color, look set on the edges but are still soft to touch in the middle.
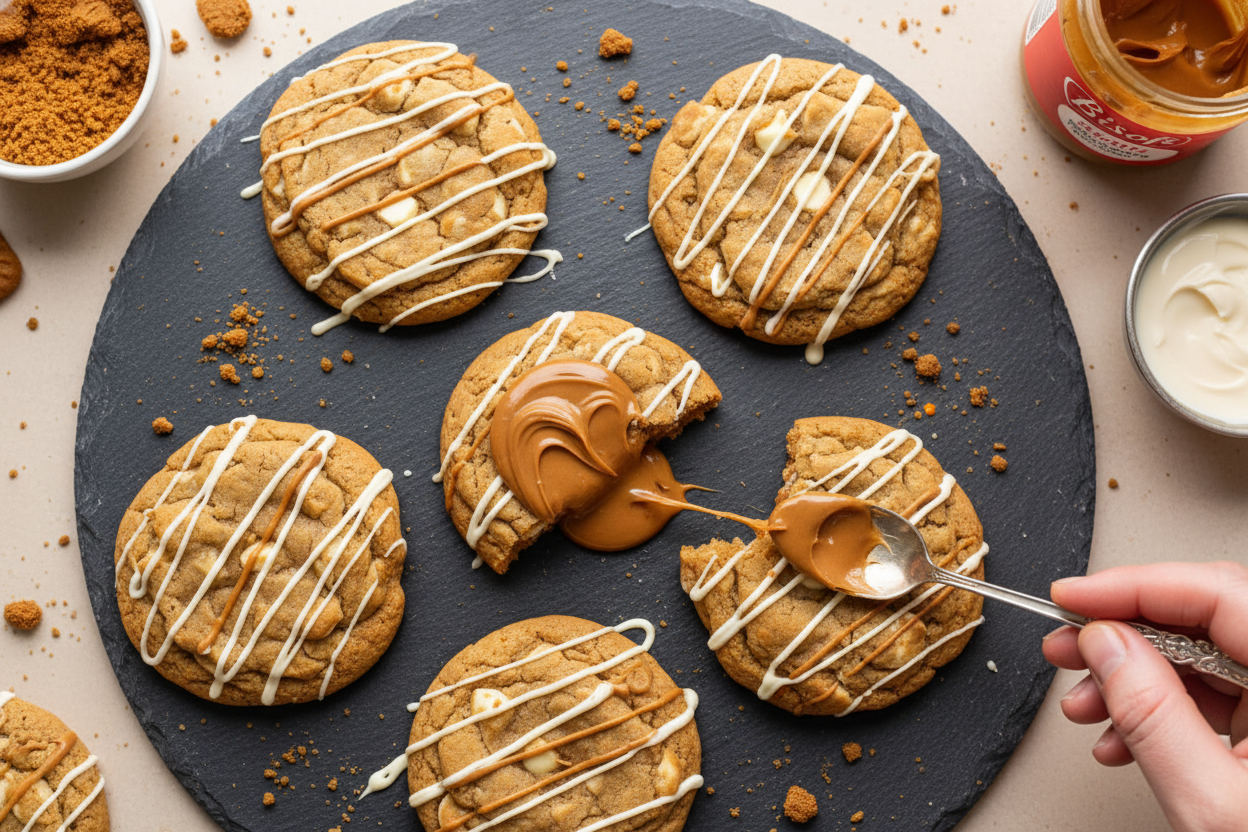
- Remove from the oven and let cool at room temperature for 20 minutes. If you’re adding the optional drizzles on top, microwave the Biscoff spread and white chocolate separately in 15s bursts until they are molten. Transfer to piping bags, and cut off a small hole in each. Then drizzle onto the cookies as shown in the pictures. Rest for another 10 minutes, then serve and enjoy!




Leave a Reply