
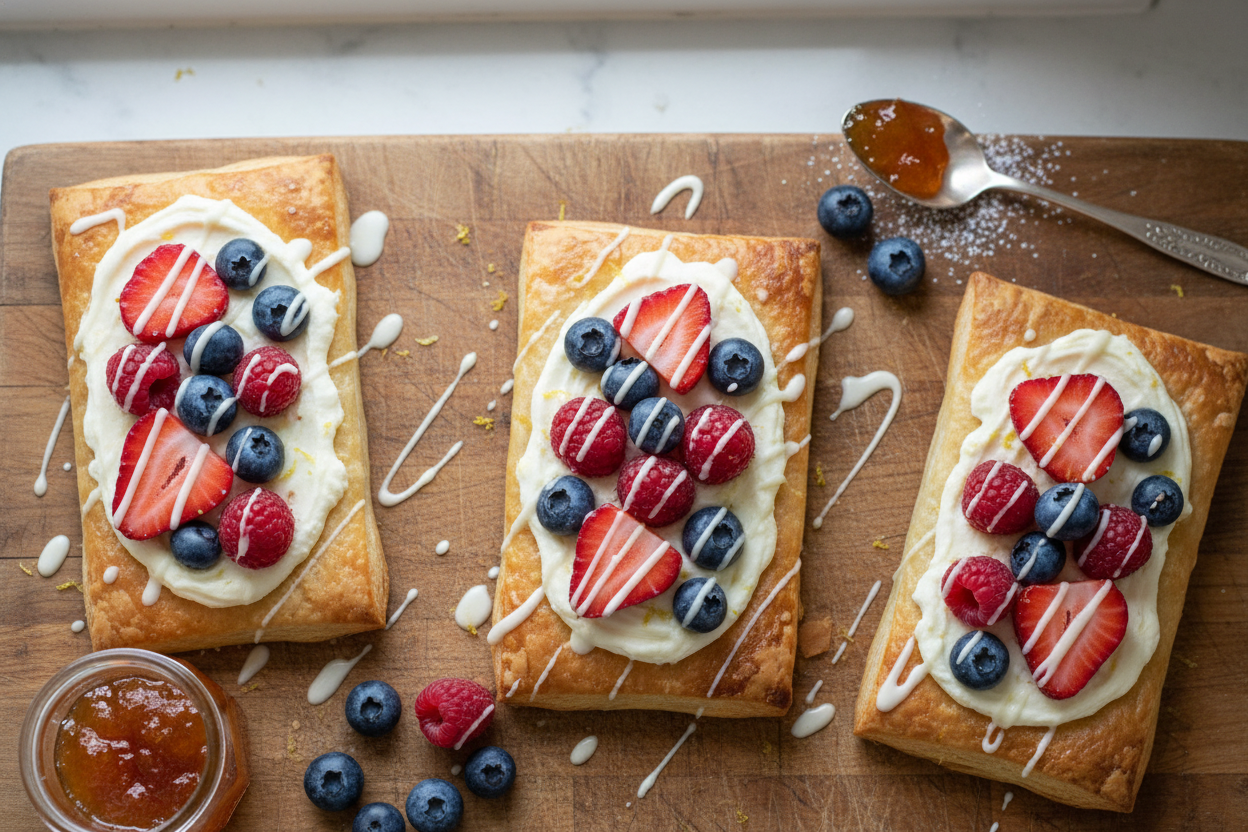
The Morning That Changed My Baking
I still laugh at the first time I tried making Danish pastries. I was twenty-two and had never touched puff pastry in my life. My kitchen looked like a snowstorm had hit it, with flour everywhere. But the smell that came out of that oven? Pure magic. That is why I love this recipe so much. It uses store-bought puff pastry, so you skip all the hard work. You get to feel like a fancy baker without actually being one. Doesn’t that sound like a good deal? *Fun fact: Puff pastry was invented by accident in France around 1645. A young baker tried to make a different kind of bread and discovered flaky layers instead.*What Makes This Recipe Special
Here is why this matters. Store-bought puff pastry already has over seven hundred layers of butter and dough. Your job is just to help it bake nicely. The cream cheese filling is the soft, sweet heart of the pastry. And the berries add little bursts of summer. I like to use whatever berries I find at the market. Raspberries and blueberries are my favorites. But sliced strawberries work great too. What berries do you love most in your baking?The Simple Steps You Need to Know
First, make sure your cream cheese is soft like butter. Beat it with sugar, vanilla, and a tiny bit of lemon zest. The lemon zest is the secret that makes everything taste brighter. My grandmother taught me that trick. Then, cut your puff pastry into six squares. Score a little border around each one, but do not cut all the way through. Poke the center with a fork so it doesn’t puff up too much. This step is important or your filling will slide right off.Filling and Baking Your Pastries
Spoon the cream cheese mixture into the center of each square. Gently spread it inside the border you made. Add a few berries on top, pressing them lightly into the filling. Brush the edges with beaten egg so they turn golden and shiny. Bake at 400 degrees for about fifteen to eighteen minutes. Watch them turn puffy and golden through the oven window. That is my favorite part of the whole process. Doesnt that smell amazing? I always open the oven just to take a big whiff.Glazing and Serving Like a Pro
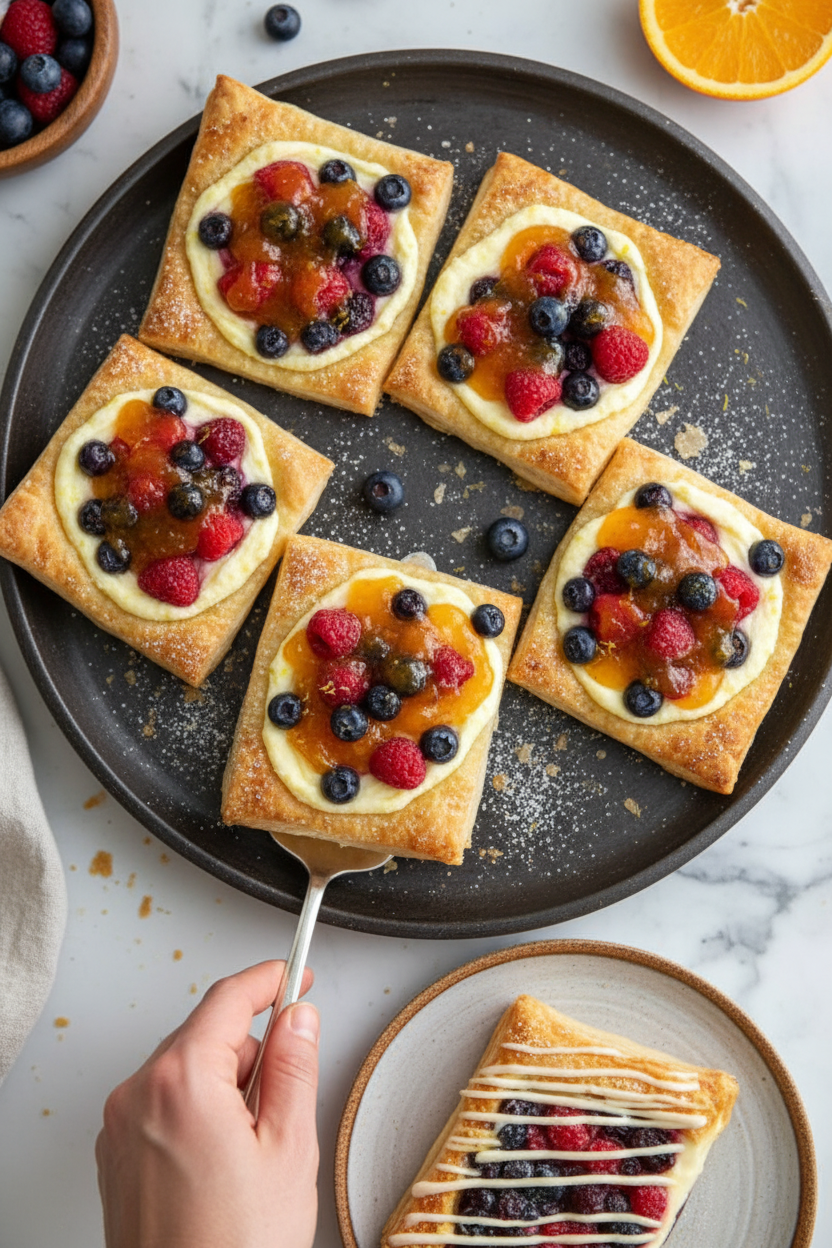
Here is another why this matters. Warmed apricot jam makes the berries look glossy and fancy. Just brush it gently over the berries while the pastries are still warm. Then dust with powdered sugar if you want it extra pretty. Let them cool for a few minutes before serving. I once burned my tongue eating one straight from the oven. It was worth it, but I wouldn’t recommend it. Have you ever ruined a baked good by being too impatient?Sharing the Sweetness
These pastries are perfect for breakfast or dessert or just because. I like to make them when friends come over for tea. They look so beautiful on a plate that everyone thinks you worked for hours. I never tell them my secret. The best part is watching someone take their first bite. Their eyes get big and they smile with their mouth full. That is the real reason I bake. I would love to hear who you would make these for. Would it be your family, your friends, or just yourself?Ingredients:
| Ingredient | Amount | Notes |
|---|---|---|
| Puff pastry | 1 sheet | Thawed |
| Cream cheese | 4 ounces | Softened |
| Granulated sugar | 2 tablespoons | |
| Vanilla extract | 1 teaspoon | |
| Lemon zest | 1/2 teaspoon | |
| Mixed fresh berries (blueberries, raspberries, sliced strawberries) | 1/2 cup | |
| Egg | 1 | Beaten, for egg wash |
| Water | 1 tablespoon | For egg wash |
| Powdered sugar | For dusting | Optional |
| Apricot jam | 1 tablespoon | Optional, for glaze |
My First Danish Pastry Disaster (And How I Fixed It)
When I was your age, my grandma let me help make Danish pastries for the first time. I was so excited that I piled on too many berries. The pastry turned into one soggy, blue mess! I still laugh at that memory. The trick is to go easy on the fruit.
These little pastries taste like a fancy bakery treat. But they are so simple to make at home. Your kitchen will smell like butter and sweet berries. Doesn’t that smell amazing? Let me show you my easy way to make them.
Here is the step-by-step guide. Follow along, and you will be a pro in no time.
Step 1: First, preheat your oven to 400 degrees. Line a baking sheet with parchment paper. This stops the pastries from sticking. My grandma always said this was the secret to a clean pan.
Step 2: In a small bowl, mix the softened cream cheese, sugar, vanilla, and lemon zest. Stir until it is smooth and creamy. Taste it! I dare you not to sneak a little spoonful. (Hard-learned tip: Make sure your cream cheese is really soft, or you will get lumpy filling.)
Step 3: Unfold your puff pastry on a lightly floured counter. Cut it into six equal squares. Now, gently score a half-inch border around each square. Do not cut all the way through, just a light line.
Step 4: Take a fork and prick the center of each square a few times. This stops the middle from puffing up too much. That way, you have a nice little nest for your filling. What is your favorite berry to use in baking? Share below!
Step 5: Spoon about one tablespoon of the cream cheese mix into each center. Spread it gently inside your scored border. Top each one with a few fresh berries. Blueberries and raspberries work best.
Step 6: Beat the egg with a tablespoon of water. Brush this egg wash on the edges of each pastry. This gives them a shiny, golden-brown finish. It makes them look like they came from a fancy bakery.
Step 7: Bake for 15 to 18 minutes, until they are puffed and golden. While they are still warm, you can brush the berries with warm apricot jam for a glossy glow. Let them cool a little, then dust with powdered sugar.
Cook Time: 15–18 minutes
Total Time: 30 minutes
Yield: 6 pastries
Category: Breakfast, Dessert
Three Fun Ways to Change Up This Recipe
I love playing with recipes. It is like a little adventure in my kitchen. Here are three twists I have tried. They all turned out delicious.
Chocolate Cherry Dream. Swap the berries for pitted cherries. Add a few dark chocolate chips on top of the cream cheese. It tastes like a fancy dessert.
Savory Herb & Tomato. Leave out the sugar and berries. Mix the cream cheese with dried herbs, salt, and a tiny chopped sun-dried tomato. Bake the same way. Great for a light lunch.
Peach and Honey Summer. Use sliced fresh peaches instead of berries. Drizzle a little honey over the top before baking. The honey gets bubbly and caramelized. Which one would you try first? Comment below!
How to Serve These Little Pastries
These danishes are lovely for a weekend breakfast. I like to serve them on a pretty plate with a handful of extra berries on the side. A small dollop of fresh whipped cream never hurts.
For a fun party idea, cut them into smaller bite-sized squares before baking. They make perfect little hand-snacks. Dust them with extra powdered sugar right before serving.
For a drink, I love a tall glass of cold milk with mine. Grown-ups might enjoy a cup of hot black coffee. The sweet pastry balances the bitter coffee so nicely. Which would you choose tonight?
Storing and Reheating Your Danish Pastries
These danishes taste best the day you bake them. But leftovers are a real treat too. Let them cool completely before storing them in an airtight container. Keep them in the fridge for up to three days.
To reheat, place them on a baking sheet at 300°F for about 5 minutes. This crisps the pastry back up nicely. I once tried microwaving one and ended up with a sad, soggy mess. Warm them in the oven instead for that fresh-baked feel.
You can also freeze these danishes before baking. Just assemble them on a tray and freeze until solid. Then pop them into a freezer bag. When you want fresh danishes, bake them straight from frozen. Add 2 to 3 extra minutes to the baking time.
Batch cooking matters because it saves you time on busy mornings. You get that warm, homemade taste without all the fuss. Have you ever tried storing it this way? Share below!
Three Common Problems and Easy Fixes
Problem one: Your cream cheese filling is lumpy. This happens when the cream cheese is too cold. Fix it by letting your cream cheese sit on the counter for 20 minutes before mixing. Smooth filling means every bite is creamy and dreamy.
Problem two: The berries leak juice everywhere during baking. Fresh berries are watery berries. I remember making these for my granddaughter’s party, and the danish turned into a purple puddle. Pat your berries dry with a paper towel first. This keeps the pastry crisp and beautiful.
Problem three: Your pastry doesn’t puff up. This usually means you skipped pricking the centers with a fork. Those little holes let steam escape. Without them, the middle rises like a balloon and pushes off your filling. Fixing these small mistakes builds your cooking confidence and makes every batch taste better.
Which of these problems have you run into before?
Five Quick Questions and Answers
Q: Can I make these gluten-free?
A: Yes. Use a gluten-free puff pastry sheet. Check the freezer aisle at your grocery store.
Q: Can I use frozen berries instead of fresh?
A: You can, but thaw and drain them first. Frozen berries add too much liquid otherwise.
Q: What if I don’t have apricot jam?
A: Skip it, or use a little honey warmed up. The shine is nice but not needed.
Q: Can I make a bigger batch for a party?
A: Absolutely. This recipe doubles easily. Just use two sheets of puff pastry.
Q: Can I prep these the night before?
A: Yes. Assemble them on the tray, cover with plastic wrap, and bake in the morning.
Which tip will you try first?
A Warm Farewell from My Kitchen
There is something so special about pulling a tray of golden danishes from the oven. The smell fills your whole house. It feels like a hug on a plate.
I hope these little pastries bring you joy. They are perfect for lazy weekend mornings or sharing with friends. Have you tried this recipe? Tag us on Pinterest!
*Fun fact: Puff pastry has over 100 layers of dough and butter. That is what makes it so flaky.*
Happy cooking!
—Chloe Hartwell.

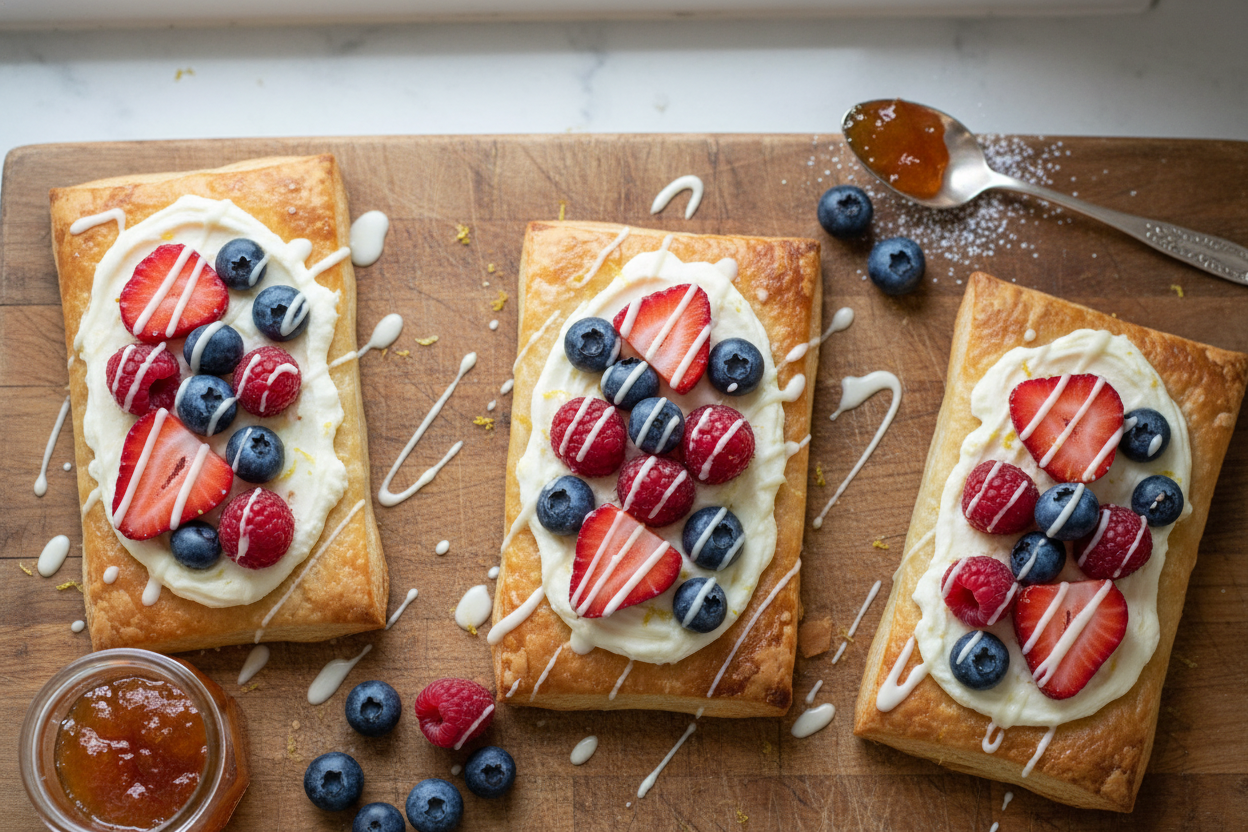
Cream Cheese and Berry Danish Pastries Recipe
Description
Flaky cream cheese danishes topped with sweet berries. Easy homemade pastry recipe perfect for brunch or dessert.
Ingredients
Instructions
- Preheat your oven to 400°F (200°C) and line a baking sheet with parchment paper to prevent sticking and ensure even baking.
- In a small bowl, beat the softened cream cheese with granulated sugar, vanilla extract, and lemon zest until the mixture is smooth and creamy.
- On a lightly floured surface, unfold the thawed puff pastry sheet and cut it into 6 equal squares. Lightly score a ½-inch border around each square, being careful not to cut all the way through, to help contain the filling during baking.
- Use a fork to prick the center of each square to prevent the pastry from puffing up too much in the middle.
- Spoon about 1 tablespoon of the cream cheese mixture onto the center of each square, spreading it gently within the scored border. Top each with a few fresh mixed berries for a burst of fruity flavor.
- Beat the egg with water and brush the edges of each pastry square with the egg wash to promote a shiny, golden-brown finish during baking.
- Place the prepared pastries on the lined baking sheet and bake for 15–18 minutes, or until the pastries are puffed and beautifully golden brown.
- While still warm, brush the berries gently with warmed apricot jam for a glossy finish. Allow the pastries to cool slightly before dusting with powdered sugar, then serve and enjoy.
Notes
- For best results, use fresh berries. The apricot jam glaze adds a beautiful shine and extra sweetness.




Leave a Reply