
Why I Love This Little Loaf
I remember the first time I made banana bread without flour. I was nervous. It felt like leaving out the salt from a soup. But this recipe is different. It uses oats instead of flour. Oats are little powerhouses. They make the bread soft and chewy. No one misses the flour at all. I still laugh at how easy it was. This bread is also gluten-free and dairy-free. That means many more people can enjoy a warm slice with their tea. It makes me happy to bake something almost anyone can eat. Have you ever had to skip dessert at a party? This bread solves that problem. *Fun fact: Sprouted oats are easier for your tummy to digest than regular oats. So this bread is extra gentle.*Simple Ingredients, Big Flavor
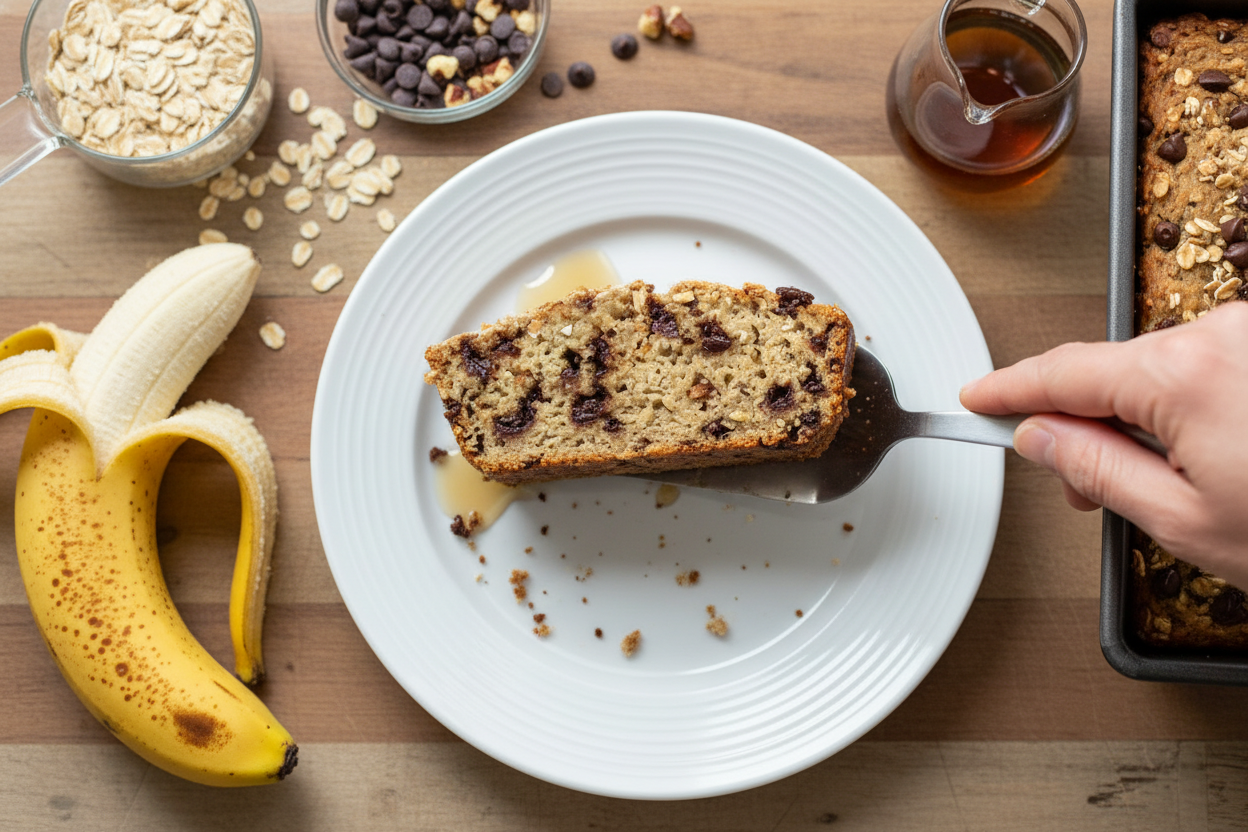
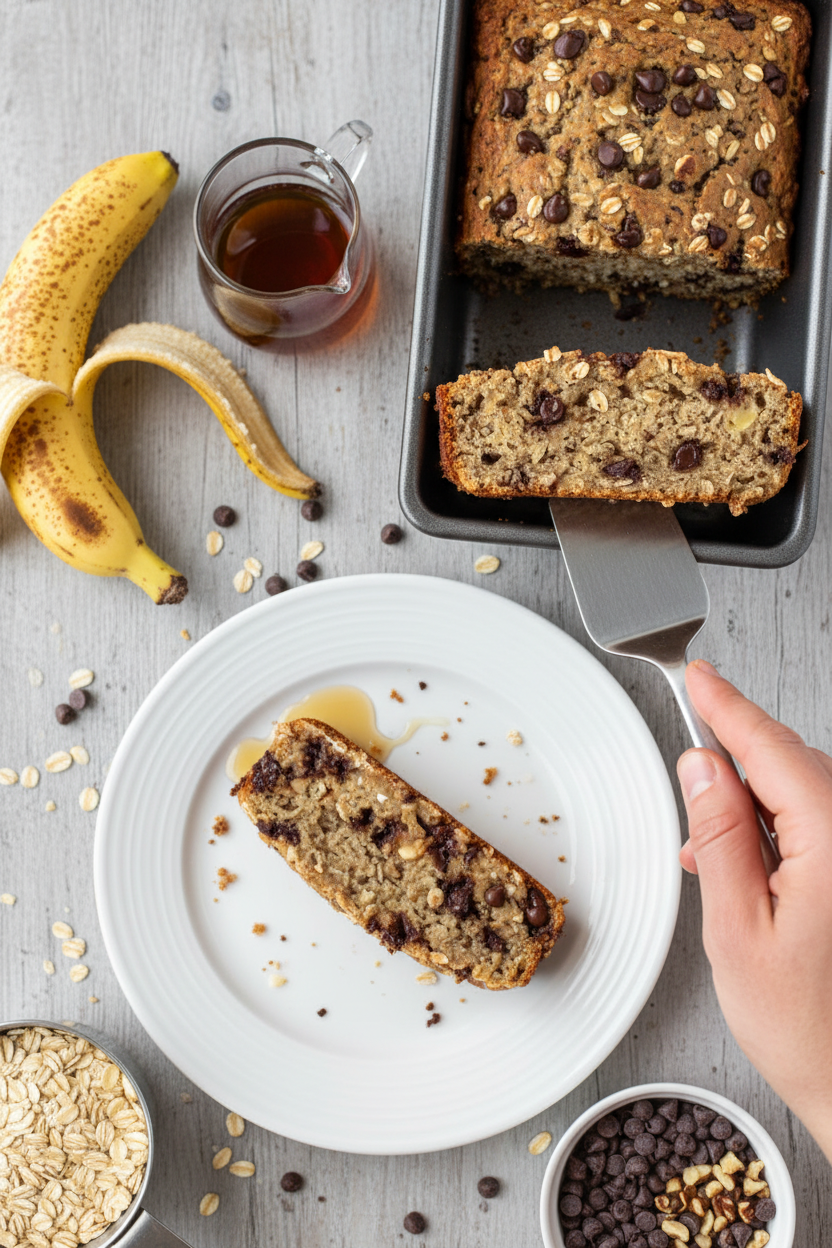
You only need four things. Bananas, oats, baking powder, and a little maple syrup. That is it. The bananas do the heavy lifting. They make the bread sweet and moist all on their own. Doesnt that smell amazing? Just imagine ripe bananas and warm oats baking together. I like to add a handful of dark chocolate chips. My neighbor adds walnuts. You can choose whatever you like. The batter is very forgiving. What would you stir into your loaf?How My Grandkids Learned to Bake
This is the first bread I taught my grandkids to make. They were maybe eight and ten years old. We dumped everything into the blender. They pressed the button and watched it whirl. It was so loud we all laughed. Then they poured the batter into the pan. They felt so proud. That is the thing about this recipe. It is so simple a child can do it. You just need a blender and a pan. No tricky steps. No waiting for dough to rise. It teaches that baking does not have to be hard. Good food can come from very little work. Why this matters: When kids learn to make one easy thing, they feel brave. They start wanting to try more. That is how cooking confidence grows.The Magic of Ripe Bananas
Have you ever had bananas that turned spotty and brown? Most people throw them away. Dont do that. Those ugly bananas are actually perfect for baking. They are super sweet and soft. They mash like butter. I always keep a few on my counter just for bread. This bread is a great way to stop food waste. You save bananas from the trash and make something yummy instead. It feels good to use what you have. Does your family have a favorite recipe for old bananas?Watch the Clock, Not the Oven
Here is a tip I learned the hard way. Every oven is a little different. My old oven baked this bread in exactly 22 minutes. My new one takes 25. So start checking at 20 minutes. Stick a toothpick in the middle. If it comes out clean, you are done. Do not peek too much while it bakes. Opening the door lets out heat. That can make the middle sink. Just trust the timer and your toothpick. I learned that after making one very flat loaf. I still laugh at that flat bread. Why this matters: Learning to trust your senses is part of cooking. Your nose and eyes tell you when food is ready. A timer is just a helper.Ways to Make It Your Own
This bread is like a blank canvas. You can add cinnamon or vanilla if you want. You can swap the maple syrup for honey. You can even stir in some shredded coconut. I once added a mashed apple and it turned out great. The base recipe is strong enough to handle changes. I love that about simple recipes. They give you freedom. You are the boss of your kitchen. So tell me, if you could add one surprise ingredient, what would it be? I would love to hear your ideas.Dont Forget to Share
This loaf tastes best when you share it. Bring a slice to a friend. Wrap some up for a neighbor. Put a piece in your lunchbox for later. Food made with simple love always tastes better when eaten with others. I always save one slice for myself with a cup of warm tea. Now it is your turn. Have you made this bread yet? How did it turn out? Or do you have a different easy recipe you love? I am always looking for new things to try. Let me know in the comments.Ingredients:
| Ingredient | Amount | Notes |
|---|---|---|
| Sprouted Rolled Oats (gluten-free if preferred) | 2 cups | |
| Ripe Bananas | 4 medium | |
| Baking Powder | 1 teaspoon | aluminum-free |
| Maple Syrup | 2 TB | |
| Organic nuts or dark chocolate chips | ½ cup | optional |
Why This Banana Bread Feels Like a Hug
Oh, this banana bread is my secret weapon. I first made it on a rainy Tuesday when I had three sad, spotty bananas on the counter. Does anything smell better than ripe bananas and oats? I still laugh at that day because I forgot the maple syrup and added honey instead. It still turned out lovely, but the maple gives a cozy warmth.
You only need four little things from your kitchen. No fancy flours, no weird oils, just oats, bananas, baking powder, and maple syrup. It is so simple that my ten-year-old neighbor makes it by herself. Fun fact call-out: Sprouted oats are gentler on your tummy, but regular oats work too. I say, use what you have.
Now, about those bananas. They need to be really, really ripe, with brown spots all over. That is when they are sweetest and mash easiest. The bread will be fine with yellow bananas, but not as sweet or moist.
Here is a question for you: What is the messiest thing you have ever baked? Share below! I once dropped an egg right into my flour bag and had to pick out little shell pieces for ten minutes.
Let’s Make It Together
Alright, let’s get our hands a little messy. This bread comes together faster than you can find your favorite show on TV. I like to play soft music and talk to myself while I bake. Here is how we do it, step by step.
Step 1: First, warm up your oven to 350 degrees. Grab a loaf pan and either grease it with a little butter or line it with parchment paper. (Hard-learned tip: Parchment paper is your best friend. It makes cleanup feel like a dream and nothing sticks.)
Step 2: Peel those four ripe bananas and drop them into your blender or food processor. Then add the two cups of sprouted oats, one teaspoon of baking powder, and two tablespoons of maple syrup. I always smell the baking powder to make sure it is fresh.
Step 3: Blend everything until it is smooth and looks like a thick, creamy batter. If it seems too thick, you can add a splash of milk or water. Scrape down the sides once or twice to catch any oat bits hiding there.
Step 4: Pour that lovely batter into a big bowl. If you want to add a half cup of nuts or dark chocolate chips, now is the time. Gently fold them in with a spatula so they are spread all through the batter.
Step 5: Spoon the batter into your prepared pan and smooth the top with the spatula. Bake it for 20 to 25 minutes. Check it with a toothpick; if it comes out clean, it is done. The kitchen will smell like a warm hug.
Step 6: Let the bread sit in the pan for about ten minutes to cool down. Then move it to a wire rack. Wait another ten minutes before slicing, or it will crumble in your hands. I know it is hard to wait.
Cook Time: 20–25 minutes
Total Time: 45 minutes
Yield: 1 loaf, about 8 slices
Category: Breakfast, Snack
Three Fun Twists to Try
Sometimes you want a little change, and that is okay. This bread is a happy friend that loves new flavors. Here are three ways to dress it up.
Peanut Butter Swirl: Drop three big spoonfuls of peanut butter on top of the batter before baking. Use a knife to gently swirl it around. It tastes like a peanut butter banana sandwich in bread form.
Berry Blast: Fold in a cup of fresh or frozen blueberries and a pinch of cinnamon. The berries burst into little sweet pockets. Your kitchen will smell like a sunny morning.
Coconut Dream: Stir in a half cup of shredded unsweetened coconut and a teaspoon of vanilla. Top it with a sprinkle of extra coconut before baking. It feels like a tropical vacation.
Which one would you try first? Comment below! I personally love the peanut butter swirl, but my grandson begs for the berry one every time.
How to Serve It Up
This bread is wonderful all by itself, warm from the oven. But it gets even better with a few little friends on the plate. I like to spread a thin layer of salted butter on my slice, just so it melts into the crumb.
For a fancier plate, toast a slice and drizzle a tiny bit of honey over the top. Add a handful of fresh berries on the side and a sprinkle of flaky salt. It looks like something from a fancy bakery, but you made it.
What about a drink to go with it? A cold glass of oat milk is a perfect match, creamy and gentle. For the grown-ups, a warm cup of chai tea with a splash of milk is wonderful, the spices hug the banana flavor.
Which would you choose tonight? I would pick the chai tea and a thick slice with butter, sitting on my porch while the birds sing.
How to Keep Your Banana Bread Fresh and Tasty
This banana bread stays soft for days if you store it right. Let it cool completely first. Then wrap it tight in plastic wrap or foil. Keep it on the counter for up to three days. I once left a loaf out uncovered. It got dry and crumbly by morning. I learned my lesson the hard way.
You can also freeze it for later. Slice the bread before freezing. Wrap each slice in plastic wrap. Put them all in a freezer bag. They will keep for up to three months. Grab a slice for breakfast or a snack. It thaws in just a few minutes.
For reheating, use a toaster or microwave. A toaster gives you crispy edges. A microwave makes it soft and warm. I like the toaster best. It tastes just like fresh-baked bread. Have you ever tried storing it this way? Share below!
Batch cooking this bread is a lifesaver. Make two loaves at once. Eat one now and freeze the other. You will always have a healthy treat ready. That matters because hungry moments sneak up fast. Having something good on hand keeps you from reaching for junk.
Three Common Problems and Easy Fixes
Problem one: the bread is too dense. This happens when the batter is over-mixed. Just blend until smooth and no more. Stop the blender as soon as it looks even. I remember my first loaf looked like a brick. Now I blend gently and it comes out light.
Problem two: the bread sticks to the pan. Always line your pan with parchment paper. Grease the paper lightly too. That way the bread slides right out. Fixing this matters. It saves you from a crumbled mess. You get perfect slices every time.
Problem three: the bread is too wet in the middle. Use very ripe bananas with brown spots. They have less water and more sweetness. Also, let the bread cool in the pan for ten minutes. Then move it to a wire rack. That stops it from steaming and getting soggy. Which of these problems have you run into before?
Fixing these issues builds your cooking confidence. You learn to trust your eyes and hands. That feels good. It also makes the flavor better. A well-baked loaf tastes sweet and nutty. Every bite feels like a small victory.
Five Quick Questions About This Recipe
Q: Is this banana bread gluten-free? A: Yes, if you use gluten-free sprouted rolled oats. Always check the label to be sure.
Q: Can I make it ahead of time? A: Yes. Bake it the night before. It tastes even better the next day.
Q: Can I swap the maple syrup? A: Yes. Use honey or agave syrup instead. Both work well.
Q: How do I scale the recipe? A: Double everything for two loaves. Use a bigger blender or mix in batches.
Q: Any optional tips? A: Add a pinch of cinnamon for warmth. It makes the kitchen smell amazing. Which tip will you try first?
A Warm Goodbye from Chloe Hartwell
Thank you for spending time in my kitchen today. This banana bread is one of my favorites. It is simple, healthy, and full of love. I hope you make it for your family. *Fun fact: Sprouted oats are easier to digest than regular oats.* That is why I use them here.
I would love to see your baking. Take a photo of your loaf. Share it with my little blog community. Have you tried this recipe? Tag us on Pinterest! Your pictures make me smile. They remind me why I love sharing food with you.
Happy cooking!
—Chloe Hartwell.
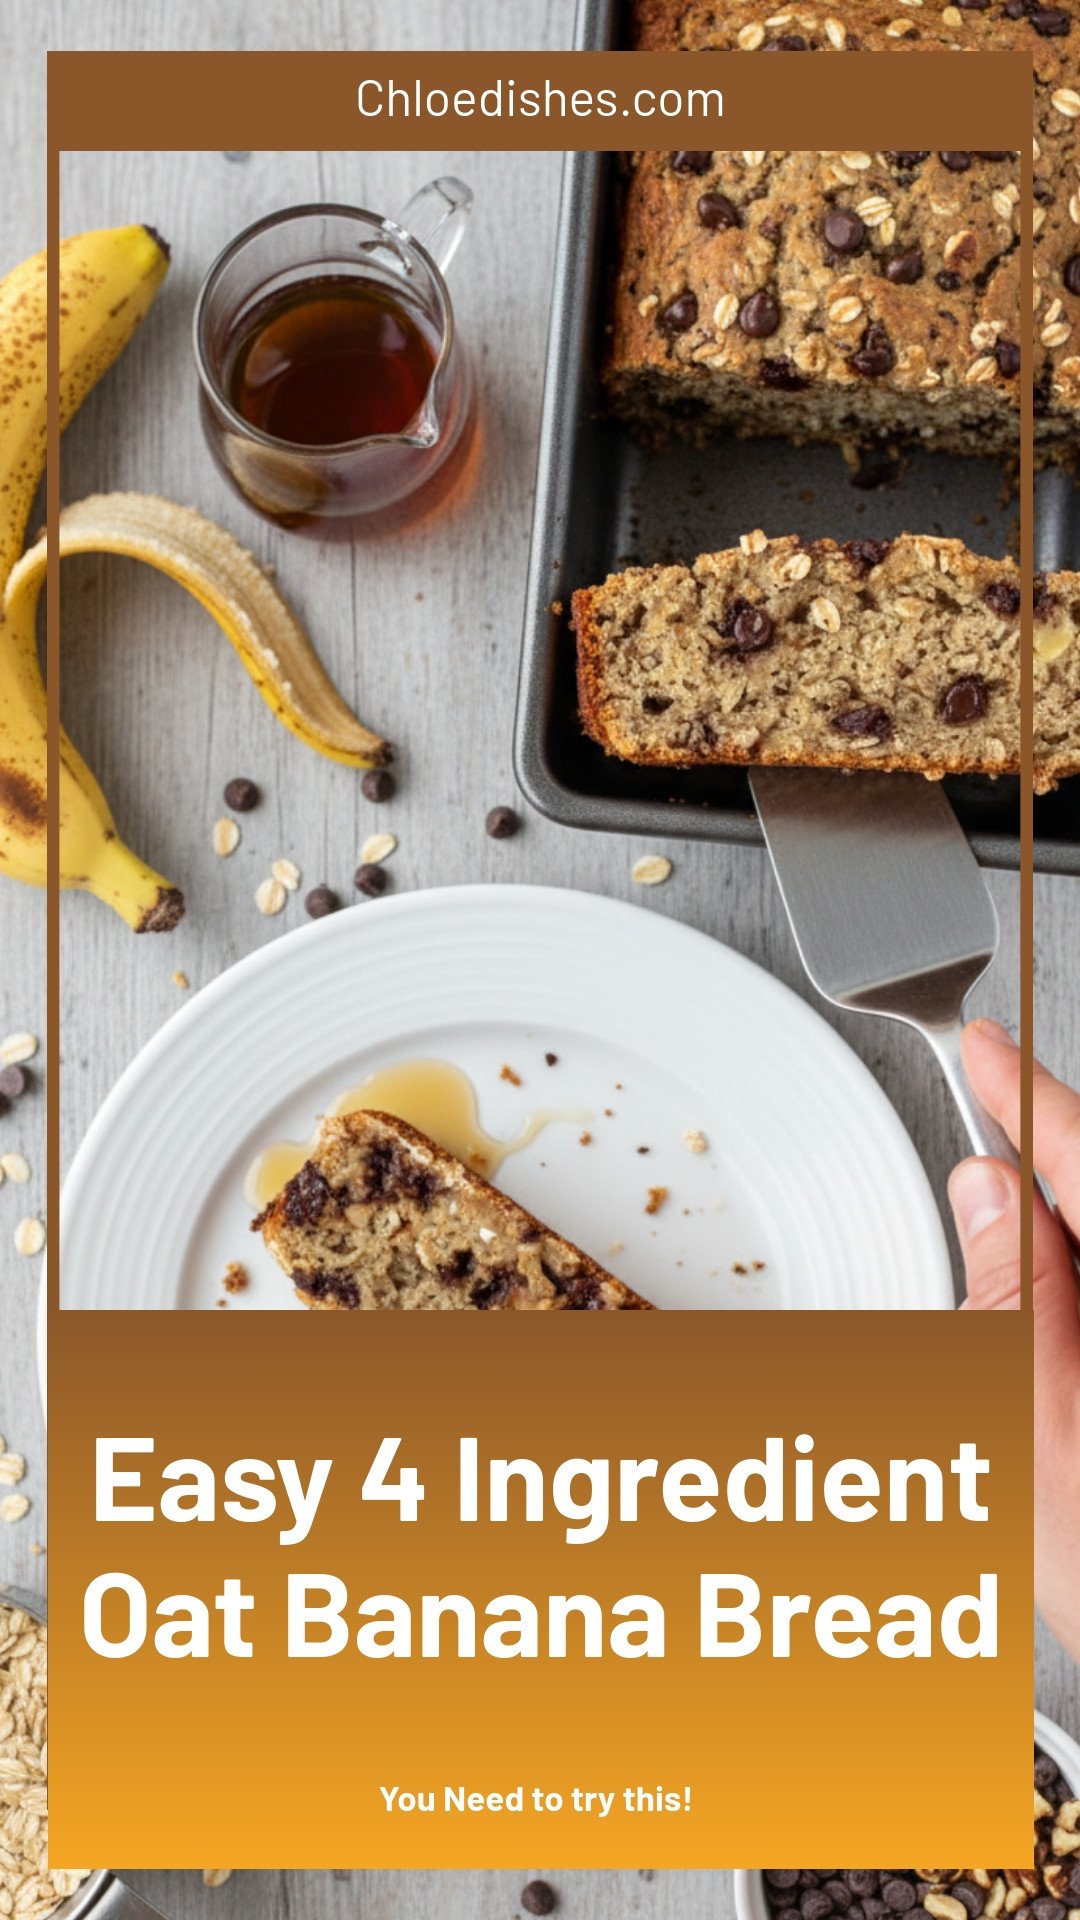
Easy 4 Ingredient Oat Banana Bread
Description
Easy 4 ingredient oat banana bread: healthy, gluten-free, and naturally sweet. Perfect for a quick breakfast or snack. No flour or sugar needed.
Ingredients
Optional Add-In: ½ cup Organic nuts or dark chocolate chips
Instructions
- Preheat & Prepare: Heat your oven to 350°F (175°C). Line or grease a loaf pan.
- Blend Ingredients: In a blender or food processor, mix bananas, sprouted oats, baking powder, and maple syrup until smooth.
- Transfer & Fold in Extras: Pour the batter into a large bowl. If adding nuts or chocolate chips, gently fold them into the mixture with a spoon or spatula.
- Bake: Transfer the batter to the pan. Bake for 20-25 minutes, or until a toothpick inserted comes out clean.
- Cool & Serve: Allow the bread to cool in the pan before moving it to a wire rack or serving plate. Slice and enjoy!


Leave a Reply