
Why I Love These Little Bites
Some recipes hold a piece of your heart. Cannoli do that for me. I remember the first time I saw a real cannoli. It was at a little bakery on a rainy Saturday. The shell was so crispy, and the filling was like a sweet cloud. I knew right then I had to learn how to make them. But full-sized cannoli can be tricky. They break, or the filling gets messy. That is why I adore these Cannoli Bites. They are tiny, easy to hold, and every single one is perfect. Have you ever tried making something that seemed too hard, and then found a simpler way?
The best part? You do not need fancy tools. You can use a metal tube, or even a thick wooden spoon handle to shape them. I still remember my own grandmother rolling dough around a clean, empty soup can. She laughed and said, “Necessity is the mother of invention.” And she was right. That is why this recipe matters. It proves you do not need expensive gadgets to make something wonderful. All you need are your hands and a little bit of love.
The Secret in the Dough
Here is a little kitchen magic. The dough for these shells uses white wine. I know that sounds strange. But the wine makes the pastry extra light and bubbly when it fries. It creates those tiny, crunchy bubbles you love. If you do not have wine, a splash of vinegar works just as well. I have used both. My mother always used vinegar because she said it was “cleaner.” I still laugh at that. Does your family have a funny rule about ingredients?
Kneading the dough is my favorite part. You press and fold for just five minutes. It feels like play-dough, but smells like cinnamon and sugar. That warm scent fills the kitchen and tells everyone something special is happening. *Fun fact: In Italy, cannoli were first made during the Carnival season. They were a treat to celebrate before Lent.*
Frying: The Brave Part
Frying can feel a little scary at first. I will not lie. Hot oil needs your full attention. But it is also the most rewarding step. You wrap the dough around your mold and lower it into the oil. Within seconds, the dough puffs up and turns golden. It makes a happy sizzling sound. Doesn’t that smell amazing? That toasty, warm scent is pure joy. I always stand back a little, but I love watching the shells cook. They go from flat to fancy in just two minutes.
Why does this matter? Because learning to fry at home gives you control. You can make the shells as light or as crispy as you like. And you get to use fresh oil, which tastes so much better than old oil from a shop. Here is a tiny tip: let the shells cool completely before you fill them. Otherwise, the filling will melt. I learned that the hard way. My first batch looked like a happy, sweet mess.
The Creamy Heart
Now for the filling. The ricotta cheese is the star. You want it to be smooth, not watery. That is why you drain it first. I let mine sit in a sieve for about an hour while the dough rests. Then you mix in powdered sugar, vanilla, and a pinch of cinnamon. It becomes so creamy and soft. I sometimes add mini chocolate chips, because everything is better with a little chocolate. Do you like chocolate chips in your cannoli, or do you prefer them plain?
This filling is not too sweet. It is just right. You can taste the dairy and the sugar together. It reminds me of a thick, cold milkshake, but spoonable. And because you use ricotta, you get a little protein and calcium, too. That is a nice bonus. Why this matters: using real cheese means you skip the artificial stuff. Your body gets something good along with the treat.
Assembly and Joy
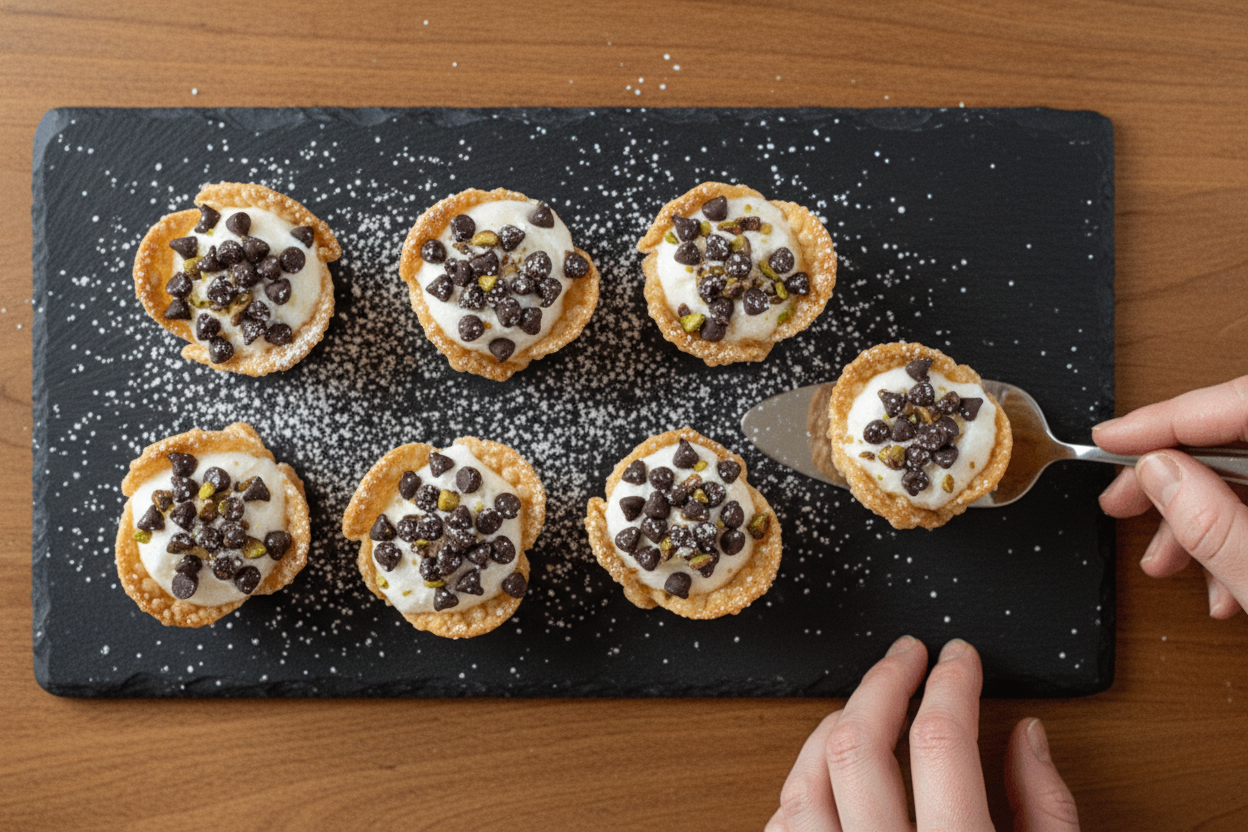
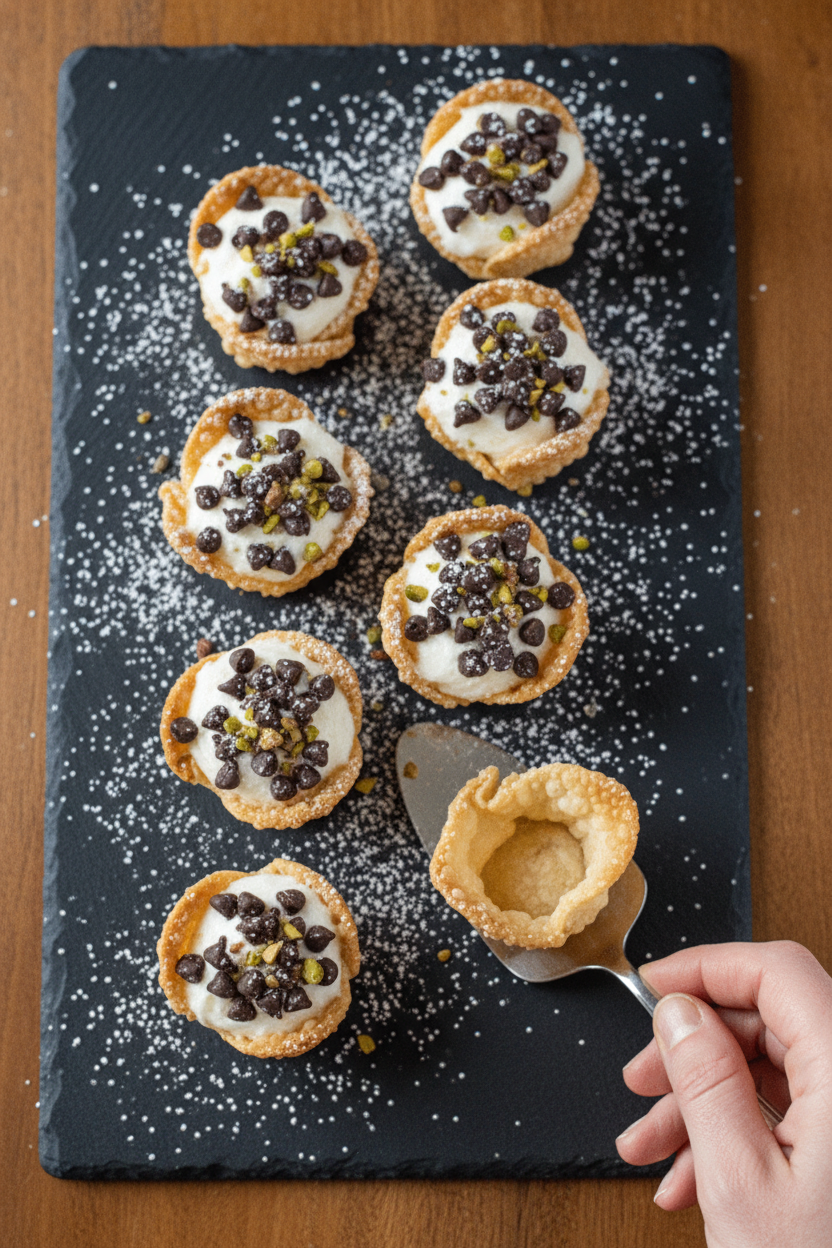
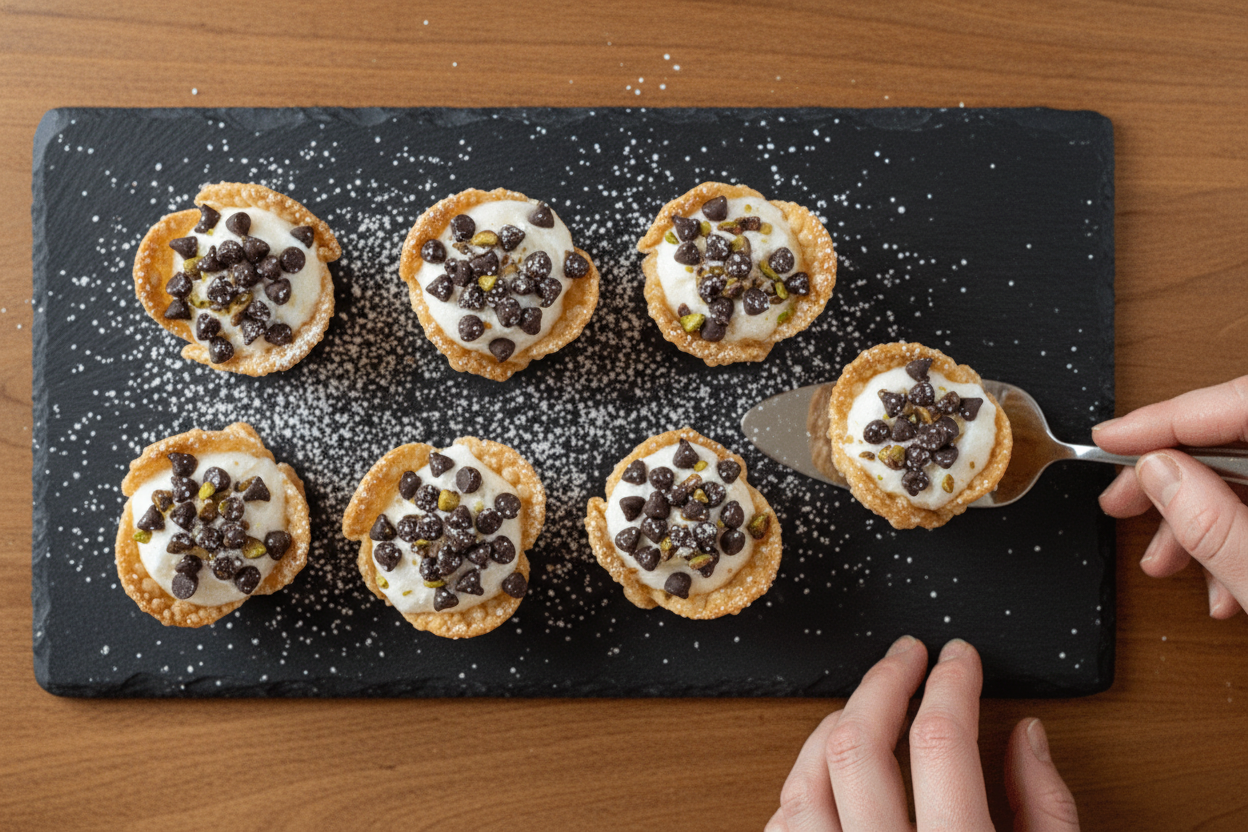
Putting it all together is like building a tiny treasure. You take a cooled shell, pipe in the filling, and then dust it with powdered sugar. It looks like snow on a little golden boat. I like to add chopped pistachios on top. They add a nice crunch and a pretty green color. But you can use sprinkles, more chocolate, or leave it plain. There is no wrong way.
Serve them right away. That is the rule. They are best when the shell is still crunchy and the filling is cold. I once made a double batch for a family dinner, and they disappeared in five minutes. My nephew grabbed three before anyone could stop him. I still laugh at that. What is the fastest you have ever seen a dessert disappear?
A Little History, A Little Love
Cannoli started in Sicily, an island in Italy. They were originally made by women who cooked for festivals. The name “cannoli” means “little tube.” And that is exactly what they are. Little tubes of happiness. Today, you can find them in bakeries all over the world. But homemade ones taste different. They taste like care. They taste like patience.
Why this matters: when you make food from scratch, you give a piece of yourself to the people you feed. That is a beautiful thing. The history reminds us that simple ingredients can create lasting traditions. I hope you share these bites with someone you love. Maybe even tell them about the little tube that crossed the ocean to your kitchen.
Your Turn to Try
I hope you give these Cannoli Bites a try. They are small, sweet, and full of possibility. The steps are simple, and the result is always a win. If you make them, I would love to hear how they turned out. Did you use chocolate chips? Did you fry them with a helper? Do you have a special memory of eating cannoli? Share your story. I am listening.
And remember: the first one is for you. You earned it. Take a bite, close your eyes, and smile.
Ingredients:
| Ingredient | Amount | Notes |
|---|---|---|
| All-purpose flour | 1 cup | For the pastry shells |
| Granulated sugar | 2 tablespoons | For the pastry shells |
| Cinnamon | 1/2 teaspoon | For the pastry shells |
| Salt | 1/4 teaspoon | For the pastry shells |
| Unsalted butter (softened) | 1 tablespoon | For the pastry shells |
| Large egg yolk | 1 | For the pastry shells |
| White wine (or vinegar) | 1/4 cup | For the pastry shells |
| Oil for frying | As needed | Vegetable or canola |
| Ricotta cheese (drained) | 1 cup | For the filling |
| Powdered sugar | 1/2 cup | For the filling |
| Vanilla extract | 1/2 teaspoon | For the filling |
| Cinnamon | 1/4 teaspoon | For the filling |
| Mini chocolate chips | 1/4 cup | Optional, for the filling |
| Powdered sugar | For dusting | For garnish |
| Chopped pistachios or chocolate chips | As desired | Optional, for garnish |
My Grandma’s Little Cannoli Secret
I still remember the first time I bit into a cannoli. My grandma winked and said, “You have to earn these.” I was just a kid, covered in flour. Now I make these Easy Cannoli Bites whenever I miss her kitchen. Doesn’t that smell amazing?
These little bites are perfect for a quick dessert. They are crunchy on the outside and creamy on the inside. The best part is you don’t need fancy tools. I use a simple round cutter and a deep pot. Let’s get started.
Making Your Cannoli Bites
Step 1: First, make the dough. In a bowl, mix the flour, sugar, cinnamon, and salt. Add the soft butter, egg yolk, and a splash of white wine. Mix until a soft dough forms. (Hard-learned tip: If the dough feels too sticky, add a tiny sprinkle of flour. If it’s too dry, add a drop of water. Trust your fingers.)
Step 2: Now knead the dough on a floured counter for about five minutes. You want it smooth like a baby’s cheek. Wrap it in plastic and let it rest for 30 minutes. This rest is important. I once skipped it and the shells came out tough. My grandma would have shaken her head at me.
Step 3: Roll the dough out thin, like a nickel. Use a round cutter to cut circles. Wrap each circle around a cannoli tube or a clean metal cone. Seal the edge with a little water. Fry them in hot oil until they are golden brown. Have you ever fried dough before? It puffs up so fast. What’s your favorite thing to fry at home? Share below!
Step 4: While the shells cool, make the filling. Mix the ricotta, powdered sugar, vanilla, and cinnamon until smooth. Stir in mini chocolate chips if you like a little crunch. I always add them. They remind me of the ones my grandpa would sneak from the pantry.
Step 5: Fill the cooled shells with the creamy ricotta mix. Use a piping bag or a small spoon. Dust with powdered sugar and sprinkle pistachios on top. Serve right away. They are best when the shell is still a little crisp.
Cook Time: 10–12 minutes
Total Time: 55 minutes
Yield: 12–15 bites
Category: Dessert
Three Fun Twists to Try
1. Chocolate Lover’s Dream: Dip the cooled shells in melted dark chocolate before filling. Let it set for a few minutes. It adds a rich shell that cracks when you bite it.
2. Lemon Berry Bites: Skip the cinnamon and chocolate chips. Add a teaspoon of lemon zest to the ricotta filling. Top with fresh raspberries.
3. Spiced Apple Autumn: Mix a spoonful of apple butter into the ricotta. Add a pinch of nutmeg. Sprinkle with crushed graham crackers. Tastes like fall in your mouth. Which one would you try first? Comment below!
How to Serve and Sip
These little cannoli bites look lovely on a white plate. Dust them with extra powdered sugar and add a few fresh mint leaves. You can also serve them with a small bowl of warm chocolate sauce for dipping. It makes dessert feel fancy without the fuss.
For drinks, try a cold glass of milk. It cuts through the sweetness perfectly. Grown-ups might enjoy a tiny cup of espresso or a sweet dessert wine like Moscato. Both make the creamy filling taste even better. Which would you choose tonight?
Storing and Reheating Your Cannoli Bites
These little bites are best eaten the same day. The shells stay crispy and the filling stays cool.
If you have leftovers, store the shells and filling separately. Keep the shells in an airtight container at room temperature. Keep the filling in the fridge for up to two days.
Do not fill the shells until you are ready to eat. A soggy shell is no fun. I learned this the hard way when I made a big tray for a party. By the time dessert came around, they were soft and sad.
To reheat unfilled shells, pop them in a 350°F oven for three minutes. This brings back the crunch. You can also freeze the unfried dough circles. Just stack them with wax paper in a freezer bag.
Batch cooking matters because it saves time later. When family visits, you can fry fresh shells in minutes. Have you ever tried storing it this way? Share below!
Three Common Problems and Easy Fixes
Sometimes the dough tears when you wrap it around the mold. This happens if the dough is too dry. Add a tiny splash of water next time. I once had a batch that crumbled like sand. A little water saved the day.
Another problem is filling that is too runny. Ricotta has a lot of water. Drain it in a fine strainer for an hour before mixing. Why this matters: Thick filling stays inside the shell. It does not leak out and make a mess.
The shells can also get oily. This means your oil is not hot enough. Use a thermometer and keep it at 350°F. Why this matters: Hot oil seals the dough fast. You get a light, crisp shell instead of a greasy one.
Which of these problems have you run into before? Tell me in the comments so I can help.
Your Top 5 Questions Answered
Q: Can I make these gluten-free?
A: Yes. Use a gluten-free all-purpose flour blend. Add an extra tablespoon of flour if the dough feels sticky.
Q: Can I make the dough a day ahead?
A: Yes. Wrap it tight in plastic wrap and keep it in the fridge. Let it sit on the counter for 10 minutes before rolling.
Q: What can I use instead of white wine?
A: Apple cider vinegar works well. Use the same amount. The flavor will be slightly different but still good.
Q: How do I make just a small batch?
A: Cut all the ingredients in half. You will get about 10 small bites instead of 20.
Q: Can I skip the cinnamon?
A: Of course. Add a pinch of nutmeg or lemon zest instead. Make it your own. Which tip will you try first?
A Warm Goodbye from Chloe
That is everything I know about these sweet little cannoli bites. I hope they bring joy to your table. I love seeing what you make in your own kitchen.
*Fun fact: In Italy, cannoli shells were once fried over open campfires during festivals.* It makes me smile to think of that.
Take a photo of your dessert and share it. Have you tried this recipe? Tag us on Pinterest! I would love to see your twist on it. Happy cooking! —Chloe Hartwell.

Easy Cannoli Bites Recipe for Homemade Desserts
Description
Easy Cannoli Bites recipe for homemade desserts—crispy, creamy, and ready in minutes. Perfect party treat!
Ingredients
Instructions
- In a bowl, combine the flour, granulated sugar, cinnamon, and salt. Add the softened butter, egg yolk, and white wine (or vinegar) and mix until a dough forms. Turn the dough onto a floured surface and knead for about 5 minutes until smooth. Wrap in plastic wrap and let rest for 30 minutes.
- Roll out the rested dough to about 1/8 inch thick. Use a round cutter (about 3 inches) to cut out circles of dough.
- Heat oil in a deep skillet or pot to 350°F (175°C). Wrap each dough circle around a cannoli tube or cone-shaped mold, sealing the edges with a little water. Fry for 2–3 minutes, or until golden brown. Remove and drain on paper towels.
- In a bowl, mix the ricotta cheese, powdered sugar, vanilla extract, and cinnamon until smooth and creamy. Fold in the mini chocolate chips if using.
- Once the shells are cool, carefully remove them from the molds. Fill each shell with the ricotta filling using a piping bag or small spoon. Dust with powdered sugar and garnish with chopped pistachios or extra chocolate chips if desired.
- Serve immediately and enjoy.
Notes
- For best results, drain the ricotta cheese overnight in a cheesecloth to remove excess moisture. Shells can be made ahead and stored in an airtight container for up to 2 days before filling.




Leave a Reply