
My First Taste of Pink Treats
The first time I made these, my granddaughter asked if I had lost my mind. Strawberry Jell-O in Rice Krispie treats? She wrinkled her nose. I just smiled and started mixing. Twenty minutes later, she ate three pieces in a row. I still laugh at that. These treats are pink and fun. They taste just like a strawberry milkshake but with that crunchy, chewy rice cereal feel. The secret is the Jell-O powder. It adds color and fruity flavor without making things wet. Have you ever tried adding a simple box mix to an old recipe? Sometimes the best ideas come from being a little silly. Reader prompt: What is one weird ingredient you have added to a classic recipe? Tell me about it. I promise I won’t judge.Making It Safe for Everyone
This recipe uses dairy-free butter and gluten-free cereal. That means kids who cannot eat milk or wheat can still grab a square. I have a friend whose daughter gets sick from gluten. Last summer, I made these for her birthday party. She kept saying, “Grammy, this is the best day ever.” Made my heart full. Why does this matter? Food should bring people together, not leave someone out. When we swap a few simple items, everyone gets to share the joy. *Fun fact: Most marshmallows are already gluten-free and dairy-free, so double-check the bag. You might already have what you need.* Reader prompt: Do you cook for someone with food allergies? If yes, raise your hand (or just nod). I am nodding with you.The Trick with Chocolate and Salt
Now let’s talk about the top. You sprinkle chocolate chips and coarse sea salt over the warm treats. The salt sounds strange, I know. But it does something magical. It makes the strawberry taste brighter and the chocolate deeper. My husband calls it “grown-up candy.” When you take a bite, you get sweet, then salty, then chocolatey. It is like a little dance on your tongue. Doesn’t that sound amazing? I always add extra salt because I love that crunch. Why this matters: A tiny pinch of salt can turn a plain dessert into something you remember for years. Reader prompt: Salt on sweets: love it or leave it? Tell me your favorite salty-sweet combo.The Little Marshmallow Trick
Most recipes melt all the marshmallows. But this one saves two cups for the end. Why? Those leftover marshmallows stay soft and puffy. When you fold them in, they do not fully melt. You end up with little white clouds in every bite. It makes the texture more fun. I learned this trick from a neighbor who used to make campfire treats in her kitchen. She said the trapped air keeps them from getting too hard. That woman knew her stuff. So do not skip this step. It matters because texture changes everything. A hard treat is boring. A puffy, soft, chewy treat is a party.Setting and Slicing
After you press the mixture into the pan, you must wait. I know it is hard. The smell fills your whole kitchen. It smells like a strawberry field and a candy shop got together. But if you cut too soon, everything crumbles. Patience gives you clean squares. I usually let mine sit for an hour. Then I lift the whole block out with the parchment paper. A sharp knife does the job nicely. Why this matters: Good food is not just about ingredients. It is about timing. Giving things a moment to rest makes them better. Reader prompt: What is the hardest part of waiting for your food to be ready? I always peek in the oven before I should.Ingredients:
| Ingredient | Amount | Notes |
|---|---|---|
| Dairy-free salted butter | 1/2 cup (113g) | |
| Mini marshmallows, divided | 10 cups (450g) | 8 cups / 2 cups |
| Gluten-free rice cereal | 6 cups (192g) | |
| Strawberry jell-o mix | 1 package (99g) | |
| Vegan chocolate chips | 1/2 cup (50g) | |
| Coarse sea salt | 1 teaspoon | |
| Additional chocolate chips (optional) | as needed | for topping |
| Additional coarse sea salt (optional) | as needed | for topping |
My Grandma’s Strawberry Secret
I still remember the first time I made these. My kitchen looked like a pink explosion. A strawberry explosion, to be exact. The smell? Oh, it was like a summer carnival in a bowl. Doesn’t that smell amazing?
These are not your plain old rice krispie treats. They are special. My granddaughter calls them “party squares.” And she’s right. The trick is the strawberry jell-o mix. It adds a sweet, fruity punch and a gorgeous pink color. Your friends will think you bought them from a fancy bakery.
Now, let me tell you a little secret. The first batch I ever made turned into a brick. A hard, pink brick. My husband tried to cut it and the knife bent. I learned to be gentle. You have to be patient. That’s why I love sharing this recipe. It’s foolproof if you follow my steps.
Here is how you make these magical, gluten-free, dairy-free treats. Grab a little helper if you can. It’s more fun with two spoons.
Step 1: First, get your pan ready. Spray an 8×8-inch baking pan with non-stick spray. Then lay a piece of parchment paper inside. Let the paper hang over the edges like little handles. This makes lifting the treats out super easy later. (Hard-learned tip: Don’t skip the parchment paper. The treats will stick like glue to the pan!)
Step 2: Now, grab a big microwave-safe bowl. Put in the dairy-free butter and 8 cups of mini marshmallows. Cook them on high for 1 minute. Take it out and stir carefully. It will be very hot. Put it back in for one more minute. Stir again until it’s all smooth and shiny like melted candy.
Step 3: Pour the rice cereal into the bowl. Add the whole packet of strawberry jell-o mix and the teaspoon of salt. Stir everything gently with a rubber spatula. Make sure every little cereal piece gets coated in that pink mixture. It looks like a pink cloud. Let it sit on the counter for five minutes. This is a good time to lick the spatula. I still do that.
Step 4: Now for the fun part. Gently fold in the last 2 cups of mini marshmallows and the vegan chocolate chips. Do not stir too hard. You want little pockets of gooey marshmallow and chocolate hiding inside. If you mix too much, they melt and disappear. Just fold until you see them hiding in there. My grandson always tries to sneak a few chocolate chips. I pretend I don’t see him.
Step 5: Scoop the mixture into your prepared pan. Here is the secret: do not press it down hard. Use your fingers or the back of a spoon and just gently pat it flat. If you push hard, the treats turn into rock-hard squares. We want soft and chewy ones. Sprinkle extra chocolate chips and a little coarse sea salt on top. It makes them look fancy.
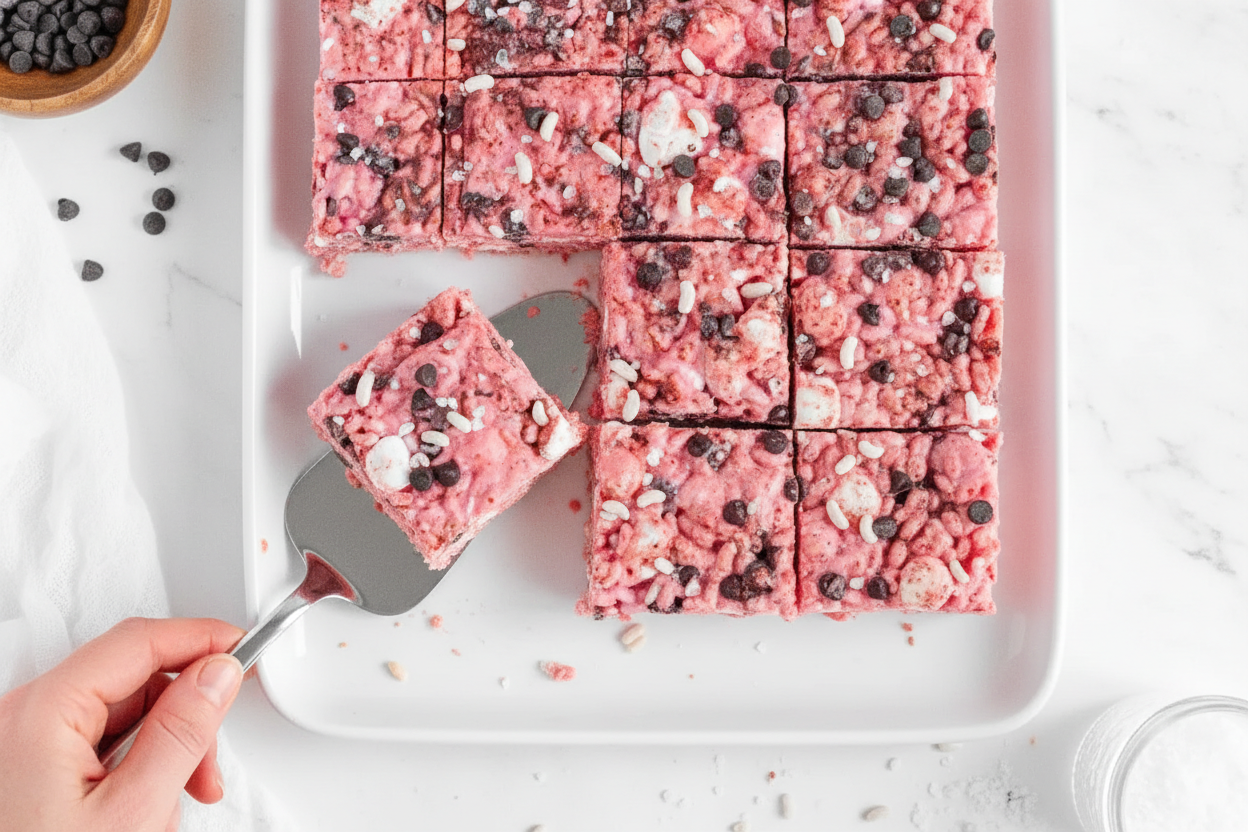
Step 6: Let them cool completely on the counter. This takes about 30 minutes. Do not put them in the fridge. They get too hard. Once they are firm, lift them out using the parchment paper. Cut them into squares. My husband likes big squares. I like little bite-sized ones. Which size do you like better, big or small? Share below!
Cook Time: 2 minutes
Total Time: 35 minutes
Yield: 16 squares
Category: Dessert, Snack
Three Fun Twists to Try
Sometimes I like to switch things up. It keeps my family guessing. Here are three little twists I have tried on rainy afternoons.
Chocolate Drizzle Dream: Melt some extra vegan chocolate chips and drizzle it over the top. Let it harden. It looks like a fancy bakery treat. My granddaughter calls it “rainbow chocolate.”
Lemon Berry Burst: Swap the strawberry jell-o for lemon jell-o. Add a handful of fresh blueberries or raspberries right at the end. It tastes like summer sunshine. I love this one on a hot day.
Peanut Butter Swirl: Add two tablespoons of creamy peanut butter to the marshmallow mixture. Swirl it in gently. It makes a salty-sweet combo that is just incredible. My husband says this is the best one. Which one would you try first? Comment below!
How to Serve and Sip
These treats are perfect all by themselves. But plating them up makes them feel extra special. I like to set them on a pretty white plate. Sometimes I dust them with a pinch of extra salt. It makes the pink color pop.
For a fun dessert board, place the squares next to fresh strawberries and dark chocolate pieces. It looks beautiful. And for a little crunch, you can sprinkle crushed freeze-dried strawberries on top. That is my secret trick for parties.
Now, what to drink? I love a cold glass of oat milk with these. It is creamy and sweet. For grown-ups, a tall glass of strawberry lemonade spiked with a splash of vodka is lovely. It is light and refreshing. Which would you choose tonight?

How to Keep Your Strawberry Treats Fresh and Tasty
Store these treats in an airtight container at room temperature. They stay soft and chewy for up to seven days. I once left a batch on the counter overnight. My kids found them first thing in the morning. They said the strawberry flavor was even better the next day.
You can freeze them for up to six months. Wrap each square in wax paper. Then place them in a freezer bag. To reheat, let them sit out for 10 minutes. This matters because frozen treats taste just as good as fresh ones.
If you want to batch cook, double the recipe and freeze half. That way you always have a sweet snack ready. Have you ever tried storing it this way? Share below!
Storing treats right saves you time and money. You won’t have to make them from scratch every time. That is a happy kitchen secret.
Three Simple Fixes for Common Kitchen Mistakes
First, if your treats are too hard, you overheated the marshmallows. I remember when I first made these. I cooked them too long and they turned into bricks. Next time, heat just one minute at a time. Stir gently between each round.
Second, if they are too sticky, you added too much Jell-O mix. Use the full packet but measure your cereal carefully. One extra cup can make a mess. This matters because sticky treats are hard to cut and share.
Third, if the chocolate chips sink to the bottom, fold them in last. Wait until the mixture cools for five minutes. Then gently mix. I learned this the hard way when my chips all hid at the bottom. Which of these problems have you run into before?
Fixing these little issues helps you feel confident in the kitchen. You learn to trust your hands. That is the best part of cooking.
Your Quick Guide to Making These Treats Perfect
Q: Are these really gluten-free and dairy-free? A: Yes. Use gluten-free rice cereal and dairy-free butter. Double-check your marshmallows and chocolate chips too.
Q: Can I make these a day ahead? A: Absolutely. They taste even better after resting overnight. Just store them in an airtight container.
Q: What if I don’t have strawberry Jell-O? A: Swap it for any berry-flavored gelatin. You can even use unflavored gelatin for plain treats.
Q: Can I double the recipe? A: Yes. Use a 9×13 pan and double all ingredients. The cooking time stays the same.
Q: Any tips for cutting clean squares? A: Spray your knife with non-stick spray. Wipe it clean between cuts. Which tip will you try first?
A Sweet Goodbye from My Kitchen to Yours
Thank you for spending time in my little kitchen corner. I love sharing these simple recipes with you. These strawberry treats are perfect for family movie nights or bake sales. They bring back sweet memories of making them with my own kids.
I hope you make them for someone you love. Have you tried this recipe? Tag us on Pinterest! We love seeing your photos. Share your twists and your happy faces around the table.
*Fun fact: Strawberry Jell-O was invented in 1897. It has been brightening desserts ever since.*
Keep cooking with joy and a little bit of sweetness. Happy cooking! —Chloe Hartwell.
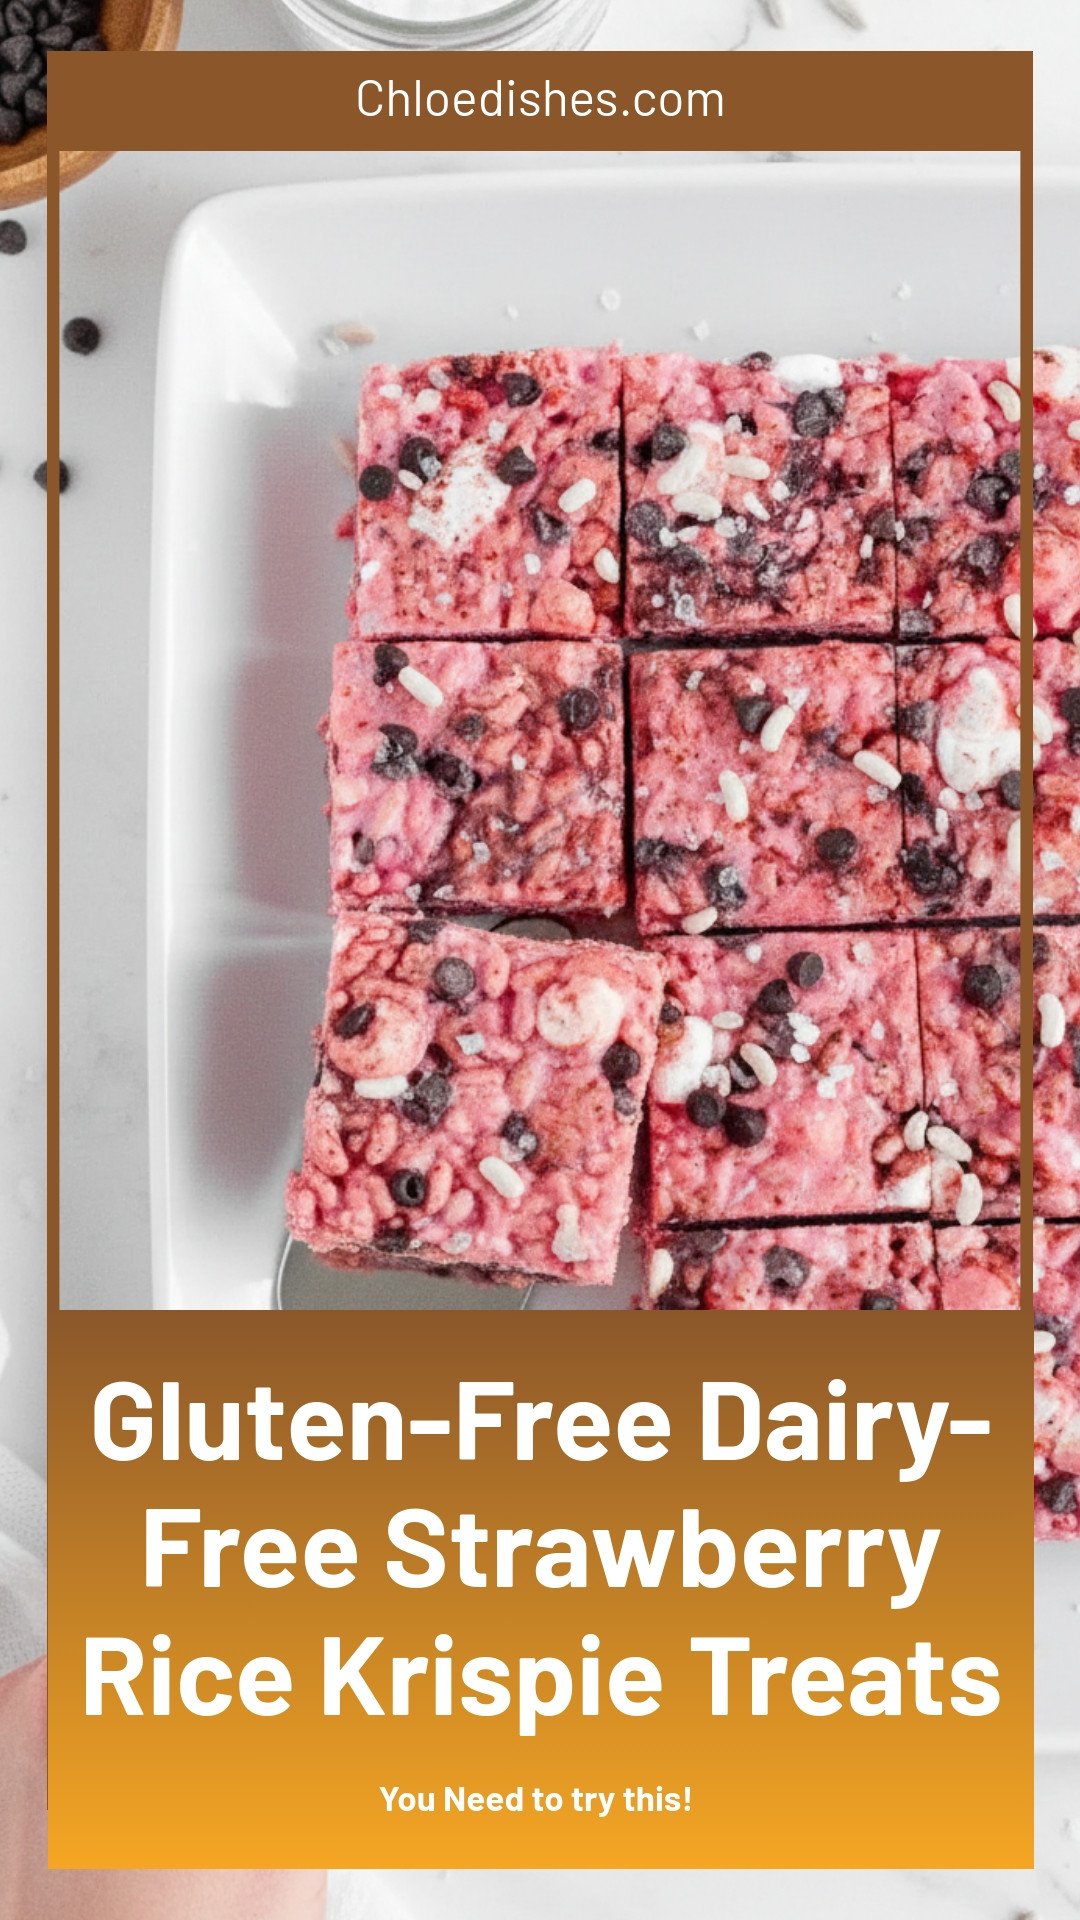
Gluten-Free Dairy-Free Strawberry Rice Krispie Treats
Description
Gluten-Free Dairy-Free Strawberry Rice Krispie Treats – a fruity, crispy, and allergy-friendly dessert perfect for parties. Easy, vegan, and delicious!
Ingredients
Instructions
- Prepare an 8×8-inch baking pan with non-stick baking spray and parchment paper.
- In a large microwave-safe bowl, combine the butter and 8 cups of mini marshmallows and cook on high heat for 1 minute. Remove from the microwave and gently stir.
- Heat the butter and marshmallow mixture for one more minute in the microwave. Remove from the microwave and gently stir until entirely melted.
- Add in the rice cereal, strawberry jell-o mix, and salt and gently stir until combined. Allow the mixture to cool for 5 minutes.
- Gently fold in the remaining 2 cups of mini marshmallows and chocolate chips and mix until just combined.
- Place the mixture into the prepared pan and very gently spread and press down evenly.
- Top with additional chocolate chips and coarse sea salt if desired.
- Allow to fully cool and set before slicing. Enjoy!
Notes
- Store leftover treats in an airtight container at room temperature for up to 7 days or frozen for up to 6 months.


Leave a Reply