
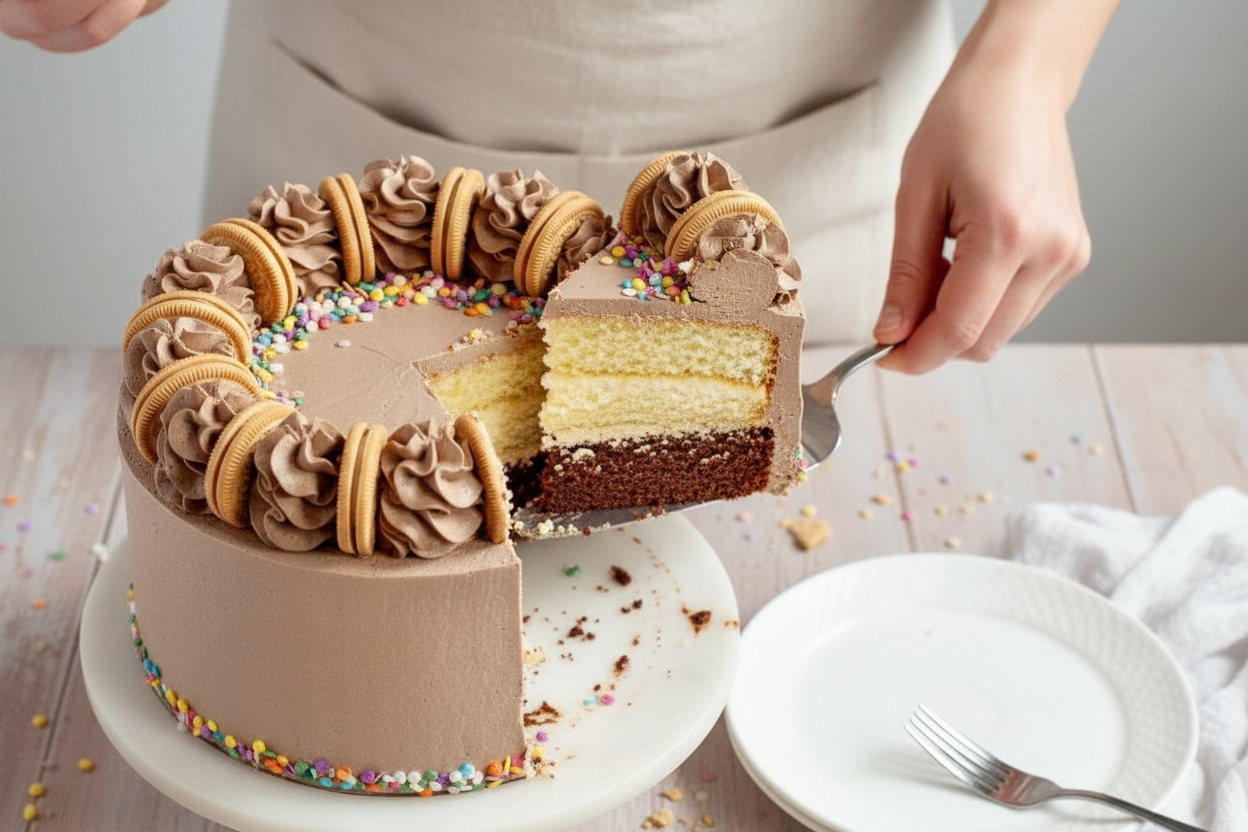
The Cake That Started a Laugh
I still laugh at the first time I made this cake for my niece’s birthday. I forgot the sugar. Can you believe it? The cake came out flat and sad. We ate it anyway with extra frosting. Sometimes the best memories come from our mistakes. This recipe is special because it works with gluten-free flour or regular flour. It also works with plant-based milk and sour cream. That means almost anyone can enjoy a slice. Doesn’t that make you feel warm inside? *Fun fact: Sour cream makes cake extra tender. It keeps the crumb soft for days and adds a gentle tang you won’t even notice.Why Your Grandma’s Cake Was So Good
Have you ever wondered why old-fashioned cakes taste so special? It’s not just love. It’s room temperature ingredients. When your eggs, milk, and sour cream sit out for an hour, they mix together smoothly. Cold ingredients make lumpy batter and flat cakes. Why this matters: Taking ten minutes to set out your ingredients changes everything. Your cake will rise higher and taste lighter. I promise it’s worth the wait. What do you usually forget to set out before baking?A Buttercream Story
My grandmother taught me to beat buttercream for a full ten minutes. I used to think she was crazy. My arms got so tired with the wooden spoon. But she was right every single time. Light and fluffy frosting makes a happy cake. Here is the trick. Start with soft butter. Beat it alone until it turns pale and fluffs up like a cloud. Then add the sugar slowly. Do you hear that soft whoosh sound? That is the sound of something beautiful being born.When the Batter Fights Back
Sometimes your batter will look lumpy after mixing. Don’t panic. Lumps are friends, not enemies. Over-mixing makes your cake tough and rubbery. A few small lumps bake out perfectly. I learned this after ruining three cakes in one week. Why this matters: We live in a world that wants everything perfect. But cakes are happier when we let them be a little messy. Your kitchen doesn’t need to be clean. Your batter doesn’t need to be smooth. Have you ever baked something that looked terrible but tasted wonderful?How to Stack Without Tears
Stacking a two-layer cake can feel scary. The top layer wants to slide off. The frosting wants to melt. Here is the secret my grandmother never wrote down. Chill the layers first. Then add a thin crumb coat and chill again for twenty minutes. That little rest in the fridge makes the frosting firm. It holds everything together like a warm hug. I once dropped a whole cake on the floor because I was in a hurry. That cake became cake pops instead. Can you guess what I learned that day?Let the Kids Decorate
The best part of this cake comes at the end. Hand your kids a spoon and some sprinkles. Let them go wild. Perfect swirls are nice, but messy cakes have more heart. I always put golden cookies on top because they look like little crowns. One time my nephew covered the whole cake in rainbow sprinkles until it looked like a unicorn threw up. We all laughed so hard. That cake tasted better than any fancy bakery cake. What is the silliest decoration you have ever put on a cake? Tell me in your kitchen.Keeping the Love Fresh
Leftover cake stays good in the fridge for five days. But here is the thing. It tastes even better on day two. The flavors settle together like old friends. You can also freeze slices for up to three months. Wrap them tight in plastic and then foil. When you pull a slice from the freezer, let it sit on the counter for twenty minutes. That little wait brings back all the softness. I keep a piece hidden in my freezer for bad days. Does anyone else hide cake from their family for emergencies?Ingredients:
| Ingredient | Amount | Notes |
|---|---|---|
| Flour (cake flour or gluten-free 1:1 baking blend) | 2 1/2 cups (300g) | |
| Baking powder | 1 tablespoon (14g) | |
| Fine sea salt | 1 teaspoon | |
| Granulated sugar | 2 cups (400g) | |
| Sour cream (regular or plant-based) | 1 cup (240ml) | Room temperature |
| Vegetable oil | 1/2 cup (120ml) | |
| Large eggs | 2 | Room temperature |
| Vanilla extract | 1 teaspoon | |
| Milk (regular or plant-based) | 1 cup (240ml) | Room temperature |
| Salted butter (regular or plant-based) | 2 cups (454g) | Room temperature |
| Powdered sugar | 3 1/2 cups (420g) | |
| Cocoa powder | 1/2 cup (44g) | |
| Fine sea salt | 1 teaspoon | |
| Cookies and sprinkles | As desired | Optional for decor |
The Cake That Made My Grandkids Cheer
I remember the first time I made this cake for little Sophie. She has a sensitive tummy, you see, so regular cakes were always a no-go. I spent a whole afternoon in my tiny kitchen, testing flours and milks, muttering to myself the whole time. When I finally pulled these golden layers out of the oven, the whole house smelled like a bakery. Doesn’t that smell amazing?
This is the cake that changed everything. It’s a gluten free and dairy free vanilla chocolate cake that tastes like a big hug. The vanilla layers are so tender and soft, you’d never guess they’re made without regular flour or milk. And the chocolate buttercream? Oh, it’s the kind you want to eat with a spoon. I still laugh at how fast the pan got licked clean.
I want you to feel confident making this, even if you’re new to baking without gluten or dairy. Trust me, I’ve had my share of crumbly disasters. The secret is all in the room-temperature ingredients and a gentle hand. Let’s walk through it together, step by step, like we’re right there in my warm kitchen.
Let’s Bake This Beauty Step by Step
Step 1: Preheat your oven to 350ºF. Grab two 8-inch round cake pans and give them a good spray with non-stick baking spray. Then cut a circle of parchment paper and place it in the bottom of each pan. This little trick is my old friend—it keeps cakes from sticking and breaking.
Step 2: In a small bowl, whisk together 2 1/2 cups of your gluten-free 1:1 baking blend (that’s 300g), 1 tablespoon of baking powder, and 1 teaspoon of fine sea salt. Set that aside. (Hard-learned tip: Don’t skip sifting if your flour blend feels clumpy! Lumpy flour makes lumpy cake.)
Step 3: In a medium bowl, whisk 2 cups of sugar, 1 cup of room-temperature sour cream (dairy-free works great), 1/2 cup of vegetable oil, 2 large eggs, and 1 teaspoon of vanilla extract. Whisk until it’s all smooth and shiny, like a happy little puddle. This is your sweet base.
Step 4: Now we build the batter. Add half the dry ingredients into the wet mixture and stir gently. Then add half of the 1 cup of room-temperature milk (any plain plant-based milk is fine). Mix just a little. Add the rest of the dry, then the rest of the milk. Stop when it’s just combined, even if there are a few tiny lumps. Overmixing makes a tough cake, and we want it soft as a cloud.
Step 5: Divide the batter evenly into your two prepared pans. Bake for 30 to 35 minutes. You’ll know they are done when the edges are light golden brown and pulling away from the pan. Stick a toothpick in the center—if it comes out with a few moist crumbs, you’re golden. Let the cakes cool in the pan for 10 minutes, then move them to a wire rack to cool completely.
Step 6: While the cakes cool, make the frosting. In a large bowl, beat 2 cups of room-temperature salted butter (dairy-free sticks work perfectly) on high speed for 5 to 10 minutes. It should get light and fluffy, almost like whipped cream. Add 3 1/2 cups of powdered sugar, 1/2 cup of cocoa powder, and 1 teaspoon of fine sea salt. Mix on low first (so you don’t get a sugar cloud), then crank it up to high for 5 more minutes until it’s super fluffy. Quick quiz: What do you think makes the frosting so light and fluffy? Share below!
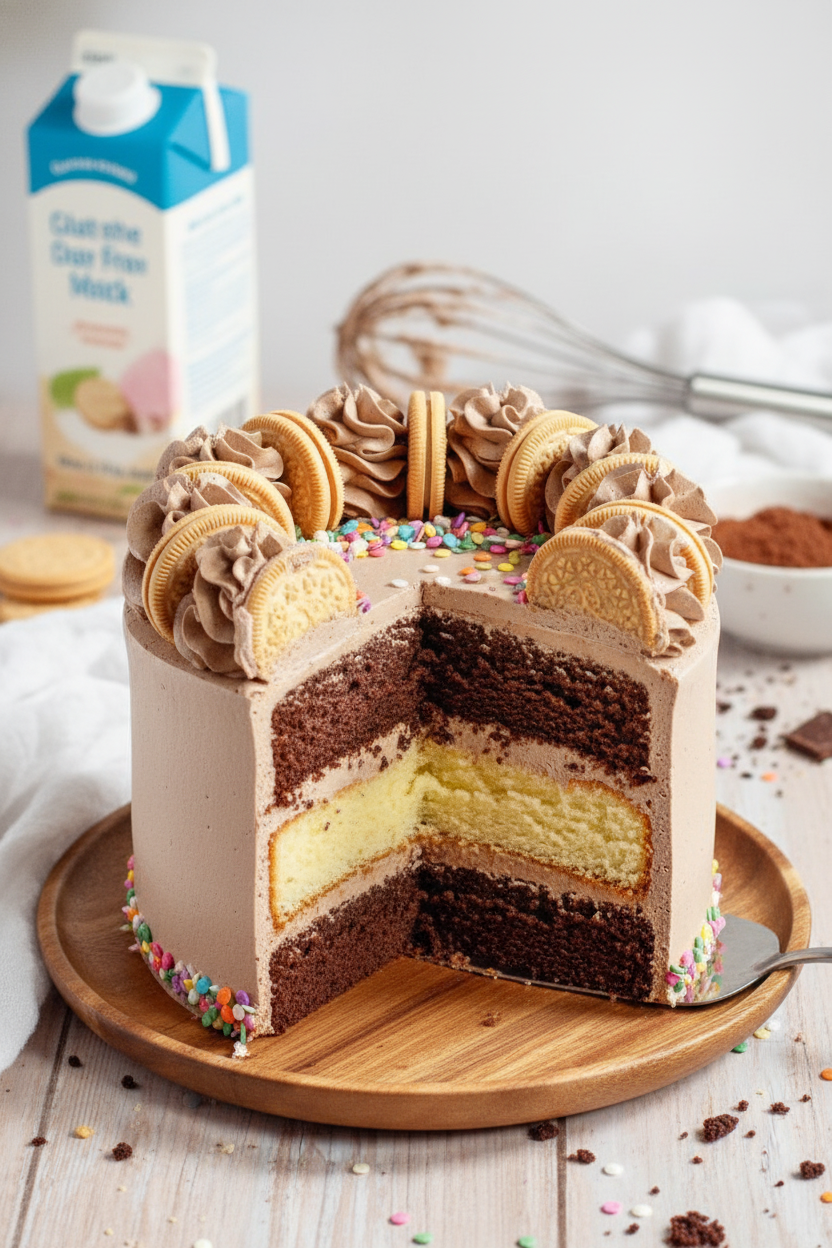
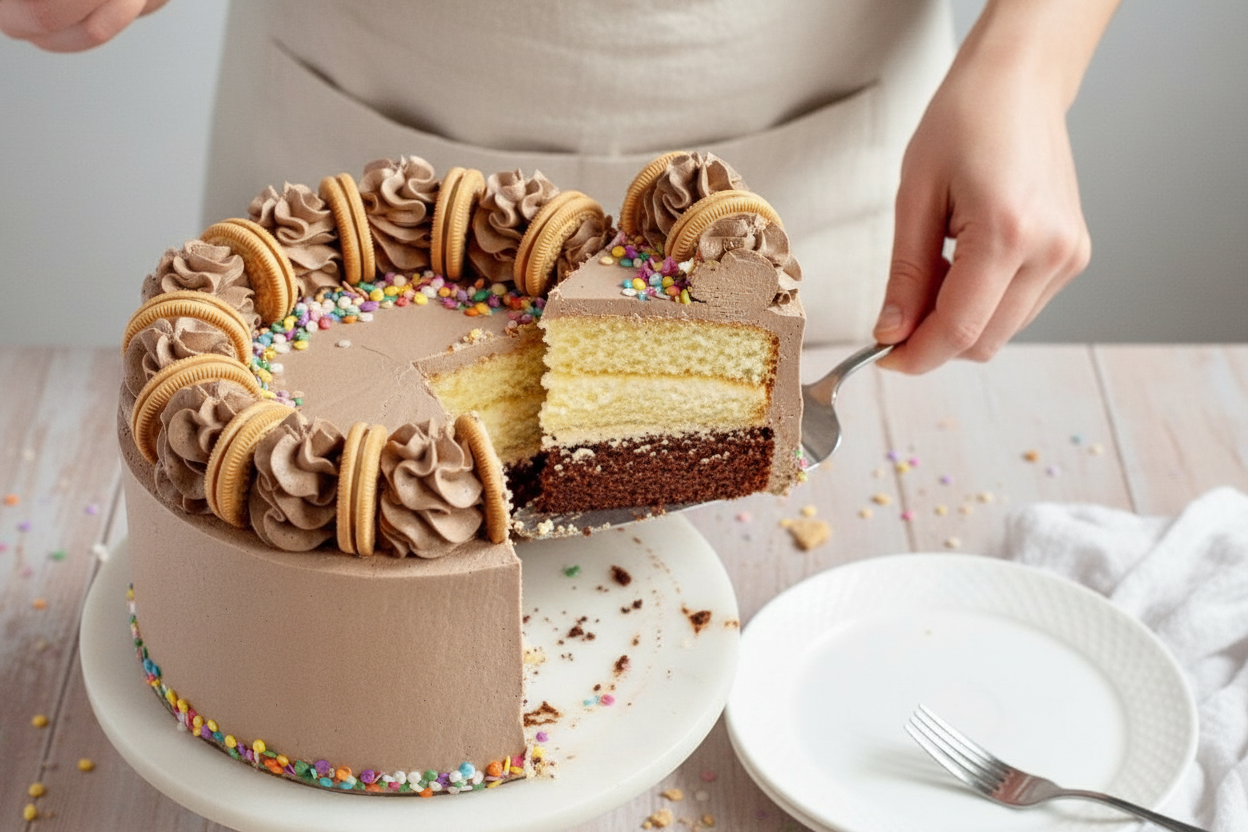
Step 7: Time to stack! Place one cooled cake layer on your plate. Top it with about 2 cups of frosting and spread it even. Place the second layer on top. Put a very thin coat of frosting over the whole cake—this is called a crumb coat. Pop the cake in the fridge for 10 to 20 minutes to let it chill. Then finish with a thick, pretty layer of frosting and smooth the sides. Decorate with golden Oreos, swirls, or sprinkles if you like. Store leftovers in the fridge for up to 5 days, or freeze for 3 months.
Cook Time: 30–35 minutes
Total Time: 1 hour 15 minutes (plus cooling)
Yield: One 8-inch layer cake (12 servings)
Category: Dessert, Cake
Three Fun Twists for Your Next Bake
Lemon-Berry Sunshine: Swap the vanilla in the cake for 2 tablespoons of fresh lemon zest. Add a cup of fresh or frozen blueberries (tossed in a little flour) to the batter. The tangy lemon and sweet berries are like a summer picnic.
Spicy Mexican Chocolate: Stir 1 teaspoon of cinnamon and a pinch of cayenne pepper into the cocoa powder for the frosting. It adds a warm, cozy kick without being too hot. My neighbor calls it “hug-in-a-bite” cake.
Peppermint Party Cake: Add 1/2 teaspoon of peppermint extract to the frosting instead of vanilla. Crush up some candy canes and sprinkle them on top. It’s perfect for winter holidays and makes the kitchen smell like a candy shop. Which one would you try first? Comment below!
How to Serve and Sip Along
I love serving this cake with a big dollop of coconut whipped cream on the side. A handful of fresh raspberries on the plate adds a pop of color and a little tartness that cuts through the sweet frosting. For a fun touch, drizzle some warm dairy-free chocolate sauce over each slice right before serving.
For a cozy drink, pour a tall glass of cold oat milk or a cup of hot peppermint tea. The tea’s cool mint is lovely with the chocolate. Grown-ups might enjoy a small glass of chilled dessert wine, like a sweet Moscato, which pairs nicely with the vanilla. Which would you choose tonight?
Storing Your Cake Like a Pro
This cake stays moist for days if you store it right. Place leftovers in an airtight container and keep them in the fridge. It will stay fresh for up to five days.
I once forgot a slice on the counter overnight. It was still good, but the frosting got a little soft. That is why the fridge is your friend here.
You can also freeze this cake for up to three months. Wrap each slice tightly in plastic wrap, then put it in a freezer bag. When you want a piece, let it thaw in the fridge for a few hours.
Batch cooking is a time-saver. Bake both layers, cool them fully, and freeze one unfrosted layer. You will have a head start on dessert for a busy week. This matters because it makes special treats easier on hectic days. Have you ever tried storing it this way? Share below!
Three Common Cake Problems Solved
Problem one: The cake sinks in the middle. This happens if the oven temperature is too low. Always preheat fully and use an oven thermometer.
I remember making a cake that looked like a bowl. My grandma taught me to check the oven temperature first. It fixed the problem every time.
Problem two: The frosting is too runny. Your butter might be too warm. Beat it until it is light and fluffy before adding sugar. If it still seems soft, pop the bowl in the fridge for ten minutes.
Problem three: The cake sticks to the pan. Use parchment paper circles on the bottom. This simple trick saves your cake layers from tearing.
Why does this matter? Fixing these issues builds your confidence in the kitchen. You learn to trust your hands and your tools. Which of these problems have you run into before?
Your Top 5 Questions Answered
Q: Can I make this cake gluten-free?
A: Yes, use a good 1:1 gluten-free baking blend. It works just like regular flour.
Q: Can I make it ahead of time?
A: Yes, bake the layers a day before. Cool them, wrap tightly, and frost the next day.
Q: What can I swap for sour cream?
A: Use plain dairy-free yogurt or coconut cream. Both keep the cake moist.
Q: Can I cut the recipe in half?
A: Yes, use one 8-inch pan and bake for 20-25 minutes. Check with a toothpick.
Q: Any fun decorating ideas?
A: I love adding crushed cookies on top. It adds a little crunch.
*Fun fact: A sprinkle of sea salt on chocolate frosting makes the flavor pop.
Which tip will you try first?
A Sweet Goodbye from My Kitchen
Thank you for spending time with me today. This cake reminds me of Sunday afternoons with my family. I hope it brings you the same joy.
Always remember to bake with love and patience. The little mistakes teach us the most. Your kitchen is a place of warmth and creativity.
Have you tried this recipe? Tag us on Pinterest! I would love to see your beautiful creations. Keep baking, keep sharing, and keep making memories.
Happy cooking!
—Chloe Hartwell.
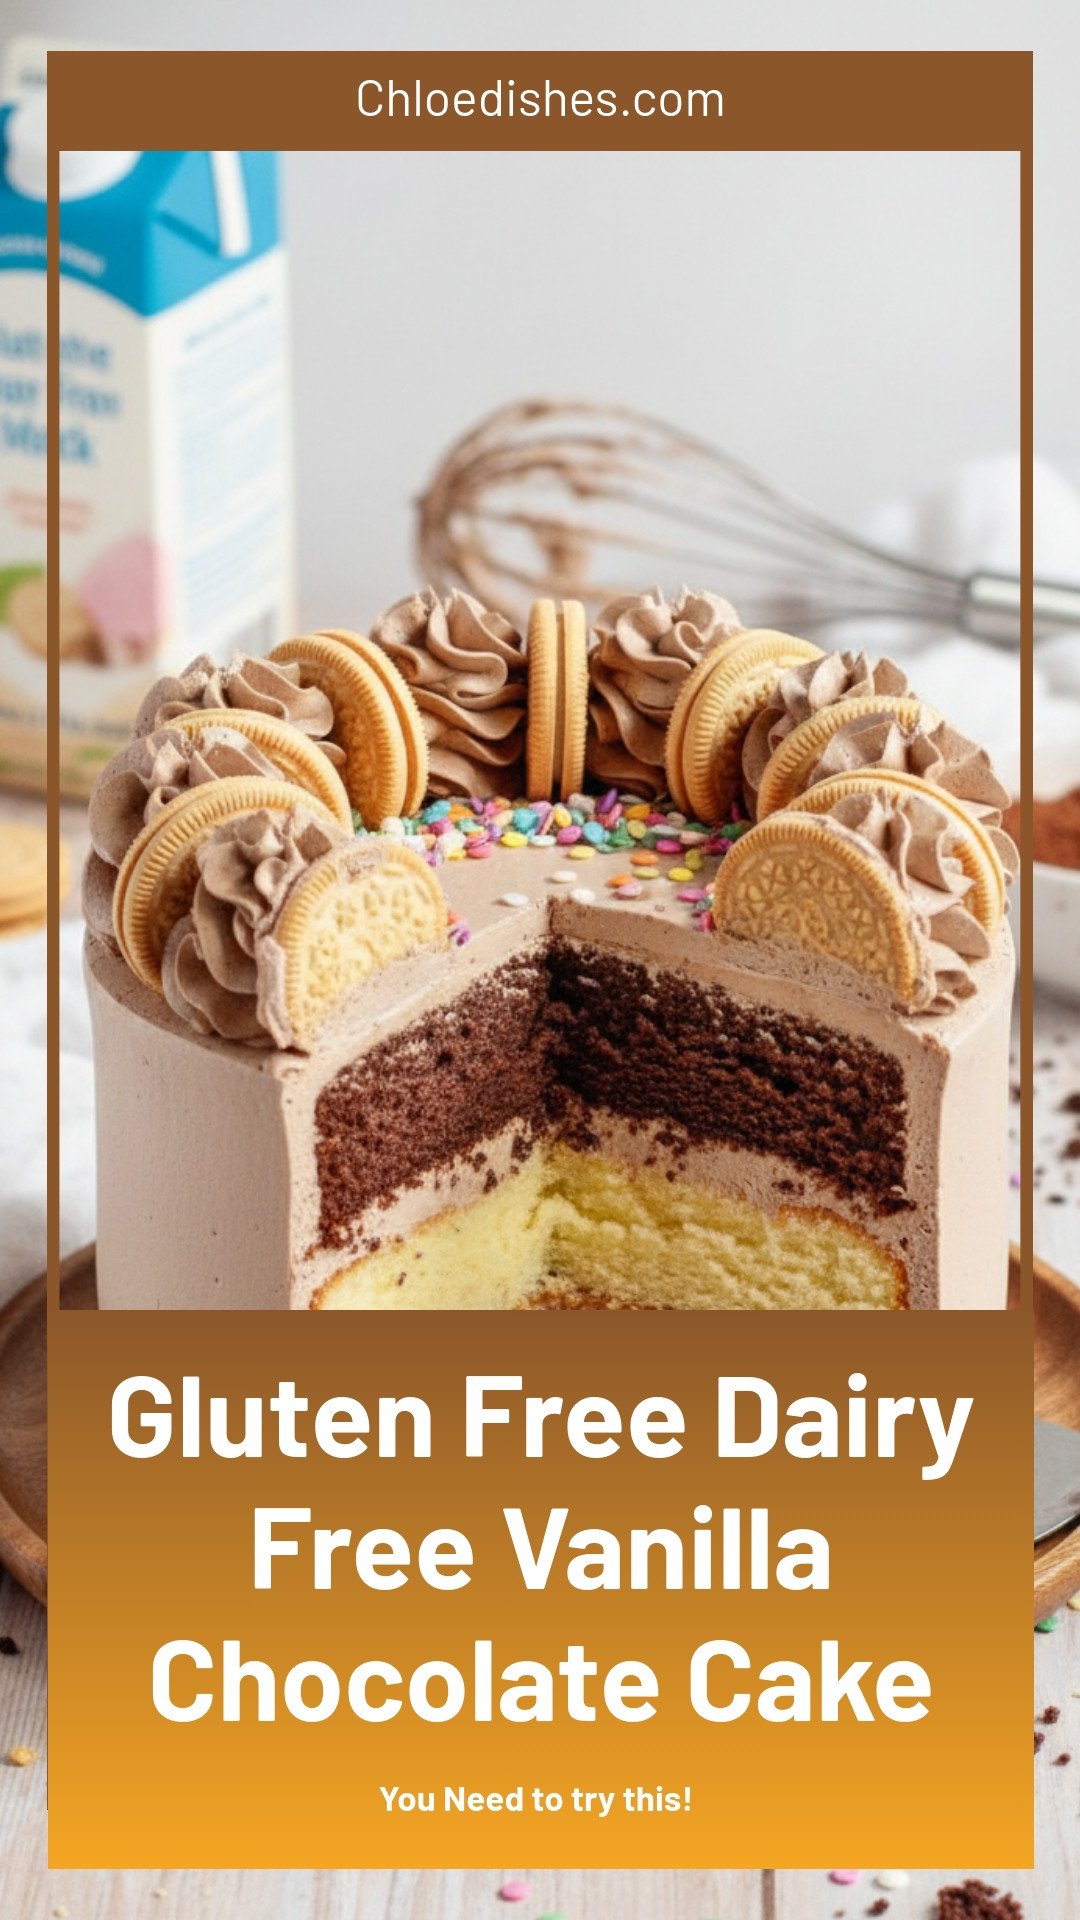
Gluten Free Dairy Free Vanilla Chocolate Cake
Description
Indulge in a rich, moist gluten-free & dairy-free Vanilla Chocolate Cake. Deliciously soft, perfect for allergies, & easy to bake.
Ingredients
Instructions
- Preheat the oven to 350ºF and prepare two 8-inch round cake pans with non-stick baking spray and parchment paper.In a small mixing bowl, whisk together the flour, baking powder, and salt. Set aside.In a medium mixing bowl, whisk together the sugar, sour cream, oil, egg, and vanilla until smooth.Add half of the dry ingredients and mix, followed by half of the milk and mix.Add the remaining half of the dry ingredients and again, the remaining half of the milk mixture, and mix until just combined. It’s okay if there are a few lumps in the batter.Divide the batter into the prepared cake pans and bake for approximately 30-35 minutes. The edges of the cakes should be light golden brown and slightly pulled away from the cake pan. A toothpick inserted in the middle should come out with a few moist crumbs.Allow the cakes to cool in the pan for 10 minutes before removing to a wire rack to fully cool.
- In a stand mixer or large mixing bowl with electric beaters, cream the butter on high speed until light and fluffy. This will take approximately 5-10 minutes.Add the powdered sugar, cocoa powder, and salt and mix on low until combined.Turn the mixer up to high and allow to beat for 5 minutes until light and fluffy.
- Level each fully cooled yellow cake layer with a cake leveler or knife if needed. *The layers should bake flat, though.Place one leveled layer of cake on a cake board, plate, and/or cake turntable and top with approximately 2 cups of chocolate buttercream.Top with the remaining cake layer and very gently apply a thin coat of buttercream to the entire cake. Chill the cake for 10-20 minutes. *If the cake feels unstable or the buttercream becomes too soft at any point while stacking, stop and chill the cake and frosting for 15 minutes.Cover the cake with a final layer of buttercream and smooth the sides with a cake smoother and/or offset spatula.Decorate the cake as you please. I placed golden Oreos around the top of the cake, piped Wilton 1m swirls between each cookie, and applied sprinkles to the top and bottom. Enjoy!
Notes
- Store leftovers in an airtight container in the fridge for up to 5 days or in the freezer for up to 3 months.




Leave a Reply