
The Day I Learned Gluten-Free Can Be Lovely
A few years back, my neighbor brought her granddaughter over. The little girl had just found out she couldn’t eat gluten. I felt so sorry for her at first. I thought, “No bread? No cake? That sounds so sad.” So, I decided to try making her some cupcakes. I messed up the first batch. They came out like little rocks. But I kept trying. When I got it right, her face lit up like a birthday candle. I still laugh at that memory. It taught me something important.
Anyone can feel left out at a party because of food. A cupcake might seem small. But sharing one says, “I thought of you.” That is a beautiful thing. Have you ever had to change your diet and felt a little lonely?
*Fun fact: Gluten is a protein found in wheat, barley, and rye. It gives bread its stretchy, chewy feel. Without it, bakers need special tricks.*
Your New Best Friend: Xanthan Gum
Don’t let this funny name scare you. Xanthan gum is just a powder made from tiny germs that eat sugar. It sounds strange, but it does important work. In regular baking, gluten holds everything together. For gluten-free flour, we need a helper. That is where xanthan gum comes in.
When you add this powder, your batter gets sticky and thick. It helps the cupcakes hold their shape. Without it, your treats might crumble into dust. Does that make sense? I like to think of it as the glue for your cake.
Which kitchen helper do you think is the most interesting? For me, it’s this one. A tiny bit does a big job.
Creaming Butter and Sugar: A Little Arm Workout
The recipe says to cream butter and sugar for five to seven minutes. That feels like a long time! My grandma used to say, “Don’t rush, honey. You’re making air.” And she was right. Beating the butter and sugar traps tiny bubbles of air inside. Those bubbles make your cupcakes soft and fluffy. If you stop too soon, your cakes will be flat and dense.
I once tried to skip this step. I thought, “Who will know?” My family knew. The cupcakes were heavy like little bricks. We ate them anyway, but it was not the same. Now I set a timer and do a little dance while I mix. It makes the time fly by. Go ahead, wiggle your shoulders!
Why does this matter? Because good baking is about more than mixing. It is about giving your ingredients time to work together. That patience pays off in every bite.
Why the Milk Matters (A Lot)
You will notice this recipe uses milk. Not water, not juice. Plain old 2% milk. Milk adds richness and tenderness. The little bit of fat keeps the crumb soft. It also helps the flour and sugar dissolve nicely. Without it, your cupcakes might taste dry or grainy. Doesnt that smell amazing when you pour it in? I think fresh milk smells like a cozy morning.
For the frosting, milk is the secret to a smooth swirl. You add just a tablespoon or two at the end. It loosens the cream cheese and butter. You want frosting that spreads like a dream. Not too stiff, not too runny. The perfect consistency is when it makes you smile.
Have you ever tried a dairy-free milk in this kind of recipe? I have, and it can change the texture. Stick with regular milk for your first try. You can experiment later.
The Frosting Story: Cream Cheese and Butter Together
Some people like pure buttercream. Others love a classic cream cheese frosting. Why not use both? That is what this recipe does. The butter gives it a firm, stable feel. The cream cheese adds a tangy, bright flavor. It is like two best friends sharing a blanket. They make each other better.
I remember frosting these for a school bake sale. A little boy took one bite and said, “This tastes like a cloud.” I almost cried. That is the power of good frosting. It can turn a cupcake into a memory.
Why does this matter? Because frosting is not just decoration. It is the first thing you taste. Make it count. What is your favorite frosting in the whole world? Mine is a tie between this one and chocolate.
My One Mistake That Everyone Can Learn From
Here is a mini-story. I once forgot to set the timer. I got busy folding laundry. The cupcakes baked for almost thirty minutes. They turned dark brown and hard. The bottoms were crunchy. I tried to cover them with frosting. It did not help. We called them “cupcake rocks.”
So please, watch your oven. Check your cupcakes at the fifteen minute mark. Stick a toothpick in the center. If it comes out clean, you are done. If it has wet goo on it, give them two more minutes. Every oven is a little different. Get to know yours.
Would you believe my grandma’s oven was always twenty degrees hotter than it said? She knew it and worked around it. Do you have a funny baking mistake story? I would love to hear it.
Keeping Them Fresh (If They Last That Long)
These cupcakes are best the day you make them. But if you have any left, tuck them in the fridge. The frosting has cream cheese, so it needs to stay cold. Take them out ten minutes before eating. That way, the cake softens up again.
I have hidden a cupcake in the back of my fridge before. Forgetting it was a bad idea. The cake got dry. So here is my tip: share them with neighbors or friends. You will make someone’s day brighter. And you can feel proud of your work. That is a good feeling.
How do you like to share your baked treats? Do you give them in a pretty box or a simple plate? Either way, it is the thought that counts.
Ingredients:
| Ingredient | Amount | Notes |
|---|---|---|
| Butter, softened | 2/3 cup | For cupcakes |
| Sugar | 1-3/4 cups | |
| Large eggs, room temperature | 2 | |
| Vanilla extract | 1-1/2 teaspoons | |
| Gluten-free all-purpose baking flour (without xanthan gum) | 2-1/2 cups | |
| Baking powder | 2-1/2 teaspoons | |
| Xanthan gum | 1/2 teaspoon | |
| Salt | 1/2 teaspoon | |
| 2% milk | 1-1/4 cups | For cupcakes |
| Butter, softened | 1/2 cup | For frosting |
| Cream cheese, softened | 1 package (8 ounces) | |
| Confectioners’ sugar | 3 cups | |
| Vanilla extract | 2 teaspoons | For frosting |
| 2% milk | 1 to 2 tablespoons | For frosting |
The Day I Finally Got These Cupcakes Right
You know that feeling when you just want a soft, buttery cupcake but have to skip the wheat? I sure do. A few years ago, my neighbor’s little girl asked for a birthday treat she could actually eat. I grabbed my mixing bowl and got to work. The first batch came out like little rocks. I still laugh at how dense they were. But after some tweaking and a happy accident with xanthan gum, these turned out perfect. They are light, fluffy, and taste just like the real thing. Let me show you how easy it is.
Step 1: First, preheat your oven to 350 degrees Fahrenheit. This gives it time to get nice and hot while you work. Line 24 muffin cups with pretty paper liners. I love using bright colors, they make me smile. (Hard-learned tip: Do not skip the liners, or these delicate cakes will stick to the pan like glue.)
Step 2: In a large bowl, beat the softened butter and sugar together until light and fluffy. This takes a good five to seven minutes. Don’t rush it! The mixture should look pale and feel soft, like a cloud. My grandma always said patience makes the cake rise higher.
Step 3: Add the eggs one at a time, beating well after each one. Then stir in the vanilla extract. Doesn’t that smell amazing? In a separate bowl, whisk together your gluten-free flour, baking powder, xanthan gum, and salt. This makes sure no lumps hide inside.
Step 4: Now, add the dry ingredients to the butter mixture a little at a time, alternating with splashes of milk. Beat just until combined after each addition. Overmixing will make them tough, so stop as soon as you cannot see any white flour. Fill each liner about three-quarters full.
Step 5: Bake for 15 to 20 minutes. You will know they are done when a toothpick poked into the center comes out clean. Let them cool in the pan for ten minutes, then move them to a wire rack. They need to be completely cool before you frost them, or the frosting will melt into a puddle.
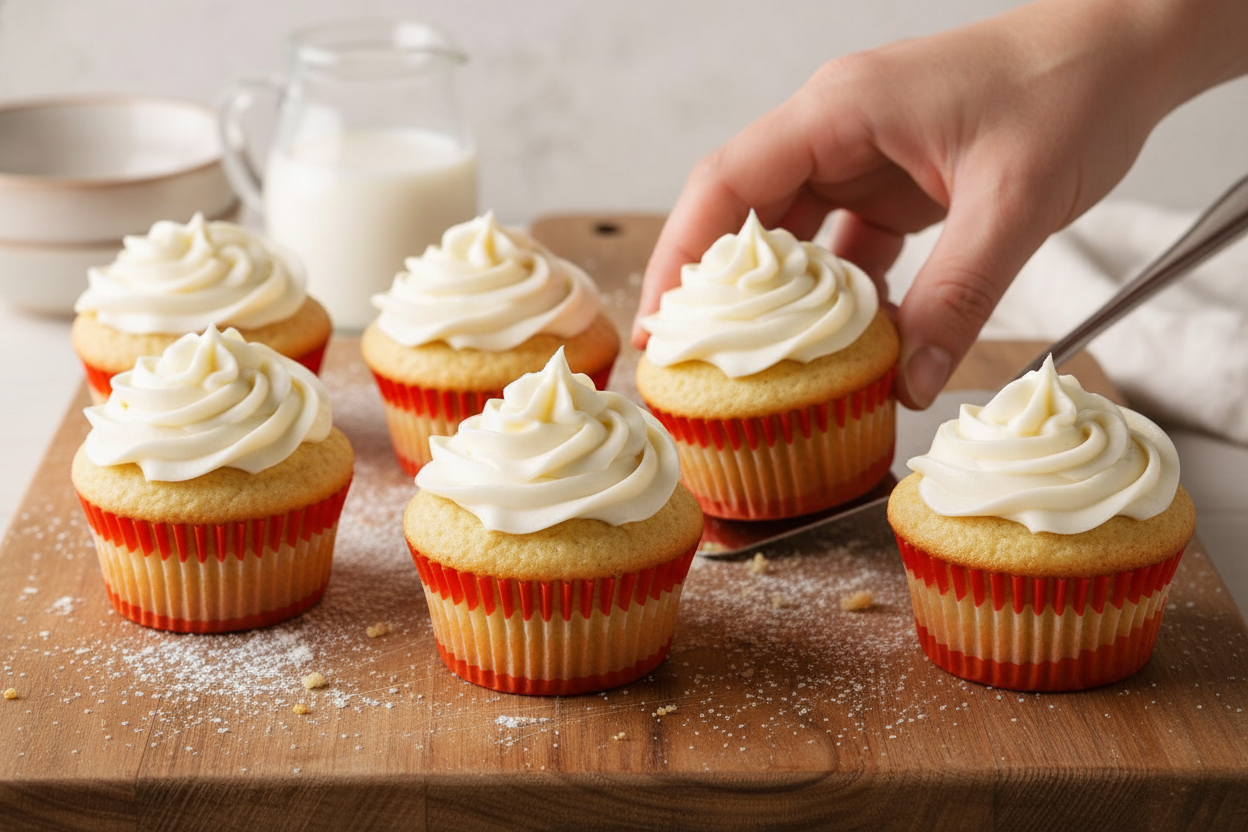
Step 6: For the frosting, beat the softened butter and cream cheese together until smooth. Then add the confectioners’ sugar and vanilla. Beat in a little milk until it is thick and spreadable. Frost each cupcake generously. Now, here is a little quiz for you: what is your favorite part of a cupcake, the top or the bottom? Share below!
Cook Time: 15-20 minutes
Total Time: 45 minutes
Yield: 24 cupcakes
Category: Dessert, Cupcakes
Three Fun Ways to Mix It Up
Want to change things up a little? Here are three simple twists to try with this recipe. Each one adds a whole new flavor without extra work. I bet you will love them all.
Lemon Berry Surprise: Add one tablespoon of lemon zest to the batter. Then fold in a handful of fresh blueberries before baking. The little bursts of fruit are a treat.
Spiced Pumpkin Fall: Replace a quarter cup of the milk with pumpkin puree. Add a teaspoon of cinnamon to the dry ingredients. It tastes like autumn in a wrapper.
Chocolate Dream: Swap out a quarter cup of the flour for unsweetened cocoa powder. Fold in a handful of mini chocolate chips. You will think you are eating a brownie.
Which one would you try first? Comment below!
How to Serve and Sip
These cupcakes are wonderful all on their own, but serving them right makes them extra special. For a pretty plate, set each cupcake on a dainty doily or a small square of parchment paper. A tiny sprinkle of colorful sugar on top of the frosting looks festive and fun. You could even add a single fresh raspberry as a garnish.
For drinks, a cold glass of milk is a classic choice. It cuts through the sweet cream cheese frosting perfectly. If you are having a grown-up party, a warm cup of Earl Grey tea is lovely. The floral notes match the vanilla so nicely.
Which would you choose tonight?
How to Store Your Cupcakes Like a Pro
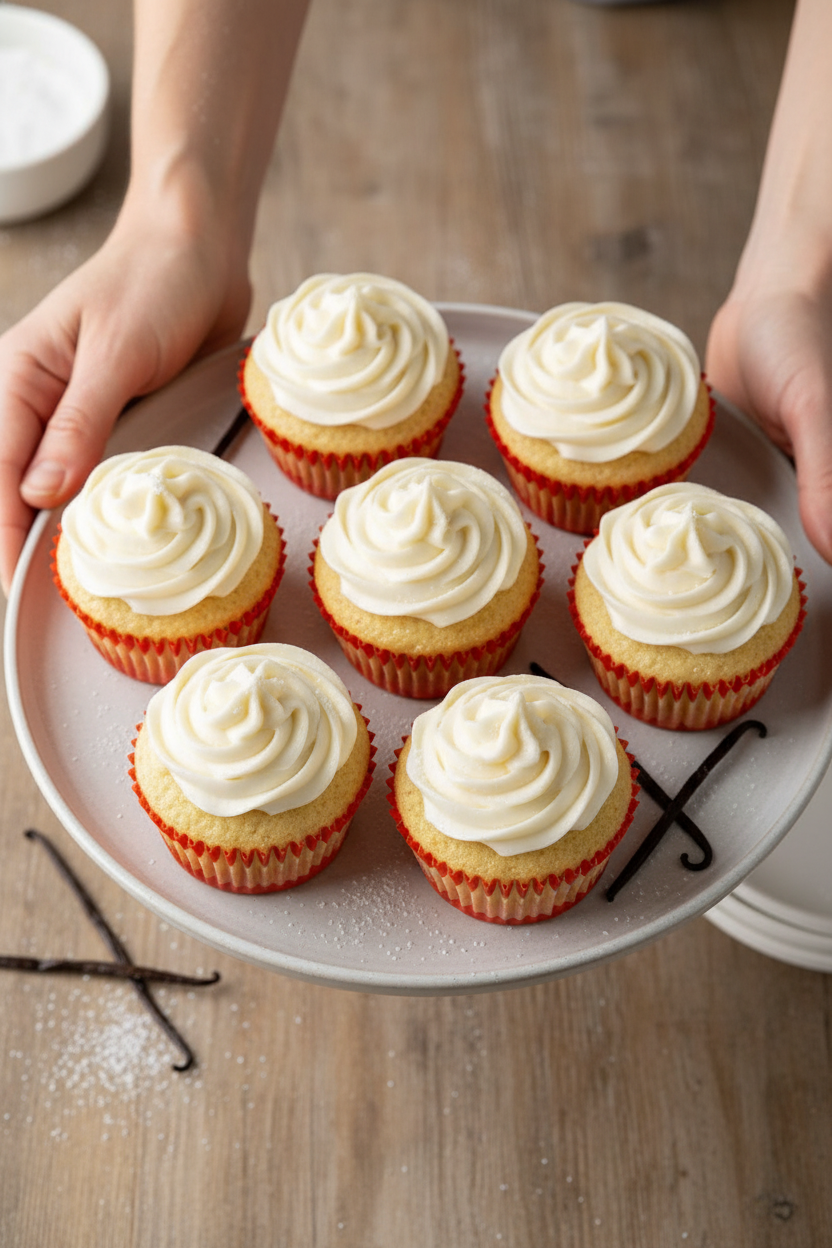
These cupcakes are best the day you make them. But you can store leftovers in the fridge. Put them in a sealed container for up to three days. I remember my first batch. I left them out on the counter, and the frosting got too soft. Now I always chill them.
You can also freeze unfrosted cupcakes. Wrap each one in plastic wrap, then pop them in a freezer bag. They stay good for up to a month. This matters because you can bake ahead for busy weeks. Just thaw them at room temp before frosting. Have you ever tried storing it this way? Share below!
To reheat, use the microwave for about 10 seconds. This brings back the soft, fluffy texture. I like doing this for a quick treat after dinner. Batch cooking saves time and gives you cupcakes whenever you crave one.
Three Common Cupcake Problems and Easy Fixes
Problem one: Dry cupcakes. This happens when you overmix the batter. Mix just until everything comes together. I once stirred too hard and ended up with crumbly cakes. Why this matters: Gentle mixing keeps your cupcakes tender and light.
Problem two: Sunken centers. That means your oven is too cool. Use an oven thermometer to check the heat. I remember when my old oven ran cold, and my cupcakes fell flat. Why this matters: The right temperature gives you even, fluffy tops every time.
Problem three: Sticky wrappers. This happens when cupcakes cool in the pan too long. Take them out after 10 minutes. Let them finish cooling on a wire rack. It is a simple step that keeps your wrappers neat and easy to peel. Which of these problems have you run into before?
Your Top 5 Questions Answered
Q: Can I use regular all-purpose flour instead of gluten free?
A: Yes, just swap it cup for cup. Leave out the xanthan gum.
Q: Can I make the batter ahead of time?
A: I do not recommend it. Baking powder loses its power. Bake the same day for best results.
Q: What if I do not have cream cheese for the frosting?
A: Use all butter and a little more milk. It will taste richer but still delicious.
Q: How do I scale the recipe for fewer cupcakes?
A: Halve everything. You will get about 12 cupcakes. Bake for the same time.
Q: Any fun tip to make these extra special?
A: Add a teaspoon of lemon zest to the batter for a bright flavor. Which tip will you try first?
*Fun fact: Xanthan gum helps gluten free flour act like regular flour. It holds everything together.
From My Kitchen to Yours
Thank you for baking with me today. I hope these cupcakes bring smiles to your table. They are soft, sweet, and perfect for sharing. I love seeing your creations, big or small. Have you tried this recipe? Tag us on Pinterest! Your photos make my heart so happy. Happy cooking! —Chloe Hartwell.
Gluten Free Vanilla Cupcakes Recipe
Description
Moist gluten free vanilla cupcakes with a fluffy crumb. An easy, dairy free dessert perfect for birthday parties or any celebration. gluten free vanilla cupcakes recipe, easy gluten free dessert, dairy free cupcakes, fluffy vanilla cupcakes, birthday cupcakes recipe
Ingredients
1/2 cup butter, softened (for frosting)
1 package (8 ounces) cream cheese, softened
3 cups confectioners’ sugar
2 teaspoons vanilla extract
1 to 2 tablespoons 2% milk
Instructions
- Preheat oven to 350°. Line 24 muffin cups with paper liners.
- In a large bowl, cream butter and sugar until light and fluffy, 5-7 minutes. Add eggs, 1 at a time, beating well after each addition. Beat in vanilla.
- In another bowl, whisk flour, baking powder, xanthan gum and salt; add to creamed mixture alternately with milk, beating well after each addition.
- Fill prepared cups three-fourths full. Bake 15-20 minutes or until a toothpick inserted in center comes out clean. Cool in pans 10 minutes before removing to wire racks to cool completely.
- For frosting, in a large bowl, beat butter, cream cheese, confectioners’ sugar and vanilla until smooth. Gradually beat in enough milk to achieve desired consistency. Frost cupcakes. Refrigerate leftovers.
Notes
- Nutrition Facts: 1 cupcake: 284 calories, 13g fat (8g saturated fat), 50mg cholesterol, 214mg sodium, 40g carbohydrate (31g sugars, 1g fiber), 3g protein.




Leave a Reply