

Why I Love These Cherry Pie Bars
My grandma always said the best desserts come from happy accidents. I was trying to make a regular cherry pie one summer. The crust was too crumbly and I got frustrated. So I just pressed it into a pan like a big cookie. That is how these cherry pie bars were born in my kitchen. I still laugh at that messy day. Now they are my most-requested treat for picnics and potlucks. Doesnt that smell amazing when they bake? The whole house gets sweet and fruity. Have you ever had a baking mistake turn into something wonderful? Share your story with me.The Secret to a Perfect Crust
The shortbread crust does two jobs here. It holds the cherries on the bottom and crumbles on top like a golden blanket. You need room-temperature butter for this. Cold butter makes lumps you cant press down flat. I use a gluten-free 1:1 baking blend so my friend Sarah can eat these too. She has a tummy that gets upset with regular flour. *Fun fact: Most gluten-free blends already have xanthan gum in them, so you dont need to add any extra. This matters because it keeps the bars from falling apart when you cut them. What is your favorite thing to bake for friends with food allergies?Cherries Teach Us Patience
Fresh cherries are a summer gift. But they need a little help to become pie filling. You chop them up and toss them with lemon juice and sugar. The lemon juice keeps their color bright red instead of turning muddy brown. This is important: strain off extra juice before spreading the cherries on the crust. I learned this the hard way. My first batch turned into cherry soup! Why does this matter? Too much liquid makes the crust soggy. Nobody wants a soggy bottom. If cherries are not in season, frozen ones work just fine. Let them thaw first and drain the juice. Have you ever picked cherries from a tree? I love that sticky-finger feeling.Baking Takes Its Time
These bars need a full hour in the oven. I know that feels like forever when you are hungry. But the low heat lets the cherries get jammy and soft. The crumble on top turns golden and crispy. My neighbor once took them out after 45 minutes because she was in a rush. The inside was still gooey and raw. We ate it with spoons anyway and called it cherry cobbler. That is the kind of kitchen grandma I am. I believe in happy accidents. Do you like your pie bars warm from the oven or cold from the fridge? I am team room temperature myself.The Magic of Almond Glaze
The almond glaze is optional but I never skip it. Just four ingredients: powdered sugar, milk, almond extract, and a pinch of salt. That salt pinch makes everything taste more like itself. It sounds funny but it is true. Drizzle the glaze only after the bars are fully cool. If you put it on warm bars, it melts into a puddle. I have done that and it still tasted fine, just less pretty. These bars keep in the fridge for five days if they last that long. Why does this matter? A little drizzle turns a simple bar into something special. It makes people say wow when you set the plate down. What is your favorite topping to put on fruit desserts?Ingredients:
| Ingredient | Amount | Notes |
|---|---|---|
| Salted butter (regular or plant-based) | 1 cup (227g) | Room temperature |
| Granulated sugar | 3/4 cup (150g) | For crust |
| Vanilla extract | 1 teaspoon | |
| Almond extract | 1/4 teaspoon | Optional |
| Gluten-free flour 1:1 baking blend | 2 1/3 cups (280g) | |
| Fine sea salt | 1 teaspoon | For crust |
| Pitted cherries, chopped | 3 cups (465g) | |
| Lemon juice, freshly squeezed | 2 tablespoons (30ml) | |
| Granulated sugar | 1/4 cup (50g) | For filling |
| Cornstarch | 1 tablespoon (8g) | |
| Powdered sugar | 1/2 cup (60g) | For glaze |
| Milk (regular or plant-based) | 1 tablespoon (15ml) | For glaze |
| Almond extract | 1/4 teaspoon | For glaze |
| Fine sea salt | Pinch | For glaze |
The Story Behind These Cherry Pie Bars
I still remember the first time I made these. My kitchen smelled like a summer picnic, even though it was raining outside. Doesn’t that smell amazing? Cherries and butter just belong together.
I learned to make pie crust from my grandma. She never measured anything, just tossed flour and butter into a bowl until it “felt right.” This recipe is much easier. No rolling pins or crying over cracked dough.
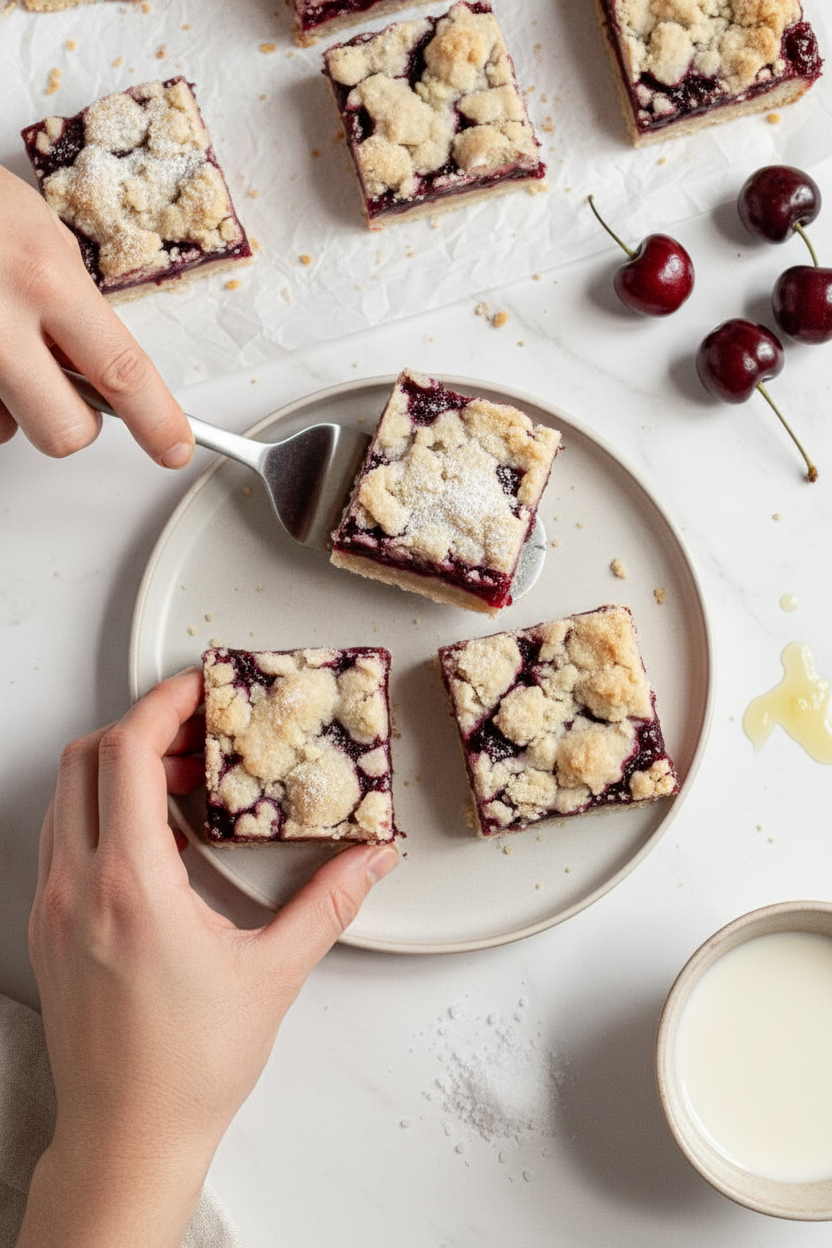
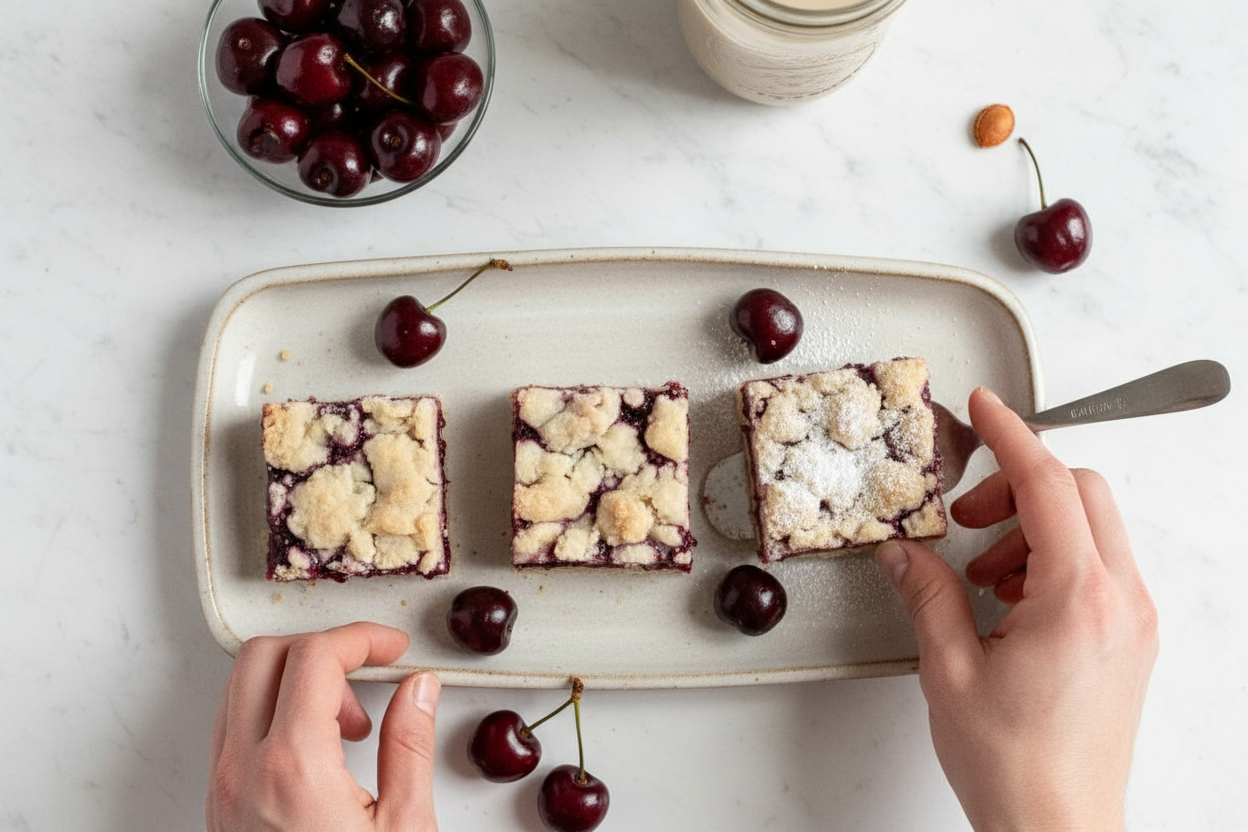
These bars have a soft, sandy crust and a crumble on top. The cherries get all jammy and sweet. My neighbor stopped by once and ate three before I could even offer her a plate. I still laugh at that.
You don’t need fancy tools. Just a bowl, a spoon, and a little patience while they bake. The hardest part is waiting for them to cool. Trust me, I’ve burned my tongue rushing things.
Let’s Make Cherry Pie Bars, Step by Step
Step 1: Preheat your oven to 350 degrees. Grab an 8×8-inch baking pan and spray it with non-stick spray. Then line it with parchment paper so the bars lift out easy. (Trust me, I once forgot the paper and had to eat them with a spoon.)
Step 2: In a large bowl, beat the butter and sugar together until they look light and fluffy. This takes about two or three minutes. Scrape the sides of the bowl once or twice. My grandson calls this the “fluffy dance.”
Step 3: Add the vanilla and a tiny splash of almond extract if you like. Mix it in. Then add the gluten-free flour and salt. Mix on low until it all comes together. The dough will look a little crumbly. That is perfectly fine. Don’t panic.
Step 4: Press about two-thirds of the crumbs into your pan. Really push them down flat. This is your crust, so make it even. (Hard-learned tip: if you don’t press firmly, the crust crumbles when you cut the bars. Learn from my messy kitchen counter.)
Step 5: In a separate bowl, toss the chopped cherries with lemon juice, sugar, and cornstarch. If there’s extra juice, pour it off. Nobody wants soggy bars. Spread the cherries over the crust. Crumble the rest of the dough on top like little golden pebbles.
Step 6: Bake for about 60 minutes, until the top is light golden brown. Your kitchen will smell like a bakery. Let the bars cool completely in the pan. I know you want to dig in. Be patient. What is your favorite summer fruit to bake with? Share below!
Step 7: For the glaze, stir powdered sugar, milk, almond extract, and a pinch of salt until smooth. Drizzle it over the cooled bars. Slice and enjoy. Store leftovers in the fridge for up to five days, or freeze them for three months.
Cook Time: 60 minutes
Total Time: 1 hour 15 minutes
Yield: 9 bars
Category: Dessert, Bars
Three Fun Twists to Try
Berry Mix-Up: Swap half the cherries for fresh blueberries or raspberries. It tastes like a forest in a pan. My grandkids fight over the purple ones.
Spiced Autumn: Add a teaspoon of cinnamon and a pinch of nutmeg to the crumble. It turns these bars into a cozy fall treat. Perfect with a mug of warm apple cider.
Chocolate Cherry Dream: Sprinkle a handful of dark chocolate chips over the cherries before adding the crumble. Melty chocolate and cherries are a match made in heaven. Which one would you try first? Comment below!
Serving Ideas and Drinks to Match
These bars are lovely all on their own, but here are some fun ways to dress them up. Serve with a scoop of vanilla ice cream melting over the top. Or dollop with whipped cream and a few extra cherries. You can also dust them with powdered sugar for a fancy look.
For a drink, try a tall glass of cold oat milk or lemonade. The tangy lemonade balances the sweet cherries. Grown-ups might enjoy a chilled glass of rosé wine. It’s light and fruity, just like the bars. Which would you choose tonight?
How to Store Your Cherry Pie Bars
These bars keep well in the fridge for up to five days. Just put them in an airtight container. I remember my first batch got eaten so fast I barely had any left to store. For longer keeping, pop them in the freezer for up to three months. Wrap each bar in plastic wrap first, then place them in a freezer bag. When you want one, let it thaw in the fridge overnight. You can also warm a single bar in the microwave for 15 seconds. Batch cooking is a lifesaver for busy weeks. You make one big batch and enjoy treats for days. It saves time and energy. Have you ever tried storing it this way? Share below! That is why this matters: proper storage keeps the bars fresh and safe to eat. It also means less food waste.
Common Problems and Easy Fixes
Sometimes the crust turns out too crumbly. That happened to me once. I forgot to press it down firmly. The fix is simple: use the back of a spoon to really pack those crumbs into the pan. Another issue is a soggy bottom. This happens when the cherry filling is too watery. Strain off any extra juice before spreading the cherries on top. That step makes a big difference. I once skipped it and ended up with a wet mess. The third problem is the top not browning. Just bake it a few minutes longer, but watch it closely. Which of these problems have you run into before? Fixing these small issues builds your cooking confidence. You learn to trust your eyes and hands. That is why this matters: a little know-how turns a good recipe into a great one every time.
Your Questions Answered
Q: Can I make this recipe gluten-free and vegan?
A: Yes. Use plant-based butter and a 1:1 gluten-free flour blend. It works perfectly.
Q: Can I make the bars ahead of time?
A: Absolutely. Bake them a day before. They taste even better after resting overnight.
Q: Can I swap the cherries for another fruit?
A: Sure. Try blueberries, raspberries, or diced peaches. Adjust the sugar to taste.
Q: How do I double the recipe?
A: Use a 9×13-inch pan and bake 10 to 15 minutes longer. Check for a golden top.
Q: Can I skip the almond glaze?
A: Yes. The bars are delicious plain. The glaze is just a sweet bonus. Which tip will you try first?
A Warm Goodbye from Chloe
Thank you for spending time in my kitchen today. I hope these cherry pie bars bring you joy. They are perfect for a summer picnic or a cozy winter snack. I would love to see your baking adventures. Have you tried this recipe? Tag us on Pinterest! Snap a photo and share it with your family. Every bar tells a little story. *Fun fact: cherries are a member of the rose family.* Now go make something sweet. Happy cooking! —Chloe Hartwell.

Gluten Free Vegan Cherry Pie Bars Recipe
Description
Gluten free vegan cherry pie bars: a buttery crust with sweet cherry filling. Perfect easy dessert for summer. #vegan #glutenfree #cherrypie #bars #vegandessert
Ingredients
3 cups (465g) pitted cherries, chopped
1/2 cup (60g) powdered sugar
Instructions
- In a stand mixer or large mixing bowl with an electric mixer, beat together the butter and sugar until light and fluffy. This should take approximately 2-3 minutes. Scrape the sides of the bowl when necessary.
- Add in the vanilla and almond extract (if using) and mix until combined.
- Measure in the flour and salt and mix on low until combined. The mixture will be a bit crumbly; that’s okay.
- Place ⅔ of the crumbs into the prepared pan and press down firmly. Set aside.
- Crumble the remaining dough over top of the cherries and bake for approximately 60 minutes or until the top is a light golden brown.
- Remove from the oven and allow to fully cool in the pan.
- Drizzle over the fully cooled cherry pie bars. Enjoy!
Preheat the oven to 350ºF and prepare an 8×8-inch baking pan with non-stick baking spray and parchment paper.
In a medium mixing bowl, combine the pitted and chopped cherries, lemon juice, sugar, and cornstarch and gently toss together. If there is any extra juice, strain it off before spreading the mixture on top of the crust.
In a small mixing bowl, combine the powdered sugar, milk, almond extract, and salt until smooth.
Notes
- Store leftover bars in an airtight container in the fridge for up to 5 days or frozen for up to 3 months.


Leave a Reply