

When I First Tried a S’more
The first time I tasted a s’more, I was about your age. We were sitting by a campfire in our backyard. The marshmallow caught on fire, and we all laughed. My dad said, “That’s how you get the good crust!” I still laugh at that memory every time I make these bars. You don’t need a fire for this recipe. Just a fridge. Doesn’t that sound nice?
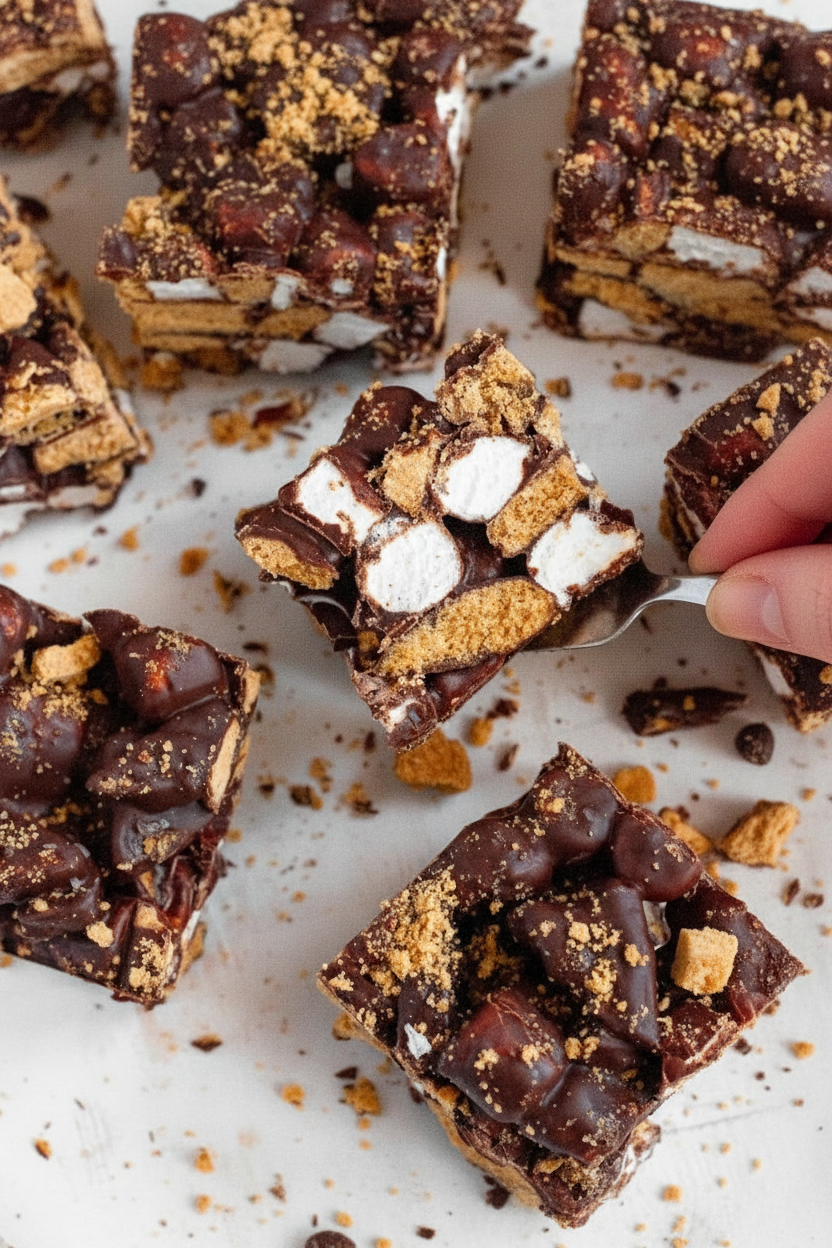
These No-Bake S’Mores Bars are my favorite summer treat. No oven. No fire. No sticky fingers from a melted chocolate bar. You just mix everything in a bowl and let the fridge do the work. It’s like magic you can eat. Have you ever made a no-bake dessert before?
The Secret Ingredient
My secret here is coconut oil. Why does that matter? It helps the chocolate set into a perfect, firm bar. Without it, the chocolate would stay too soft. Think of it like a little helper that makes everything hold together. A fun fact: coconut oil turns solid when it gets cold, just like butter. That’s how we get those clean, crisp slices.
I also use a little pinch of sea salt on top. That might sound strange with sweet chocolate. But the salt wakes up your taste buds. It makes the sweetness taste even sweeter. It’s like putting a tiny spark on top. Try a piece with and without the salt. See which you like better.
Why This Recipe Matters
This recipe is gluten-free and vegan. That means more people can enjoy it. Maybe your friend can’t eat dairy or wheat. Now you can share these bars with them. Food is better when everyone at the table can take a bite. That is why this recipe matters to me. It brings kids and grown-ups together, no questions asked.
The second reason this recipe matters is that it teaches patience. I know, patience is hard. You want to eat it right away! But waiting for it to set in the fridge for an hour makes the bars perfect. The texture turns chewy and crunchy all at once. What is the hardest thing you have ever waited for?
My Little Kitchen Mistake
I have one mini-anecdote to share. The first time I made these, I forgot to line the pan with parchment paper. The bars stuck so badly I had to chisel them out with a spoon. We ate s’mores crumbs that night. It was still delicious, but messy. Now I always say a little prayer to the parchment paper gods.
So remember: spray your pan first. Then lay down the paper. Then spray again. That double layer is your best friend. You will thank me when your bars slide right out like a happy little brick.
How to Make Them Your Own
You can change this recipe in fun ways. Swap the gluten-free graham crackers for regular ones if that’s what you have. Use dark chocolate chips if you like a stronger taste. Some kids add a handful of crushed peanuts for crunch. What would you add to make it yours?
One time, my neighbor sprinkled crushed potato chips on top. She said it gave a salty, crispy surprise. I was nervous, but it was wonderful. Cooking is about playing and trying new things. Don’t be afraid to mess around a little.
Ingredients:
| Ingredient | Amount | Notes |
|---|---|---|
| Vegan chocolate chips | 1 bag (250g) | |
| Coconut oil | 1 tablespoon (15ml) | |
| Vegan mini marshmallows | 3 cups (135g) | |
| Gluten-free vegan graham crackers | 3 cups (224g/approx 14 crackers) | Roughly chopped into pieces |
| Coarse sea salt | 1 teaspoon | |
| Graham crackers (optional) | As needed | For sprinkling on top |
| Salt (optional) | As needed | For sprinkling on top |
The Summer Treat That Brings Back Campfire Smiles
I remember the first time I made s’mores as a little girl. My grandpa handed me a gooey marshmallow on a stick, and I burned my tongue and didn’t care one bit. Doesn’t that smell amazing, like melted chocolate and sugar? This recipe is even better because you don’t need a campfire. We make these in the kitchen, and they are perfect for a sunny afternoon.
These bars are gluten-free and vegan, which means everyone can enjoy them. My neighbor’s daughter has a tummy that doesn’t like gluten, and she asked for the recipe twice. I love how the coconut oil makes the chocolate extra shiny and smooth. The best part? You can make them in just a few minutes. There is no oven, no waiting, and no messy cleanup. (Here’s a little hard-learned tip: Do not overmix the marshmallows, or they will melt completely and stick to everything. Gently is the secret word.)
Let’s get our ingredients together and make something sweet. I always put on a cozy song while I measure. Have you ever tried a no-bake dessert before? What is your favorite kind? Share below!
How to Make No-Bake S’mores Bars
Step 1: Grab an 8×8 inch square pan and line it with parchment paper. Spray a little non-stick baking spray on the paper so nothing sticks. I use the spray that smells like butter. Set this pan right next to you because we will fill it soon.
Step 2: Take a large microwave-safe bowl and pour in your bag of vegan chocolate chips. Add one tablespoon of coconut oil on top. Pop the bowl in the microwave and heat it for 30 seconds. Take it out and stir well. Do this two or three times until the chocolate is melted and shiny. Let it cool for one minute. (Do not skip the cooling time, or your marshmallows will melt into a puddle. I learned this the hard way, and the bars turned into a chocolate blob.)
Step 3: Now add your mini marshmallows and the chopped graham crackers to the bowl. Sprinkle in a little coarse salt if you like a sweet-and-salty bite. Use a rubber spatula to gently fold everything together. Pretend you are tucking in a baby blanket—soft and slow. The chocolate should coat everything, but you want to see little white marshmallow spots.
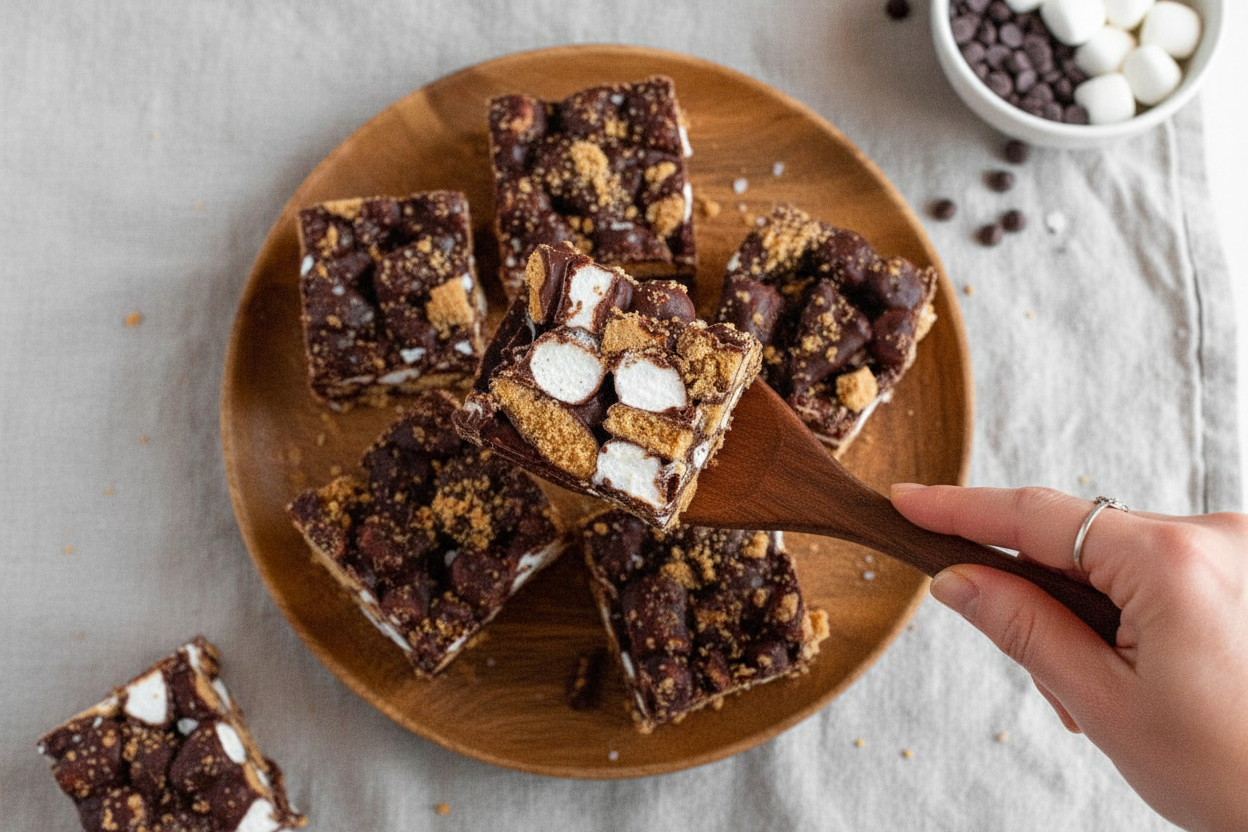
Step 4: Pour the sticky mixture into your prepared pan. Press it down firmly with your clean hands or the back of a spoon. I like to press extra graham cracker pieces and a pinch of salt on top for crunch. That top layer looks so pretty when you cut the bars later.
Step 5: Place the pan in the refrigerator. Let it chill for at least four hours, or until the bars are firm and sliceable. I once tried to cut them after only one hour, and they were a gooey mess. Patience, my friend. Once they are set, slice them into squares and enjoy. Store any leftovers in an airtight container in the fridge for two weeks, or freeze them for six months.
Cook Time: 4–6 hours (chilling time)
Total Time: 4 hours 10 minutes (including prep)
Yield: 9 big bars or 16 small bites
Category: Dessert
Three Fun Ways to Change the Recipe
Peanut Butter Swirl: Melt two tablespoons of peanut butter and drizzle it over the chocolate before adding the marshmallows. It tastes like a candy bar. My kids fight over the last piece.
Berry Blast: Fold in a handful of freeze-dried raspberries or strawberries. They add a sour pop that dances with the sweet chocolate. It feels like a summer picnic in your mouth.
Minty Fresh: Add a tiny drop of peppermint extract to the melted chocolate. It smells like a candy cane and a campfire had a baby. Perfect for winter or a holiday party.
Which one would you try first? Comment below!
How to Serve and What to Sip
These bars are wonderful all by themselves, but I love to serve them on a pretty plate with a tiny glass of cold oat milk. You can also crumble one over a scoop of vanilla ice cream for a fancy sundae. A sprinkle of extra sea salt on top looks like a chef did it.
For a grown-up drink, pour a small glass of bourbon or a dark stout beer. The rich flavors match the chocolate perfectly. For kids (or anyone who wants a cozy sip), try a warm mug of chamomile tea or a tall glass of coconut water with a lime slice. Both drinks make the sweetness feel just right.
Which would you choose tonight?
How to Store Your S’mores Bars
These bars are best kept in the fridge. They stay firm and fresh for up to two weeks. I learned this the hard way. I once left a batch on the counter overnight. They got soft and sticky, not nice at all. Store them in an airtight container. You can also freeze them for up to six months. Just wrap each bar in wax paper first. That way, you can grab one whenever you want a treat. Batch cooking is a lifesaver for busy weeks. Make a double batch on Sunday. Then you have dessert ready for days. It saves time and keeps your kitchen cool. Have you ever tried storing it this way? Share below!
Three Common Problems and Easy Fixes
First, if your bars are too crumbly, you probably did not press them down hard enough. Use the back of a spoon to really push the mixture into the pan. I remember my first batch fell apart like sand. It was still tasty, but messy. Second, if the chocolate is grainy, you heated it too fast. Always use 30-second intervals and stir well. Slow heat makes smooth chocolate. This matters because smooth chocolate tastes richer and feels better in your mouth. Third, if your bars are too soft, chill them longer. Give them at least two hours in the fridge. Patience is key here. Which of these problems have you run into before? Fixing these small issues builds your cooking confidence. You learn to trust your hands and your fridge.
Your S’mores Bar Questions Answered
Q: Are these bars gluten-free? A: Yes, as long as you use gluten-free graham crackers. Check the label.
Q: Can I make these ahead of time? A: Yes. Make them the day before. They taste even better after a night in the fridge.
Q: Can I swap the chocolate chips? A: Sure. Use dark or white vegan chips. Just keep the coconut oil the same.
Q: How do I scale the recipe? A: Double everything for a 9×13 pan. Just press it firmly and chill longer.
Q: What if I don’t have coconut oil? A: Use refined coconut oil or vegan butter. Both work well. Which tip will you try first?
A Sweet Goodbye from Chloe
I hope these bars bring you joy. They remind me of summer campfires and sticky fingers. The best part is sharing them with people you love. Take a photo of your bars and tag us on Pinterest. I love seeing your creations. Have you tried this recipe? Tag us on Pinterest! Every batch tells a little story. I am glad you are writing yours. Remember: cooking is about trying, laughing, and tasting. You have got this. Happy cooking! —Chloe Hartwell.
*Fun fact: These bars freeze so well you can make them for a picnic months away.*
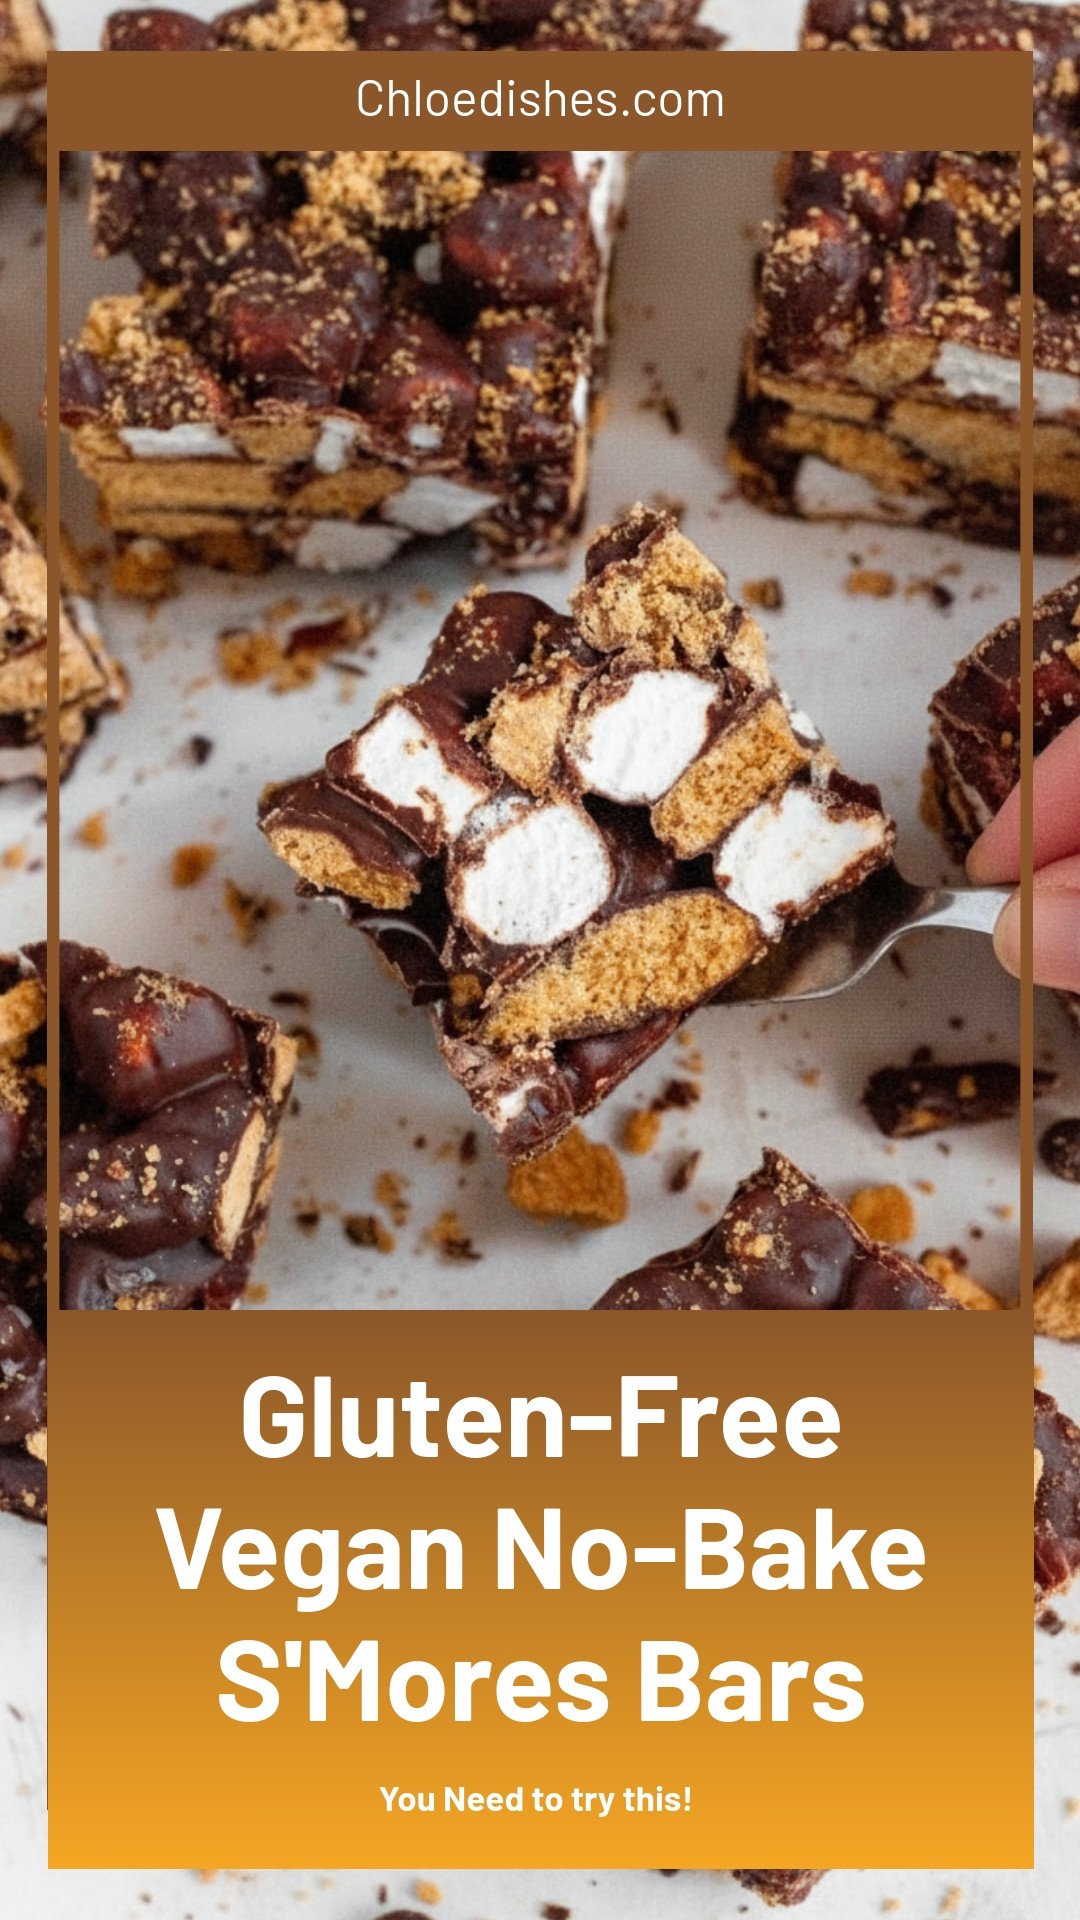
Gluten-Free Vegan No-Bake S’Mores Bars
Description
Easy gluten-free vegan no-bake s’mores bars with crunchy graham, gooey marshmallow, and rich chocolate. A quick healthy dessert recipe!
Ingredients
Instructions
- Prepare an 8×8-inch pan with parchment paper and non-stick baking spray.
- In a large microwave-safe bowl, combine the chocolate chips and coconut oil. Heat in 30-second intervals, stirring after each interval, until fully melted and smooth. Allow to cool for 1 minute.
- Add in the mini marshmallows, chopped graham crackers, and salt (if using) and gently fold together.
- Pour the s’mores mixture into the prepared pan and firmly press down. Top with additional graham cracker pieces and/or crumbs and coarse sea salt if desired.
- Place in the refrigerator and allow to chill until set. Slice and enjoy!
Notes
- Store leftovers in an airtight container in the fridge for up to 2 weeks or frozen for up to 6 months.


Leave a Reply