
My First No-Bake Surprise
I still laugh at the first time I tried to make a vegan cheesecake. I was nervous, honestly. How could something so rich and creamy come from no dairy at all? But then I watched my family take their first bites. Their eyes went wide. My little grandson said, “Grandma, this is magic!” And it kind of is. This raspberry version is smooth, sweet, and a little bit tart. Doesnt that sound like a perfect summer treat? *Fun fact: Cashews are often used in vegan cheesecakes, but this recipe uses vegan cream cheese instead for a faster, creamier result.*Building the Sandy Crust
The crust is the first thing you make, and it could not be simpler. You just mix melted vegan butter with gluten-free graham cracker crumbs. It should feel like wet sand at the beach. Press it down firmly into your pan. I use a flat-bottomed glass for this. Then pop it in the freezer while you work on the filling. This little trick helps the crust hold together. Why does this matter? A good crust gives the soft cheesecake something to hold onto. It adds a nice crunch that makes every bite more fun. Have you ever made a crust from scratch before?The Secret to Silky Filling
Now for the creamy part. First, beat the vegan cream cheese until it is super smooth. No lumps allowed! Then add the sugar, lemon juice, vanilla, and a pinch of salt. Here is the trick I learned from a friend: whip the cold vegan cream until it forms stiff peaks. Then fold it very gently into the cream cheese. Think of it like tucking a baby into a blanket. You want to keep all that air inside. Why does this matter? That air makes the cheesecake light and fluffy instead of heavy. Nobody wants a brick for dessert, right? What is your favorite thing to make that needs gentle folding?A Berry Story and a Gentle Fold
I have a small memory from my own grandma. She used to pick raspberries from her backyard bush. Her fingers would always be stained red, and she would laugh and call them her “berry jewels.” I think of her every time I use raspberries. For this cheesecake, you fold the berries right into the filling. Be very gentle. If you mix too hard, the berries will turn the whole thing pink and mushy. You want little pockets of fruit. If you use frozen raspberries, make sure to thaw and drain them first. Too much water makes the filling runny. Have you ever cooked with berries from your own garden or market?The Long, Quiet Wait
Once the filling is in the crust, you spread it smooth. Then comes the hardest part: waiting. You put it in the fridge for at least six hours. Overnight is even better. I know that is a long time. But this is not a rushed dessert. It needs to set up firm so it slices cleanly. Patience is a flavor all its own, I like to say. While you wait, you can make the raspberry sauce. It takes just a few minutes on the stove. Simmer the berries with lemon juice, sugar, and a little cornstarch until it thickens. Then let it cool completely.Making It Pretty Before Serving
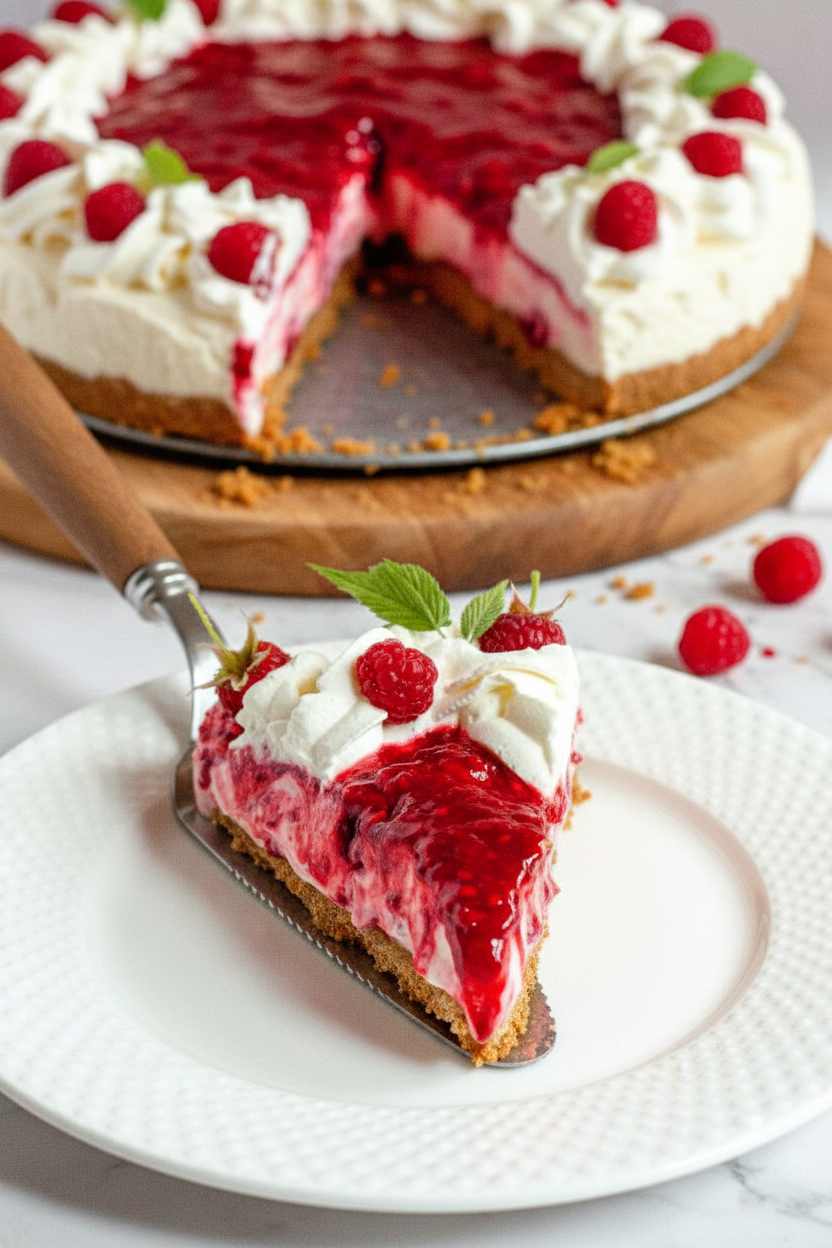
When the cheesecake is firm, take it out of the springform pan. Run a knife around the edge first. Then pour that beautiful red raspberry sauce on top. If you want to get fancy, pipe a border of vegan whipped cream around the edge. Top it with fresh raspberries. It looks like something from a fancy bakery, but you made it right in your own kitchen. This dessert keeps in the fridge for up to five days. You can even freeze it for six months. That means you can make it ahead for a party. Do you like to cook things in advance, or do you wait until the last minute?One Last Taste of Summer
The first bite of this cheesecake always makes me smile. The crust crunches. The filling melts. The raspberries pop with sweetness. It is cool and refreshing on a warm day. I love that this recipe is friendly to so many people. It works for vegans, for anyone who avoids gluten, and for folks who just want a lighter dessert. Food is better when everyone can share it. I would love to know: who would you share this cheesecake with? A friend, a family member, or maybe just yourself for a quiet treat? Let me know what you think.Ingredients:
| Ingredient | Amount | Notes |
|---|---|---|
| Vegan salted butter | 1/2 cup (113g) | Melted |
| Gluten-free vegan graham cracker crumbs | 2 1/4 cups (270g) | |
| Vegan cream cheese | 2 packages (400g) | Room temperature |
| Powdered icing sugar | 1 cup (120g) | |
| Lemon juice | 1 tablespoon | |
| Vanilla extract | 1 teaspoon | |
| Salt | Pinch | |
| Vegan whipping cream | 1/2 cup (120ml) | Cold |
| Raspberries | 2 cups (250g) | Fresh or frozen; if frozen thaw and drain first |
| Raspberries | 1 1/2 cups (187g) | For raspberry sauce |
| Lemon juice | 2 tablespoons | For raspberry sauce |
| Granulated sugar | 1 tablespoon | For raspberry sauce |
| Cornstarch | 1 teaspoon | For raspberry sauce |
| Vegan whipped cream | Optional | For decor |
| Fresh raspberries | Optional | For decor |
The Day I Fell in Love with a Cheesecake
I remember the first time I made this cheesecake. My kitchen smelled like a warm hug and ripe raspberries. I was nervous because my granddaughter can’t have dairy or gluten. But when she took her first bite, she smiled so big I nearly cried. Doesn’t that sound like a moment worth baking for?
I tweaked this recipe over many lazy Sundays. I learned that the crust really does need a good press-down. If you skip that step, it will crumble like old sand. I still laugh at the time my crust fell apart on the plate. It tasted amazing, but it looked like a mess!
Now let me walk you through it slowly. Just like I would if we were standing side by side. I want you to feel the smooth cream cheese under your spatula. And I want you to taste that sweet tartness of fresh raspberries. Trust me, this is easier than it looks.
Let’s Make This Beautiful Cheesecake Together
Step 1: First, grab your 9-inch springform pan. Spray it with non-stick baking spray, then line the bottom with parchment paper. This little trick keeps the crust from sticking. I learned this the hard way when my first cheesecake stayed glued to the pan!
Step 2: In a medium bowl, stir together your melted vegan butter and gluten-free graham cracker crumbs. Mix until it looks like wet sand. Pour it into your pan and press it down very firmly using a flat-bottomed glass. (Fun fact: A heavy measuring cup works best for this—just wrap it in plastic wrap first so crumbs don’t stick.) Set this in the freezer while you make the filling.
Step 3: Beat your room-temperature vegan cream cheese in a large bowl for about 2 to 3 minutes. Use a mixer on high speed. You want it to be super smooth with no lumps. Then add the powdered sugar, lemon juice, vanilla, and a pinch of salt. Mix again until it’s all creamy and lovely.
Step 4: In a separate cold bowl, whip the vegan whipping cream until stiff peaks form. This means when you lift the beaters, the cream stands up tall and doesn’t droop. Be patient—it might take 4 or 5 minutes. Now gently fold this whipped cream into your cream cheese mixture with a rubber spatula. Go slow and light so you don’t lose all the airy fluff.
Step 5: Fold in your raspberries very gently. You want them to be scattered through the filling, not mushy. Pour this pink dream into your chilled crust and spread it even. Cover the pan with plastic wrap and place it in the fridge. Let it chill for at least 6 hours, but overnight is even better. What’s the longest you’ve ever waited for a dessert? Share below!
Step 6: For the raspberry sauce, combine the raspberries, lemon juice, sugar, and cornstarch in a small pot. Bring it to a boil over medium-high heat, stirring often. Let it simmer for 3 minutes until it thickens. Pour it into a bowl and cover the surface directly with plastic wrap. Let it cool completely. If you want, you can strain out the seeds, but I like them in there for a little crunch.
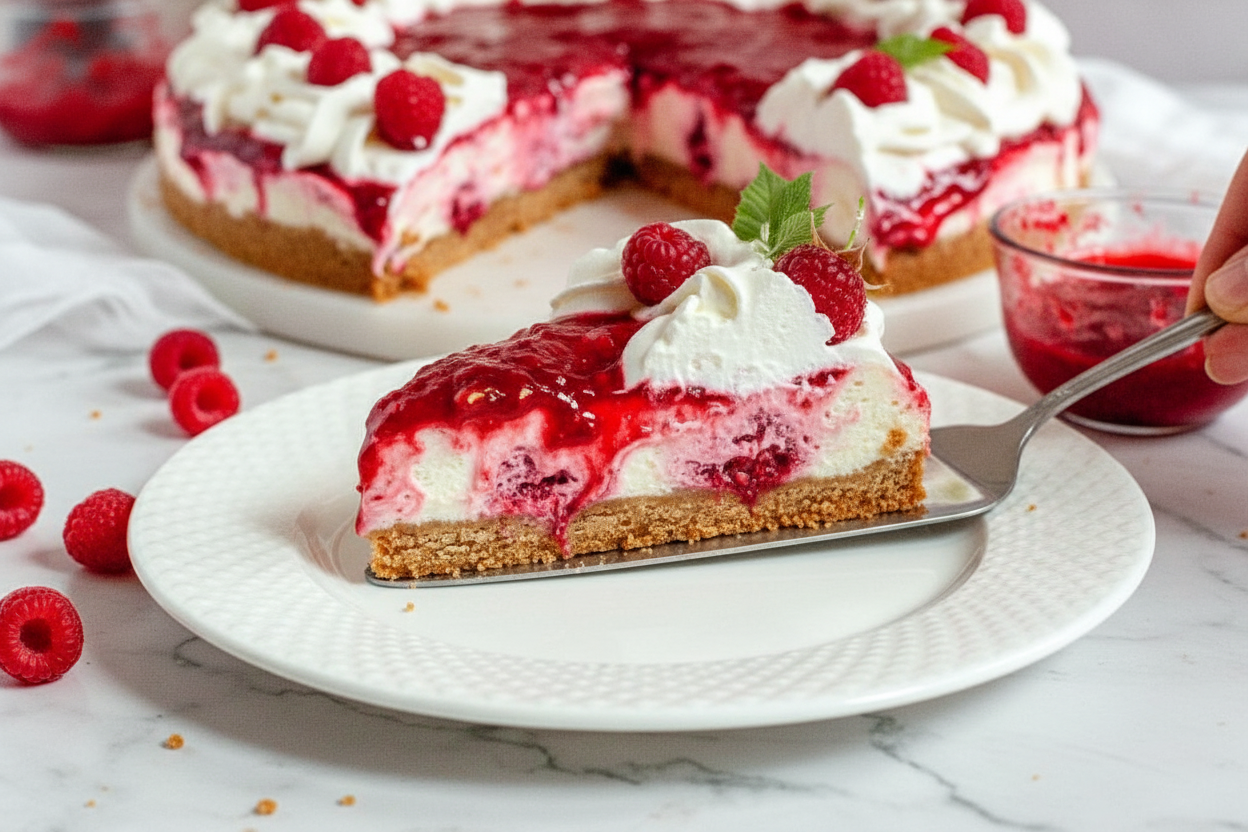
Step 7: When your cheesecake is fully set, run a knife around the edge before opening the springform pan. Drizzle the raspberry sauce on top. You can pipe some extra vegan whipped cream around the border and add fresh raspberries for a fancy look. Store leftovers in the fridge for up to 5 days—if they last that long!
Cook Time: 15 minutes
Chill Time: 6–8 hours
Total Time: 6 hours 30 minutes
Yield: 10 servings
Category: Dessert
Three Fun Twists for Your Next Batch
Lemon-Blueberry Sunshine: Swap the raspberries for fresh blueberries and add an extra tablespoon of lemon zest to the filling. It tastes like a bright summer morning. Your kitchen will smell like sunshine and happy thoughts.
Chocolate-Raspberry Dream: Melt 1/2 cup of dairy-free dark chocolate chips and swirl it into the filling before adding the raspberries. It looks like a marble painting and tastes like a fancy candy shop. This one is my grandson’s favorite.
Spiced Pear & Ginger: Replace the raspberries with diced ripe pears and fold in 1 teaspoon of ground ginger. Top the finished cheesecake with a drizzle of maple syrup instead of raspberry sauce. It’s cozy like a blanket on a chilly evening. Which one would you try first? Comment below!
How to Serve and Sip This Sweet Treat
Slice the cheesecake with a warm, dry knife for clean edges. Wipe the blade between cuts for that bakery look. Serve each slice on a small plate with a drizzle of extra raspberry sauce and a few fresh mint leaves if you have them. A tiny pinch of flaky salt on top makes the sweetness pop even more.
For a cozy non-alcoholic drink, pour a tall glass of cold oat milk or a sparkling berry lemonade. The fizz cuts through the creamy cheesecake perfectly. If you want something grown-up, a chilled glass of Moscato d’Asti is light and fruity. It pairs like a dream with the raspberry flavor. Which would you choose tonight?
Storing Your Cheesecake the Right Way
Let me tell you about the first time I made this cheesecake. I was so excited I put it right on the counter. Big mistake. It got soft and sloppy. Now I know better.
This cheesecake loves the fridge. After it sets for six hours, cover it tightly. It will stay fresh for up to five days. For longer storage, wrap it well and put it in the freezer. It keeps for six months that way.
To reheat, do not use the microwave. That makes the crust soggy. Just let it sit on the counter for ten minutes. It will soften just enough. Batch cooking is a lifesaver. Make two at once and freeze one for later. You will thank yourself on a busy week.
Storing properly saves money and time. It means you always have a treat ready. Have you ever tried storing it this way? Share below!
Three Common Problems and Easy Fixes
My friend once asked why her cheesecake turned out runny. I remember nodding along. The problem was simple. She forgot to drain the frozen raspberries. Extra water makes the filling loose. Always thaw and drain them first.
Another trouble is a crumbly crust. That happens when you do not press firmly enough. Use a heavy glass or measuring cup. Push down until it feels like packed sand. This matters because a solid crust holds everything together. It gives you confidence when you slice it.
Last, some folks overmix the filling. That knocks the air out of the whipped cream. Your cheesecake will not be light and fluffy. Fold gently, like you are tucking in a blanket. Fixing these issues makes your dessert taste better every time. Which of these problems have you run into before?
Your Top Questions Answered
Q: Is this really gluten-free? A: Yes, as long as you use gluten-free graham crackers. Check the package to be sure.
Q: Can I make it ahead of time? A: Absolutely. Make it the night before. It needs at least six hours to set, but overnight is best.
Q: What can I swap for raspberries? A: Try strawberries or blueberries. Use the same amount and adjust sugar to taste.
Q: How do I scale the recipe for a smaller pan? A: Halve every ingredient for a 6-inch pan. Keep the baking time the same.
Q: Do I have to use the raspberry sauce? A: No, but it adds a lovely tang. You can skip it or use melted jam instead. Which tip will you try first?
A Warm Goodbye from My Kitchen to Yours
I hope you love this cheesecake as much as my family does. It is perfect for a birthday or a quiet night in. The best part is sharing it with people you care about.
*Fun fact: This recipe works great with fresh or frozen raspberries, so you can enjoy it all year round.*
When you make it, snap a picture. I would love to see your creation. Have you tried this recipe? Tag us on Pinterest!
Happy cooking!
—Chloe Hartwell.
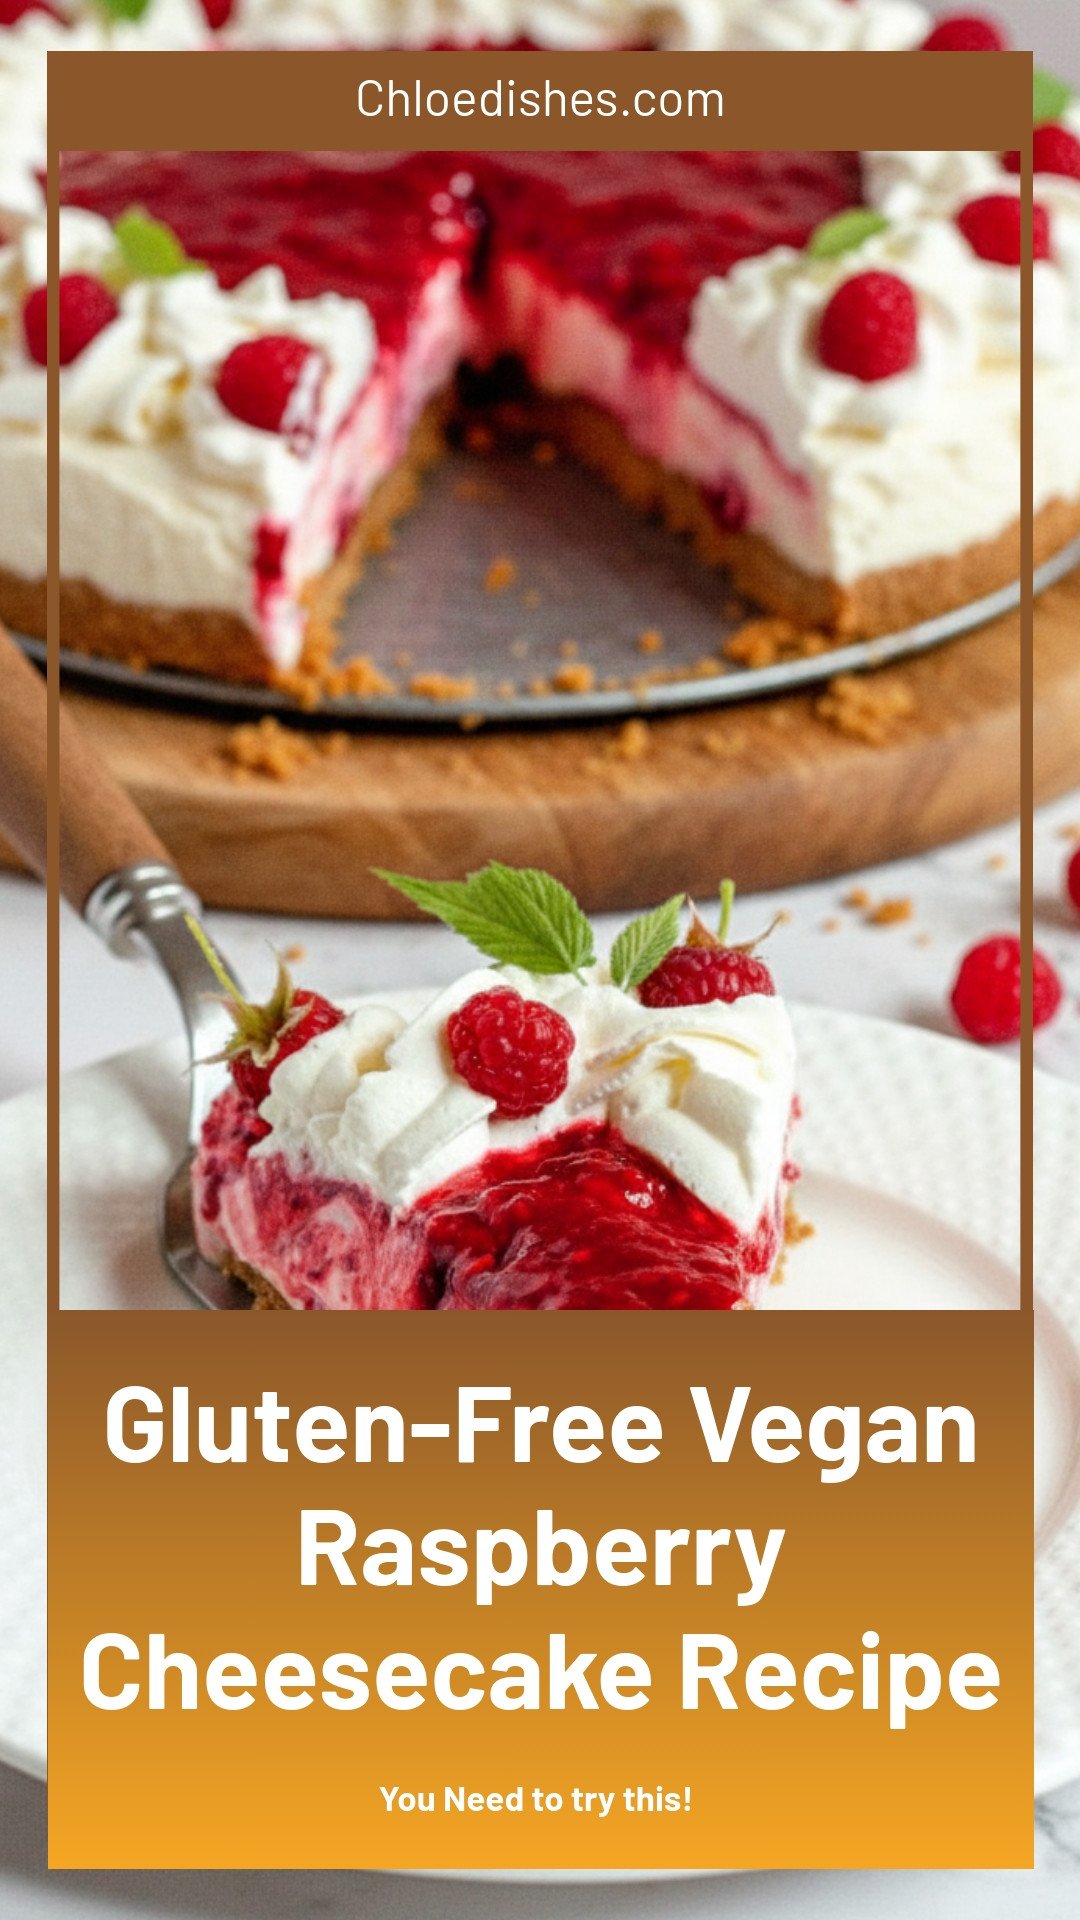
Gluten-Free Vegan Raspberry Cheesecake Recipe
Description
Indulge in a creamy Gluten-Free Vegan Raspberry Cheesecake, a decadent dairy-free dessert perfect for healthy treats.
Ingredients
Graham Cracker Crust
Raspberry Cheesecake
Raspberry Sauce
Instructions
- Prepare a 9-inch springform pan with non-stick baking spray and parchment paper.
- In a medium mixing bowl, combine all of the crust ingredients and mix until a sand-like texture is achieved.
- Pour into the pan and firmly press down the mixture with a heavy-bottomed glass or measuring cup. Place in the freezer to chill while the filling is prepared.
- In a stand mixer or large bowl with electric mixers, beat the cream cheese on high for approximately 2-3 minutes or until smooth.
- Add in the icing sugar, lemon juice, vanilla extract, and salt and combine until smooth. Set aside.
- In a stand mixer or large bowl with electric mixers, beat the heavy whipping cream on high until stiff peaks form.
- Add the whipped cream to the cream cheese mixture and gently fold it together with a spatula. Be very gentle while folding to not beat the air out of the whipped cream.
- Gently fold the raspberries into the cheesecake mixture until just combined. Be careful to not overmix.
- Pour the raspberry cheesecake into the crust and spread evenly. Place in the fridge and allow it to chill for a minimum of 6 hours, but preferably overnight.
- In a medium pot, combine all the raspberry sauce ingredients and bring to a boil over medium-high heat. Once boiling, reduce the heat to medium and allow to simmer for 3 minutes while stirring occasionally.
- Remove from the heat and pour into a shallow dish. Cover the surface directly with plastic wrap and allow it to fully cool before using. Strain the raspberry seeds if desired.
- Before serving, remove the cheesecake from the pan (see above for removal tips) and top with raspberry sauce. If desired, place additional whipping cream in a piping bag fitted with a Wilton 1M, pipe a border, and top with fresh raspberries. Enjoy!
Notes
- Store leftovers in an airtight container in the fridge for up to 5 days or frozen for up to 6 months.


Leave a Reply