
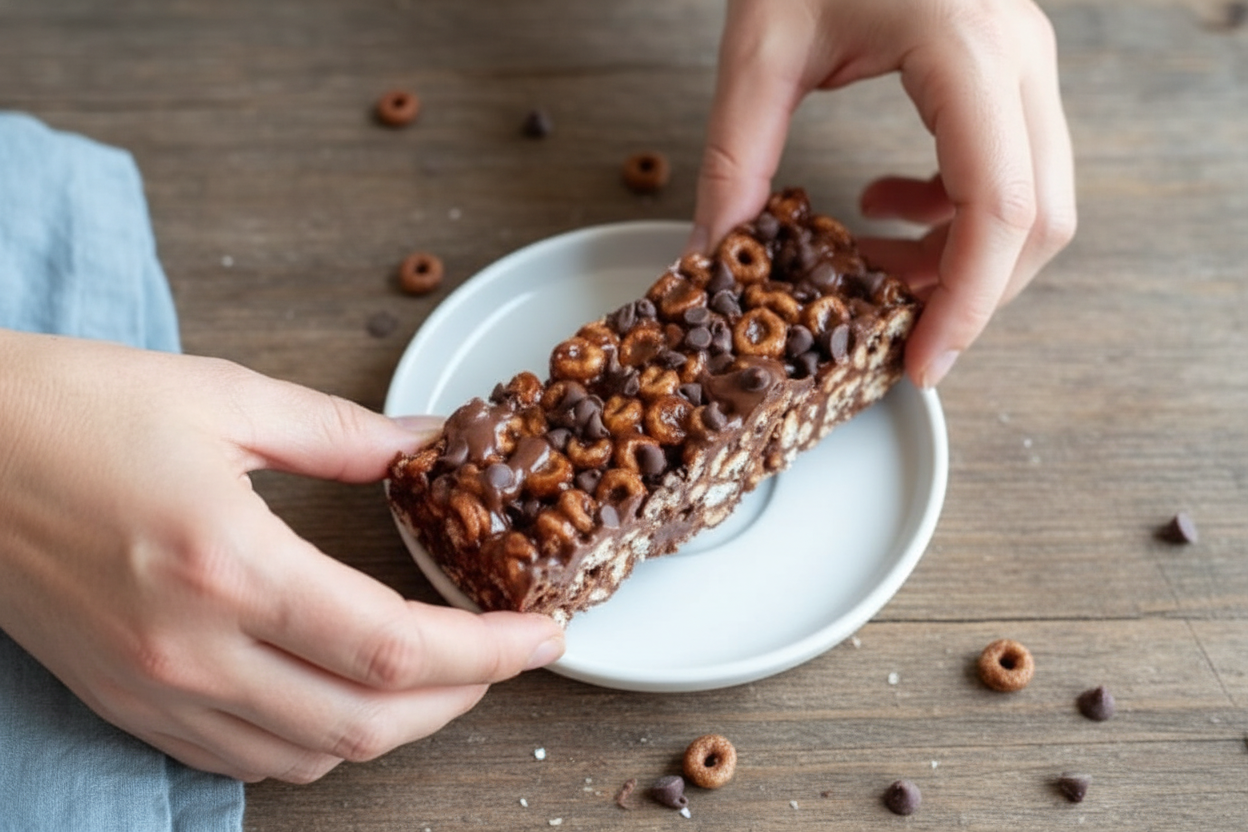
The Day I Learned Dessert Doesn’t Need an Oven
I remember the first time I made these bars. It was a hot summer afternoon, and my kitchen felt like a little oven itself. I wanted something sweet, but I could not stand the idea of turning on the big oven. That is when I remembered this recipe from a friend. No baking. Just stirring and waiting. I still laugh at how easy it was. Doesnt that sound like a good kind of magic? Why this matters: You can make a treat without heating up your whole house. It is a happy trick to have in your pocket.The Cereal That Acts Like a Crust
You start with 4 cups of chocolate cereal. I like to use a crispy kind. It gives the bars a nice crunch. Pour it into a big bowl and set it aside. Then, in a saucepan over medium-low heat, you melt the dessert spread, honey, coconut oil, brown coconut sugar, and vanilla. Stir it often. Watch it turn into a warm, shiny syrup. Do you ever just stare at melting things in a pan? I do. *Fun fact: Honey never goes bad. Archaeologists found 3,000-year-old honey in Egyptian tombs, and it was still good enough to eat.Pressing Down Is the Secret Step
When you pour the warm mixture over the cereal and stir, it gets sticky and glorious. Then you dump it all into an 8×8 pan lined with parchment paper. I always spray the sides with a little non-stick spray, just to be safe. Here is the part that matters: press it down evenly and firmly. Use a rubber spatula. Push it into every corner. If you skip this, the bars will fall apart later. I learned that the hard way my first time. Have you ever had a bar crumble into a sad little pile? Why this matters: Pressing firmly is like giving your bars a good, tight hug. It holds them together when you cut them later.A Little Drizzle Makes It Pretty
Now for the fun part. Melt 2 ounces of dairy-free chocolate chips with another tablespoon of coconut oil. You can do this in the microwave. Just heat it in short bursts and stir until smooth. Drizzle that melted chocolate over the top of your pressed bars. I like to make zigzag lines with a spoon. It looks fancy, but it takes ten seconds. My granddaughter once said it looked like a chocolate spiderweb. I still laugh at that. Do you like drizzling things, or do you prefer to spread it all over? I would love to know your style.The Hardest Part: Waiting
Here comes the tricky part. You have to let them set. I know. It is hard. Pop the pan in the fridge for at least an hour. The chocolate drizzle will firm up, and the bars will get solid. When I was little, my grandma used to say, “Waiting makes the sweetness sweeter.” I did not believe her then. Now I do. If you sneak a bite too early, you get a sticky mess. Not bad, but not a neat bar. Why this matters: Patience is like a secret ingredient. It turns a gooey puddle into a treat you can hold in your hand.How to Cut and Share Them
Once they are firm, lift the whole thing out of the pan using the parchment paper. Put it on a cutting board. Use a sharp knife to cut them into squares. I make 16 little bars, but you can make them bigger if you want. These bars are perfect for a picnic, a lunchbox, or a quiet afternoon snack. They are gluten-free and dairy-free, so almost anyone can enjoy them. I like to wrap a few in wax paper and give them to neighbors. Tell me, who would you share a batch of these with? Maybe a friend who loves chocolate but needs to avoid certain foods? Or just yourself, and that is perfectly okay too.Ingredients:
| Ingredient | Amount | Notes |
|---|---|---|
| Chocolate cereal | 4 cups | Use gluten-free/dairy-free brand |
| Dessert spread | ½ cup | e.g., Nutella-style, dairy-free |
| Honey | ½ cup | Or maple syrup for vegan |
| Coconut oil | ¼ cup | Melted, for cereal base |
| Brown coconut sugar | 1 tablespoon | Or regular brown sugar |
| Vanilla extract | 1 teaspoon | Alcohol-free |
| Dairy-free chocolate chips | 2 oz | For drizzle |
| Coconut oil (for drizzle) | 1 tablespoon | Melted |
My Grandma’s No-Bake Secret
I remember the first time I tried making no-bake treats. My kitchen looked like a cereal explosion! But these Healthy Gluten Free Dairy Free No Bake Nutella Bars are much easier. They taste like a chocolatey hug from a warm kitchen. Doesn’t that smell amazing? Let me walk you through it, step by little step.
You will need a few simple things. Get four cups of your favorite chocolate cereal. You also need a half cup of dessert spread and a half cup of honey. A quarter cup of melted coconut oil makes everything stick together nicely. My grandson once used cooking oil by mistake—don’t do that!
Now grab a tablespoon of brown coconut sugar and a teaspoon of vanilla extract. Make sure the vanilla is alcohol-free so it stays safe and yummy. For the drizzle, you need two ounces of dairy-free chocolate chips and one more tablespoon of coconut oil. Line an 8×8 pan with parchment paper and spray the sides lightly. This makes the bars pop right out.
Step 1: Pour the chocolate cereal into a large bowl. Let the kids help pick out the cereal—my granddaughter chooses the crunchiest kind. This is your crunchy base, so don’t crush it yet.
Step 2: In a small saucepan over medium-low heat, mix the dessert spread, honey, melted coconut oil, brown sugar, and vanilla. Stir often until everything melts together like a shiny chocolate river. (Hard-learned tip: Keep the heat low or the honey will burn and taste bitter. Trust me, I learned this one the hard way!)
Step 3: Pour the warm, melted mixture over the cereal in the bowl. Stir well until every little piece of cereal is coated. My mother always said, “Stir like you mean it!” So give it a good, loving stir.
Step 4: Scoop the cereal mixture into your prepared pan. Press it down evenly and firmly using a rubber spatula. You want it nice and flat so every bar is the same thickness. It feels a bit like packing a snowball, but with chocolate.
Step 5: Now for the drizzle. Place the dairy-free chocolate chips and one tablespoon of coconut oil in a microwave-safe bowl. Heat in 20-second bursts, stirring each time, until smooth. Drizzle it over the bars like a happy little rainstorm. What’s your favorite chocolate drizzle trick? Share below!
Cook Time: 10 minutes (plus 30 minutes to set in the fridge)
Total Time: 40 minutes
Yield: 9 big bars or 16 small squares
Category: Dessert, Snack
Three Fun Twists to Try
Sometimes I like to change things up just for fun. Here are three ways to make these bars feel brand new. Each one is super easy and totally delicious.
Peanut Butter Power Twist: Swap the dessert spread for creamy peanut butter. Add a handful of mini dairy-free chocolate chips to the cereal mix. It tastes like a candy bar your grandma would approve of!
Spicy Cinnamon Surprise: Add a teaspoon of cinnamon and a pinch of cayenne pepper to the melted mixture. The warmth sneaks up on you in the best way. My neighbor tried this and said it “woke up her taste buds.”
Berry Blast Summer Bars: Fold in a half cup of freeze-dried raspberries or strawberries before pressing the mixture into the pan. The tart berries play hide-and-seek with the chocolate. Perfect for a sunny afternoon. Which one would you try first? Comment below!
How to Serve and Sip
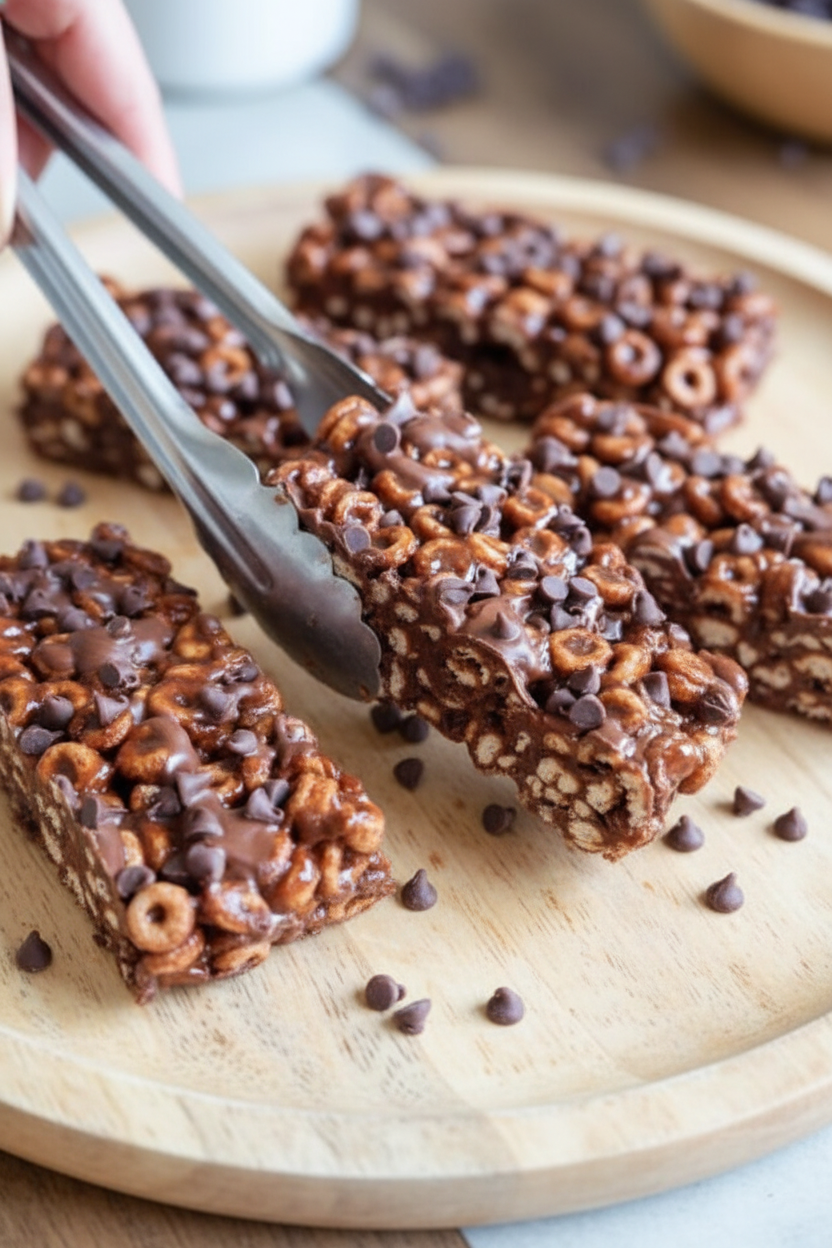
These bars are wonderful all by themselves, but a little extra love never hurts. Serve them on a small plate with a few fresh raspberries on the side. The red berries make the chocolate look even prettier. You can also sprinkle a tiny pinch of sea salt on top for a fancy touch.
For a heartier snack, place a bar next to a scoop of dairy-free vanilla ice cream. It melts just a little into the chocolate—pure magic. My kids always ask for this on movie night.
Now let’s talk drinks. For a non-alcoholic treat, pour a tall glass of cold almond milk or oat milk. It’s creamy and makes the chocolate taste even richer. For the grown-ups, a small cup of dark roast coffee pairs beautifully. The bitter coffee balances the sweet chocolate. Which would you choose tonight?
How to Store These Bars Right
These no-bake bars love a cold home. Keep them in the fridge for up to one week. Just pop them in an airtight container. They get firm and chewy, which is perfect. I once left a batch on the counter overnight. They got too soft and fell apart. Lesson learned.
You can freeze them too. Wrap each bar in wax paper, then place them in a freezer bag. They last for three months. When you want one, just let it thaw for five minutes. This is great for busy mornings. Why does this matter? You always have a healthy treat ready. No rushing to bake again.
Batch cooking saves time and stress. Make a double batch on Sunday. Store half in the fridge and half in the freezer. Your future self will thank you. Have you ever tried storing it this way? Share below!
Common Problems and Easy Fixes
Problem one: the mixture is too crumbly. This happens if the cereal is too dry. Fix it by adding one extra tablespoon of melted coconut oil. Stir gently until everything sticks. Why does this matter? A crumbly bar is hard to eat. You want a clean bite every time.
Problem two: the drizzle is too thick. I remember when I microwaved my chocolate too long. It turned into a hard lump. The fix is simple. Heat in ten-second bursts and stir each time. Stop when it is smooth and shiny. This keeps your drizzle silky.
Problem three: the bars are too sticky. This means you used too much honey. Next time, reduce honey to one third cup. *Fun fact: honey is stronger than sugar, so a little goes a long way.* Sticky bars are messy for little hands. This fix makes them perfect for lunchboxes. Which of these problems have you run into before?
Your Top Questions Answered
Q: Are these truly gluten-free?
A: Yes, if you use certified gluten-free cereal. Check the label on your chocolate cereal.
Q: Can I make these ahead of time?
A: Absolutely. Make them a day before you need them. They taste even better after resting.
Q: What if I don’t have brown coconut sugar?
A: Swap it for regular brown sugar or leave it out. The honey adds enough sweetness.
Q: Can I double the recipe?
A: Yes. Just use a 9×13 pan instead of an 8×8. Press firmly to keep the bars from falling apart.
Q: Is the dessert spread necessary?
A: It adds creaminess. You can use sunflower seed butter or any nut-free spread instead. Which tip will you try first?
From My Kitchen to Yours
Thank you for cooking with me today. These bars are made for sharing. Pack them for a picnic or tuck one in a lunchbox. Every batch tells a little story of care. I hope your kitchen smells as sweet as mine does right now. Have you tried this recipe? Tag us on Pinterest! I love seeing your photos. Happy cooking! —Chloe Hartwell.
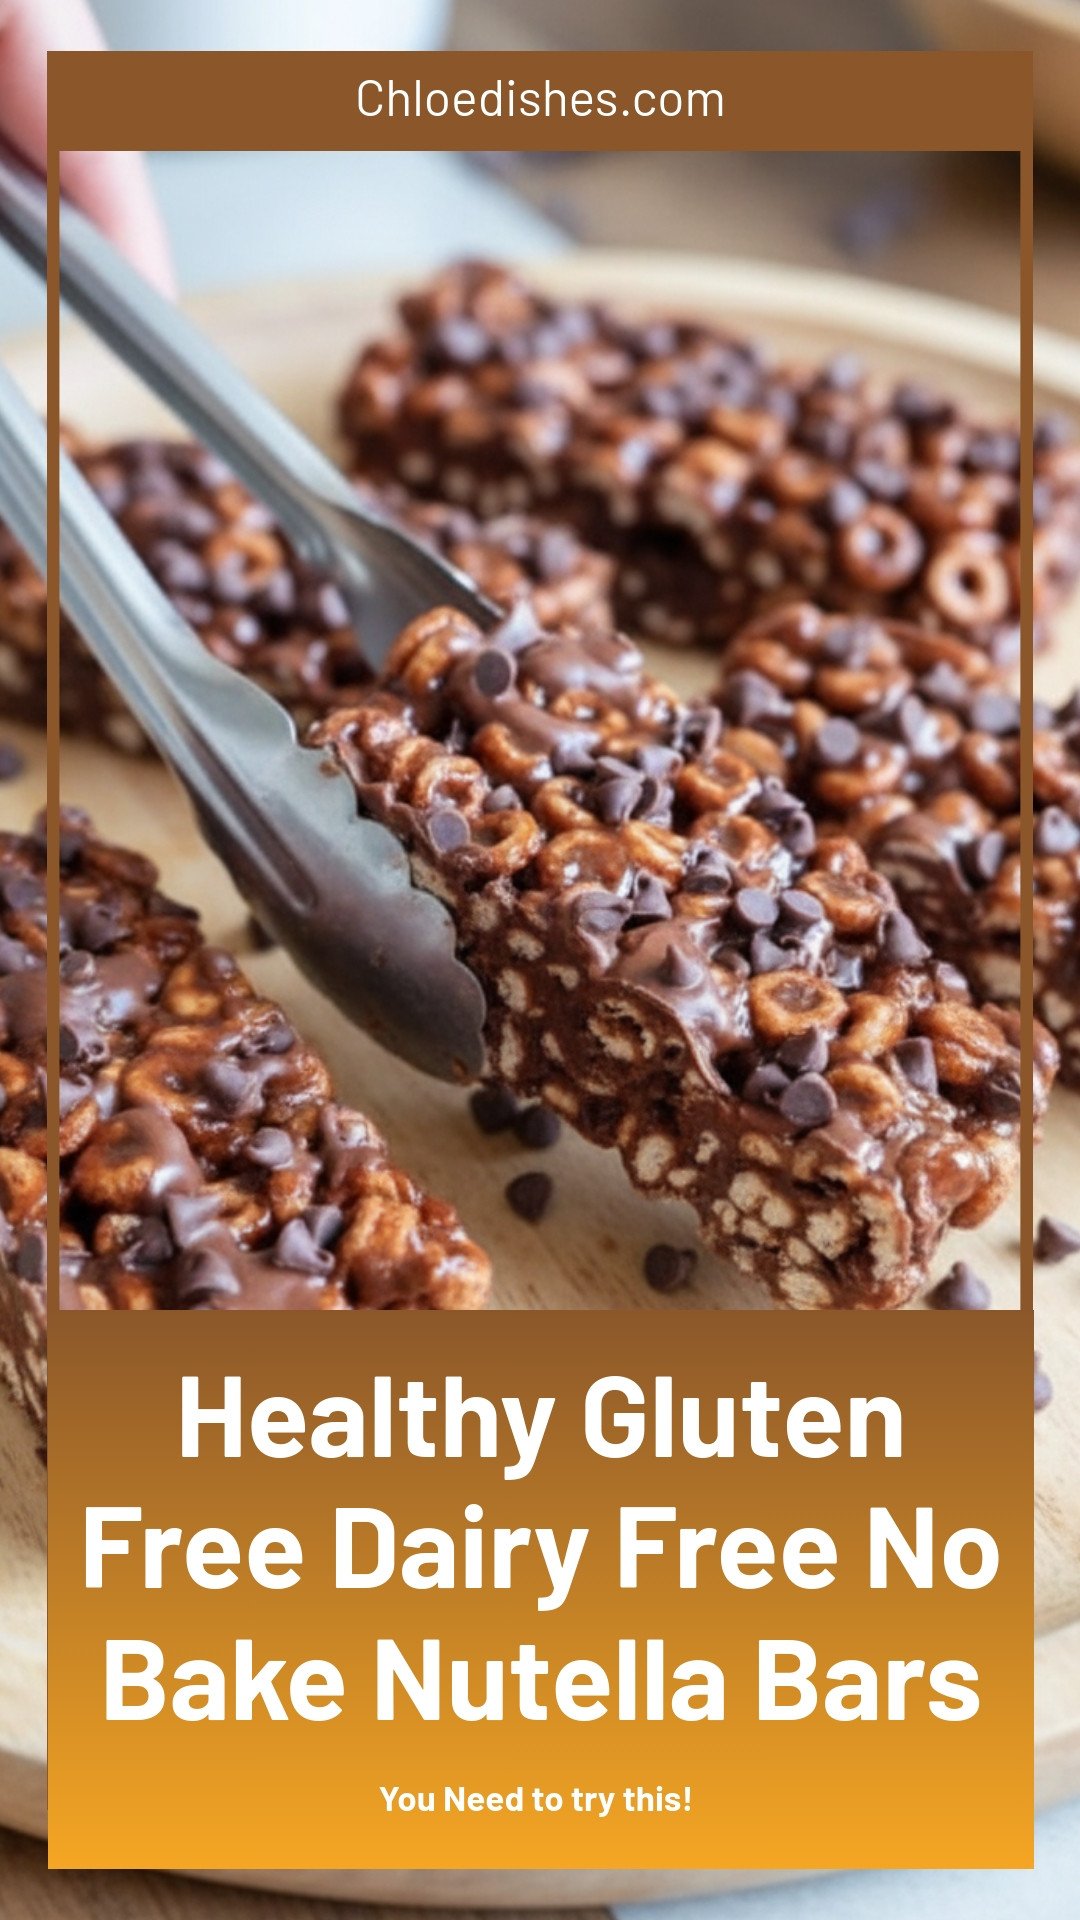
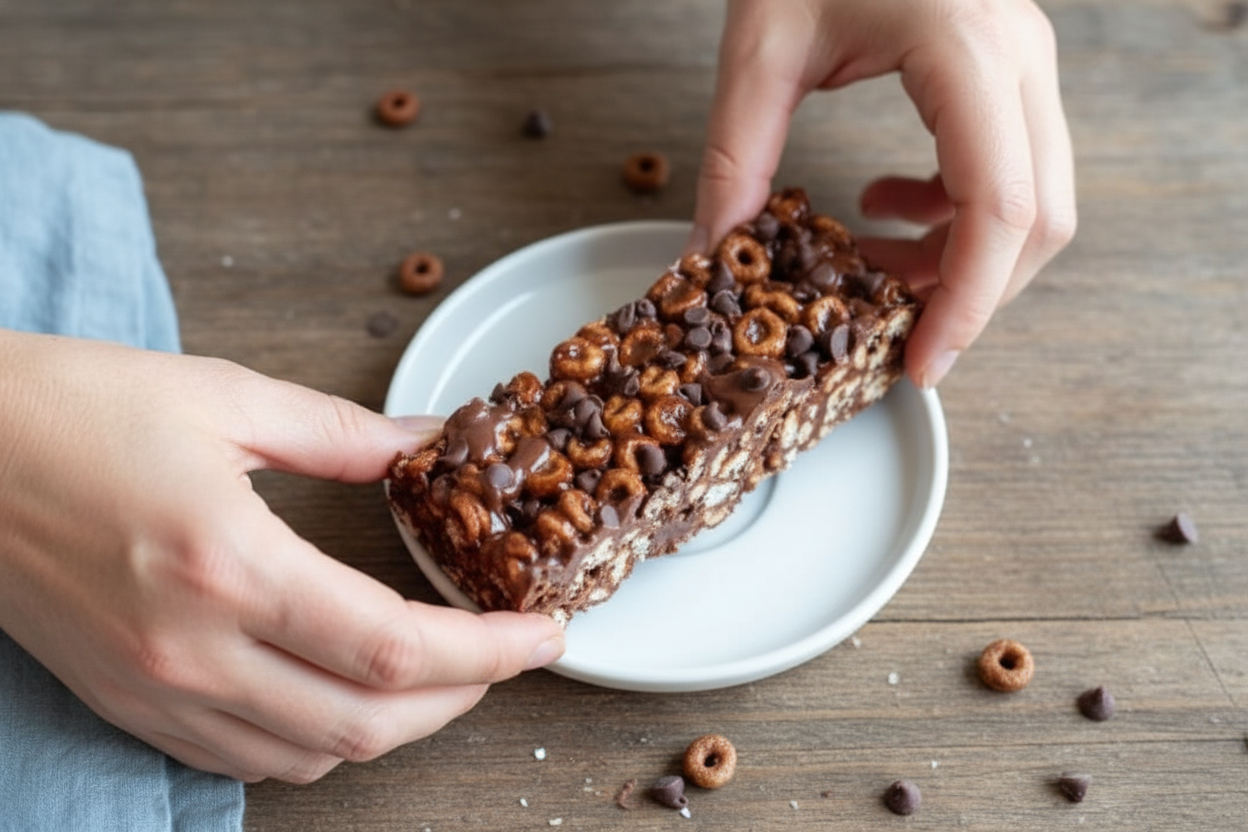
Healthy Gluten Free Dairy Free No Bake Nutella Bars
Description
Indulge in this Healthy Gluten Free Dairy Free No Bake Nutella Bars recipe—a quick, vegan treat made with clean ingredients.
Ingredients
Instructions
- Line an 8×8 pan with parchment paper, and spray sides with non-stick baking spray (optional, for best result).Place cereal in a large bowl.In a saucepan over medium-low heat, cook remaining ingredients until melted, stirring often.Pour mixture in bowl with cereal and stir well.Add cereal mixture to prepared pan and press down evenly and firmly to set mixture in pan, with a rubber spatula.
- For the drizzle: In microwave, heat chocolate and coconut oil until melted.Stir well.Drizzle over bars.
Notes
- *See notes for important information




Leave a Reply