
The Sandwich That Started It All
My Grandpa Frank was a quiet man who showed love through food. I remember the first time he made me this roast beef sandwich. I was nine years old, sitting on a tall stool in his kitchen. He took a bite and his eyes went wide. “That’s the one,” he whispered. I still laugh at that moment. It felt like we discovered a secret treasure together. Now, when I make these sandwiches for my own family, I always think of him. This isn’t just a meal. It is a warm hug from the past. Have you ever had a food that reminds you of someone special?Why Onions Deserve Your Patience
The first step is always the onions. Do not rush them. You put them in the pan with a little oil, a pinch of salt, and then you wait. You stir them now and then. After about fifteen minutes, something magical happens. They turn from hard white rings into soft, sweet, golden ribbons. Doesn’t that smell amazing? *Fun fact: When you cook onions slowly, a natural sugar in them called fructose caramelizes. That is where the sweetness comes from!* Why does this matter? Because those onions do all the heavy lifting. They add so much flavor that you barely need any salt or fancy sauce. The sandwich feels rich without being heavy. You get more taste with less junk. That is a win for your belly and your heart.Using Leftovers Like a Pro
This recipe asks for leftover roast beef. I love that. It turns Tuesday night’s dinner into Wednesday’s exciting lunch. My grandma used to say, “A good cook never throws good food away.” She was right. When you slice the beef thin, it heats up fast under the broiler. The edges get a little crispy while the middle stays tender. It feels like a brand new meal. Do you ever get stuck with leftovers that sit in the fridge? What is your favorite way to use them up?The Cheese Trick You Need to Know
Why does this matter? Melting the cheese this way locks in the heat. It also seals the flavors together. Every bite has a little bit of everything: sweet onions, savory beef, and creamy melted cheese. It makes the sandwich feel complete.Bread Choices and Little Secrets
Here is a little trick from my kitchen. Before you pile on the beef, toast the bread lightly in the oven. Just two minutes. It adds a little crunch that makes the sandwich extra special. Try it next time. You will see what I mean. What kind of bread do you like for sandwiches?A Quick Look at the Numbers
I like numbers that make sense. This sandwich gives you good stuff without a lot of extra nonsense. It fits into a balanced day without making you feel stuffed or guilty. That is honest food.Your Turn to Make It
Ingredients:
| Ingredient | Amount | Notes |
|---|---|---|
| Olive oil | 2 teaspoons | |
| Large white onion | 1 | Sliced into rings |
| Salt and black pepper | To taste | |
| Leftover garlic lovers roast beef | 12 oz | Sliced thin |
| Whole wheat Italian or French bread | 8 oz | Cut into 4 pieces |
| Reduced-fat Swiss Cheese or provolone | 4 oz |
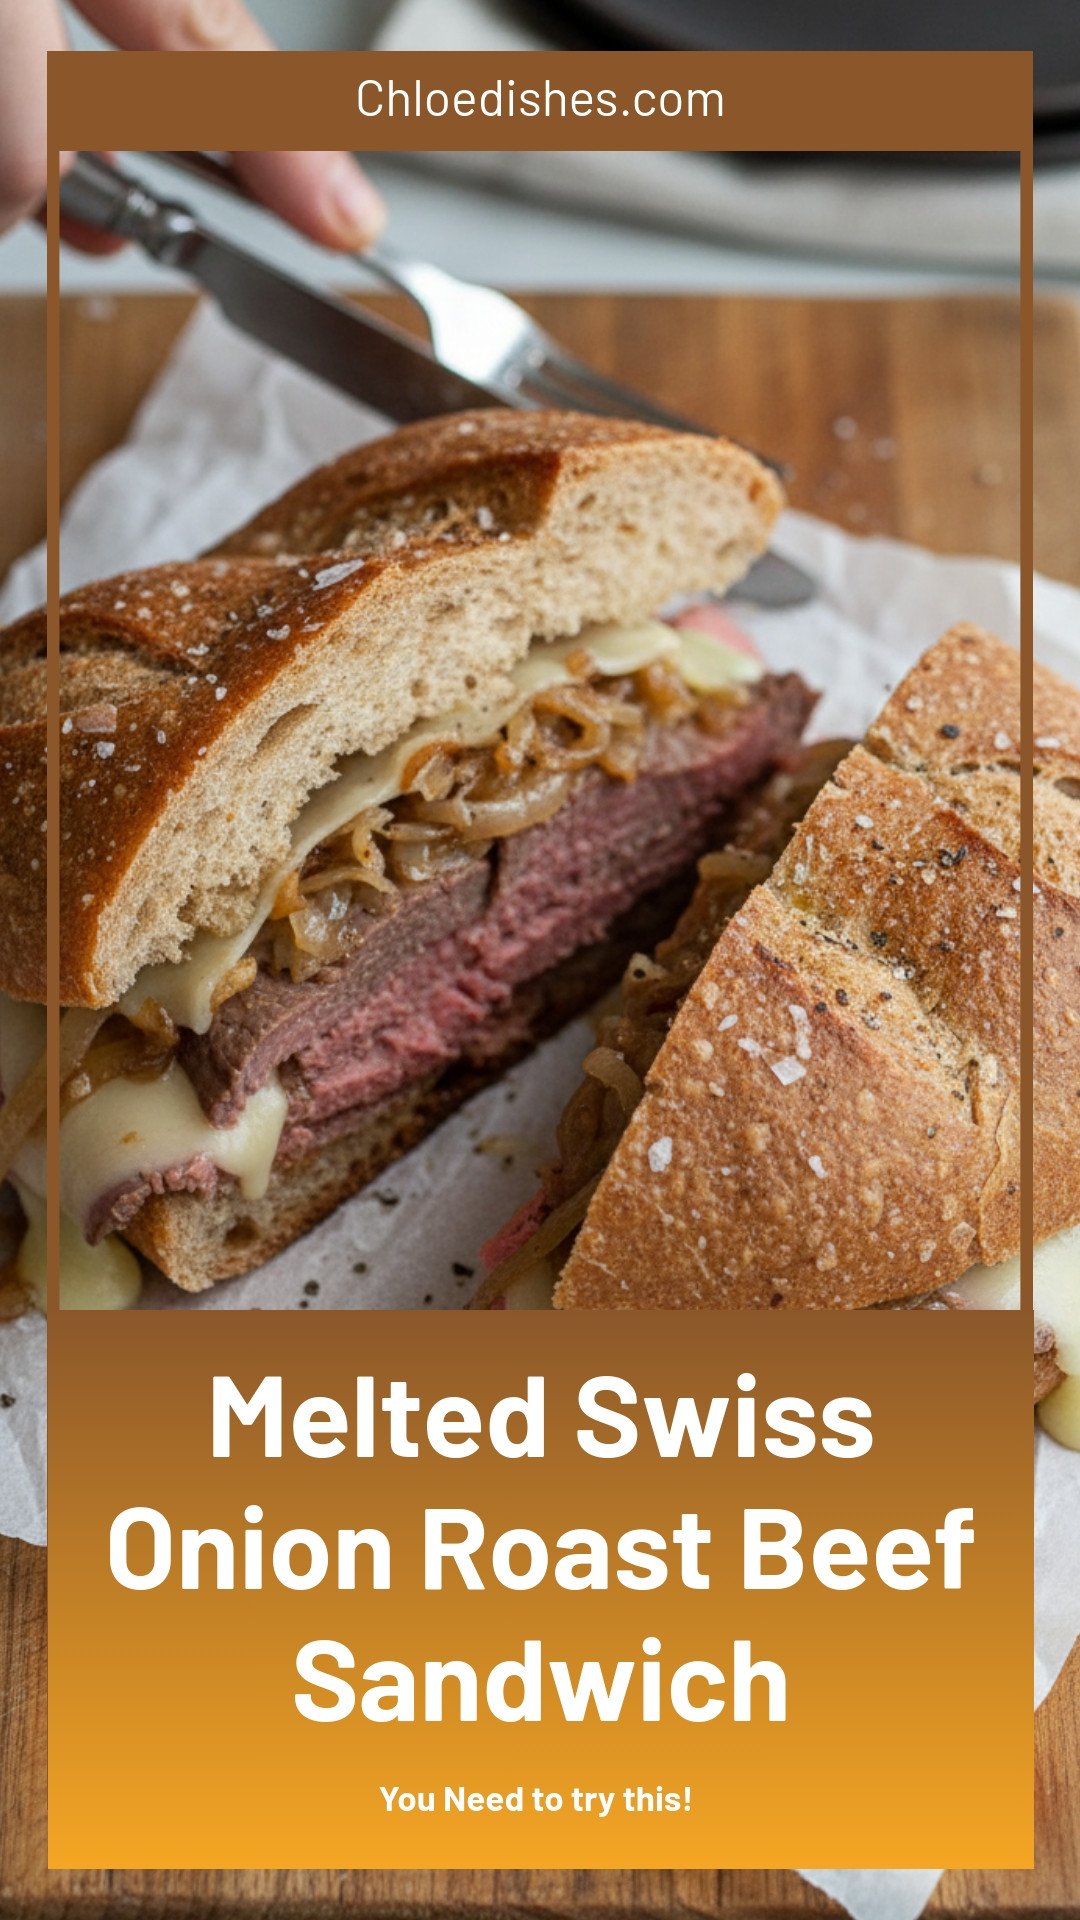
The Sandwich That Stole My Heart
I still remember the first time I made this sandwich. It was a rainy Tuesday, and I had leftover roast beef in the fridge. My kitchen smelled like a cozy diner. Doesn’t that smell amazing?
Caramelizing onions takes patience, but it’s worth every minute. The onions get sweet and soft, like candy for grown-ups. I used to rush this step. I learned the hard way that slow heat makes them perfect.
Let’s get cooking. You’ll need a skillet and a little oil. Grab that leftover roast beef from yesterday. This is the best way to use it up.
Step 1: Heat a 10-inch skillet over medium-low heat. Drizzle in the olive oil and swirl it around. Add your sliced onion rings and sprinkle with salt and pepper. Stir them gently. Now comes the slow part. Cook the onions for 15 to 17 minutes, stirring every few minutes, until they turn a lovely golden brown. (Hard-learned tip: Don’t crank up the heat to go faster. High heat burns the onions and makes them bitter. I learned this the sad way.)
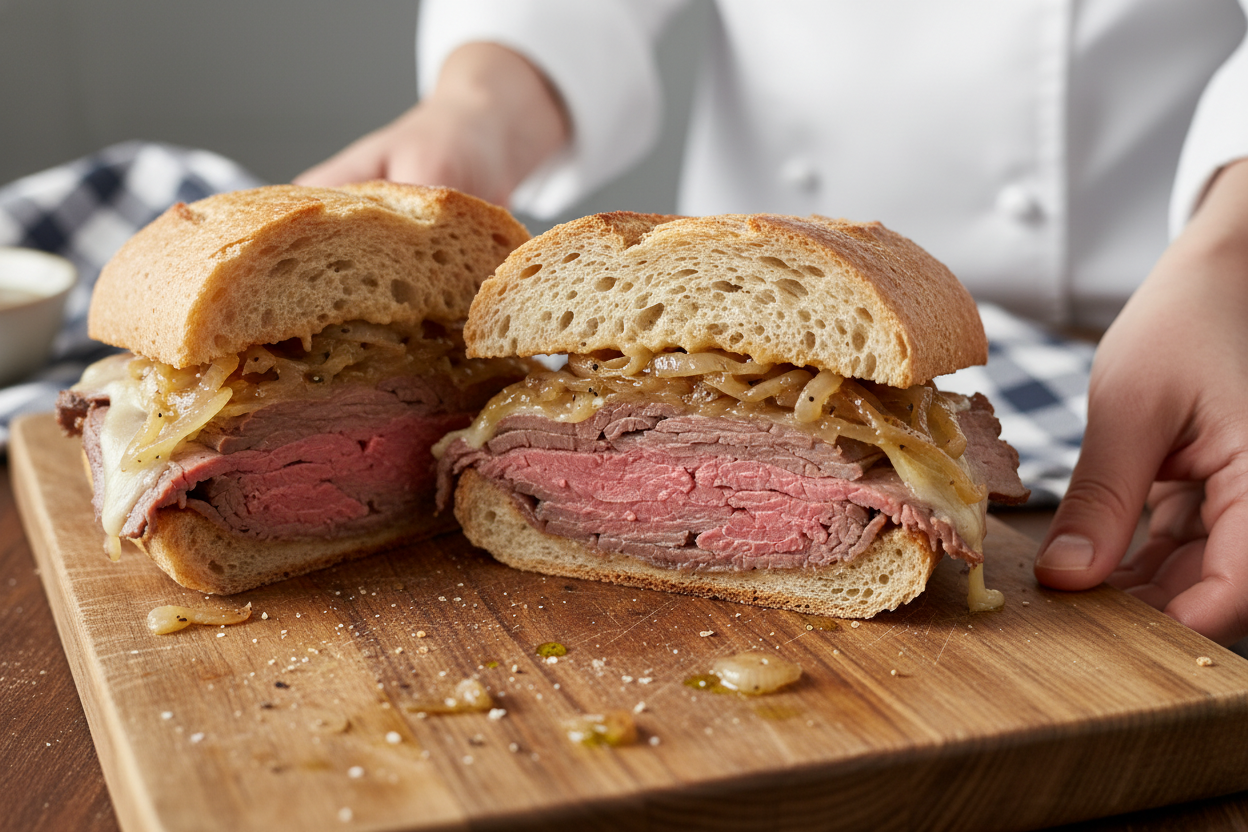
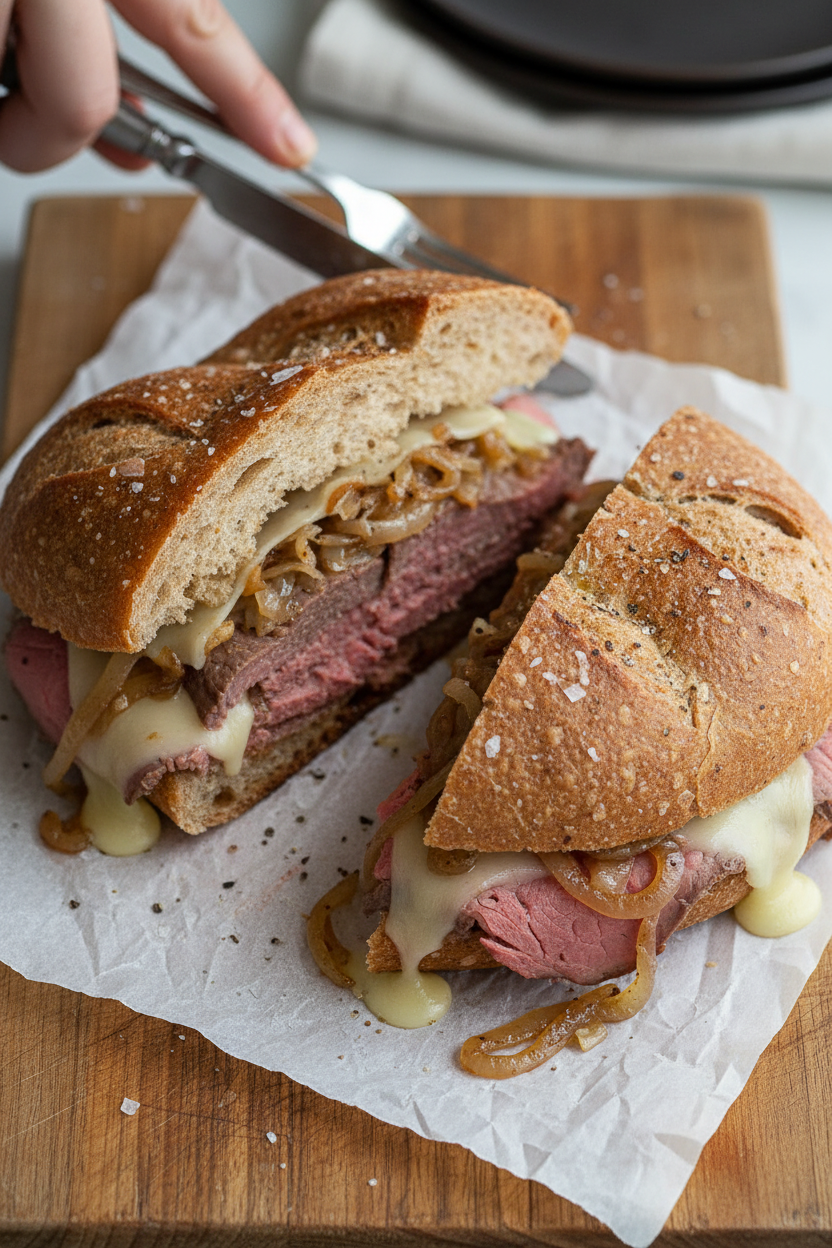
Step 2: While the onions work their magic, slice your bread open. I use whole wheat Italian or French bread. It’s sturdy enough to hold all that juicy filling. Lay the bread pieces on a baking sheet. Divide your thin slices of roast beef evenly among the four pieces. Pile it high, like a little meat mountain.
Step 3: When your onions are soft and caramelized, spoon them over the roast beef. Divide them evenly. Top each sandwich with a slice of reduced-fat Swiss cheese or provolone. Now turn on your broiler to high. Pop the sandwiches under the broiler for just 1 to 2 minutes. Watch them closely! The cheese should melt and bubble, but not burn. My cousin once forgot and got black cheese. We still laugh at that. What’s your go-to leftover meat trick? Share below!
Cook Time: 20 minutes
Total Time: 25 minutes
Yield: 4 sandwiches
Category: Lunch, Dinner
Three Fun Twists to Try
Want to shake things up? I’ve got three ideas. Each one changes the whole mood of this sandwich.
Veggie Lover’s Version: Swap the roast beef for thick slices of portobello mushroom. Grill them first until juicy. It tastes just as hearty.
Spicy Kick: Add a drizzle of sriracha mayo before the cheese. Or sprinkle red pepper flakes over the caramelized onions. It wakes up your taste buds.
Autumn Apple Twist: Layer thin apple slices under the cheese. The sweetness of the apple matches the onions perfectly. My kids eat this one cold for lunch the next day. Which one would you try first? Comment below!
How to Serve and Sip
A great sandwich needs great friends on the plate. Serve it with a handful of crispy potato chips or a simple side salad. I love tossing cucumber slices with lemon juice and salt. It’s light and fresh.
For dipping, try a little bowl of warm beef broth. It turns your lunch into a cozy bowl of joy. You can also add a pickle spear on the side for crunch.
Now, what to drink? For grown-ups, an ice-cold pale ale pairs beautifully with the Swiss cheese and beef. For everyone else, a tall glass of sparkling apple cider feels festive. Or just pour a cold glass of milk. It’s old-fashioned and perfect. Which would you choose tonight?
Storing and Reheating Your Sandwich
This sandwich is even better the next day. I learned that the first time I made it for my husband, Tom. We had leftover roast beef from Sunday dinner. I piled it on bread with onions and cheese. We ate two sandwiches right away. I wrapped the other two in foil and put them in the fridge. The next day, I reheated one in a pan on low heat. The bread got crispy again, and the cheese was perfectly melted. It tasted just as good as fresh. Why does this matter? Batch cooking saves time on busy weeknights. You can make four sandwiches at once and have lunch ready for two days. Just store the sandwiches in foil or an airtight container in the fridge. To reheat, use a skillet on low heat for about 5 minutes. You can also use a toaster oven at 350 degrees for 6 minutes. Never use the microwave. It makes the bread soggy. Have you ever tried storing it this way? Share below!
Three Common Problems and Easy Fixes
Problem one: the onions burn. I remember when I first made this, I walked away from the stove. Big mistake. The onions turned black and bitter. Fix this by keeping your heat on medium-low. Stir them every few minutes. Be patient. Good caramelized onions take 15 minutes. Problem two: the cheese doesn’t melt. This happens if you slice the cheese too thick. Use thin slices. Place the sandwich under the broiler for just one minute. Watch it closely. Problem three: the roast beef is dry. This happened to me once when I used cold meat straight from the fridge. Why does this matter? Dry meat makes a sad sandwich. Fix it by letting the roast beef sit at room temperature for 10 minutes before building your sandwich. Or warm it gently in the skillet with the onions. These small fixes build your cooking confidence. You will learn to trust your eyes and nose. Which of these problems have you run into before?
Five Quick Questions and Answers
Q: Can I make this sandwich gluten-free?
A: Yes. Use your favorite gluten-free bread or a large gluten-free wrap.
Q: Can I make it ahead of time?
A: Yes. Build the sandwiches, wrap them in foil, and keep them in the fridge up to two days. Reheat when ready.
Q: What can I swap for Swiss cheese?
A: Provolone or mozzarella work great. Use whatever melty cheese you have on hand.
Q: How do I scale the recipe for a crowd?
A: Double or triple the ingredients. Cook the onions in two batches so they brown evenly.
Q: Any optional tips?
A: Yes. Add a thin layer of horseradish sauce or Dijon mustard for extra zing. Which tip will you try first?
A Warm Send-Off from Chloe
Thank you for cooking along with me today. I hope this sandwich becomes a favorite in your home. It is simple, filling, and full of comfort. My grandkids call it “the melty sandwich” because of all the cheese. If you make it, I would love to see your creation. Take a photo and share it with us. Have you tried this recipe? Tag us on Pinterest!
*Fun fact: Caramelized onions are naturally sweet, even though they start out sharp and strong.*
Until next time, keep your skillet warm and your heart full. Happy cooking! —Chloe Hartwell.


Leave a Reply