
Why I Love These Muffins
You know that feeling when you bite into a muffin and it’s so dry you need a glass of water? I hate that. These banana muffins are the opposite. They are soft, sweet, and a little bit nutty. My neighbor brought me a basket of brown bananas last week. She said, “I think you can do more with these than I can.” I still laugh at that. It’s true. Bananas that look sad make the best baked goods. These muffins have no oil, but you would never guess it. The peanut butter and bananas do all the work. Doesnt that smell amazing? They make your whole kitchen feel like a hug.
Why does this matter? Because you don’t need fancy ingredients to bake something that feels special. A few simple things from your pantry can turn into a treat. That is real home cooking. Have you ever made muffins with bananas that were too ripe? I bet you have. Tell me in a comment what you made with them last time.
A Little Story About Peanut Butter
I have a memory of my grandfather making peanut butter. He would pour roasted peanuts into a funny machine that looked like a toy. It would grind and grind until a warm, creamy paste came out. He would spread it on toast and say, “This is the best food on earth.” I think he was right. Peanut butter has protein and makes things stick together. That is why it works so well in these muffins. It holds them together without needing butter or eggs for fat. Plus, it tastes like a hug.
In this recipe, I use a brand called Naked Crunch or Spread The Love. But any creamy peanut butter will work. Just check the label. You want the kind that says “peanuts” and maybe “salt.” Nothing else. Have you ever tried making your own peanut butter? It is easier than you think. I will show you another day if you ask nicely.
How To Mash Bananas Like A Pro
There is a trick to mashing bananas. I learned it from a friend who used to work in a bakery. You do not want to use a fork. A fork leaves lumps. Instead, use an avocado masher. I have one that looks like a big metal wiggly thing. It smooshes bananas smooth in seconds. If you do not have one, a potato masher works too. Just do not beat them into soup. You want them mostly smooth with a tiny lump or two. That keeps the muffins moist.
Here is another tip. Measure your bananas before you mix anything. The recipe says you need 1 ½ cups of mashed banana. That is usually three large bananas. But sometimes bananas are small. If your bananas are shy, add a little more until you hit the line. Then pour them into your bowl. Why does this matter? Because too much banana makes muffins wet and heavy. Too little makes them dry. Measuring is a little act of love for your baking. Have you ever accidentally used too much banana? I still laugh at the time I made banana soup instead of muffins.
The Mixing Secret
Here is a rule I never break: Do not over-mix the batter. When you add dry flour to wet banana and eggs, you want to stir gently. Use a rubber spatula and fold it over and over. Stop as soon as you cannot see any white flour. If you keep stirring, the muffins will become rubbery. Nobody wants a rubber muffin. That is a sad muffin. I learned this the hard way when I was twelve. I beat the batter like I was angry at it. My muffins came out like little hockey pucks. My dad still reminds me of that. He says, “Remember the time you made doorstops?”
So please, be gentle. Think of the batter as something sleeping. You want to wake it up slowly. Also, do not worry if the batter looks a little thick. That is correct. It should be scoopable, not pourable. Have you ever over-mixed muffin batter before? I bet someone in your family has a story like mine. Please share yours in the comments. It makes me feel better to know I am not the only one.
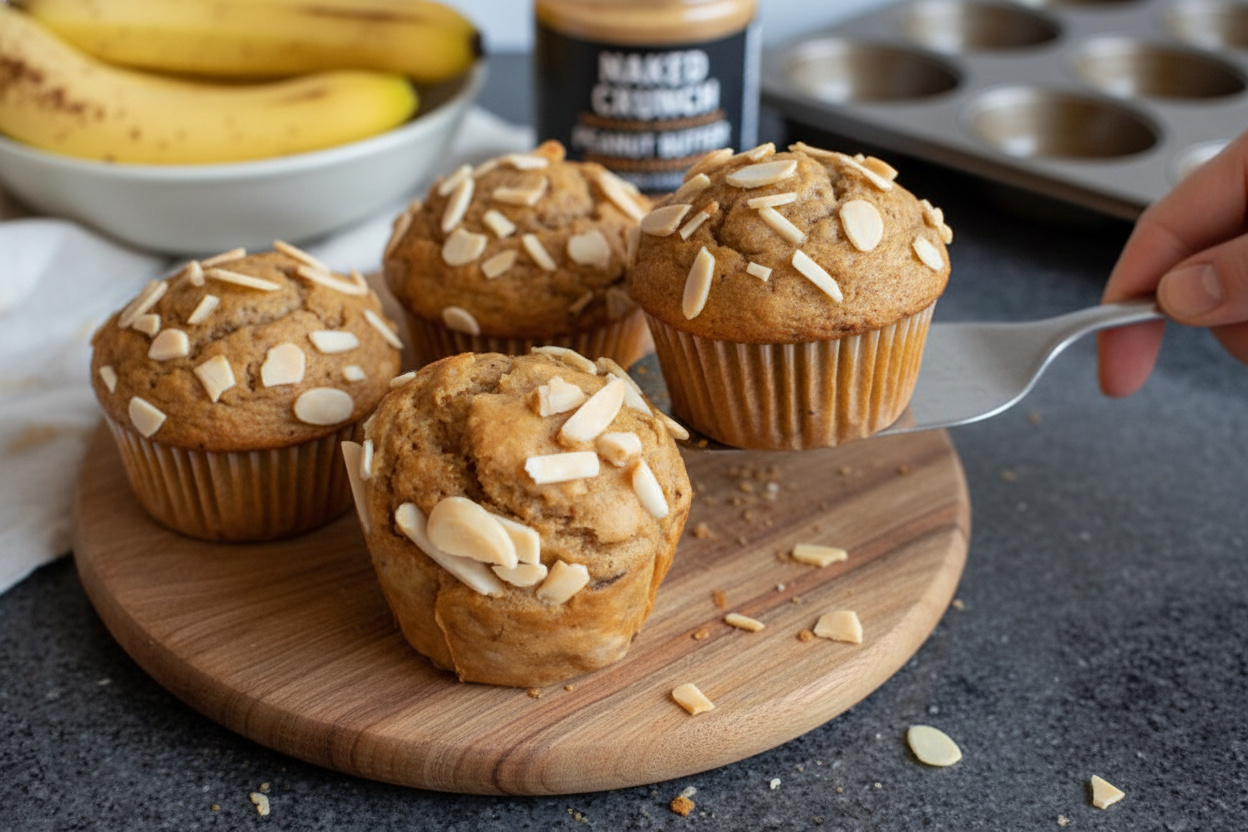
The Best Part: Toppings
Before you pop these muffins in the oven, you get to add a little decoration. I like to sprinkle almond slivers on top. They look like little butterflies resting there. When the muffins bake, the almonds toast and get crunchy. That crunch next to the soft muffin is a lovely surprise. You can also use chopped walnuts or even a few oats. If you want them plain, that is fine too. My grandson likes them without anything on top. He says the muffin is enough.
*Fun fact: Almonds are not actually nuts. They are seeds from a fruit called a drupe. I know, that sounds fancy. But next time you eat an almond, remember it is really a seed that traveled all the way from a tree.*
Have you ever put something weird on top of a muffin? I once put pumpkin seeds because that was all I had. They turned out great. So feel free to experiment. Just do not use anything that burns easily, like mini marshmallows. I tried that once. The kitchen looked like a marshmallow volcano. I still laugh at that memory.
How To Know They Are Done
Every oven is a little different. My oven runs a bit hot. So I always check my muffins at 17 minutes. The best way to know they are done is the toothpick test. Stick a wooden toothpick into the middle of a muffin. If it comes out clean or with a few crumbs, they are ready. If it comes out wet and gooey, give them two more minutes. Then check again. Do not open the oven door too much, or they will sink. Let them rest in the pan for 15 minutes after baking. This helps them set. Muffins are like people. They need a little quiet time before they are ready to face the world.
One more tip: Cool them on a wire rack. If you leave them in the hot pan, they will get soggy on the bottom. Nobody wants a soggy bottom. How do you like your muffins best? Warm with butter? Or cold with a glass of milk? I would love to hear your favorite way to eat them.
Let’s Make Baking A Tradition
I hope you try these muffins on a lazy Sunday morning. Or on a Tuesday after school. Baking does not have to be for special occasions. It can be for any day you need a little warmth. When you bake, you are making memories with your hands. That sounds old-fashioned, but it is true. Every time I bake, I think of my mother and her messy kitchen. She would let me lick the spoon. That small thing meant the world to me.
Now I want to ask you a question. Who taught you how to bake? Was it a grandma, a parent, or a friend? Maybe you taught yourself from a video. That counts too. Tell me about them in the comments. I would love to know. And when you make these muffins, send me a little note about how they turned out. Did your family smile? Did the house smell good? I hope so. Because that is why we bake. To share something warm with people we love.
Ingredients:
| Ingredient | Amount | Notes |
|---|---|---|
| Gluten free 1:1 flour | 1 ¾ cup | Dry |
| Coconut sugar (organic brown) | ½ cup | Dry |
| Cinnamon | ½ teaspoon | Dry |
| Baking powder | 2 teaspoons | Dry |
| Mashed bananas (large) | 3 | Wet |
| Maple syrup | 2 tablespoons | Wet |
| Naked Crunch peanut butter (Spreadthelove) | ½ cup | Wet |
| Eggs (room temperature) | 2 | Wet |
| Vanilla extract | 1 ½ teaspoons | Wet |
| Almond slivers for topping | As needed | Optional |
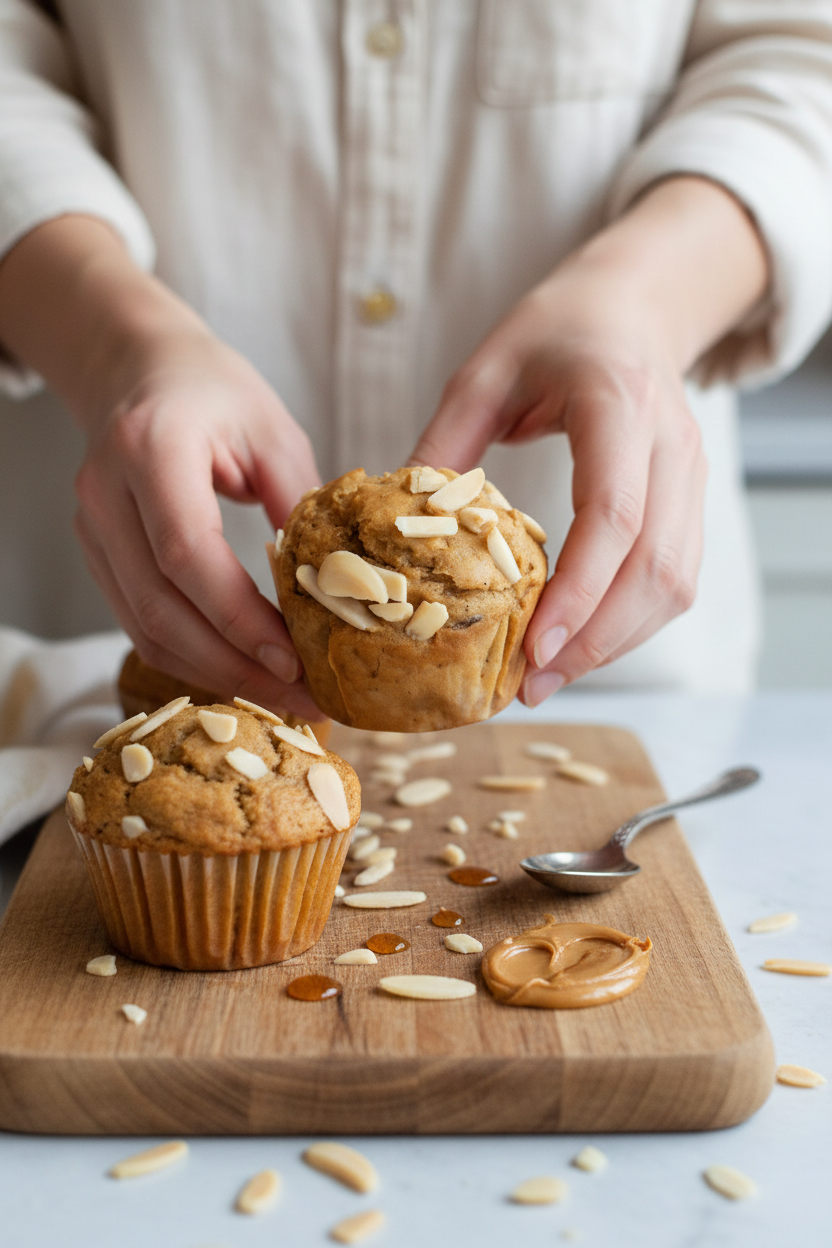
My Grandma Would Have Loved These Muffins
I remember my grandma’s kitchen always smelled like warm bananas. She never used oil, just like this recipe. That’s why I smiled when I saw these Oil-Free Protein Banana Muffins. Doesn’t that smell amazing already? They are made with simple things you probably have right now.
Let me walk you through it step-by-step, just like I would show a friend. I still laugh at how many muffins I ruined by over-mixing. You just stir until the flour disappears. No more, or you get tough muffins. That’s my hard-learned tip right there.
Step 1: First, turn your oven on to 365 degrees. Line a muffin tray with those paper liners. This keeps the muffins from sticking. I always count my liners twice. Nothing worse than running out mid-pour.
Step 2: In a medium bowl, whisk together the flour, coconut sugar, cinnamon, and baking powder. Pretend you’re mixing a little magic potion. (Hard-learned tip: Use gluten-free 1:1 flour if you want them fluffy, not dense.) Do you whisk dry ingredients before wet ones? Share below!
Step 3: Now grab a big bowl. Mash three large bananas until they are almost smooth. My trick is to mash them in a large measuring cup first so I know I have exactly one and a half cups. If you’re short, add a tiny bit more banana until you hit that mark. It matters!
Step 4: Add the peanut butter, eggs, maple syrup, and vanilla to your mashed bananas. Use a whisk to mix it all up until it looks like a creamy, golden batter. Sometimes I sing while I whisk, no joke.
Step 5: Carefully pour the dry ingredients into the wet ones. Grab a rubber spatula and fold it all together gently. Stop mixing the second you cannot see any more flour. Over-mixing makes them rubbery, and nobody wants rubber muffins.
Step 6: Use a cookie scoop or ice cream scoop to fill each liner evenly. This keeps your muffins the same size. Sprinkle some almond slivers on top if you like a little crunch. Slide the tray into the oven and bake for 17 to 20 minutes. A toothpick should come out clean. Let them cool on a rack for 15 minutes before you dig in.
Cook Time: 17–20 minutes
Total Time: 35 minutes
Yield: 12 muffins
Category: Breakfast, Snack
Three Fun Ways To Switch It Up
Sometimes I get bored making the same thing twice. That is totally okay. Here are three little twists that make this recipe feel brand new.
Chocolate Chip Dream: Toss in a handful of dark chocolate chips before baking. Sweet, melty, and perfect for any chocolate lover.
Zesty Lemon Twist: Add the zest of one lemon to the wet ingredients. It gives a sunny, fresh pop that makes you think of spring.
Spiced Apple Morning: Swap one banana for half a cup of grated apple. Add an extra pinch of cinnamon. It tastes like a warm autumn hug.
Which one would you try first? Comment below!
How To Serve Them Up Real Nice
These muffins are lovely all on their own, right out of the tin. But if you want to make it a little extra special, try these ideas. Slice one open and spread a thin layer of butter on it while it’s still warm. It melts right in.
Serve two muffins alongside a handful of fresh berries and a dollop of yogurt. It makes a nice, balanced breakfast that feels fancy. Or crumble one over a bowl of oatmeal for a sweet, crunchy topping.
For a drink, pour yourself a tall glass of cold milk. It is the classic pairing, and it never fails. If you want something grown-up, a warm cup of chai tea is lovely here. The spices in the tea match the cinnamon in the muffin perfectly.
Which would you choose tonight?
Storing Your Muffins the Right Way
These banana muffins freeze like a dream. Let them cool completely first. Then pop them in a freezer-safe bag or container. They will stay fresh for up to three months. I remember making a double batch for my grandson’s visit. I froze half and forgot about them for weeks. They tasted just as good as the day I baked them. For the fridge, place muffins in an airtight container for up to five days. To reheat, wrap one in a paper towel and microwave for 15 seconds. Or warm them in a 300-degree oven for five minutes. Why does this matter? Batch cooking saves time on busy mornings. You always have a healthy snack ready. Have you ever tried storing it this way? Share below!
Common Problems and Easy Fixes
Problem one: muffins turn out too dense. This happens when you over-mix the batter. Stir just until you see no more flour streaks. Problem two: muffins stick to the liners. Use good quality paper liners or spray them lightly with oil. I once used cheap liners and lost half the muffin tops. What a mess! Problem three: muffins come out gummy in the middle. This means your bananas were too watery. Use ripe but not mushy bananas. Why does this matter? Fixing these small issues makes you a more confident baker. Your muffins will turn out fluffy and perfect every time. Why else does it matter? Good texture means your family will actually enjoy eating healthy food. Which of these problems have you run into before?
Five Common Questions
Q: Can I use regular flour instead of gluten-free?
A: Yes. Use the same amount of all-purpose flour. The texture will be slightly different.
Q: Can I make these ahead of time?
A: Absolutely. Bake them the night before. Store in an airtight container on the counter.
Q: Can I swap the peanut butter?
A: Yes. Try almond butter or sunflower seed butter. Each gives a different flavor.
Q: How do I half the recipe?
A: Just cut all ingredients in half. Use one egg, not two. Bake for the same time.
Q: Do I really need the almond slivers?
A: No. They add crunch but are totally optional. Your muffins will be fine without them.
Which tip will you try first?
A Warm Goodbye from Chloe Hartwell
Thank you for baking with me today. I hope your kitchen smells as wonderful as mine does right now. These little muffins are perfect for lunchboxes or a quick breakfast. They are sweet without any oil or refined sugar. *Fun fact: bananas get sweeter as they ripen, so don’t toss those brown ones!* I would love to see your baking results. Have you tried this recipe? Tag us on Pinterest! Share a photo of your muffins. Happy cooking! —Chloe Hartwell.
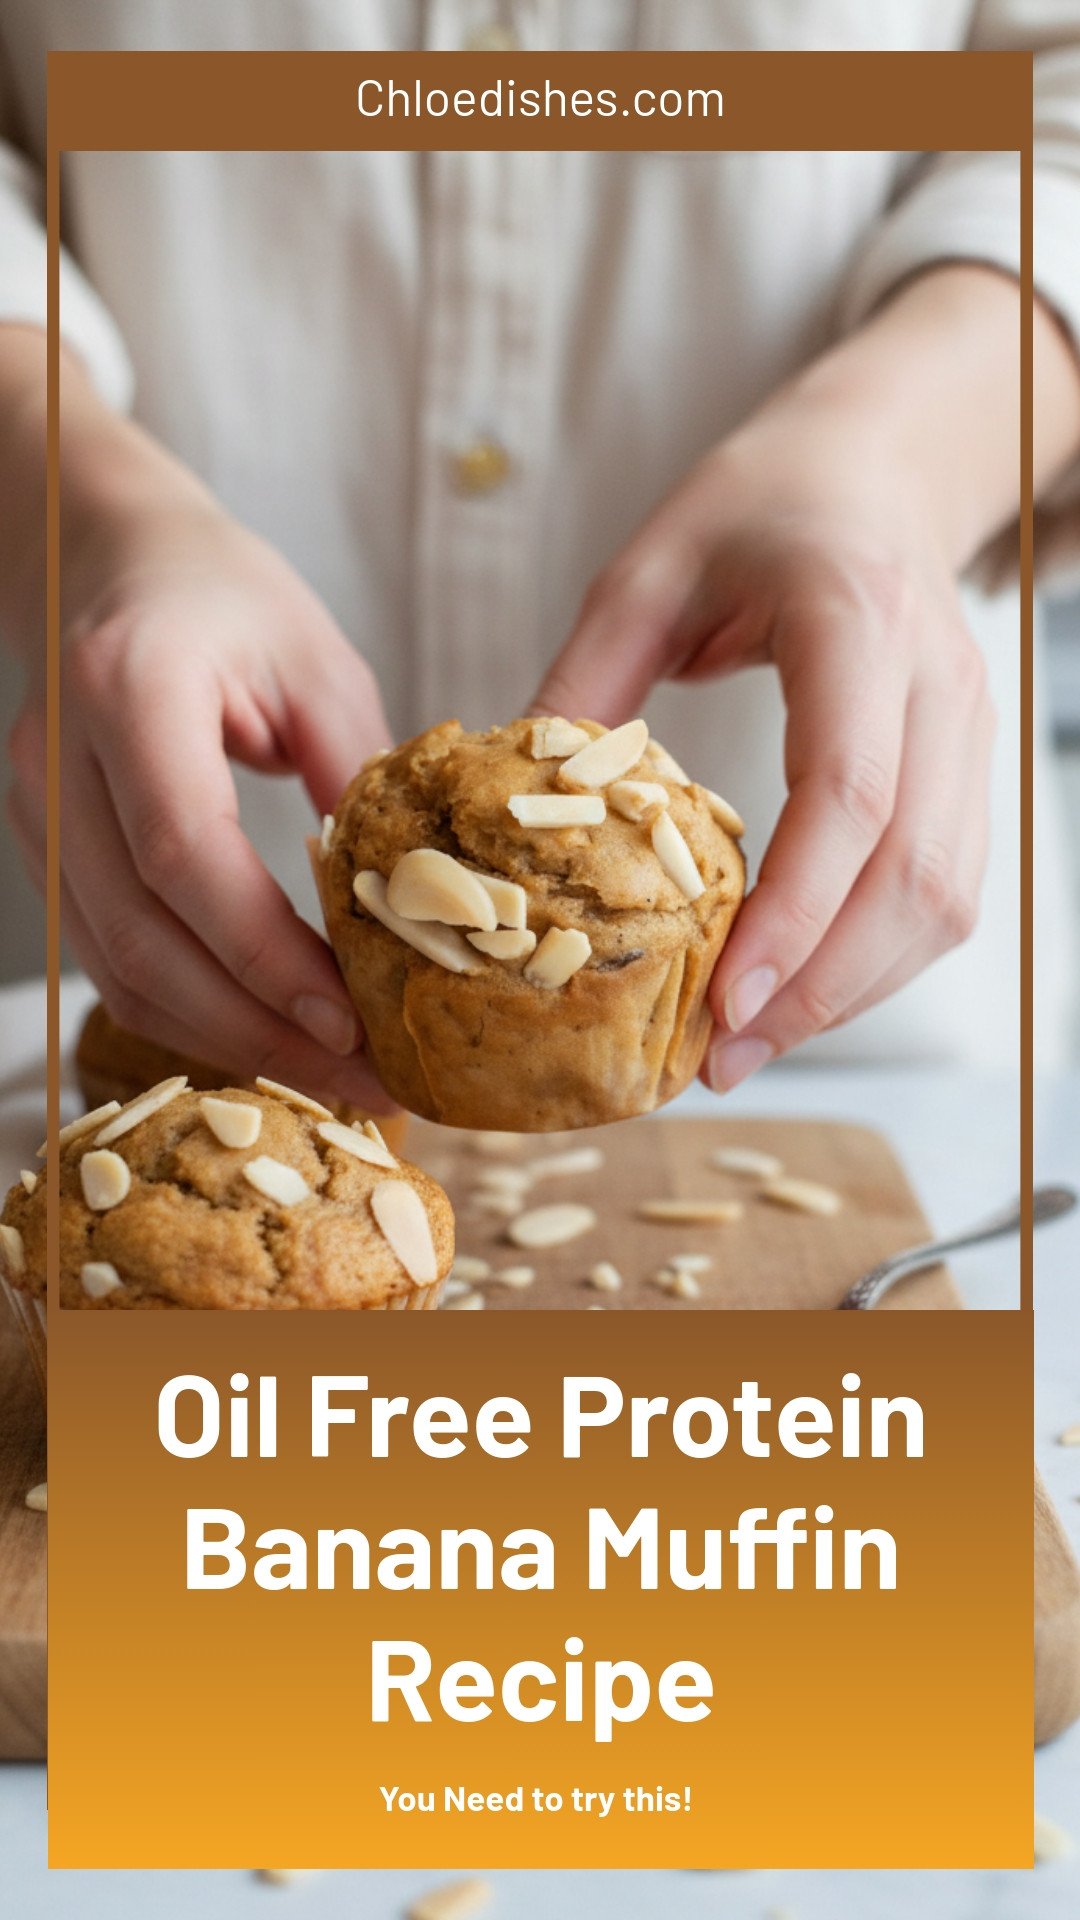

Oil Free Protein Banana Muffin Recipe
Description
Wholesome oil free banana muffins packed with protein and natural sweetness. Easy, healthy, and perfect for clean eating meal prep. gluten free, dairy free, clean eating, high protein recipes, banana muffins.
Ingredients
Instructions
- First preheat the oven to 365 ℉ degrees
- Then, line a cupcake tray with muffin or cupcake liners.
- Next, in a medium bowl, combine all dry ingredients together and whisk to combine.
- Then, in a large mixing bowl, mash bananas until almost smooth. Or, place bananas into a large measuring cup, and mash using an Avocado mash prefer to do it this way, that way I am able to be certain I have 1 ½ cups. If your bananas don’t measure 1 ½ cup slowly add more bananas until the measurement is met.
- Once bananas are in the large mixing bowl, add peanut butter, eggs, maple syrup, and vanilla extract.
- Using a whisk, mix until well combined.
- Then, carefully pour the dry ingredients into the wet ingredients. Using a rubber spatula, mix until well combined, but be careful not to over-mix. You don’t want rubbery muffins!
- Using a cookie or Ice cream scoop, add batter evenly to the muffin liners.
- Lastly, if using the almond slivers, sprinkle these on top of the batter at this point.
- Place the muffin tray in the oven and bake for 17-20 minutes until a toothpick comes out clean. Muffins will have risen nicely at this time.
- Place the muffin tray onto a cooling rack and allow it to cook for 15 minutes before removing it from the tray.


Leave a Reply