
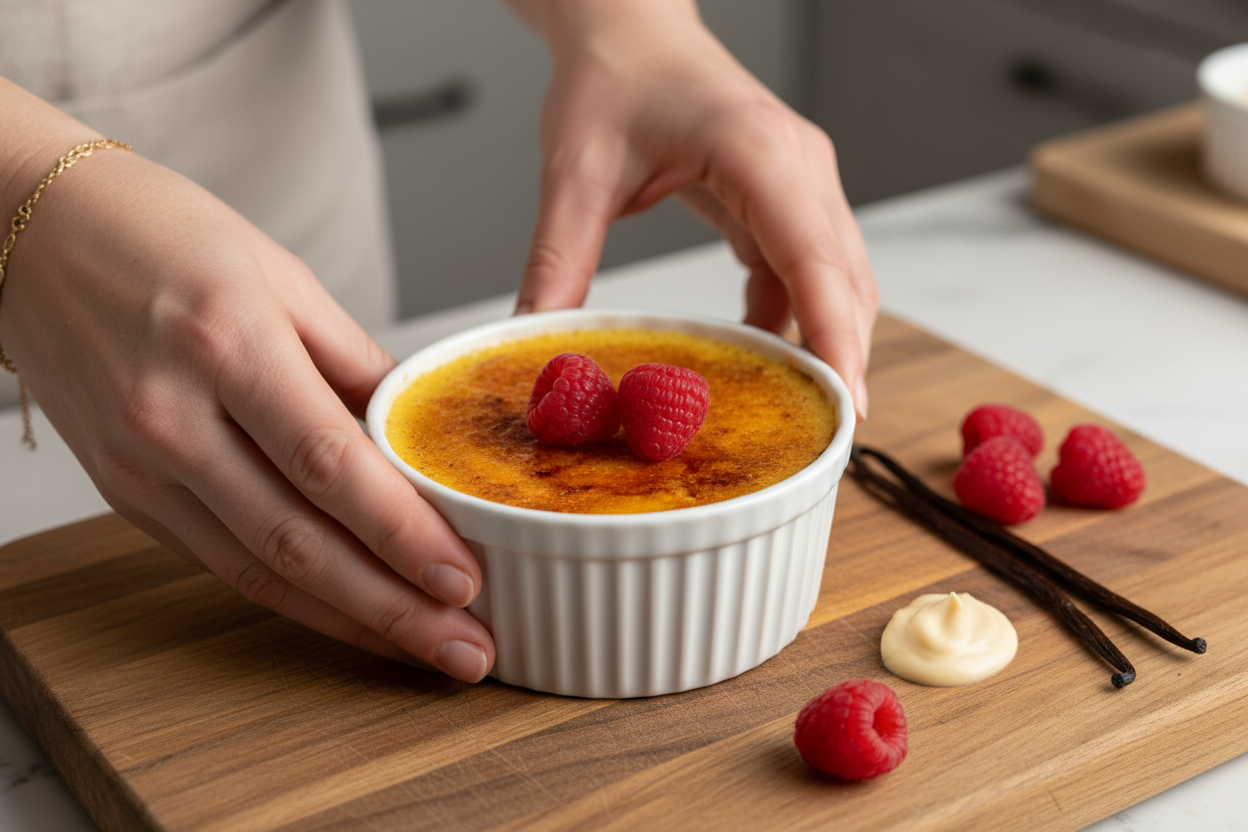
The First Time I Made This
The first time I made creme brulee, I was a little scared. I thought it would be too fancy for me. I put the torch too close and burned the sugar black. It smelled like a campfire accident. I still laugh at that. But underneath that burnt top, the custard was so silky and sweet. I learned that mistakes are just part of the story. Has a kitchen mistake ever turned into a funny memory for you?Why Simple Things Matter Most
This dessert only has a few ingredients. Cream, eggs, sugar, vanilla, and salt. That’s it. You don’t need a bag of fancy stuff. You just need to be patient. Why this matters: When you use good cream and real vanilla, the flavor shines all on its own. You don’t have to hide behind too much sugar or complicated steps. The simple road often tastes the best. Why this matters: Learning to temper eggs teaches you patience. If you rush, you get scrambled eggs in your custard. But if you go slow, you get magic.The Dance of the Water Bath
A water bath sounds fancy, but it’s just a pan of hot water. You set your ramekins in it. The warm water surrounds the little cups like a cozy blanket. It helps the custard cook gently and evenly. No hard edges, just soft wobble. Doesn’t that smell amazing? The vanilla warming up will fill your whole kitchen. *Fun fact: In France, this gentle cooking method is called “bain-marie.” It means “Mary’s bath,” named after an old alchemist.That Satisfying Crack
My favorite part is the sugar top. You sprinkle it thin and even. Then you use a little torch. When the sugar turns golden and starts to bubble, you know it’s ready. Wait a few seconds for it to harden. Then you tap it with your spoon. Crack! That sound is pure joy. How do you feel about using a kitchen torch? Brave? Nervous? I was nervous at first, but now I love it.A Few Little Secrets
Always strain your custard through a sieve. It catches any tiny bits of cooked egg. This keeps your dessert super smooth. Also, don’t skip the overnight rest in the fridge. I know it’s hard to wait. But the texture gets so much better. It’s like the flavors become friends overnight. Which step do you think is the hardest? Waiting for it to chill, or using the torch?The Dinner Party That Changed My Mind
I once brought these to a friend’s dinner party. Everyone was talking and laughing. Then I passed out the little ramekins. The whole table went quiet. All I heard was the sound of spoons cracking sugar. One friend closed her eyes while eating. She said it tasted like a hug. That moment reminded me why I love sharing food. It connects people. It makes them slow down and smile. Who would you share this dessert with if you made it today?Ingredients:
| Ingredient | Amount | Notes |
|---|---|---|
| Heavy cream | 1.5 cups (360g) | |
| Large egg yolks | 4 | |
| Granulated sugar | ¼ cup (55g) | + more for crispy coating |
| Salt | Pinch | |
| Vanilla bean pod or vanilla bean paste | ½ pod or 1 tsp |
The Day I First Cracked a Creme Brulee
I remember my first creme brulee like it was yesterday. My grandmother handed me a tiny kitchen torch and said, “Now, don’t set the curtains on fire.” I still laugh at that. The sound of cracking that caramelized sugar top is pure magic. It feels like breaking into a secret treasure chest, but the treasure is creamy, silky vanilla custard.
Making this dessert at home is easier than you think. The secret is patience and a gentle hand. We are going to temper the eggs so they stay smooth and silky. That means we slowly warm them up with the hot cream so they don’t scramble into little lumps. Trust me, it is worth every careful pour.
Let’s Make Your Very First Creme Brulee
Step 1: Preheat your oven to 300 degrees Fahrenheit. Put a few cups of water on the stove to boil. This hot water bath will keep our custard gentle while it bakes. (Hard-learned tip: Do not skip the water bath. I once did, and my custard looked like scrambled eggs. Learn from my mistake.)
Step 2: Pour 1.5 cups of heavy cream into a small saucepan. Split your vanilla bean pod open and scrape the tiny black seeds right into the cream. You can also use 1 teaspoon of vanilla bean paste. Stir it gently and put it on low heat. Wait until you see tiny bubbles forming around the edges. Doesn’t that smell amazing?
Step 3: While the cream warms, separate four large egg yolks into a mixing bowl. Save the whites for breakfast tomorrow. Add 1/4 cup of sugar and a pinch of salt. Whisk them all together until the yolks break down and the mixture looks pale and thick. Take your time here.
Step 4: Now for the tricky part. Slowly pour about one-quarter of the hot cream into the egg mixture while whisking constantly. This is called tempering. Once that is mixed in, pour in the rest of the cream and whisk gently. Do not whip it like crazy or you will add too many air bubbles. Bubbles ruin the smooth top.
Step 5: Pour your custard through a fine mesh sieve into a clean bowl. This catches any little lumps or cooked egg bits. Divide the smooth liquid evenly between three 8-ounce ramekins. Fill them almost to the top. Place the ramekins into a large baking tray. Carefully pour the hot water from your kettle into the tray until it comes halfway up the sides of the ramekins.
Step 6: Gently slide the tray into the oven and bake for 30 to 40 minutes. You will know they are done when the edges look set but the centers still jiggle like gelatin when you shake them. Take them out carefully. Let them cool on the counter for ten minutes, then pop them in the fridge. Let them chill overnight, or at least for four hours. Quick question: Do you think you can wait a whole four hours? Share below!
Step 7: The next day, sprinkle a very thin, even layer of granulated sugar on top of each custard. Use a kitchen blowtorch held at a 45-degree angle. Move the flame in slow circles until the sugar melts and turns a deep amber brown. Let it cool for a minute. Then grab your spoon and crack that delightfully crunchy shell open.
Cook Time: 35 minutes
Total Time: 4 hours 35 minutes (plus overnight chilling)
Yield: 3 servings
Category: Dessert
Fun Twists to Try Next Time
Lavender Honey Creme Brulee: Swap the sugar for a tablespoon of honey and add a pinch of dried lavender flowers to the cream while it heats. Strain them out before pouring into the eggs. It tastes like a garden in springtime.
Chocolate Orange Creme Brulee: Whisk two tablespoons of cocoa powder into your egg mixture. Add a teaspoon of orange zest. The chocolate and orange are best friends in this creamy dessert.
Chai Spiced Creme Brulee: Steep one chai tea bag in the warm cream for five minutes before removing it. The cinnamon, cardamom, and ginger give your custard a warm, cozy hug. Which one would you try first? Comment below!
How to Serve Your Golden Treasure
Serve your creme brulee in the same ramekin you baked it in. That little dish is part of the charm. Add a tiny pile of fresh raspberries or sliced strawberries on the side. The tart fruit cuts through the rich custard perfectly. You can also add a small, crisp butter cookie for crunch.
For drinks, a small glass of cold milk is perfect for kids and grown-ups alike. If you are serving adults, a tiny cup of strong black coffee or espresso pairs beautifully with the sweet custard. For something fancy, try a dessert wine like a sweet Sauternes. Which would you choose tonight?
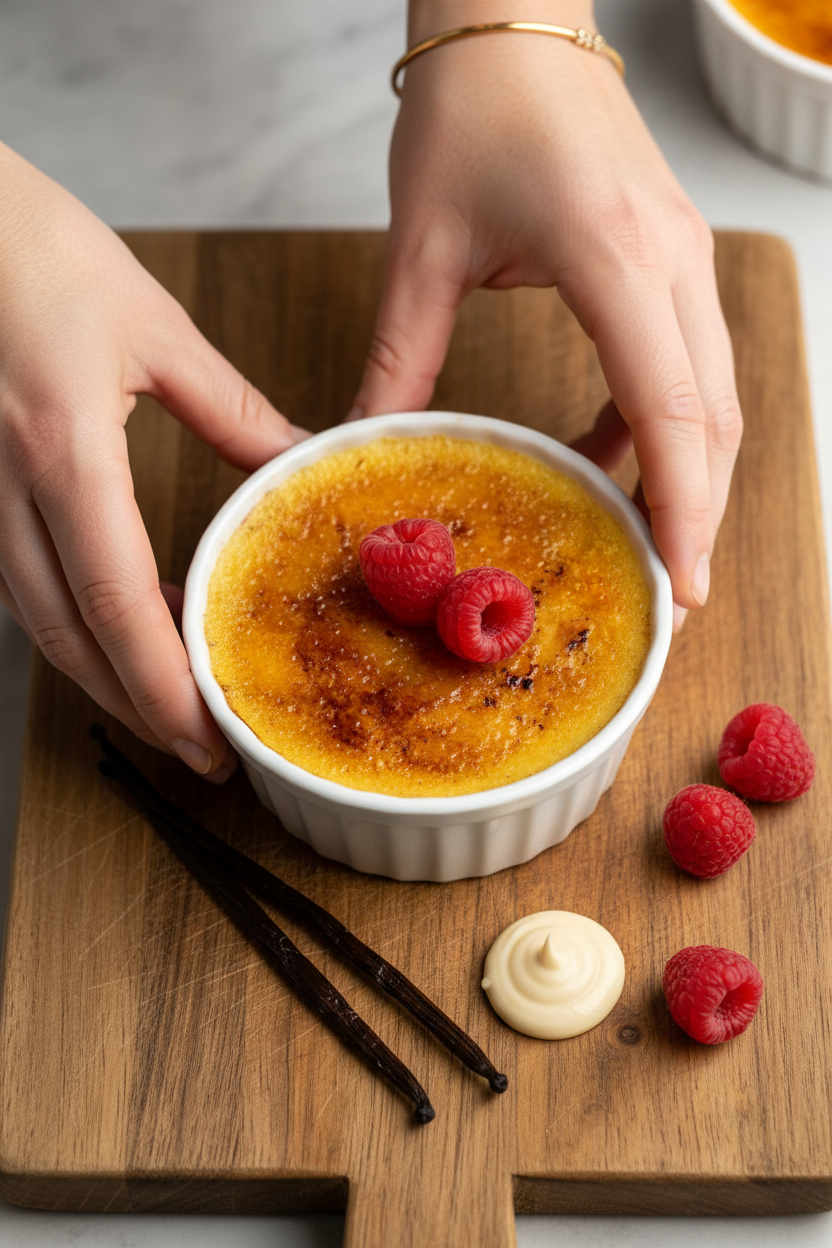
Storing Your Creme Brulee Like a Pro
This dessert is best made a day ahead. That is the secret to perfect creme brulee. After baking, let the ramekins cool for 30 minutes on the counter. Then put them in the fridge, uncovered, until they are fully cold.
Once cold, cover each ramekin tightly with plastic wrap. They will keep in the fridge for up to three days. Do not freeze creme brulee. Freezing ruins the smooth, creamy texture. I learned this the hard way when I tried freezing leftovers for a party. The custard turned watery and grainy.
Have you ever tried storing it this way? Share below! Batch cooking this dessert matters because it saves you time on busy days. You can make a double batch on Sunday for a special Tuesday dinner. The custard only gets better as it rests in the fridge. That is why making it ahead is a kitchen trick worth knowing.
Fixing Common Creme Brulee Problems
Problem one: your custard turned into scrambled eggs. This happens when you pour hot cream too fast into the eggs. Always pour slowly while whisking. I once rushed this step because I was hungry. The eggs curdled instantly, and I had to start over.
Problem two: your creme brulee is full of bubbles. This comes from whisking too hard. Stir gently, like you are petting a sleepy cat. The smoother your mixture, the silkier your dessert will be. This matters because a silky texture is what makes creme brulee special.
Problem three: the sugar topping burns before it melts. Your blowtorch is too close. Hold it at a 45-degree angle and keep it moving. This matters because getting that perfect caramelized shell builds your confidence in the kitchen. Which of these problems have you run into before?
Your Creme Brulee Questions Answered
Q: Is this recipe gluten-free? A: Yes, creme brulee has no flour. It is naturally gluten-free and safe for anyone avoiding gluten.
Q: Can I make this ahead for a party? A: Absolutely. Bake it one or two days before, then add the sugar coating just before serving.
Q: What if I don’t have vanilla bean? A: Use one teaspoon of good vanilla extract instead. The flavor will still be lovely.
Q: Can I double the recipe? A: Yes, just use a larger baking dish. The baking time may need an extra five minutes.
Q: Do I need a blowtorch? A: You can broil the sugar in the oven, but watch it closely. Torches give better control. Which tip will you try first?
A Sweet Goodbye from Chloe
Thank you for spending time in my little kitchen corner. I hope this creme brulee brings joy to your table. It is a simple dessert that feels fancy. That is the kind of magic I love sharing with you. Have you tried this recipe? Tag us on Pinterest!
*Fun fact: Creme brulee was first written down in a French cookbook in 1691.*
Remember, cooking is about practice, not perfection. Every batch teaches you something new. So grab a ramekin and give it a try. Your family will thank you. Happy cooking!
—Chloe Hartwell.

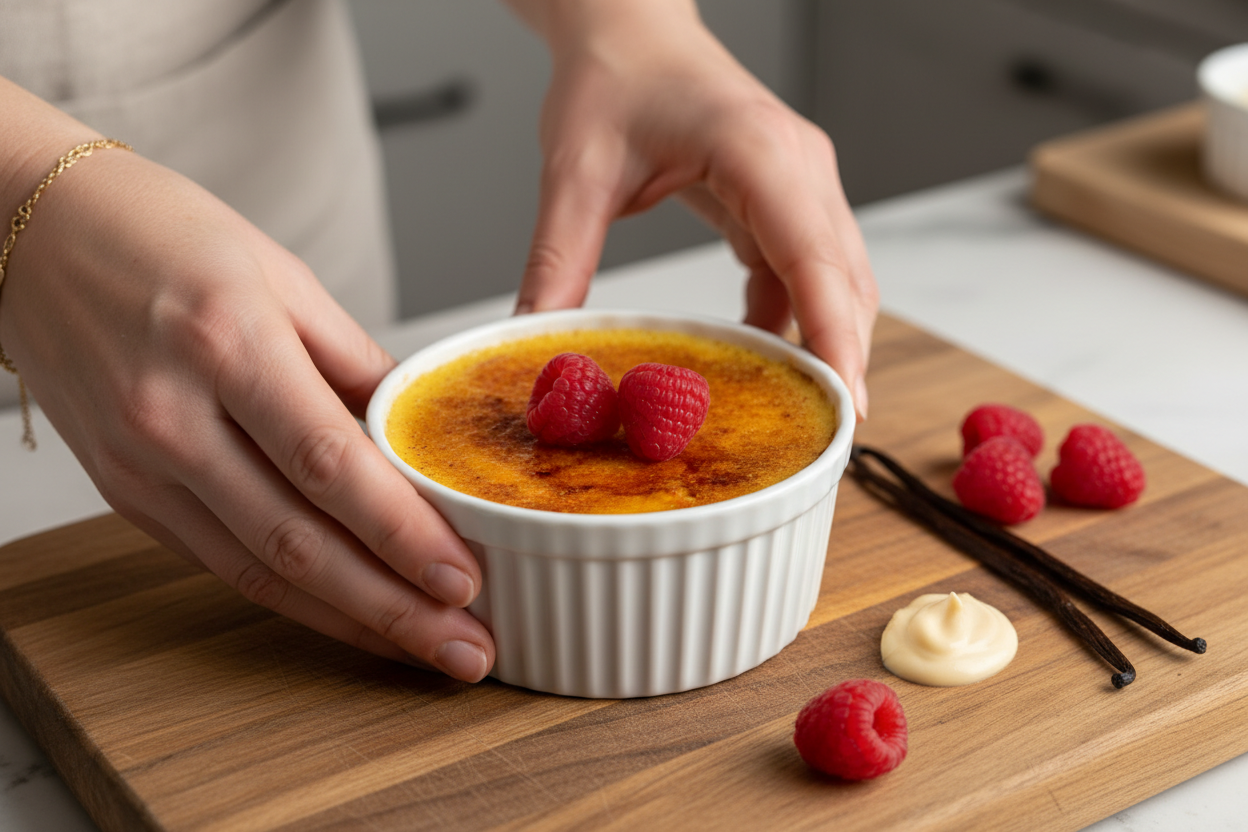
Perfect Vanilla Creme Brulee Recipe
Description
Learn how to make the perfect vanilla crème brûlée with a silky custard and caramelized sugar crust. Easy, elegant dessert recipe.
Ingredients
Instructions
- Pre-heat oven to 300F (conventional), and put a few cups of water to boil. This will be used for the water bath
- Add the heavy cream and vanilla to a saucepan and stir. Place on the stove on low heat until the cream starts to simmer (not a full boil)
- Add egg yolks, sugar and salt to a bowl and whisk until the yolks break down
- Once the cream is simmering, slowly pour about a fourth of it into the egg yolk mixture while continuing to whisk. This will temper the eggs so they don’t curdle. Then add the remaining cream and whisk gently until combined. Don’t overmix or whisk too aggressively as that will add too many air bubbles in the mixture
- Pass the custard through a fine mesh sieve to remove any lumps
- Divide the mixture equally between 3 8oz Creme Brulee ramekins, filling almost to the top
- Place the ramekins inside a larger baking tray, and carefully add boiling water to the tray, avoiding the ramekins. I fill enough water so it goes halfway up the height of the ramekins
- Carefully lift the tray with the water and ramekins and place inside the oven
- Bake for ~30-40 minutes, until the creme brulees are set around the edges but still have a wobble in the middle when gently shaken
- Immediately transfer the ramekins to the fridge, and cool overnight (or at least for 4 hours)
- The next day, sprinkle a thin layer of granulated sugar on each ramekin, and use a blowtorch to caramelize the sugar. It should become a deep brown color. I find it best to hold the blowtorch at a 45 degree angle
- Serve & enjoy!




Leave a Reply