

My First “Oops” Cake
I still laugh at this. Years ago, I tried to make a chocolate cake for a friend who couldn’t eat dairy. The cake turned out fine. But the frosting? It was a runny mess. I had used milk chocolate by mistake. That day, I learned a good lesson. Always check your labels. Doesn’t that sound like something that would happen to you? Why does this matter? Because a small swap can change everything. Using the right cocoa powder makes frosting thick and creamy. It is the difference between a puddle and a cloud. Have you ever made a frosting that just wouldn’t set?The Secret to Fluffy Frosting
Here is the trick most people skip. You must beat the vegan butter for a long time. I mean, really long. Set a timer for the first five minutes. Let the mixer do the work. The butter will turn pale and fluffy. That is when you know it is happy. Then you add the sugar and cocoa. This is a fun fact: Cocoa powder is just ground cacao beans. It has almost no fat. That is why it soaks up the butter so nicely. The salt in this recipe is not for taste only. It makes the chocolate flavor pop like a firecracker. Do you like a little salt with your sweet?A Bowl Worth Licking
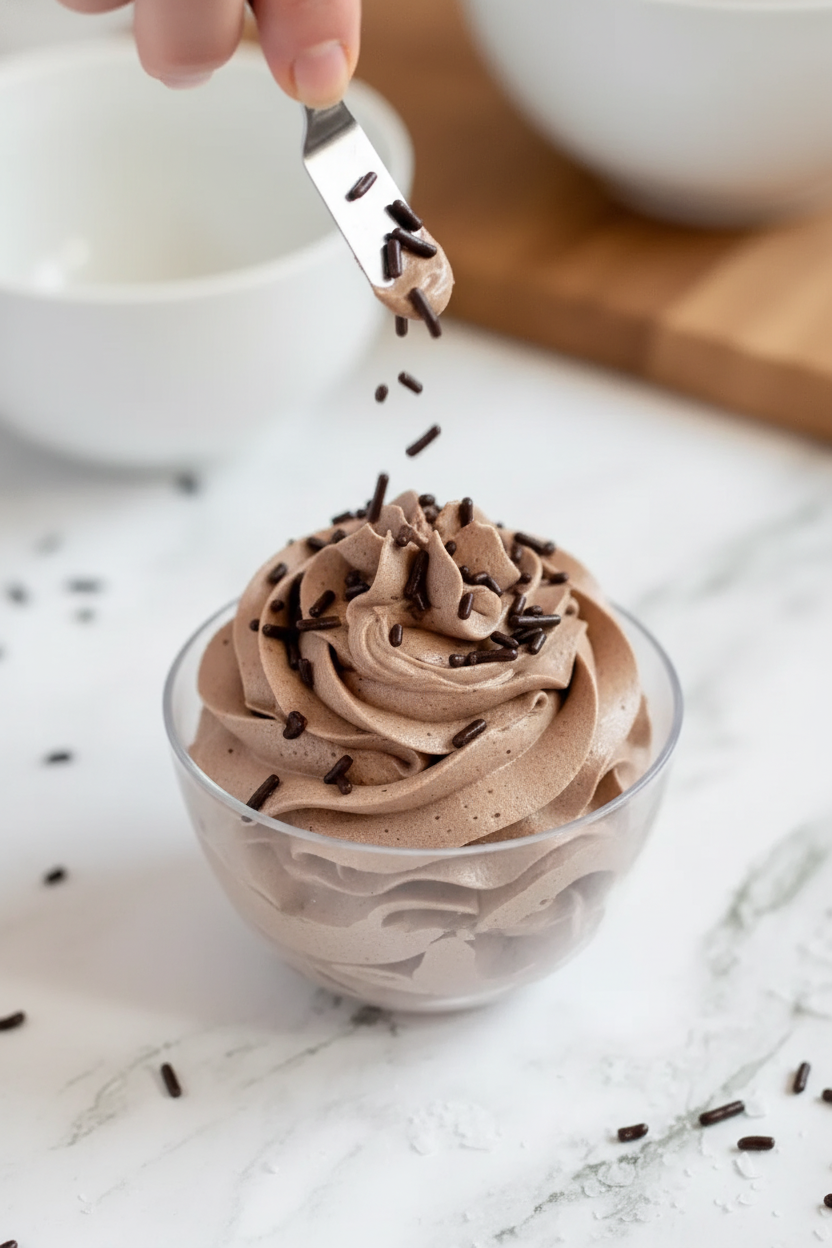
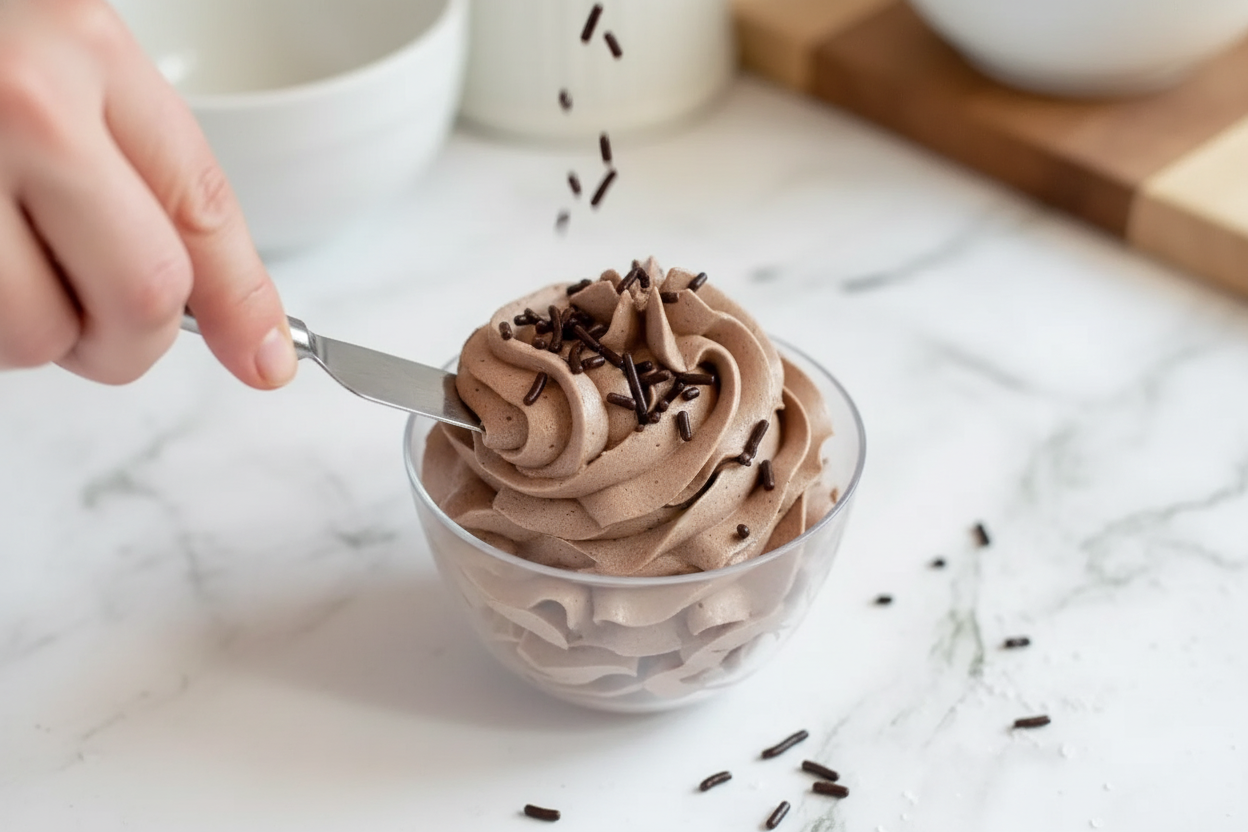
When I was a girl, my grandma let me scrape the frosting bowl. I thought it was the best part of baking. This vegan frosting is just as good. It tastes rich and dark. It is not too sweet. It feels silky on your tongue. I often make extra just to eat by the spoonful. Why does this matter? Because frosting should be joy, not a headache. You do not need cream or eggs to get that smooth feel. This recipe uses simple pantry items. It proves that plant-based can be just as delicious. What is your favorite way to eat frosting? On cake, cookies, or straight from the bowl?How to Store Your Sweet Treasure
You might make more frosting than you need. That is okay. It keeps well. At room temperature, it stays fresh for five days. Just keep the lid on tight. If you put it in the fridge, it will last four weeks. I do that sometimes. I let it soften before using it again. You can also freeze it for three whole months. Imagine that. A little taste of summer in the middle of winter. Just thaw it in the fridge overnight. Then give it a quick whip. It will be as good as new. Have you ever frozen frosting before? It is like finding a secret snack.One Last Spoonful of Advice
A friend once told me her kids would only eat frosting off a spoon. They never even touched the cake. I laughed and said that is the mark of good frosting. This recipe is perfect for that. It is sturdy enough to spread on a layer cake. But it is also soft enough for dipping fruit. I want you to try this with someone you love. Let them help measure the sugar. Let them lick the spatula. Baking is about more than food. It is about making little moments that stick. Which friend or family member would you share this frosting with? I would love to hear your story.Ingredients:
| Ingredient | Amount | Notes |
|---|---|---|
| Vegan butter, room temperature | 2 cups (454g) | |
| Powdered sugar | 3 1/2 cups (420g) | |
| Cocoa powder | 1/2 cup (40g) | |
| Fine sea salt | 1 teaspoon |
The Best Vegan Frosting I Ever Made
I still remember the first time I tried making a dairy-free frosting. My granddaughter wanted a chocolate cake for her birthday, but her best friend couldn’t have butter.
I was worried it would taste weird. But this recipe? It changed everything. Doesn’t that smell amazing once it comes together?
You only need four simple ingredients. Most are probably already in your pantry. Let’s get mixing.
Step 1: Grab your vegan butter and let it sit out until it feels soft to the touch. Room temperature butter is the secret here. If it’s too cold, the frosting gets lumpy and you’ll end up frustrated. (Hard-learned tip: Cold butter makes lumps that never go away. Set it out an hour early!)
Step 2: Put the soft butter into a big mixing bowl. Use a stand mixer or a hand mixer. Beat it on high speed until it turns light and fluffy. This takes about five to ten minutes. I sometimes hum while I wait, it passes the time.
Step 3: Now add the powdered sugar, cocoa powder, and fine sea salt. Turn the mixer on low so the sugar doesn’t puff up everywhere. Stop and scrape the sides of the bowl with a spatula. Make sure everything gets mixed in nicely.
Step 4: Turn the mixer up to high speed again. Let it beat for another five whole minutes. Watch it become glossy and smooth. This is where the magic happens. Do you think beating it longer makes it fluffier? Share below!
Store any leftover frosting in an airtight container. It stays good on the counter for five days. You can also pop it in the fridge for four weeks or freeze it for three months.
Cook Time: 20 minutes
Total Time: 20 minutes
Yield: About 4 cups
Category: Dessert, Frosting
Three Fun Twists to Try
Sometimes I like to change things up a little. Here are three ways to make this frosting your own.
Mint Chocolate Dream: Add half a teaspoon of peppermint extract when you add the sugar. It tastes like a fancy thin mint cookie. Perfect for winter holidays.
Spiced Pumpkin Swirl: Mix in two tablespoons of pumpkin puree and a pinch of cinnamon. It makes a fall frosting that goes great on spice cakes. My neighbor begged me for this recipe.
Orange Sunshine: Replace the salt with a teaspoon of orange zest. The bright flavor cuts through the chocolate beautifully. Kids love licking the beaters with this one. Which one would you try first? Comment below!
How to Serve and Sip
This frosting loves cupcakes and layer cakes best. Spread it thick on a simple vanilla cake for a classic look.
You can also dip fresh strawberries or pretzels right into the bowl. That’s my secret snack when nobody is watching. Add a sprinkle of flaky salt on top for crunch.
For a drink, try a tall glass of cold oat milk. It’s creamy and cuts through the sweetness. Grown-ups might enjoy a small cup of black coffee alongside.
I once served this frosting on brownies with a scoop of coconut ice cream. My whole family went quiet — the best kind of compliment. Which would you choose tonight?
Storing Your Frosting Right
This frosting keeps well at room temperature. Put it in an airtight container, and it stays fresh for up to five days. I remember my first time making it. I left the bowl out on the counter and worried it would spoil. But it was just fine the next morning. Why does storing matter? It saves you time and waste. You can make a big batch on Sunday and use it all week. Have you ever tried storing it this way? Share below!
You can also pop it in the fridge for up to four weeks. Just let it sit out for ten minutes before using. It softens right up. For longer storage, freeze it for up to three months. Thaw it overnight in the fridge. Batch cooking this frosting means you always have something ready for a cake emergency. That makes baking feel easy and fun.
Three Common Frosting Fixes
Sometimes the frosting turns out too thin. This happens when your butter is too warm. I once left mine out on a hot summer day. The frosting turned into a puddle. The fix is simple. Pop the bowl into the fridge for fifteen minutes. Then beat it again. Why does this matter? You learn to trust your hands, not just the recipe. Getting the texture right builds your cooking confidence.
Another problem is a grainy frosting. That means the powdered sugar did not mix in all the way. Scrape the bowl well, then beat on high for a full five minutes. I remember my daughter’s first cake. The frosting was gritty. We laughed and called it sand-cake. Which of these problems have you run into before?
The third issue is frosting that tastes too salty. Cut the salt to half a teaspoon next time. You can also add a little extra powdered sugar to balance it out. Why does this matter? You learn to adjust flavors to your own taste. That makes you a better cook every single time.
Your Top Questions Answered
Q: Can I make this frosting gluten-free?
A: Yes. All ingredients are naturally gluten-free. Just check your powdered sugar label to be safe.
Q: Can I make it ahead of time?
A: Absolutely. Make it up to three days before. Keep it in a sealed container at room temperature.
Q: Can I swap the vegan butter?
A: Yes. Use coconut oil or a store-bought vegan butter stick. Avoid margarine spreads.
Q: How do I scale this recipe down?
A: Halve everything. Use one cup butter and one and three-fourths cups powdered sugar.
Q: Any tips for extra flavor?
A: Add a teaspoon of vanilla or a pinch of cinnamon. *Fun fact: Cocoa powder was once used as currency in ancient Mexico.* Which tip will you try first?
From My Kitchen to Yours
I hope you try this frosting soon. It is rich and creamy without any dairy. I love making it for birthday cakes or simple cupcakes. It reminds me of sharing desserts with my family. Have you tried this recipe? Tag us on Pinterest! I would love to see your photos. Keep baking, keep learning, and know you are doing great. Happy cooking! —Chloe Hartwell.
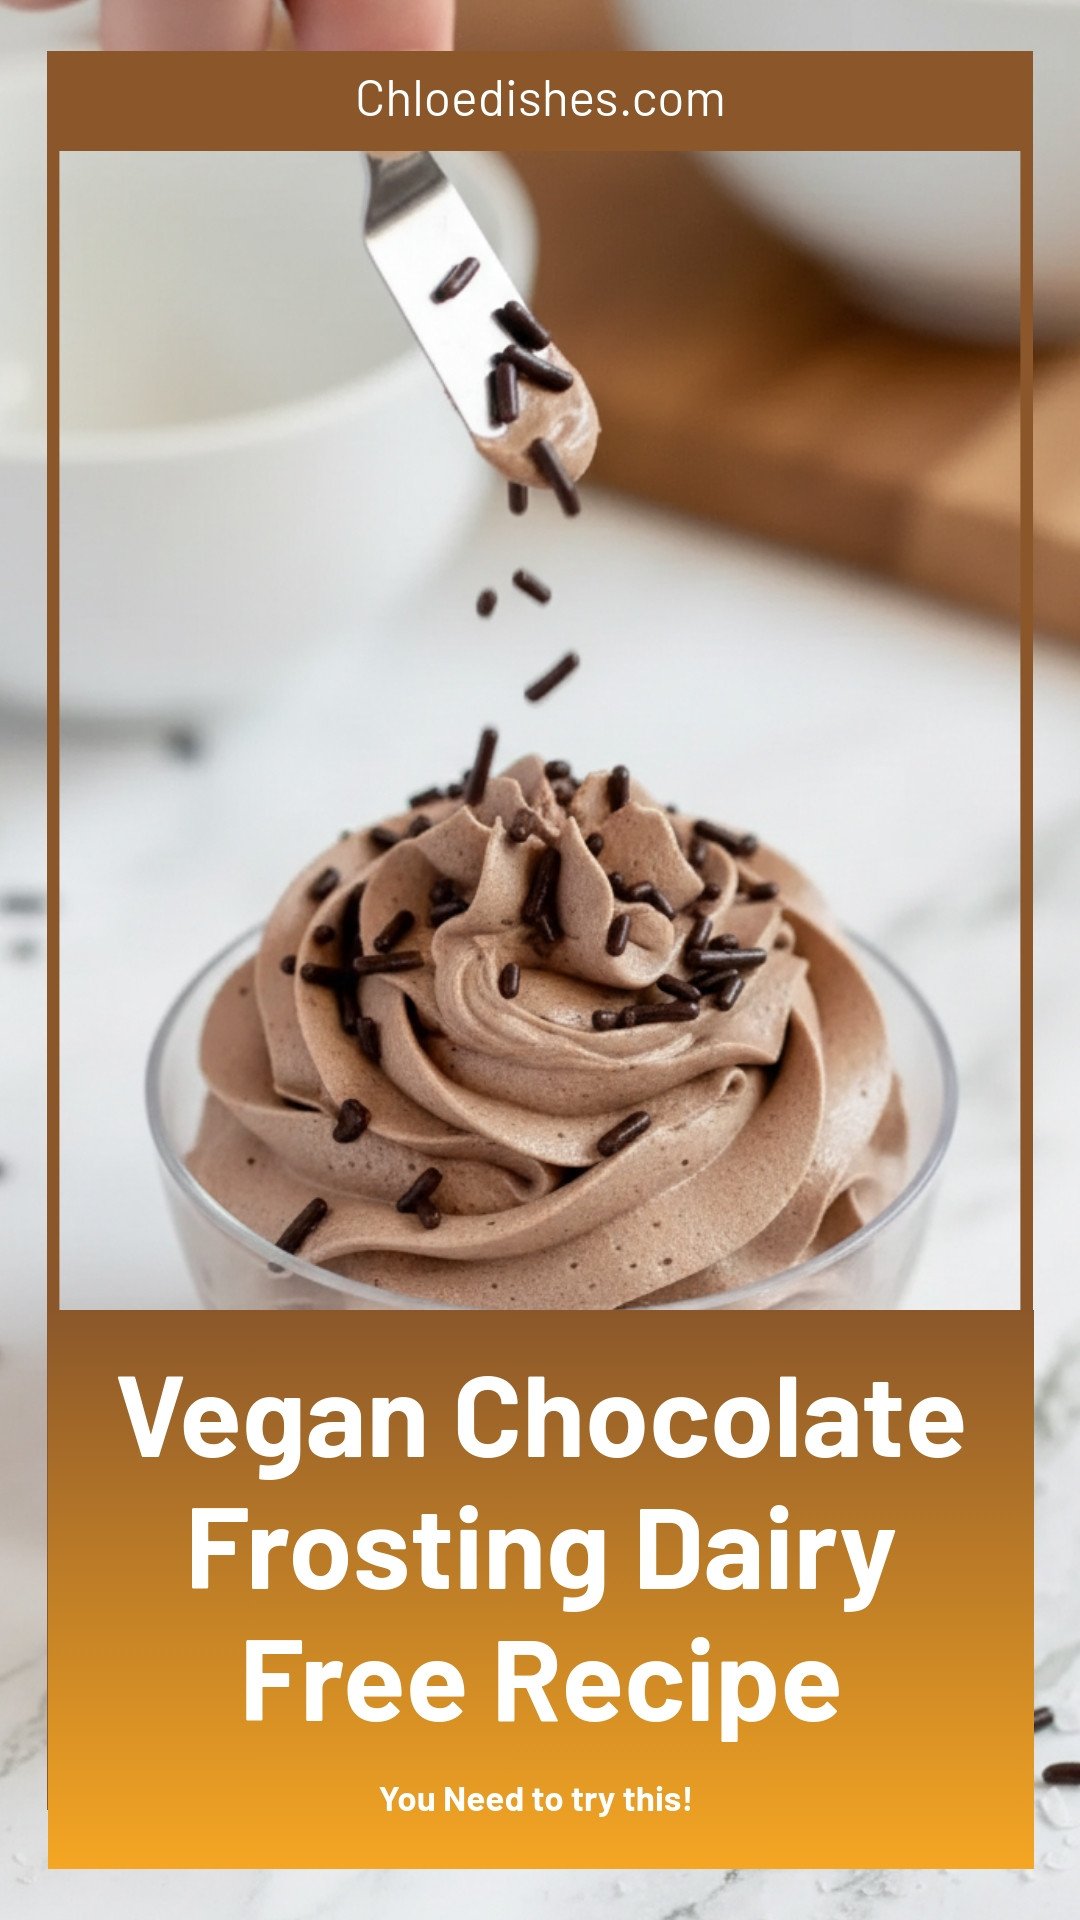
Vegan Chocolate Frosting (Dairy-Free): Vegan Chocolate Frosting Dairy Free Recipe
Description
Rich, creamy vegan chocolate frosting made without dairy! Perfectly spreadable for cakes & cupcakes. Easy, 5-ingredient recipe.
Ingredients
Instructions
- In a stand mixer or with a handheld electric mixer, cream the butter on high speed until light and fluffy. This will take at least 5-10 minutes.
- Measure in the powdered sugar, cocoa powder, and salt and begin to mix on low. Scrape down the sides of the bowl to make sure everything is incorporated.
- Turn the mixer up to high and allow to beat for another 5 minutes. Enjoy!
Notes
- Store leftover frosting at room temperature in an airtight container for up to 5 days, in the fridge for up to 4 weeks, and frozen for up to 3 months.


Leave a Reply