

Why I Love These Brownies
These little brownies taste like Easter morning in a pan. I first made them for my grandkids during spring break. The kitchen filled with chocolate smells, and they kept peeking into the oven. What makes them special is they are gluten-free. Nobody misses the flour. Even my neighbor, who usually avoids sweets without wheat, asked for seconds. That made me smile. Have you ever tried a gluten-free dessert that surprised you? Tell me about it below.The Story Behind the Crunch
My love for mini eggs started when I was a little girl. My grandma would hide them around the house. I still laugh at the time I found one in her coffee mug. She pretended it was a magic bean. In this recipe, you chop them up and sprinkle them on top. Each bite gives you a little chocolate egg surprise. The crunchy shell mixes with the soft, fudgy brownie. Doesn’t that sound like a party in your mouth? Why this matters: A simple crunch can turn baking into a memory. That’s what makes food feel like love.The Secret to Fudgy, Not Cakey
Here is a trick I learned after many brownie fails. Whip your eggs until they are light and fluffy. This takes about two minutes with electric beaters. It makes the batter smooth and rich, not puffy like a cake. You also use honey instead of all sugar. Honey keeps the brownies moist and a little chewy. *Fun fact: Honey never goes bad. Archaeologists found edible honey in ancient Egyptian tombs.* Do you like your brownies fudgy or cakey? I’m curious which team you are on.How to Make Them Your Own
This recipe is forgiving. You can swap mini eggs for dairy-free chocolate eggs if you need. Or leave them out and add crushed nuts instead. I once used chopped hazelnuts, and they tasted like Nutella. The flour blend is simple: gluten-free flour, cornstarch, and a pinch of xanthan gum. Don’t skip the cornstarch—it gives a soft bite. If you only have all-purpose flour, it works too. Just leave out the gum. Why this matters: Baking should bend to what you have in your pantry. You don’t need special trips to the store.The Waiting Game
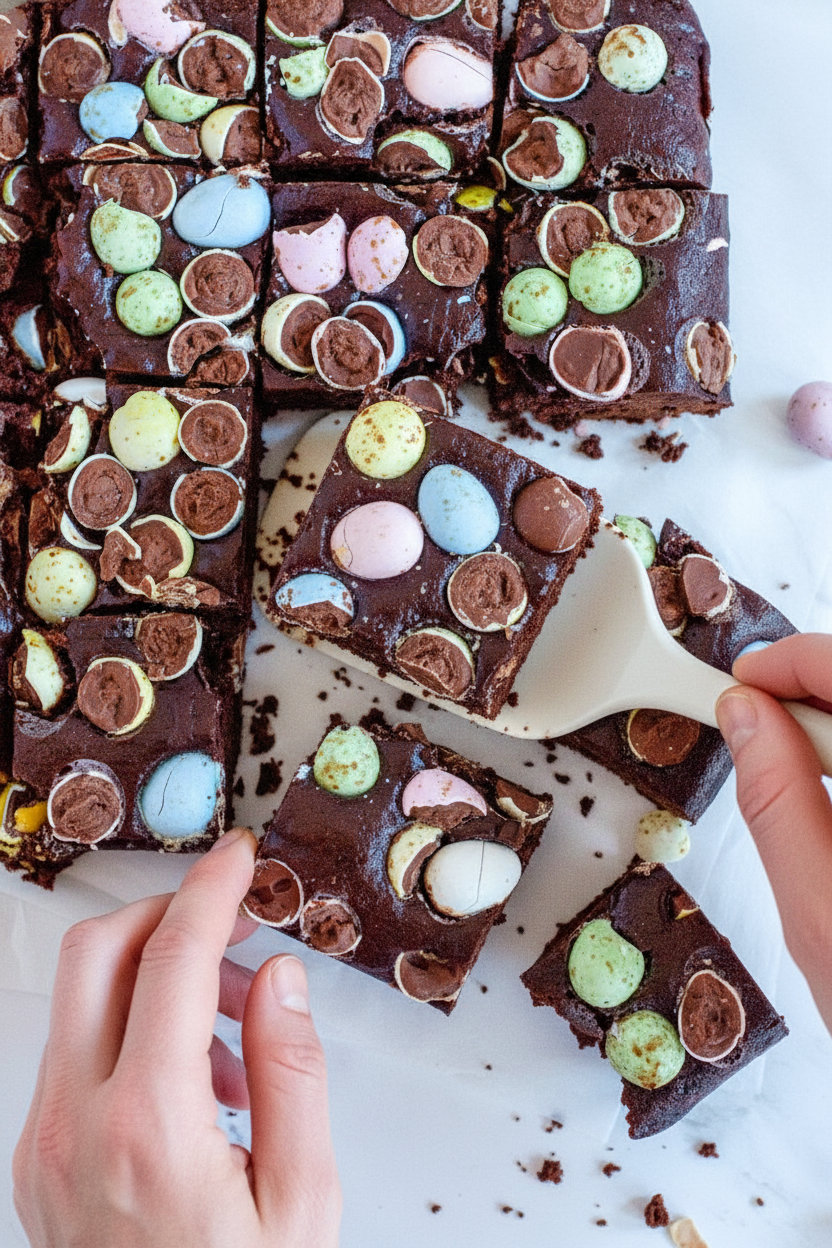
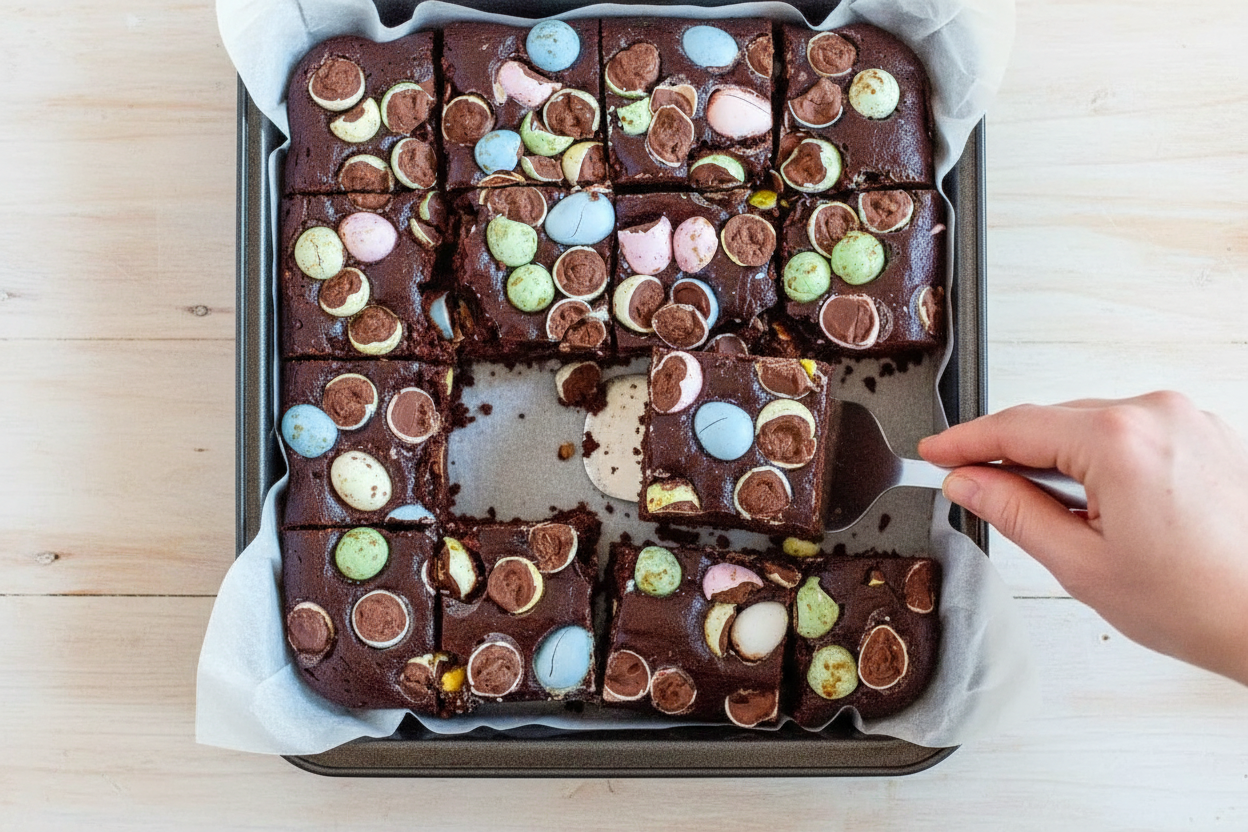
Here is the hardest part: letting them cool completely. I know, the smell makes you want to dive in. But cutting warm brownies turns them into crumbs. Trust me, I learned the messy way. Let them sit in the pan until room temperature. Then slice into sixteen perfect squares. They keep in a container for a week, but they rarely last that long in my house. What’s the longest a treat has lasted in your kitchen?Ingredients:
| Ingredient | Amount | Notes |
|---|---|---|
| Dairy-free salted butter | 1/2 cup (113g) | |
| Honey | 1/2 cup (160g) | |
| Granulated sugar | 1/2 cup (100g) | |
| Large eggs | 2 | room temperature |
| Cocoa powder | 1 cup (80g) | |
| Gluten-free flour blend | 1/3 cup (47g) | * |
| Cornstarch | 2 tablespoons | |
| Fine sea salt | 1/2 teaspoon | |
| Xanthan gum | 1/8 teaspoon | ** |
| Baking soda | 1/8 teaspoon | |
| Mini eggs | 1 cup (200g) | chopped; can sub dairy-free chocolate eggs |
When Life Hands You Mini Eggs, Make Brownies
I still remember the first time I made these brownies. It was Easter morning, and my grandson had left a pile of mini eggs on the counter. I thought, why not toss them into something warm and chocolatey? So here we are. This recipe is gluten-free, but no one will ever guess it. Doesn’t that smell amazing already?
The trick is using honey instead of white syrup. It adds a little floral sweetness that makes your kitchen smell like a bakery. Believe me, you’ll want to stick your face right over the bowl while it’s warm. I won’t tell if you do. Just make sure you save enough batter for the pan.
Let me share a hard-learned tip here. Hard-Learned Tip: Chopping mini eggs can get messy. Try putting them in a zip-top bag first and give it one or two taps with a rolling pin. That way, you don’t have chocolate shrapnel flying across the room. I learned this the hard way when my dog found a piece under the fridge. What a mess that was.
Let’s Make These Mini Egg Brownies Together
Step 1: First, preheat your oven to 325 degrees. Line an 8×8 baking pan with parchment paper and give it a spritz of non-stick spray. This keeps the brownies from sticking. I once skipped the parchment, and let’s just say I spent an hour chiseling brownie bits off the pan. Don’t be like me.
Step 2: In a small pot over medium heat, melt together 1/2 cup of dairy-free butter, 1/2 cup of honey, and 1/2 cup of granulated sugar. Stir it gently until it’s all smooth and shiny. Take it off the heat and let it cool for a minute. It will smell like candy. (Hard-learned tip: Don’t let it boil, or your brownies will get a weird crunchy top. Just warm and smooth is the goal.)
Step 3: In a large mixing bowl, use electric beaters to whip 2 large eggs on high speed until they get fluffy and light in color. This takes about 2-3 minutes. My grandma used to call this “giving the eggs a little dance.” If you don’t have a mixer, a whisk and some elbow grease work, too. Just count it as your arm workout for the day.
Step 4: Turn your mixer to low speed. Slowly pour the warm butter and honey mixture from the pot into the fluffy eggs. Keep mixing until everything looks like a smooth, glossy sauce. It’s okay if it smells a little like honey and butter—that’s the good stuff. Now, don’t you dare lick the beaters yet. Save that for the end.
Step 5: Add 1 cup of cocoa powder to the bowl. Mix on low until it’s all combined. Scrape down the sides of the bowl with a rubber spatula. You want every bit of that chocolate to get in there. (Hard-learned tip: Tap the spatula on the bowl to get the last of the cocoa powder. None of it should be left behind. Waste not, want not.)
Step 6: Now add the dry ingredients: 1/3 cup gluten-free flour, 2 tablespoons cornstarch, 1/2 teaspoon salt, 1/8 teaspoon xanthan gum (if you have it), and 1/8 teaspoon baking soda. Mix on low until you see no more white streaks. The batter will be thick and fudgy. That’s exactly what we want. Spread it into your prepared pan with a spatula.
Step 7: Sprinkle your chopped mini eggs generously all over the top. Press them in just a little bit with your fingers. Bake for 20-23 minutes. Check it by sticking a toothpick in the middle. It should come out with moist crumbs, not wet batter. The edges will look set, but the center will still be soft. Mini Quiz Question: What’s the best way to avoid eating the whole pan in one sitting? Share below!
Cook Time: 20–23 minutes
Total Time: 40 minutes
Yield: 16 small brownie squares
Category: Dessert, Snack
Three Fun Ways to Switch Up These Brownies
Double Chocolate Dream: Swap half the mini eggs for white chocolate chips. The creamy white chunks make every bite a surprise. Plus, it looks fancy without any extra work.
Spicy Mexican Brownies: Add 1/4 teaspoon of cinnamon and a pinch of chili powder to the dry ingredients. The warm spice pairs perfectly with the sweet honey. It’s like a little kick of sunshine.
Peppermint Holiday Twist: Crush some candy canes and sprinkle them with the mini eggs. The minty crunch is perfect for winter baking. My kids used to fight over the last piece. Which one would you try first? Comment below!
How to Serve Your Brownies (Yes, There’s a Way to Do It Right)
Serve these brownies warm with a scoop of vanilla ice cream. The ice cream melts into all the cracks. It’s like a little puddle of happiness on your plate. For a fancy touch, dust the top with powdered sugar. It makes them look like they came from a bakery.
Try pairing them with a tall glass of cold milk. The creaminess cuts through the rich chocolate perfectly. If you want something for grown-ups, a small glass of dark rum or coffee liqueur works wonders. Just a sip next to a warm brownie feels like a cozy hug. Which would you choose tonight?
How to Keep Your Mini Egg Brownies Fresh
These brownies stay soft for days when stored right. First, let them cool completely in the pan. That is very important. I once rushed and cut them warm. They crumbled into a big, tasty mess!
Store them in an airtight container at room temperature for up to 7 days. This keeps them moist without getting hard. If you want them to last longer, pop them in the fridge. They will keep for a full week there too.
You can also freeze them for up to 6 months. Wrap each brownie in plastic wrap, then put them in a freezer bag. To thaw, just leave one on the counter for an hour. This is perfect for batch cooking. Make a double batch and freeze half for later. That way you always have a treat ready. Why does this matter? It saves you time on busy days and stops food waste. Have you ever tried storing it this way? Share below!
Fixing Common Brownie Problems
Sometimes brownies turn out too dry. This happens if you bake them too long. Pull them out when a toothpick has moist crumbs, not clean. The center should look slightly underbaked. I remember when I overbaked my first batch. They were more like hard cookies! It taught me to trust the toothpick test.
Another problem is brownies that sink in the middle. That often comes from overmixing the batter. Mix just until the flour disappears. Overmixing adds too much air, then the center falls. This matters because a flat brownie has a nice, fudgy texture.
Eggs that are too cold can also cause trouble. They make the batter lumpy. Always use room-temperature eggs. Set them out 30 minutes before you start. This helps the batter mix smoothly. Which of these problems have you run into before?
Your Questions Answered
Q: Can I make this recipe gluten-free? A: Yes, it already uses a gluten-free flour blend. Just check your blend has xanthan gum. If not, add the 1/8 teaspoon listed.
Q: Can I make these ahead of time? A: Absolutely. Bake them a day before. They taste even better the next day as the flavors settle.
Q: What can I swap for honey? A: Use maple syrup in the same amount. The taste will change slightly, but it stays sweet.
Q: How do I scale the recipe? A: Double everything for a 9×13 pan. Bake for 25 to 28 minutes instead.
Q: Any tips for chopping mini eggs? A: Put them in a bag and gently tap with a rolling pin. No flying pieces that way! Which tip will you try first?
*Fun fact: Mini eggs were first made for Easter in the 1960s. Now we use them all year for brownies.
From My Kitchen to Yours
I hope these brownies bring a little sweetness to your day. They remind me of baking with my own grandchildren on rainy afternoons. The kitchen gets messy, but the smiles are worth it.
I would love to see your batch. Snap a photo and share it. Tag us on Pinterest so we can all see your beautiful brownies. Have you tried this recipe? Tag us on Pinterest! Happy cooking! —Chloe Hartwell.
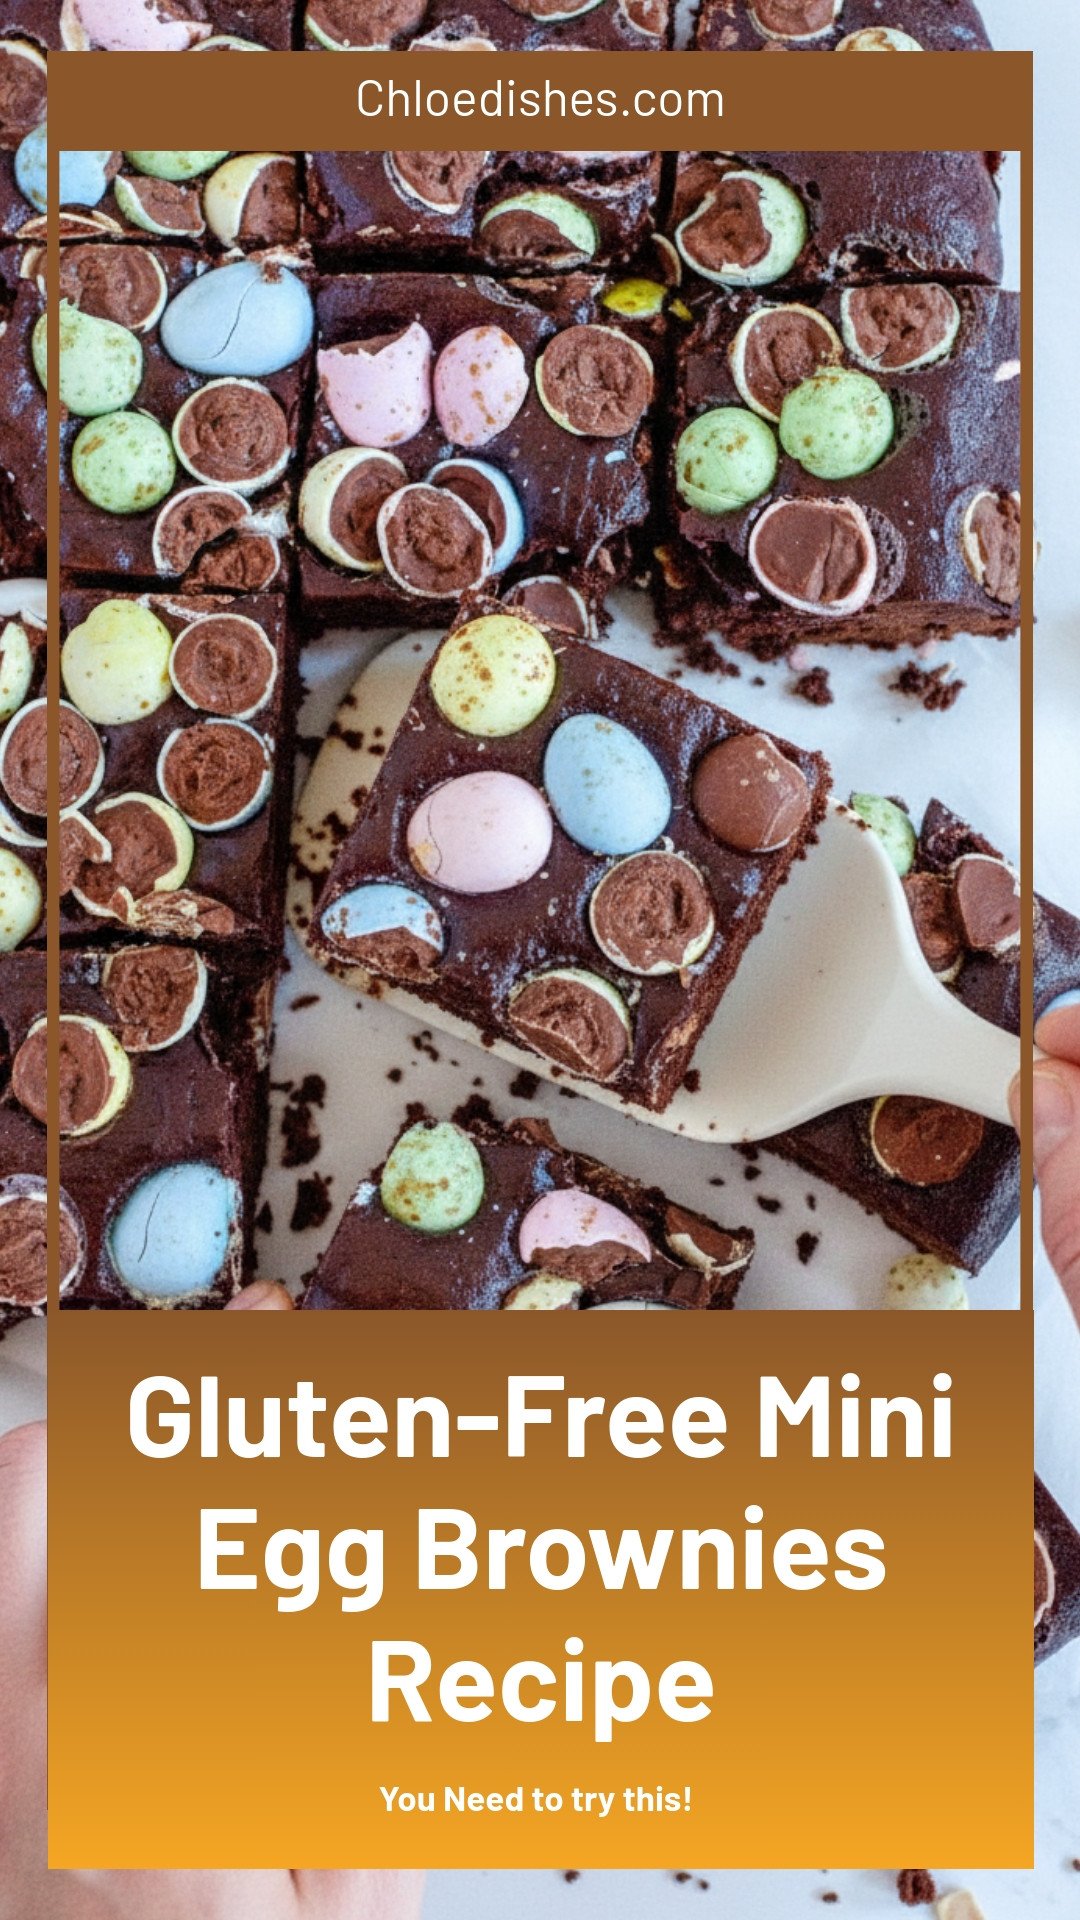
Gluten-Free Mini Egg Brownies Recipe
Description
Decadent Gluten-Free Mini Egg Brownies – fudgy, rich, and perfect for Easter baking! An easy dessert recipe everyone will love.
Ingredients
Instructions
- Preheat the oven to 325ºF and prepare an 8×8 baking pan with non-stick baking spray and parchment paper.
- In a small pot over medium heat, combine the butter, honey, and sugar together until fully melted and smooth. Remove from the heat.
- In the bowl of a stand mixer or in a large mixing bowl with electric beaters, whip the eggs on high speed until lightened in colour and fluffy. This should take approximately 2-3 minutes.
- With the mixer or beaters on low, slowly pour in the melted mixture from step 2. Mix until combined.
- Add in the cocoa powder and mix on low until fully combined. Scape down the edges of the bowl with a spatula when needed.
- Add in the flour, cornstarch, salt, xanthan gum (if using), and baking soda and again mix until combined.
- Spread the brownie batter into the prepared baking pan with an offset spatula. Top with chopped mini eggs.
- Bake for approximately 20-23 minutes or until a toothpick inserted in the middle comes out with moist crumbs. The edges should be set but the center should appear slightly underbaked.
- Remove from the oven and allow to fully cool in the pan before slicing into 16 squares. Enjoy!
Notes
- Store any leftover brownies in an airtight container at room temperature or in the fridge for up to 7 days or frozen for up to 6 months.


Leave a Reply